
Next.js stands out as a powerful React framework that simplifies the creation of fast and user-friendly applications. Among its many features, the ability to handle server-side operations seamlessly is a game-changer. In this post, we’ll dive into the specifics of how to make a POST request with Next.js, an essential skill for developers looking to harness the full potential of modern web applications.
What's Next Js and how to install it
Next.js is a React framework used for building web applications. It enables features like server-side rendering and static site generation, which can improve performance and user experience. It also provides automatic code splitting, optimized loading, and simplified data fetching.

To install Next.js, you should have Node.js version 18.17 or later. Open your terminal and run the following command to create a new Next.js app:
npx create-next-app@latest
Follow the prompts to name your project and configure options like TypeScript, ESLint, and Tailwind CSS if desired. After installation, you can start developing your application using the React components and Next.js features.
What POST request is used for?
A POST request is a method used in the Hypertext Transfer Protocol (HTTP) to send data to a server, typically to create or update a resource. The data is included in the body of the request, rather than in the URL as with a GET request.
POST requests are commonly used when you want to create or update a resource on the server.

How to make post request with Next JS
To make a POST request in Next.js, you can use the built-in API routes feature. Here’s a simple example of how to set up an API route that handles POST requests:
- Create a file under
pages/api/, for example,user.js. - Inside this file, export a default function that handles the incoming
req(request) andres(response) objects. - Check the request method to ensure it’s a POST request.
- Process the request body and return a response.
// pages/api/user.js
export default function handler(req, res) {
  if (req.method === 'POST') {
    // Process POST request
    const data = req.body; // Your request's body
    // ...do something with the data...
    res.status(200).json({ message: 'Data received', data });
  } else {
    // Handle any other HTTP method
    res.setHeader('Allow', ['POST']);
    res.status(405).end(`Method ${req.method} Not Allowed`);
  }
}
In your front-end code, you can make a POST request to this API route using fetch:
// Example of making a POST request in a Next.js page or component
const postData = async () => {
  const response = await fetch('/api/user', {
    method: 'POST',
    headers: {
      'Content-Type': 'application/json',
    },
    body: JSON.stringify({
      key: 'value', // Replace with your data
    }),
  });

  const result = await response.json();
  console.log(result);
};

// Call postData when needed, for example in an event handler
Apidog: Easier way to send post requests
One of the challenges developers often face is the manual generation of code snippets for sending POST requests, especially when dealing with complex APIs. This is where tools like Apidog come to the rescue, providing an intuitive interface to streamline the process. Here's a closer look at how Apidog can make sending POST requests with body data much more straightforward.

Why use Apidog?
User-Friendly Interface: Apidog offers a user-friendly web interface that allows you to input API details and specify the parameters and body data effortlessly.
Code Generation: Apidog excels in generating code snippets for various programming languages, including JavaScript with Axios. This eliminates the need to manually write boilerplate code, reducing the chance of errors.
Time Efficiency: By automating the code generation process, Apidog significantly reduces the time and effort required to set up HTTP requests. This is particularly beneficial when dealing with APIs with extensive documentation.
Using Apidog for POST Requests
let's go through a brief tutorial on how to use Apidog for making a POST request
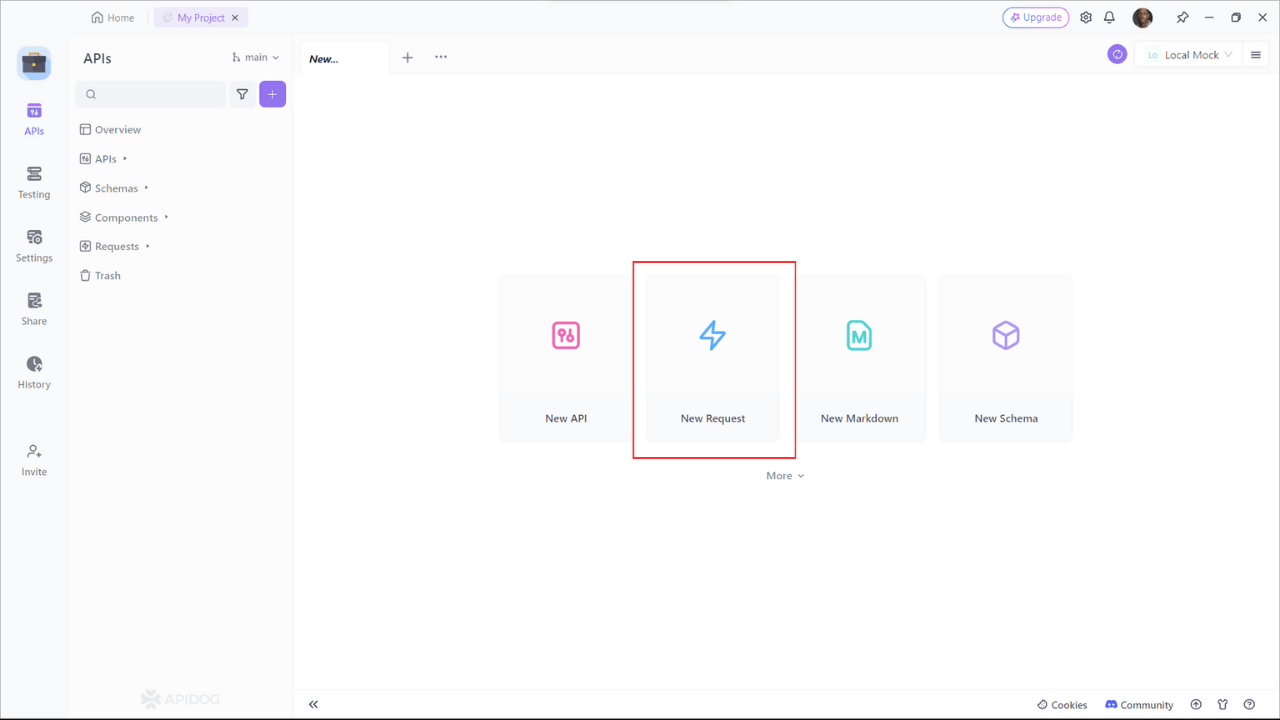
Step 1: Open Apidog and create a new request.
- Start Apidog and select New Request
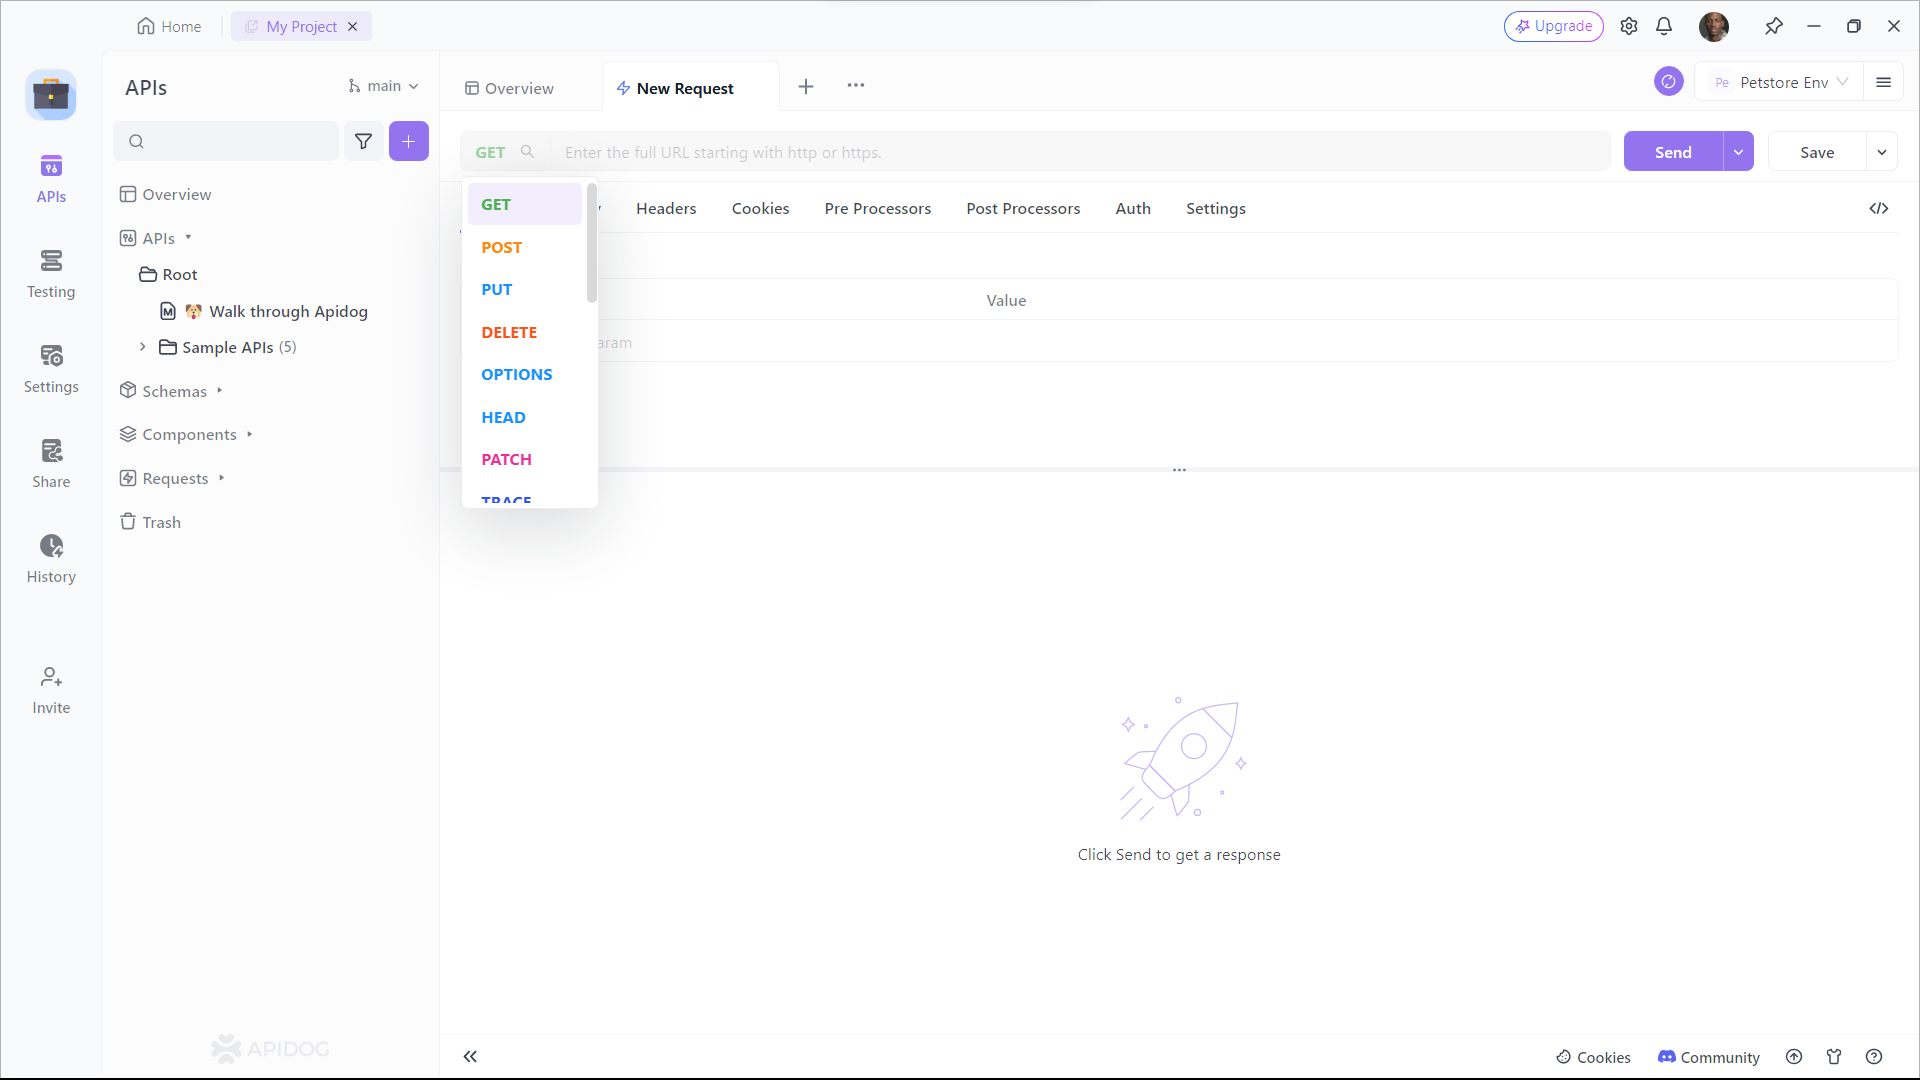
Step 2: Input the API
- Find or manually input the API details for the POST request you want to make.
Step 3: Input Parameters
- Fill in the required parameters and any data you want to include in the request body.
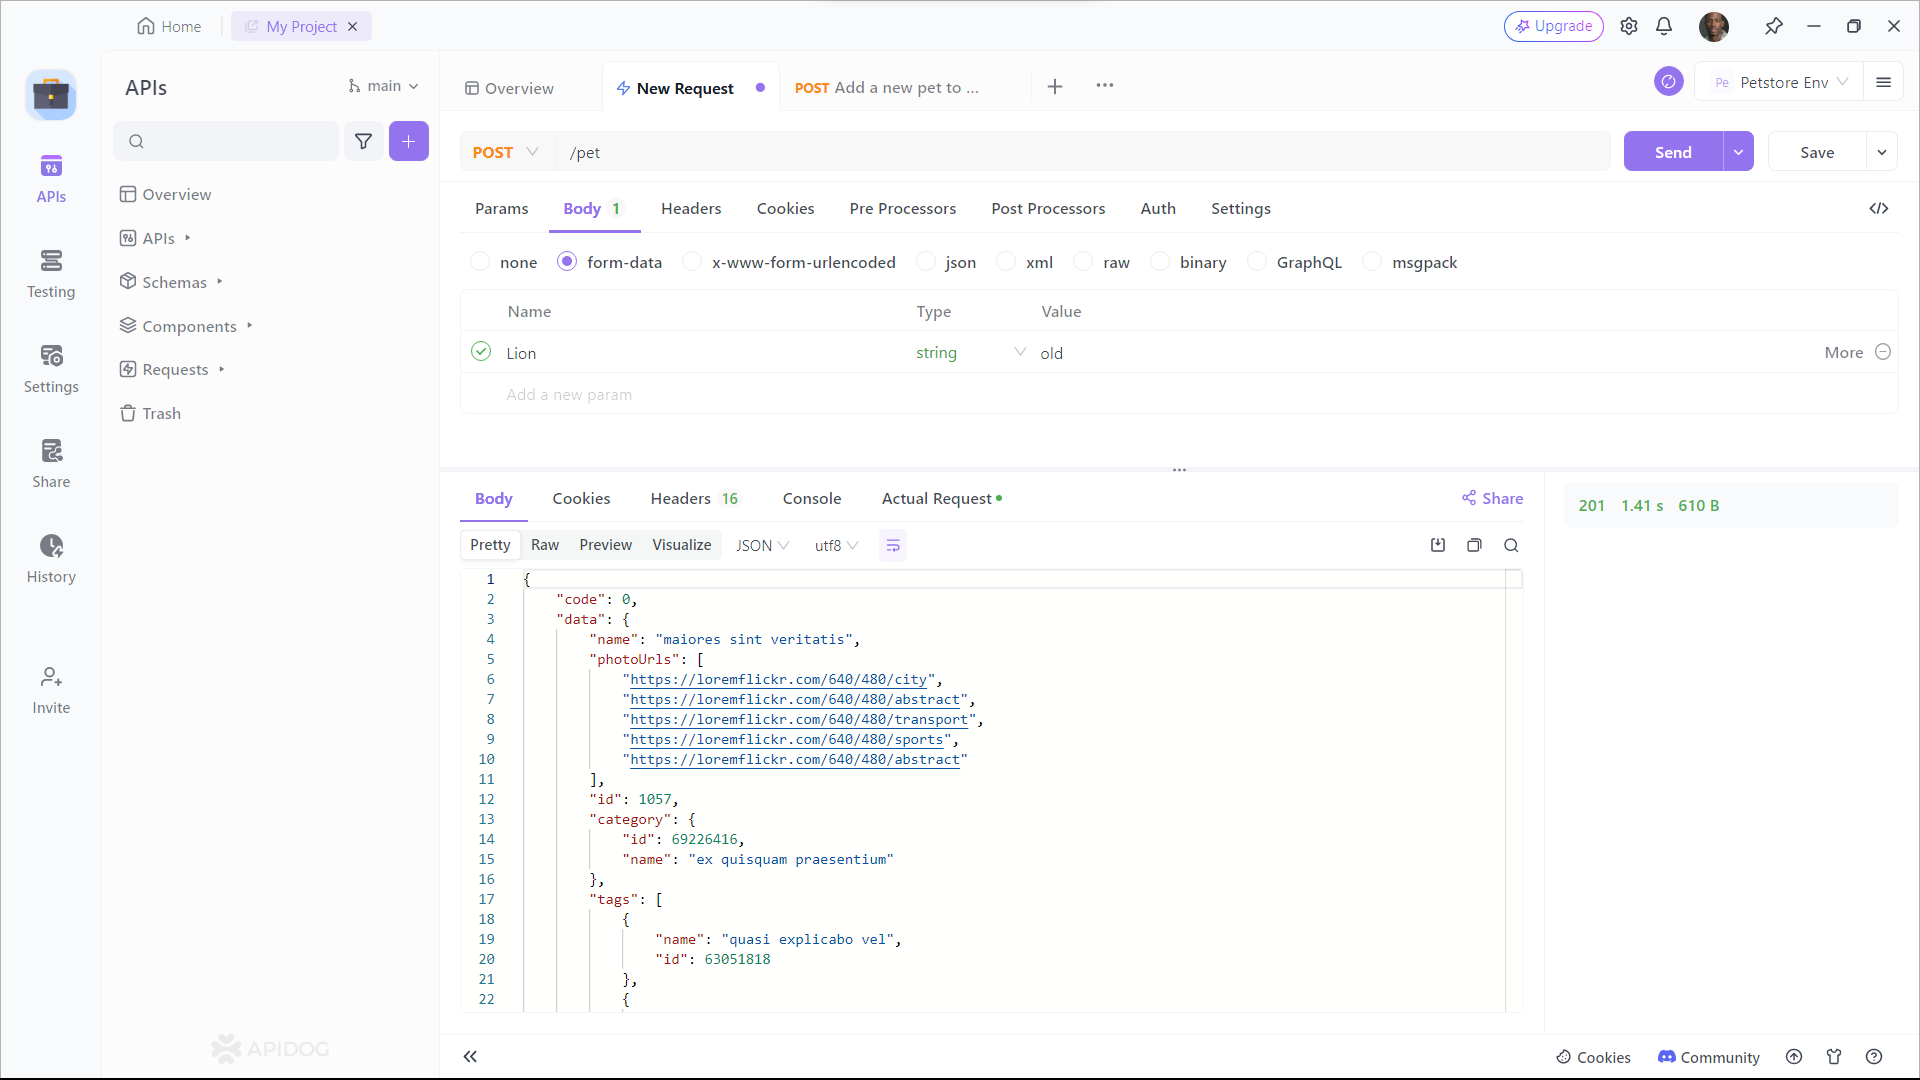
Using Apidog can save you time and effort when working with POST requests. It simplifies the process of generating the necessary Axios code, allowing you to focus on the logic and functionality of your application.
Conclusion
Mastering POST requests in Next.js is a cornerstone for developers aiming to build dynamic and interactive web applications. With the steps outlined in this guide, you’re now equipped to send data to your server efficiently, opening a world of possibilities for server-side data handling. Embrace the power of Next.js and watch as your web applications come to life with real-time data processing and management.
With the help of tools like Apidog, you can streamline the process of making POST requests and focus on building robust and efficient applications.


