
Transform your NeoVim workflow with AI: MCPHub.nvim makes it possible to create, manage, and interact with Model Context Protocol (MCP) servers directly from your editor. Imagine telling NeoVim, "Generate a React Button component," and seeing it appear instantly—MCPHub.nvim bridges that gap with seamless AI integration for developers.
💡 Pro Tip: Streamline your API and AI model testing with Apidog. Apidog helps you test APIs—including those powering LLMs—making it easier to verify AI-driven features in your workflow. Download Apidog for free to improve your development and QA process.
What Makes NeoVim Ideal for Modern Developers?
NeoVim is a next-generation, extensible text editor built on Vim's foundation, offering modern improvements that appeal to API and backend engineers, technical leads, and developer teams.
Key Advantages of NeoVim
- Stability & Performance: Refactored codebase for fewer crashes and faster response times.
- Powerful Plugin System: Supports modern plugin managers (Packer, Lazy, Plug) for effortless extension.
- Asynchronous Plugins: Run external tools without freezing your editor.
- Integrated Terminal: Execute shell commands directly inside NeoVim.
- Extensive Customization: Tailor your environment via configuration files to match your coding style.
NeoVim Modes
- Insert Mode: Edit text (press
ito enter). - Normal Mode: Navigate and run commands (press
Escto return).
Introducing MCPHub.nvim: AI Integration for NeoVim
MCPHub.nvim is a powerful plugin that lets you connect and manage multiple MCP servers within NeoVim. This bridges the gap between code editors and the latest AI-powered development tools, allowing you to automate code generation, refactoring, and more—right from your editor.

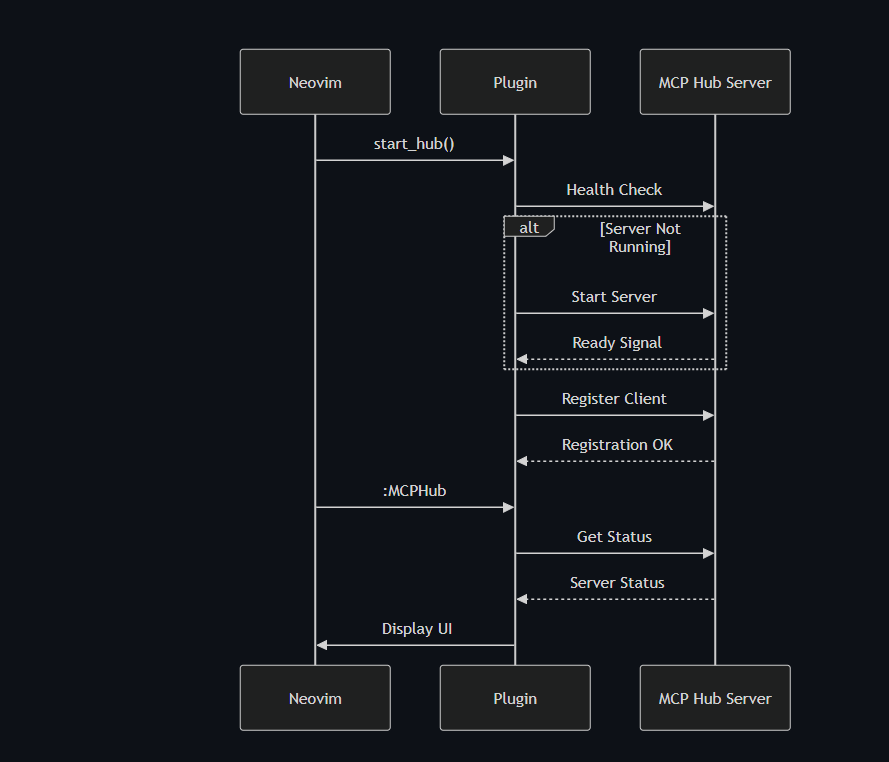
How MCPHub.nvim Works
MCPHub.nvim uses a client-server architecture:
- NeoVim Client: Interacts with the mcp-hub server.
- mcp-hub (Express server): Orchestrates MCP servers and provides a REST API interface.
- MCP Servers: Run specialized AI tools (codegen, task managers, etc.).
This setup ensures unified management, real-time monitoring, and resource optimization—even when collaborating across multiple projects or team members.
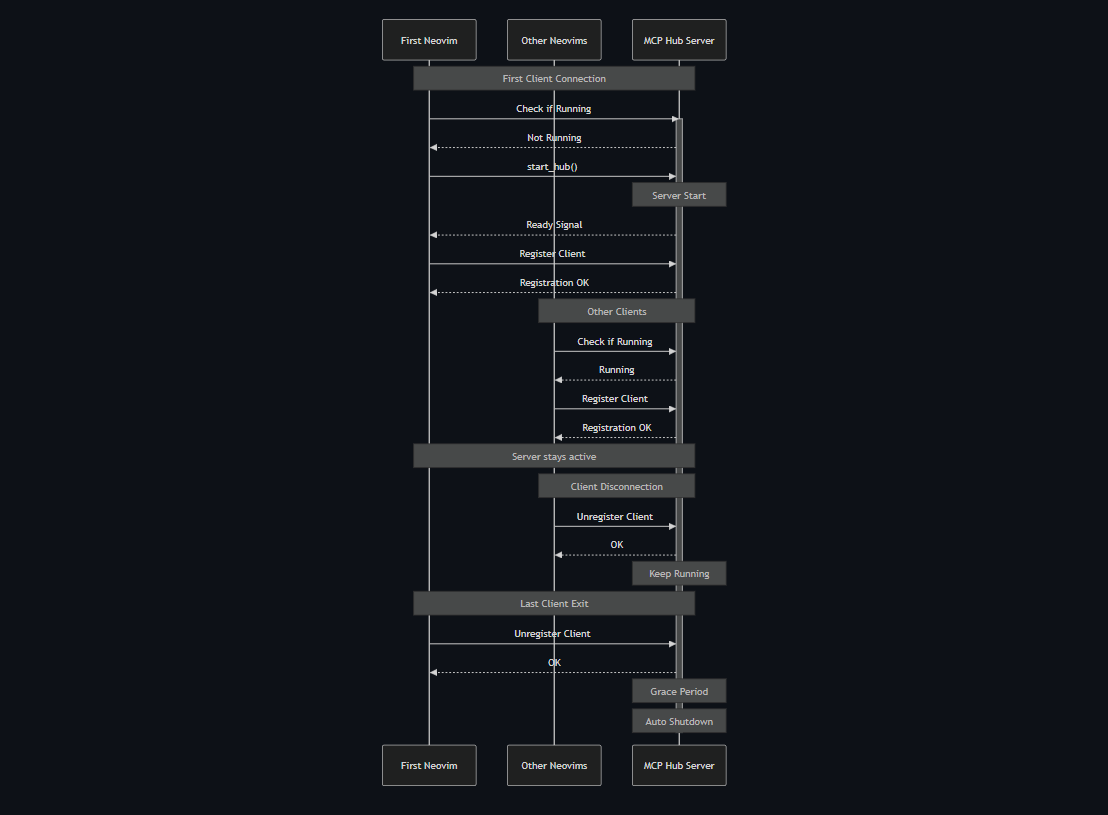
When configured, MCPHub.nvim launches the mcp-hub server with your settings and exposes API endpoints for managing all MCP servers and tools.
Why MCPHub.nvim Is a Game-Changer
- Centralized AI Tool Control: Start, stop, and monitor all MCP servers from one place.
- Seamless Model Collaboration: Combine tools like Claude, GPT, or custom models in a single workflow.
- Efficient Resource Management: Start/stop servers as needed to optimize memory and token usage.
- Chat Plugin Integration: Effortlessly connect with plugins like CodeCompanion for interactive AI coding.
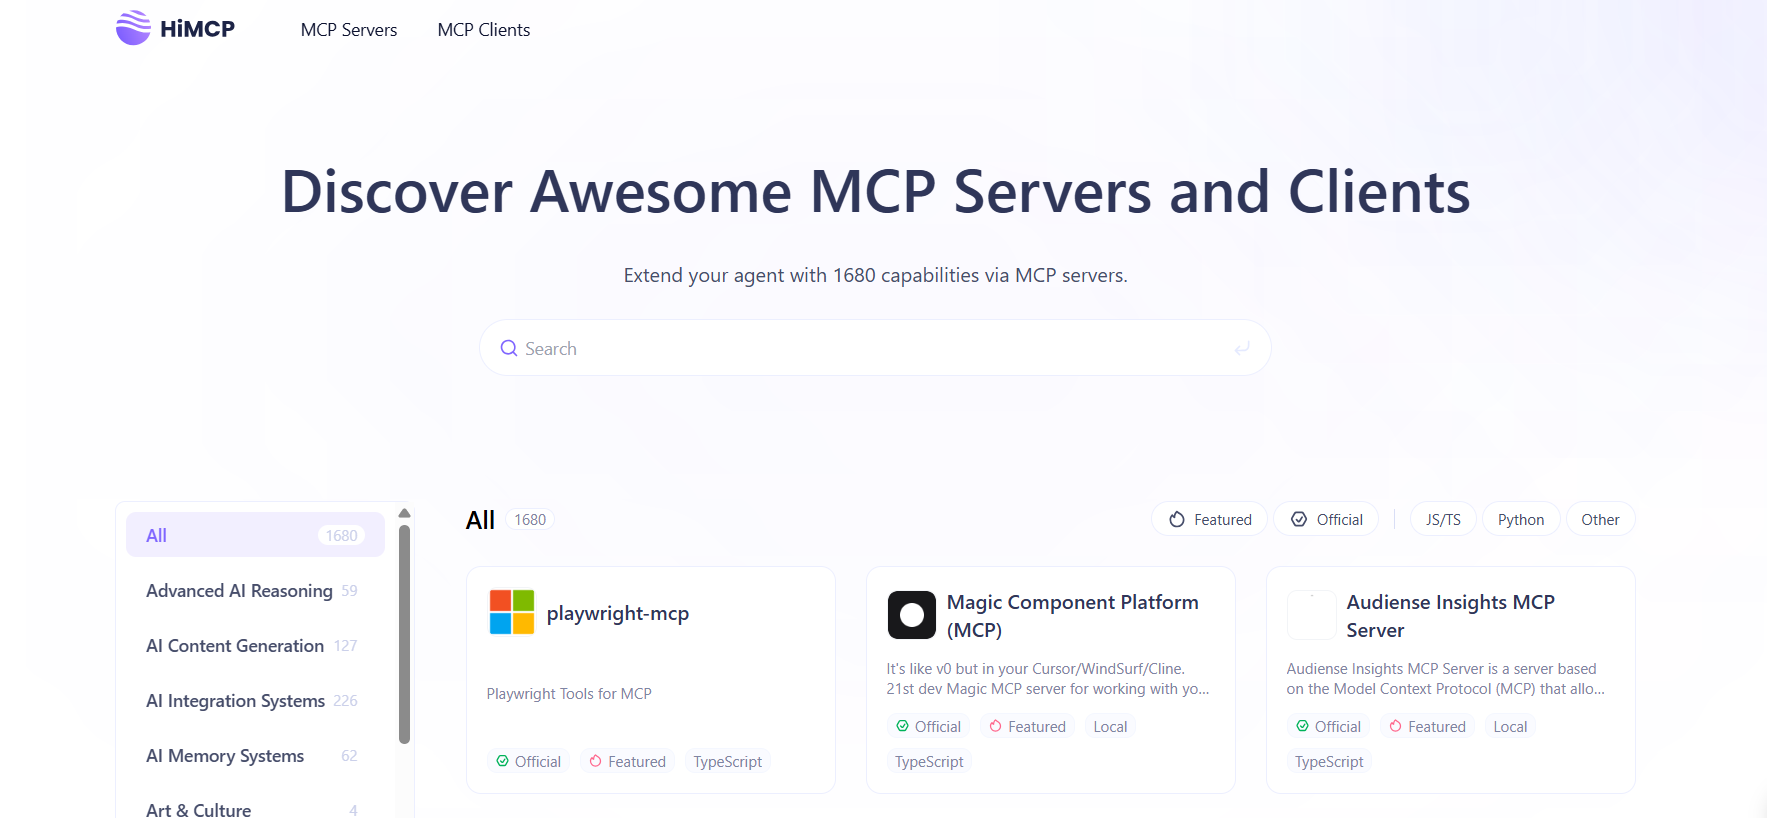
💡 Explore More: Discover and add 1600+ MCP servers and clients using HiMCP to turbocharge your AI coding workflow.
Step-by-Step: Installing and Setting Up MCPHub.nvim
System Requirements
Before starting, ensure your environment meets these:
| Component | Minimum Version | Check Command |
|---|---|---|
| NeoVim | 0.8.0+ | nvim --version |
| Node.js | 18.0.0+ | node --version |
| Python | 3.7+ | python --version |
| UVX | Latest | uvx --version |
Tip: Install UVX (Universal Version Executor) for easy server management:
npm install -g uvx
Installing MCPHub.nvim with lazy.nvim
Add this to your NeoVim plugin configuration:
{
    "ravitemer/mcphub.nvim",
    dependencies = {
        "nvim-lua/plenary.nvim",  -- For async support
    },
    build = "npm install -g mcp-hub@latest",  -- Core MCP Hub server
    config = function()
        require("mcphub").setup({
            port = 3000,  -- Hub port
            config = vim.fn.expand("~/.config/nvim/mcpservers.json"),  -- Absolute config path
            log = {
                level = vim.log.levels.WARN,
                to_file = true,  -- Logs at ~/.local/state/nvim/mcphub.log
            },
            on_ready = function()
                vim.notify("MCP Hub is online!")
            end
        })
    end
}
After installation:
- Restart NeoVim.
- Run
:checkhealth mcphubto verify. - Confirm server status:
curl http://localhost:3000/api/status
Configuring MCP Servers
Create your config file at ~/.config/nvim/mcpservers.json:
{
  "mcpServers": {
    "codegen": {
      "command": "uvx",
      "args": ["mcp-server-codegen"],
      "env": {
        "OPENAI_KEY": "${ENV_YOUR_OPENAI_KEY}"
      }
    },
    "todoist": {
      "command": "npx",
      "args": ["-y", "@abhiz123/todoist-mcp-server"],
      "disabled": true,
      "env": {
        "TODOIST_API_TOKEN": "your_token_here"
      }
    }
  }
}
Options:
disabled: Start manually (:MCPHubStart <name>)env: Set API keys securelyautostart: Prevent heavy servers from auto-starting
MCPHub.nvim: First-Time Usage Guide
- Open MCPHub UI:
:MCPHub - In the interface:
- S: Start/stop servers
- T: Enable/disable tools
- L: View real-time logs
- Test a server:
:lua require("mcphub").get_hub_instance():call_tool("codegen", "ping", {}, { return_text = true }) - Reference all commands:
:help mcphub
Integrating MCPHub.nvim with Chat Plugins
CodeCompanion Example
require("codecompanion").setup({
    strategies = {
        chat = {
            tools = {
                ["mcp"] = {
                    callback = function()
                        return require("mcphub.extensions.codecompanion")
                    end,
                    opts = {
                        requires_approval = true,
                        temperature = 0.7
                    }
                }
            }
        }
    }
})
Avante Example
require("avante").setup({
    system_prompt = function()
        local hub = require("mcphub").get_hub_instance()
        return hub:get_active_servers_prompt()
    end,
    custom_tools = {
        require("mcphub.extensions.avante").mcp_tool()
    }
})
Troubleshooting MCPHub.nvim: Common Issues and Solutions
| Issue | Solution |
|---|---|
| Port conflicts | lsof -i :3000 then kill <PID> |
| Missing dependencies | Run :MCPHubInstallDeps |
| JSON syntax errors | Validate with jq . mcpservers.json |
| Server startup fails | Check logs with :MCPHubLogs |
Advanced Debugging:
Enable verbose logging:
MCP_HUB_DEBUG=1 nvim
Conclusion: Unlock AI-Augmented Coding in NeoVim
By integrating MCPHub.nvim, you empower NeoVim to become an AI-augmented development environment:
- Automate tasks: Instantly generate code, refactor, and manage APIs.
- Seamlessly integrate AI chat plugins: Collaborate with models like GPT or Claude for smarter coding.
- Optimize workflow: Dynamically enable/disable AI tools for efficient resource use.
Next Steps
- Explore the MCP Marketplace: Find servers for Docker, Kubernetes, API testing, and more.
- Build custom tools: Extend MCPHub with Lua for your team’s unique needs.
- Contribute: Join MCPHub’s GitHub to shape the future of AI-driven development.
Try these NeoVim commands to kickstart your journey:
:MCPHubCall codegen "Write a Python Flask endpoint for user login"
:lua require("mcphub").toggle_server("todoist")
The future of coding isn’t about replacing developers—it’s about amplifying your capabilities. Take your workflow further with MCPHub.nvim, and don’t forget to leverage Apidog for robust API and AI model testing.


