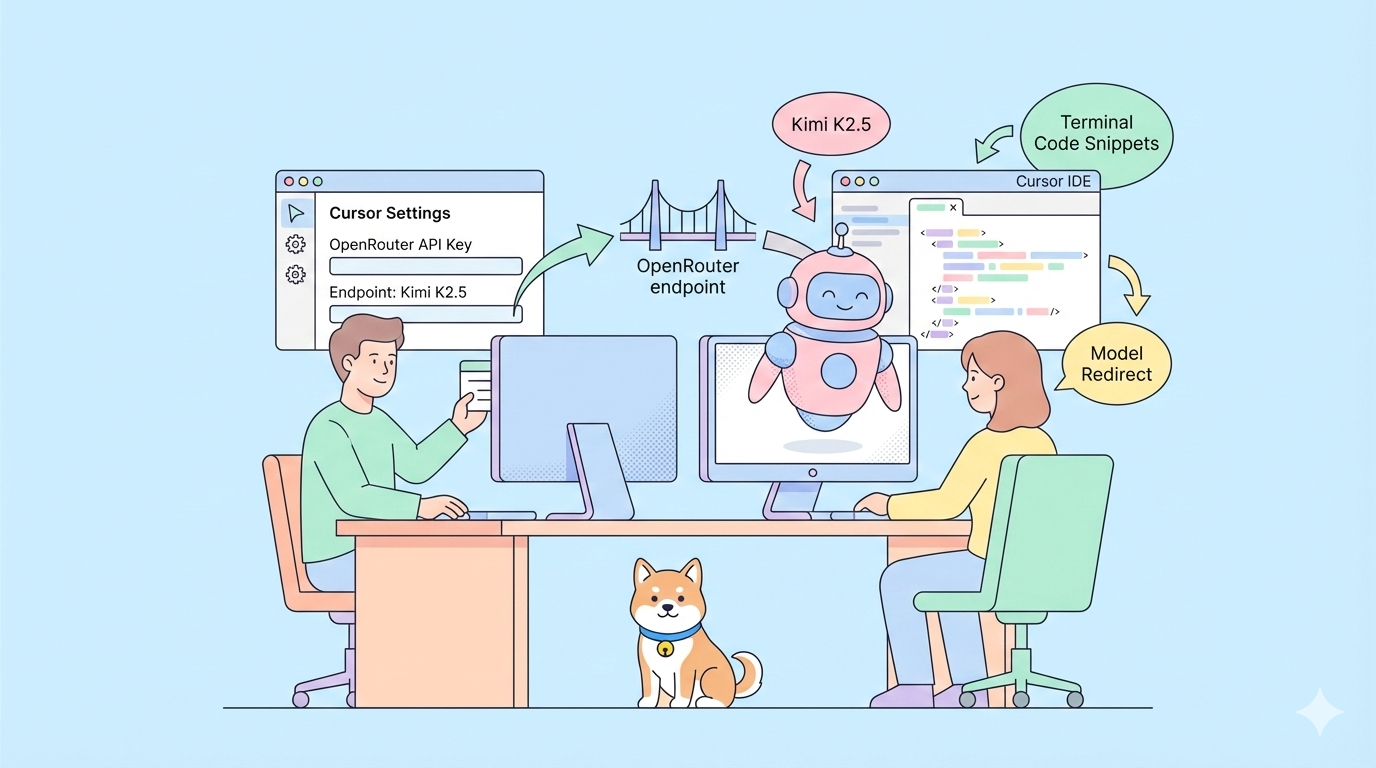
Have you ever wanted to use one of the most advanced open-source AI models inside your favorite coding IDE but found it missing from the dropdown? With Kimi K2.5, a powerful multimodal, agent-capable model from Moonshot AI, you can now integrate it into Cursor even when it’s not natively supported. Instead of waiting for official support, this guide shows you exactly how to connect Kimi K2.5 to Cursor so you can use it for coding, reasoning, and tool-driven workflows straight from your editor.
Why Add Kimi K2.5 to Cursor?
Cursor is a popular AI-assisted development environment that lets you interact with AI models directly in your editor. However, not all models are available in the built-in model selector, especially freshly released or emerging open models like Kimi K2.5. If you want to leverage K2.5's powerful coding and reasoning capabilities but don't see it in Cursor's dropdown, you're not alone. Fortunately, there's a practical workaround that involves adding Kimi K2.5 as a custom model using provider endpoints like OpenRouter or direct Moonshot API access.
This matters because developers increasingly want flexibility — the ability to choose which model powers their AI workflows instead of being locked into whatever the IDE comes bundled with. In this guide, we'll walk through exactly how to make that connection work using Cursor's configuration settings, custom model support, and API keys.
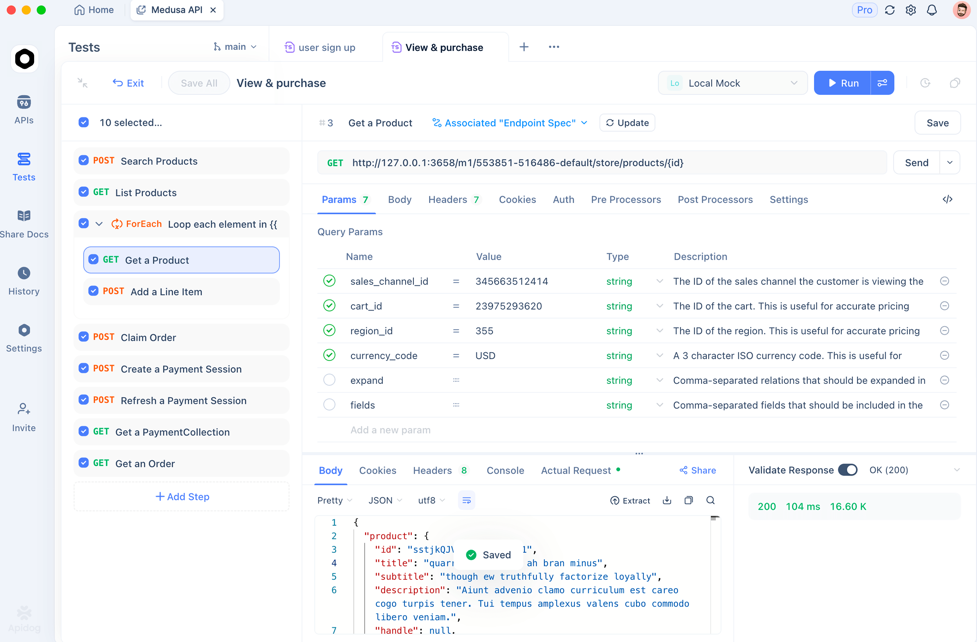
💡Pro Tip: Test your API endpoints in Apidog before configuring in Cursor. This prevents authentication errors and ensures your custom model integration works from the start.
Want an integrated, All-in-One platform for your Developer Team to work together with maximum productivity?
Apidog delivers all your demands, and replaces Postman at a much more affordable price!
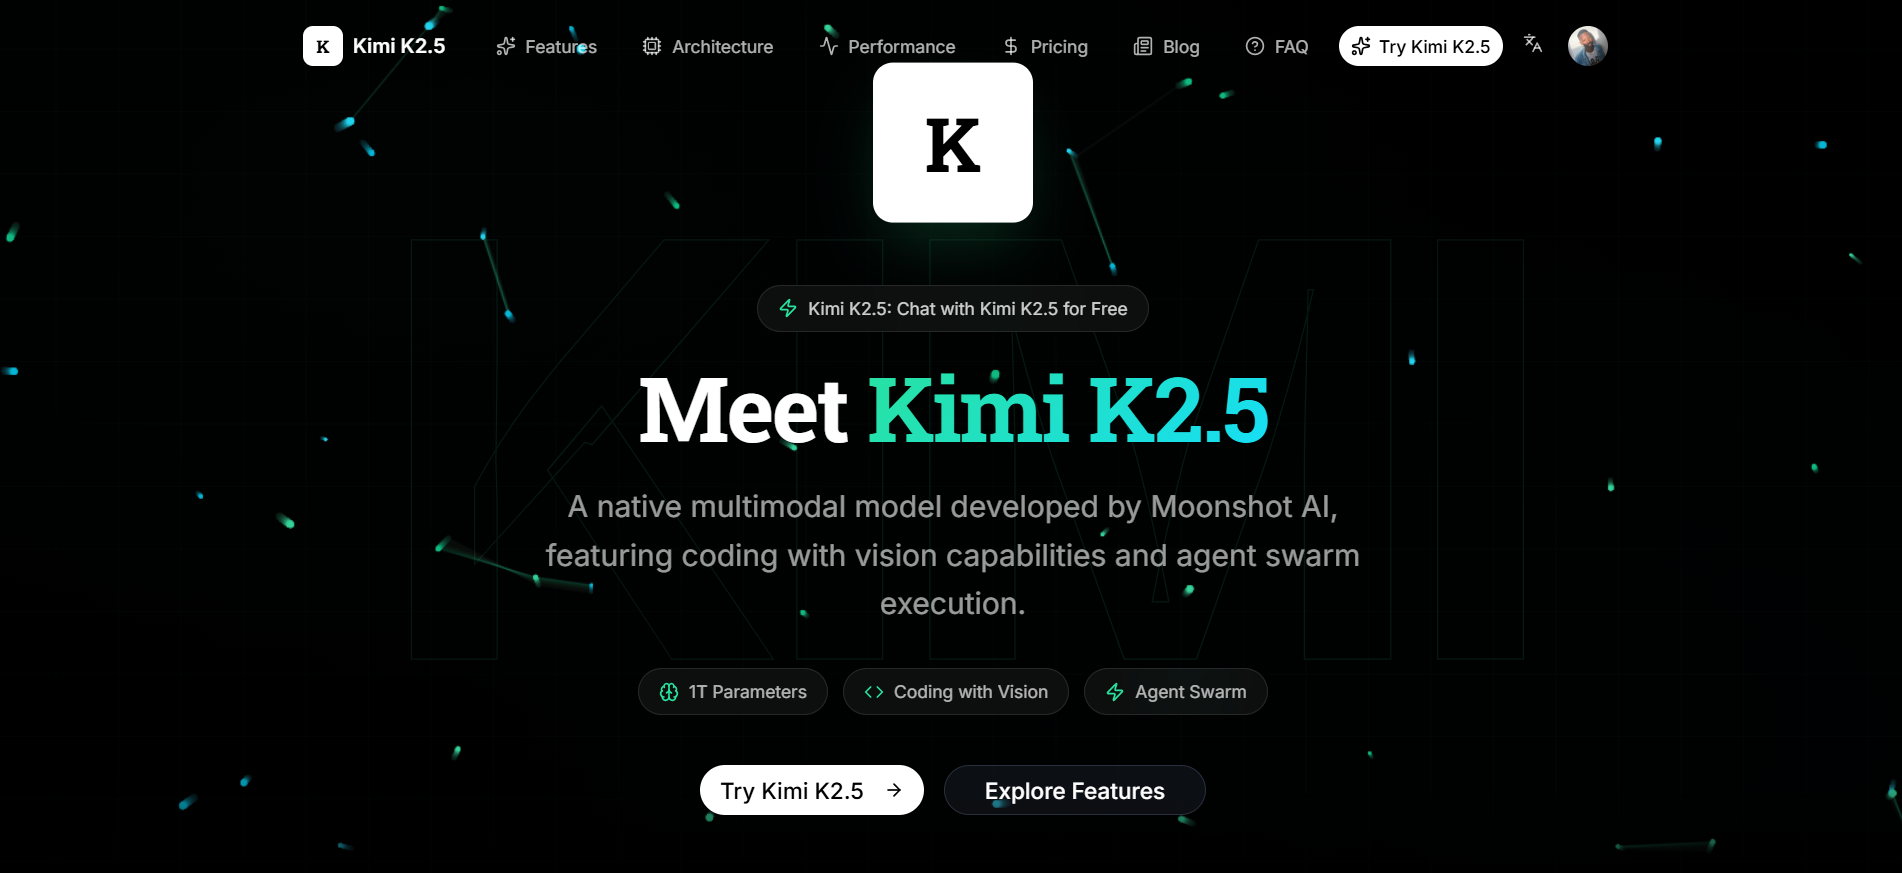
Understanding Kimi K2.5's Capabilities
Before integrating, here's what makes Kimi K2.5 valuable for Cursor workflows:
- Multimodal capability: Handles text, code, and visual data natively
- Agentic design: Built for reasoning, tool calling, and multi-step workflows
- Open API access: Available through Moonshot's API endpoints and third-party providers like OpenRouter
- Large context window: Up to 256K tokens for complex project understanding
- Cost efficiency: More affordable than Western alternatives for equivalent performance
While Kimi K2.5 isn't natively supported in Cursor yet, its OpenAI-compatible API means you can connect it manually and use it almost as if it were native.
Choose Your Kimi K2.5 API Provider
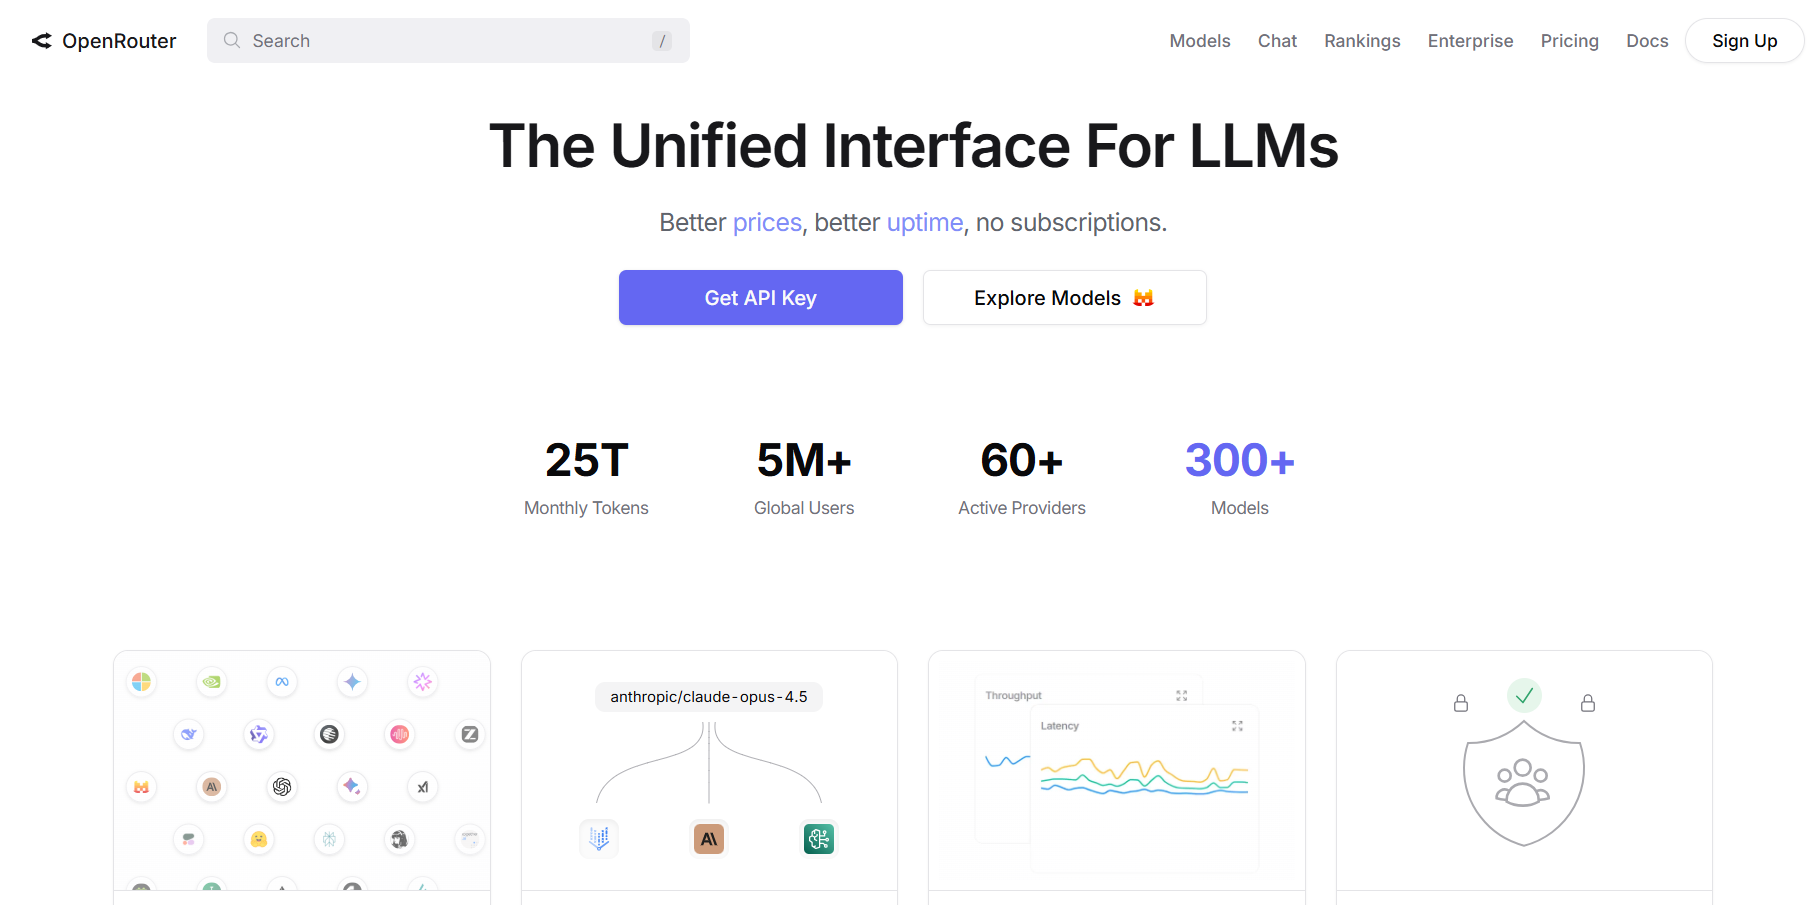
✅ Option A (via OpenRouter)
OpenRouter acts as a universal API gateway that gives you access to multiple AI models through one interface:
- Sign up at OpenRouter.ai
- Add credits for API usage
- Generate API key in Settings → Keys
This key authenticates your requests to OpenRouter and supports routing to Kimi K2.5.
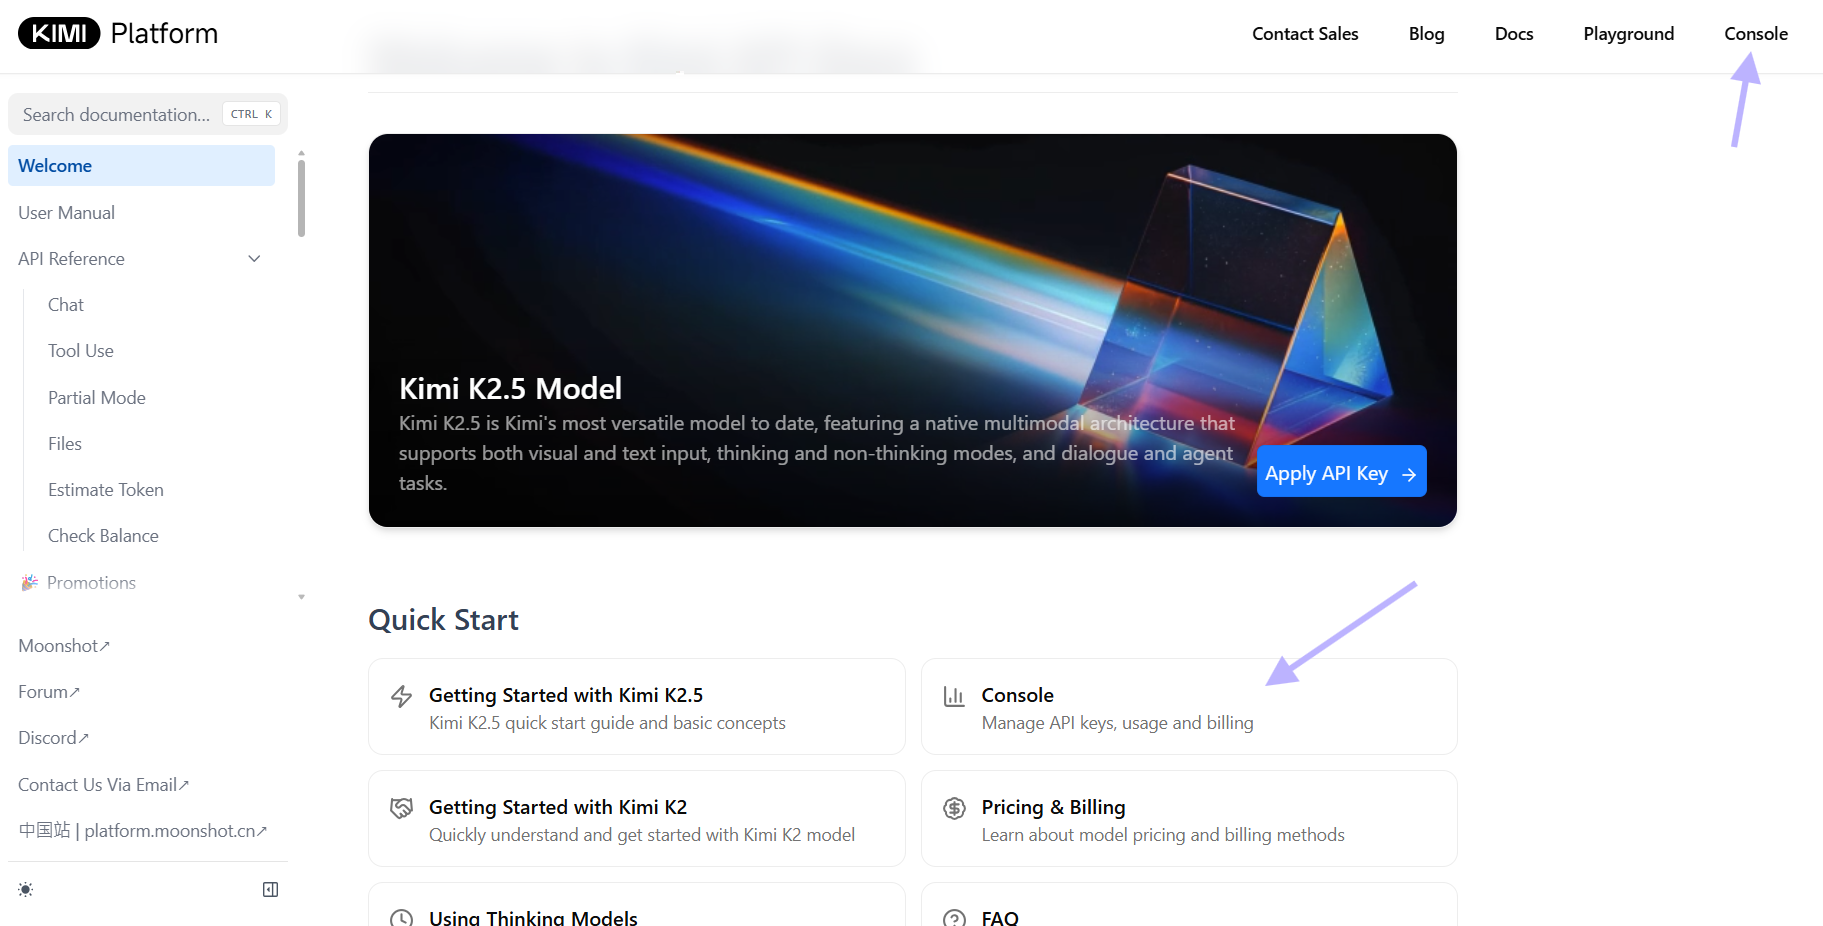
✅ Option B (via the Moonshot API)
If you have access to Moonshot's developer portal:
- Log in to Moonshot's platform
- Create or retrieve your API key for their endpoints
- Use OpenAI-compatible endpoint - Moonshot supports `moonshot/kimi-k2.5`
Moonshot's endpoint provides full 256K context and multimodal support with the simplicity of a direct API connection.
💡Pro Tip: Moonshot's official endpoint uses OpenAI-compatible format, making it ideal for Cursor's custom model configuration.
Configure Cursor for Custom Models
Once you have your provider configured, it's time to point Cursor to the right endpoint.
🧩 Open Cursor Settings
- Open Cursor
- Navigate to Settings → Models.
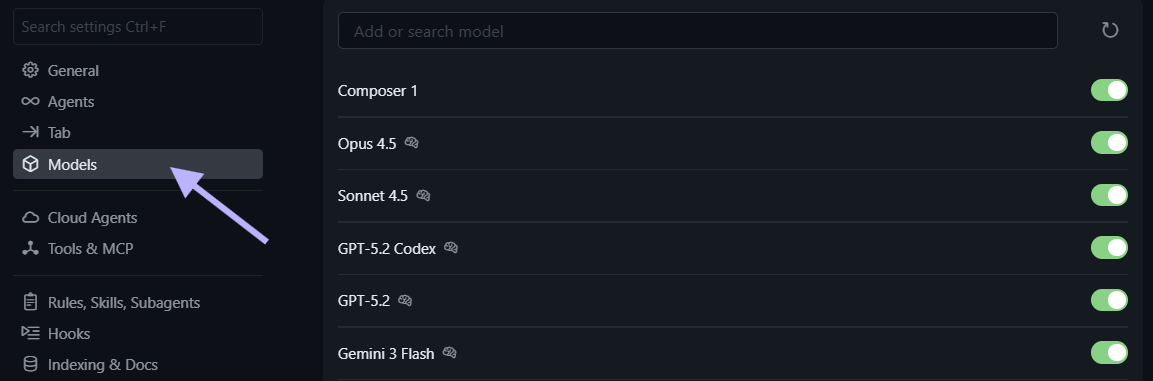
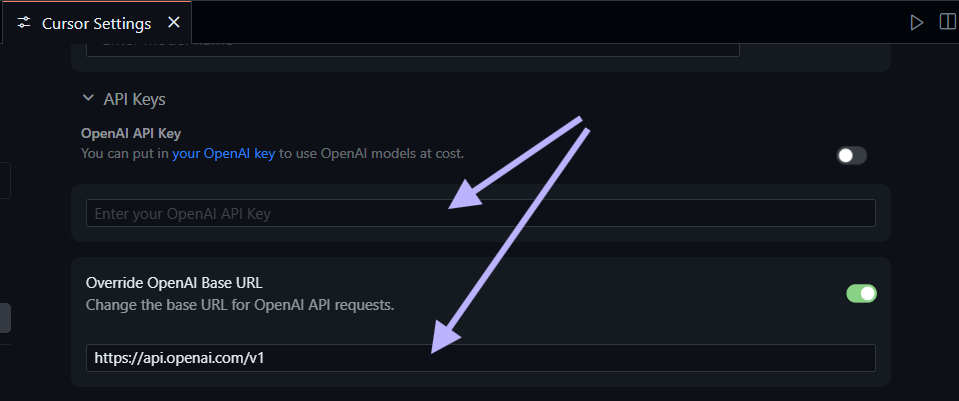
🔌 Update the Base API URL
Depending on your provider
OpenRouter Configuration:
Base URL: https://openrouter.ai/api/v1

Authentication: Your OpenRouter API key
Moonshot Configuration:
Base URL: https://api.moonshot.cn/v1

Authentication: Your Moonshot API key⚠️Important: If you encounter "Provider not supported" errors, ensure the base URL points to a provider that explicitly supports Kimi K2.5.
Add Kimi K2.5 as a Custom Model
Cursor's custom model UI lets you add models not listed natively.
Add Kimi K2.5 Model
- In Settings → Models, select Add Custom Model
- For the model slug (name), enter:
moonshot/kimi-k2.5
- Use
moonshotai/kimi-k2.5if accessing via OpenRouter - Use
moonshot/kimi-k2.5if accessing via Moonshot directly
3. Save the model configuration
4. Refresh Cursor settings if the model doesn't appear in the list
✅Quick Win: After adding the model, it should appear in your dropdown alongside native models.
Troubleshooting
- Model not showing up? Check that the base URL is correct and your API key is valid
- Authentication errors? Verify your API key hasn't expired and has sufficient credits
- Rate limiting? Some providers may limit requests per minute
Test Your Kimi K2.5 Integration
Now that Cursor is pointing at Kimi K2.5, test it with a simple prompt to ensure everything's working:
# Example Prompt
Write a function in Python that intersects two large lists efficiently using built-ins and type hints.
Cursor will send this to Kimi K2.5 via your configured provider and display the response. If nothing appears or the model falls back to a default, revisit your custom model settings and ensure no typos in the model slug or API endpoint.
💡Pro Tip: Start with simple coding tasks before moving to complex multi-file projects. This helps you verify the model's reasoning capabilities are working correctly.
Practical Applications in Cursor
Once Kimi K2.5 is configured, you can use it for typical AI-powered development tasks:
💡Code Generation and Refactoring
- Generate functions with clearly defined docstrings and type annotations
- Refactor complex modules with improved organization and readability
- Suggest patterns and idioms aligned with modern Python best practices
# Example Prompt
Refactor this class into smaller functions with clear single responsibilities.
🧠Reasoning and Debugging
- Explain dense logic or algorithms with clear examples
- Get optimization suggestions for performance bottlenecks
- Review architectural decisions and propose improvements
# Example Prompt
Explain why this recursive algorithm might exceed stack limits and propose an iterative version.
🔄Workflow Automation
- Generate boilerplate code for common project structures
- Create test suites automatically from API specifications
- Set up CI/CD pipelines for automated testing
💡Apidog Integration: When testing API workflows, use Apidog's visual interface to debug requests, validate responses, and generate production-ready code.
Advanced Configuration Options
🌐Environment Variable Management
For production setups, use environment variables instead of hardcoded credentials:
# Add to your shell profile (.zshrc, .bashrc)
export OPENROUTER_API_KEY="your-key-here"
export MOONSHOT_API_KEY="your-key-here"
Then reference these in Cursor's configuration using the standard ${ENV_VAR} format.
🚀Performance Optimization
- Reduce context length for faster responses when not needed
- Adjust temperature settings (0.7 for creative, 0.3 for analytical)
- Use streaming responses for real-time feedback in long generations
- Cache common queries when working with repetitive tasks
🔒Security Best Practices
- Never commit API keys to version control
- Use HTTPS endpoints only
- Monitor usage and set spending limits in provider dashboards
- Rotate API keys regularly for production environments
⚠️Security Note: Using Apidog for API testing helps you validate security configurations before production deployment.
Troubleshooting Common Issues
Issue: "Model not responding"
- Cause: Incorrect API endpoint or authentication failure
- Solution: Verify your base URL and API key, then restart Cursor
Issue: "Rate limit exceeded"
- Cause: Too many requests to the provider in a short time
- Solution: Wait 60 seconds and retry, or upgrade your provider plan
Issue: "Context window too small"
- Cause: Provider defaulting to 4K context instead of Kimi K2.5's 256K
- Solution: Check provider settings and ensure full context is enabled
Issue: "Authentication token expired"
- Cause: API key has reached its expiration date
- Solution: Generate a new API key and update your configuration
Conclusion
Integrating Kimi K2.5 with Cursor unlocks a flexible, powerful AI model in your favorite development environment, even without native support. By configuring custom API endpoints through OpenRouter or Moonshot, you gain access to K2.5's multimodal capabilities, 256K context window, and agentic behaviors.
This approach gives you complete control over your AI workflow — the ability to choose your model based on project needs, budget, and privacy requirements. Get set up in minutes, validate your configuration, and start leveraging Kimi K2.5's advanced reasoning and coding capabilities directly where you write code.
Next Steps:
- Choose your provider (OpenRouter for flexibility, Moonshot for direct access)
- Configure API credentials in your environment or Cursor settings
- Add Kimi K2.5 as a custom model using the correct slug
- Test integration with simple coding tasks before starting important projects
- Use Apidog to validate API workflows and debug issues efficiently
💡Final Tip: Join communities of developers using custom AI models to share workflows, troubleshooting tips, and creative solutions for maximizing Kimi K2.5's potential in Cursor.


