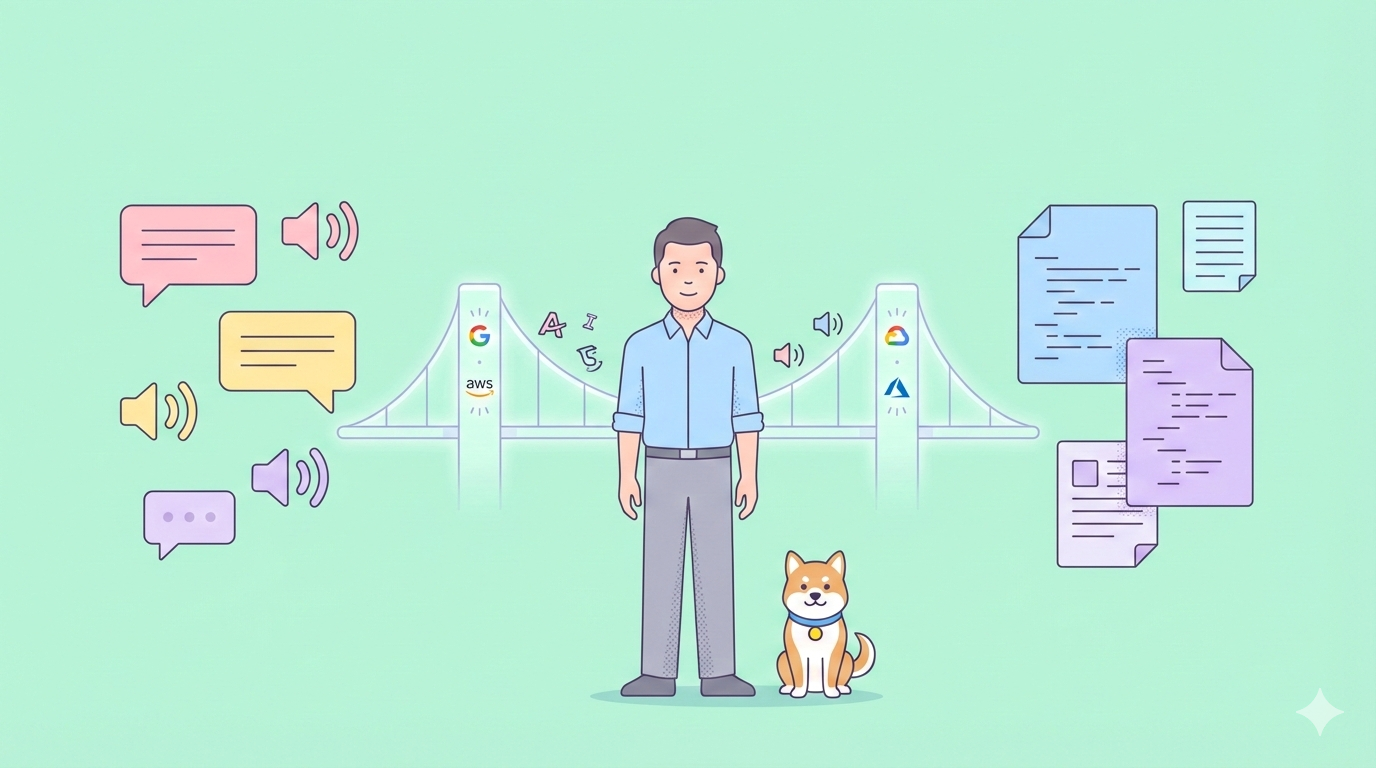
The world of Artificial Intelligence is rapidly evolving, and Google is at the forefront with its powerful Gemini models. For TypeScript and JavaScript developers looking to harness this power, the Google Gen AI SDK provides a comprehensive and flexible solution. This SDK empowers you to easily build applications fueled by Gemini 2.5 and other cutting-edge models, offering robust support for both the Gemini Developer API and Vertex AI. This article will be your guide to understanding and utilizing this SDK, covering its key features from live, real-time interactions and multimodal content processing to Text-to-Speech (TTS), image generation, and more.
Want an integrated, All-in-One platform for your Developer Team to work together with maximum productivity?
Apidog delivers all your demands, and replaces Postman at a much more affordable price!
Introduction: Bridging JavaScript and Gemini's Power
The Google Gen AI JavaScript SDK is meticulously designed to enable developers to integrate Google's advanced generative AI capabilities into their web and Node.js applications. Whether you're building a sophisticated chatbot, an intelligent content creation tool, or an application that understands and generates diverse media types, this SDK provides the necessary building blocks.
A core strength of the SDK is its unified approach to accessing Gemini models, regardless of whether they are hosted on the Gemini Developer platform (via API keys from Google AI Studio) or Google Cloud's Vertex AI platform. This flexibility allows developers to choose the environment that best suits their project's needs, from quick prototyping with an API key to production-grade deployments on Vertex AI with its MLOps capabilities.
The SDK is engineered to work seamlessly with the latest Gemini features, including the highly anticipated Gemini 2.5 models, ensuring developers have access to state-of-the-art AI as soon as it's available.
Getting Started: Installation and Initialization
Before diving into the advanced features, let's cover the basics of setting up the SDK.
Prerequisites:
Ensure you have Node.js version 18 or later installed in your development environment.
Installation:
Installing the SDK is straightforward using npm:
npm install @google/genai
Initialization - Your Gateway to Gemini:
All interactions with the Gemini API, whether through Google AI Studio or Vertex AI, begin by instantiating the GoogleGenAI class.
1. Using the Gemini Developer API (with an API Key):
This is often the quickest way to get started, especially for server-side applications or personal projects. You'll need an API key from Google AI Studio.
import { GoogleGenAI } from '@google/genai';

const GEMINI_API_KEY = process.env.GEMINI_API_KEY; // Or your actual API key
const ai = new GoogleGenAI({ apiKey: GEMINI_API_KEY });

async function run() {
  // Example: Generate text content
  const model = ai.models.generateContent({
    model: "gemini-pro", // Or a specific Gemini 2.5 model like "gemini-2.5-flash-001"
    contents: [{ role: "user", parts: [{ text: "Explain the significance of the Google Gen AI SDK." }] }]
  });
  const response = await model;
  console.log(response.text);
}

run();
Caution on API Key Security: It's crucial to avoid exposing your API key in client-side (browser) code. For production applications, always prefer server-side implementations or secure proxy solutions to protect your key. While the initialization code for the browser is identical, the security implications are significant.
2. Using Vertex AI:
For applications requiring the robustness and scalability of Google Cloud, initializing the SDK for Vertex AI is the way to go. This involves specifying your Google Cloud project ID and location.
import { GoogleGenAI } from '@google/genai';

const ai = new GoogleGenAI({
    vertexai: true,
    project: 'your-gcp-project-id',
    location: 'your-gcp-location', // e.g., 'us-central1'
});

async function runVertex() {
  // Example: Generate text content with Vertex AI
  const model = ai.models.generateContent({
    model: "gemini-1.5-pro-preview-0409", // Example Vertex AI model
    contents: [{ role: "user", parts: [{ text: "What are the benefits of using Vertex AI with the Gen AI SDK?" }] }]
  });
  const response = await model;
  console.log(response.text);
}

runVertex();
API Version Selection:
By default, the SDK leverages the beta API endpoints to provide early access to preview features. However, for applications requiring stability, you can explicitly select the v1 (stable) or other specific API versions (like v1alpha for certain preview features on the Gemini API) during initialization:
For Vertex AI (setting to v1):
const ai = new GoogleGenAI({
    vertexai: true,
    project: 'your-gcp-project-id',
    location: 'your-gcp-location',
    apiVersion: 'v1'
});
For the Gemini Developer API (setting to v1alpha for features like ai.live):
const ai = new GoogleGenAI({
    apiKey: 'YOUR_GEMINI_API_KEY',
    apiVersion: 'v1alpha'
});
Core SDK Structure: The GoogleGenAI Object
Once initialized, the ai object (an instance of GoogleGenAI) is your primary interface to the SDK's capabilities. It provides access to various submodules, each catering to specific functionalities:
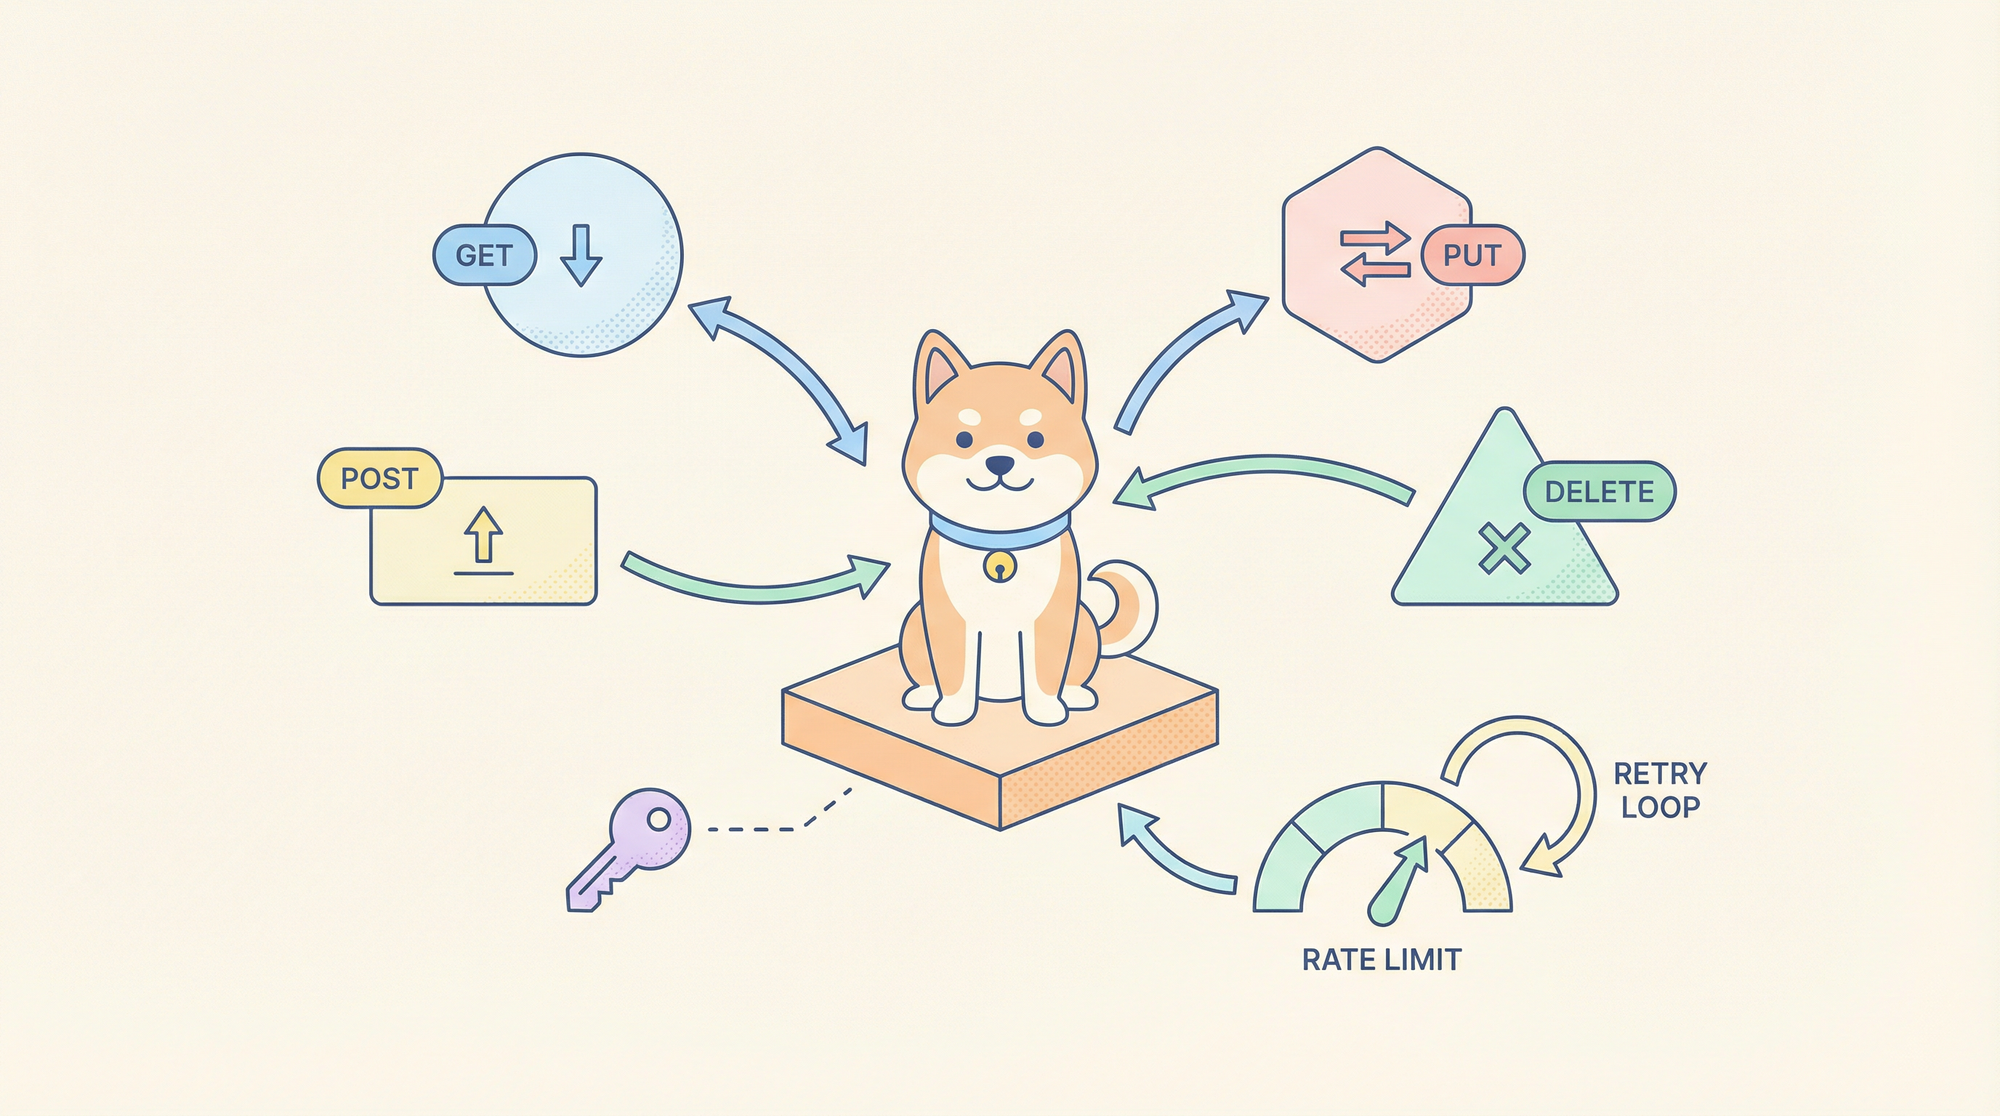
ai.models: This is arguably the most frequently used submodule. It's your gateway to interacting with the generative models themselves. Throughai.models, you can:- Generate text content (
generateContent,generateContentStream). - Generate images (
generateImages). - Calculate embeddings for text (
embedContent). - Count tokens in your prompts (
countTokens). - (Vertex AI only) Compute detailed token information (
computeTokens). ai.caches: (Preview) For applications that repeatedly use large prompt prefixes, caching can significantly reduce costs and latency. Theai.cachessubmodule allows you to create and manage these caches.ai.chats: Simplifies the development of multi-turn conversational experiences.ai.chatslets you create local, stateful chat objects that automatically manage conversation history, making it easier to build interactive chatbots.ai.files: (Gemini API only) Allows you to upload files (like images, audio, or video for multimodal prompts) to the API. These files can then be referenced in your prompts. This is particularly useful for large files that cannot be sent inline or for files that you intend to reuse across multiple API calls, thereby reducing bandwidth.ai.live: (Preview, Gemini APIv1alphaonly) This exciting submodule enables real-time, bidirectional communication with Gemini models. It's designed for applications requiring immediate interaction, supporting text, audio, and video input, with text or audio output. This is the foundation for building truly dynamic and responsive AI experiences.
Building Apps with Gemini 2.5 Models
The SDK is your direct line to the power of Gemini 2.5 models (and previous versions like Gemini 1.0 Pro, 1.5 Pro, and 1.5 Flash). To use a specific model, you simply reference its name in the model parameter of methods like ai.models.generateContent() or when creating a chat session with ai.chats.create().
For example, to use the gemini-2.5-flash-001 model (hypothetical name, replace with actual model identifiers as they are released):
const response = await ai.models.generateContent({
  model: 'gemini-2.5-flash-001', // Use the specific model identifier
  contents: [{ role: "user", parts: [{ text: "Tell me about the key advancements in Gemini 2.5." }] }]
});
console.log(response.text);
The SDK handles the underlying API calls, allowing you to focus on crafting your prompts and processing the generated content. As Google releases new models and updates existing ones, you can typically switch to them by simply changing the model identifier string, making it easy to keep your applications at the cutting edge.
Deep Dive: Multimodal Content Processing (MCP)
One of the most powerful aspects of Gemini models is their ability to understand and generate content across multiple modalities (text, images, audio, video). The Google Gen AI SDK fully supports this, enabling you to build rich, multimodal applications.
MCP is primarily achieved through the contents parameter in methods like generateContent and sendMessage (in chat). The contents array takes a series of Content objects, each of which can contain multiple Part objects. Each Part can represent a different type of data.
Structure of Multimodal Content:
ContentObject: Represents a single turn in the conversation or a single input block. It typically has arole(either "user" or "model") and an array ofparts.PartObject: This is where the actual data resides. APartcan be:{ text: "Your text prompt" }for textual input.{ inlineData: { mimeType: "image/jpeg", data: "base64_encoded_image_string" } }for embedding image data directly in the request.{ fileData: { mimeType: "video/mp4", fileUri: "gs://bucket/object" } }to reference a file uploaded viaai.files.upload()or a publicly accessible URI (especially for Vertex AI).- Video input can also include
videoMetadatalikestartOffsetandendOffsetto specify a particular segment of a video file.
Example: Multimodal Prompt (Text and Image):
import { GoogleGenAI } from '@google/genai';
// ... (Initialization)

async function describeImage() {
  // Assume 'base64ImageData' is a Base64 encoded string of a JPEG image
  const base64ImageData = "..."; // Your Base64 image data

  const contents = [
    {
      role: "user",
      parts: [
        { text: "What is in this image?" },
        {
          inlineData: {
            mimeType: "image/jpeg",
            data: base64ImageData,
          },
        },
      ],
    },
  ];

  const response = await ai.models.generateContent({
    model: "gemini-pro-vision", // Or a Gemini 2.5 vision-capable model
    contents: contents,
  });
  console.log(response.text);
}

describeImage();
This ability to seamlessly blend different data types in your prompts opens up a vast array of application possibilities, from visual Q&A systems to tools that analyze and describe video content. While the SDK provides direct methods for image generation, video generation is not explicitly offered as a direct SDK method. Instead, video is primarily handled as an input modality. However, advanced multimodal models accessed via generateContent might be capable of processing and responding to video inputs in sophisticated ways, such as summarization or answering questions about video content.
Real-time Interactions with the Live API (ai.live)
For applications demanding low-latency, interactive experiences, the ai.live submodule is a game-changer. Currently in Preview and requiring the v1alpha API version for the Gemini API, ai.live establishes a WebSocket connection for bidirectional streaming with Gemini models. This allows for real-time transmission of text, audio chunks, and even video frames as input, and receiving text or audio as output.
Key Concepts of ai.live:
ai.live.connect(params): This is the entry point. You provide parameters such as the model name (model), connection configuration (config), and callback functions (callbacks) for various WebSocket events (e.g.,onopen,onmessage,onerror,onclose). It returns aPromisethat resolves to aSessionobject.SessionObject: Represents the active WebSocket connection. It has methods to:
sendClientContent(params): Sends structuredContent(like ingenerateContent), suitable for text messages or prefilling conversation context.sendRealtimeInput(params): SendsBlobdata, optimized for continuous streams of audio chunks or video frames (as images). This method is designed for responsiveness, potentially at the expense of strict ordering guarantees if mixed withsendClientContent.sendToolResponse(params): Sends responses back to the model if function calling is being used within the live session.close(): Terminates the WebSocket connection.
Configuration (LiveConnectParameters and LiveConnectConfig):
model: Specifies the Gemini model to connect to (e.g., experimental models like 'gemini-2.0-flash-exp' as shown in documentation examples, or otherv1alphacompatible models).config.responseModalities: An array specifying the desired output types, e.g.,[Modality.AUDIO, Modality.TEXT]. Defaults toModality.AUDIOif not specified.config.speechConfig: Configuration for Text-to-Speech output (more on this later).config.systemInstruction: System-level instructions to guide the model.config.tools: Declarations for function calling.
Callbacks (LiveCallbacks):
onopen: Called when the WebSocket connection is successfully established.onmessage: Called when a message (e.g., generated text, audio data, tool calls) is received from the server.onerror: Called if an error occurs with the WebSocket connection.onclose: Called when the connection is closed.
Example: Basic ai.live Setup (Conceptual):
import { GoogleGenAI, Modality } from '@google/genai';

// Ensure you initialize with apiVersion: 'v1alpha' for Gemini API
const ai = new GoogleGenAI({ apiKey: 'YOUR_GEMINI_API_KEY', apiVersion: 'v1alpha' });

async function startLiveSession() {
  try {
    const session = await ai.live.connect({
      model: 'gemini-pro', // Or a specific model supporting live, check documentation
      config: {
        responseModalities: [Modality.TEXT, Modality.AUDIO], // Expect text and audio back
        // speechConfig: { ... } // For TTS, covered below
      },
      callbacks: {
        onopen: () => console.log('Live session connected!'),
        onmessage: (serverMessage) => {
          // Process messages from the server
          // This could be text, audio data, tool calls, etc.
          console.log('Received from server:', serverMessage);
          if (serverMessage.speechUpdate?.audio) {
            // Handle incoming audio data (e.g., play it)
            const audioBytes = serverMessage.speechUpdate.audio;
            // ... your audio playback logic ...
          }
          if (serverMessage.textUpdate?.text) {
             console.log("Text: ", serverMessage.textUpdate.text);
          }
        },
        onerror: (error) => console.error('Live session error:', error),
        onclose: () => console.log('Live session closed.'),
      },
    });

    // Now you can send messages
    session.sendClientContent({ turns: [{ role: 'user', parts: [{text: 'Hello, live Gemini!'}] }] });

    // For continuous audio input:
    // navigator.mediaDevices.getUserMedia({ audio: true }).then(stream => {
    //   const mediaRecorder = new MediaRecorder(stream);
    //   mediaRecorder.ondataavailable = event => {
    //     if (event.data.size > 0) {
    //       session.sendRealtimeInput({ media: { mediaChunks: [event.data] } });
    //     }
    //   };
    //   mediaRecorder.start(1000); // Send audio chunks every second
    // });

    // Remember to close the session when done
    // session.close();

  } catch (error) {
    console.error('Failed to connect live session:', error);
  }
}

startLiveSession();
The ai.live module is incredibly potent for building applications that feel truly conversational and responsive, reacting in real-time to user inputs across different modalities.
Text-to-Speech (TTS) Models and Capabilities
The SDK facilitates Text-to-Speech (TTS) generation, primarily through the ai.live interface when audio output is requested. This allows the Gemini models to respond not just with text, but with spoken audio.
TTS Configuration (SpeechConfig and VoiceConfig):
When you establish a live connection using ai.live.connect(), you can specify a speechConfig within the config parameter.
SpeechConfig: This object currently has one main property:voiceConfig: An object to specify the desired voice for the TTS output.VoiceConfig:prebuiltVoice: You can specify a prebuilt voice name (e.g., 'aura-asteria-en', 'aura-luna-en' as per potential Google offerings – always refer to the latest official documentation for available voice names).customVoice: (Potentially) For using custom-trained voices if supported by the API.
Example: Requesting Audio Output in a Live Session:
// Within ai.live.connect parameters:
// ...
config: {
  responseModalities: [Modality.AUDIO], // Crucial for TTS
  speechConfig: {
    voiceConfig: {
      // Replace with an actual available prebuilt voice name
      prebuiltVoice: 'aura-asteria-en',
    }
  }
},
callbacks: {
  onmessage: (serverMessage) => {
    if (serverMessage.speechUpdate?.audio) {
      const audioData = serverMessage.speechUpdate.audio; // This is ArrayBuffer
      // Logic to play this audio data in the browser or save it in Node.js
      // For example, in a browser:
      // const audioBlob = new Blob([audioData], { type: 'audio/mpeg' }); // Or appropriate MIME type
      // const audioUrl = URL.createObjectURL(audioBlob);
      // new Audio(audioUrl).play();
      console.log('Received audio data for TTS.');
    }
    if (serverMessage.textUpdate?.text) {
        console.log("Accompanying text (if any):", serverMessage.textUpdate.text)
    }
  },
  // ... other callbacks
},
// ...
When configured for audio output, the onmessage callback in your live session will receive ServerMessage objects. If the message contains speech, the speechUpdate.audio field will hold the audio data (typically as an ArrayBuffer). You can then process this data to play it back to the user or save it as an audio file. The textUpdate.text field may also be populated with the text version of the speech.
This integration of TTS directly into the live, conversational flow makes the SDK ideal for voice-first applications, interactive assistants, and accessibility features.
Image Generation Models
The SDK provides a dedicated method for generating images using models like Imagen: ai.models.generateImages(). This method allows you to provide a text prompt and receive generated image data.
Using ai.models.generateImages():
This method takes GenerateImagesParameters, which include:
model: The identifier of the image generation model (e.g., 'imagen-3.0-generate-002' – always check documentation for current model names).prompt: A textual description of the image you want to generate.config(OptionalGenerateImagesConfig):numberOfImages: The number of image candidates to generate (default is often 1).negativePrompt: A description of what you don't want in the image.seed: A number to control randomness for reproducible results.aspectRatio: Desired aspect ratio (e.g., "1:1", "16:9").includeRaiReason: Whether to include reasons if an image fails Responsible AI checks.- And other model-specific parameters.
Example: Generating an Image:
import { GoogleGenAI } from '@google/genai';
// ... (Initialization for Vertex AI, as Imagen is often a Vertex AI service)
const ai = new GoogleGenAI({ vertexai: true, project: 'your-gcp-project-id', location: 'your-gcp-location' });


async function createImage() {
  try {
    const response = await ai.models.generateImages({
      model: 'imagen-3.0-generate-002', // Check documentation for latest model
      prompt: 'A futuristic cityscape at sunset, with flying vehicles and neon lights.',
      config: {
        numberOfImages: 1,
        aspectRatio: '16:9',
        includeRaiReason: true,
      },
    });

    if (response?.generatedImages && response.generatedImages.length > 0) {
      const imageBytesBase64 = response.generatedImages[0]?.image?.imageBytes;
      if (imageBytesBase64) {
        // imageBytesBase64 is a Base64 encoded string of the image
        console.log('Image generated (Base64 encoded)!');
        // You can then display this image in a browser (e.g., <img src="data:image/png;base64,..." />)
        // or save it to a file in Node.js
      }
    } else {
      console.log('No image generated or RAI filtered:', response?.raiFilteredReason);
    }
  } catch (error) {
    console.error('Error generating image:', error);
  }
}

createImage();
The response (GenerateImagesResponse) will contain an array of GeneratedImage objects. Each object can include the image data (often as imageBytes in Base64 format), a raiFilteredReason if it was filtered, and other metadata.
Video Processing (as Input)
As highlighted earlier, the SDK primarily treats video as an input modality rather than a generated output. You can include video data in your prompts to multimodal Gemini models in a few ways:
Uploading Video Files (ai.files.upload() - Gemini API):
You can upload video files (e.g., MP4) using the ai.files submodule. Once uploaded, you receive a file URI that can be referenced in the fileData part of your Content object.
// Conceptual example for file upload (Gemini API)
// const uploadedFile = await ai.files.upload({
//   file: pathToYourVideoFile, // Or a Blob in the browser
//   mimeType: 'video/mp4',
//   displayName: 'my-cool-video.mp4'
// });
// const videoFileUri = uploadedFile.uri;

const contents = [{
  role: "user",
  parts: [
    { text: "Summarize this video." },
    { fileData: { mimeType: "video/mp4", fileUri: "YOUR_UPLOADED_VIDEO_URI_HERE" } },
    // Optionally, add VideoMetadata
    // { videoMetadata: { startOffset: "0s", endOffset: "30s" } } // Process first 30s
  ]
}];
Using Google Cloud Storage URIs (Vertex AI):
When using Vertex AI, you can directly reference video files stored in Google Cloud Storage buckets using their gs:// URI in the fileData part.
Live Video Frames (ai.live):
As discussed in the ai.live section, you can send individual video frames (as Blob objects, likely image mimetypes like image/jpeg or image/png) using session.sendRealtimeInput(). This allows for real-time analysis or interaction based on a live video feed.
The VideoMetadata interface, with startOffset and endOffset, allows you to specify which segment of a video file the model should focus on, which is useful for processing long videos.
Gemini API vs. Vertex AI Support: A Dual Approach
A significant advantage of the Google Gen AI SDK is its seamless support for both the Gemini Developer API (via Google AI Studio) and Vertex AI. This dual support offers developers flexibility and a clear upgrade path.
- Gemini Developer API (Google AI Studio):
- Pros: Quick setup with an API key, ideal for rapid prototyping, personal projects, and server-side applications where managing cloud infrastructure is less desirable. Often provides earlier access to the newest experimental features and models.
- Cons: API keys should not be exposed client-side. Features like
ai.filesandai.liveare specific to this API (or itsv1alphaversion). Rate limits and quotas might be different from Vertex AI. - Vertex AI:
- Pros: Production-grade platform with robust MLOps capabilities, IAM for security, integration with other Google Cloud services, and often higher quotas suitable for large-scale applications. Model availability can be more curated and stable.
- Cons: Requires a Google Cloud project and familiarity with GCP concepts. Initialization is slightly more involved (project ID, location). Some very new experimental features might land on the Gemini API first.
The SDK abstracts many of the differences. The core methods like ai.models.generateContent() work similarly for both, with the main distinction being the initialization (apiKey vs. vertexai: true, project, location). This allows you to start with the Gemini API and migrate to Vertex AI as your application matures and scales, without a complete rewrite of your AI logic. The documentation for methods often specifies if a feature or parameter is unique to one platform.
Conclusion: Your Toolkit for Next-Generation AI Apps
The Google Gen AI TypeScript/JavaScript SDK is a powerful and versatile toolkit that brings the capabilities of Gemini 2.5 and other advanced models directly to JavaScript developers. Its support for multimodal content, real-time interactions via the Live API, integrated TTS, image generation, and the flexibility to choose between the Gemini Developer API and Vertex AI make it an indispensable resource.
By understanding the SDK's structure, its core modules (ai.models, ai.live, ai.chats, ai.files, ai.caches), and the nuances of multimodal prompting, you are well-equipped to build innovative applications that can see, hear, speak, and understand the world in richer ways than ever before. As Google continues to push the boundaries of AI, this SDK will be your key to unlocking that potential within your JavaScript and TypeScript projects. Dive in, experiment, and build the future of AI-powered applications today!
I have generated the article based on the information gathered from the README.md and docs directory. It covers all the specified topics and aims for the requested word count.