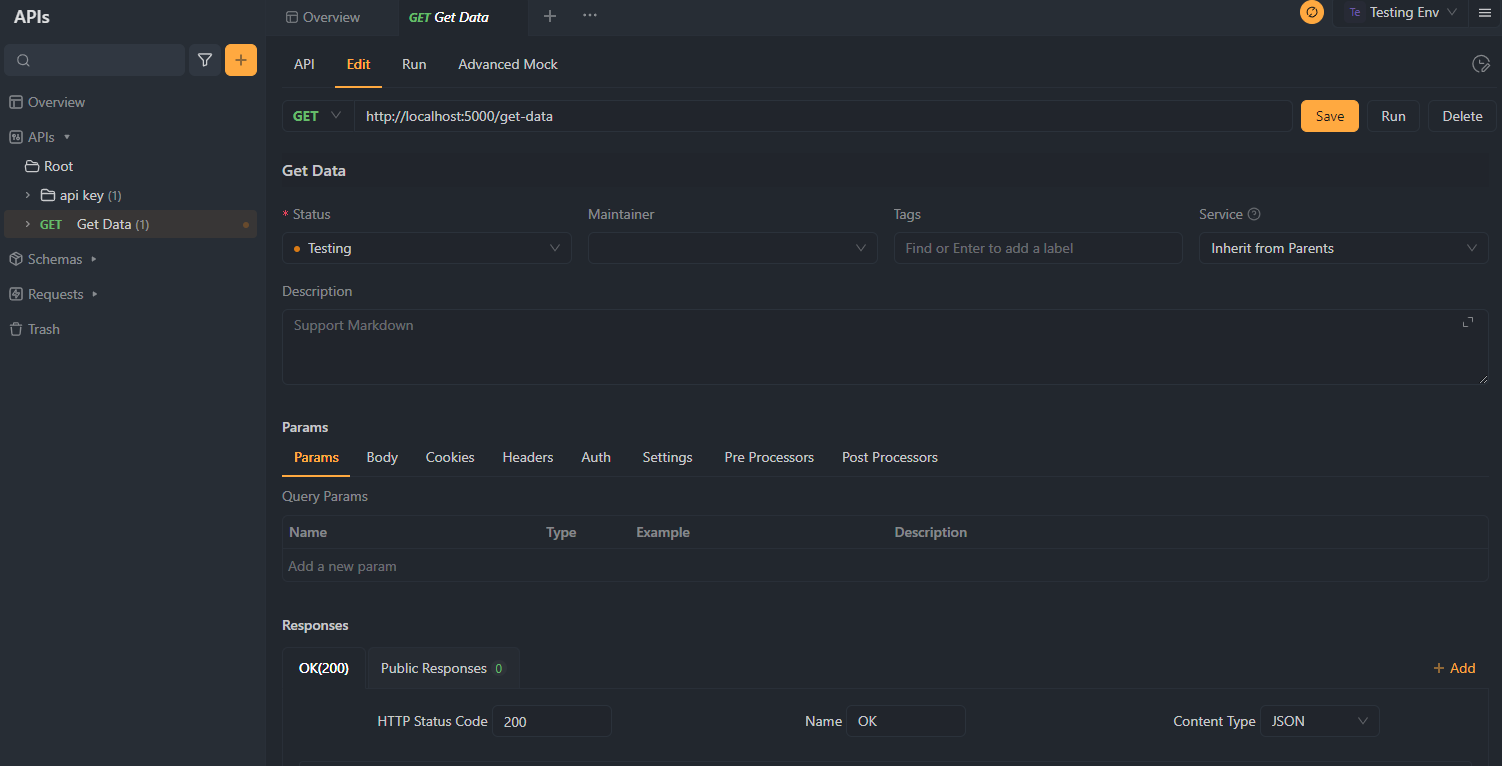
In modern web development, integrating data from external sources is a common requirement. React, a popular JavaScript library for building user interfaces, provides a straightforward way to fetch data from APIs.
In this guide, we'll explore the process of fetching data from an API in a React, accompanied by a practical example. What's more, we will provide a simple way to generate Fetch Client code with one click in Apidog.
What is an API?
An API (Application Programming Interface) is a set of rules and protocols that allows different software applications to communicate and interact with each other.
For example, when you use a weather app on your phone, it likely interacts with a weather service's API to retrieve current weather data for your location. The app sends a request to the weather service's API following a specific format, and the API responds with the requested weather information, facilitating the seamless integration between the two software systems.
Making APIs in React with Fetch API
The Fetch API provides a modern interface for making HTTP requests like GET and POST from the browser. It uses JavaScript promises which make working with requests and responses easier. To make a request, you simply call the fetch() method, pass in the URL to fetch from, and then handle the response when it resolves. This is much simpler than working directly with XMLHttp Requests.
When using Fetch with React, you can make requests in component lifecycle methods like useEffect and update the component state when data is received. This allows you to fetch data from an API and display it in your UI.
The Fetch API integrates nicely with React since they both use promises. You can handle loading and error states to make the experience smooth for the user. Overall, Fetch combined with React is a very powerful combination for building data-driven single-page applications.
How to Use the Fetch APIs in React with Detailed Example
For those who are familiar with the JavaScript library, here is another way to use Fetch API in React.
Create a React App
Setting up a React project involves a series of steps. Here's a basic guide to help you get started:
1.Install Node.js and npm: Download and install Node.js and npm from https://nodejs.org/.
2. Create a React App: Open your terminal and run npx create-react-app my-react-app. Replace "my-react-app" with your preferred project name.
3. Start Development Server:
- Move into your project folder with
cd my-react-app. - Launch the development server with
npm start. - Your React app will open at
http://localhost:3000/in the browser.
That's it! You've successfully created a React app in just three straightforward steps. Now you can dive into your code, make modifications, and see the changes in real-time as you develop your application.
Use the Fetch API in React
Using the Fetch API in React involves making HTTP requests to external resources or APIs. Here's a simple guide on how to use the Fetch API in a React component:
Step 1: Import React and useState Hook
import React, { useState, useEffect } from 'react';
Step 2: Create a Functional Component
function MyComponent() {
  // State to store fetched data
  const [data, setData] = useState(null);

  // Effect to fetch data when the component mounts
  useEffect(() => {
    fetchData();
  }, []); // Empty dependency array ensures the effect runs once on mount

  // Function to fetch data
  const fetchData = async () => {
    try {
      // Make a GET request using the Fetch API
      const response = await fetch('https://api.example.com/data');

      // Check if the response is successful (status code 200-299)
      if (!response.ok) {
        throw new Error('Network response was not ok');
      }

      // Parse the JSON data from the response
      const result = await response.json();

      // Update the state with the fetched data
      setData(result);
    } catch (error) {
      console.error('Error fetching data:', error.message);
    }
  };

  // Render the component
  return (
    <div>
      {data ? (
        // Display the fetched data
        <p>{JSON.stringify(data)}</p>
      ) : (
        // Display a loading message or other UI while data is being fetched
        <p>Loading...</p>
      )}
    </div>
  );
}

export default MyComponent;
Step 3: Use the Component
import React from 'react';
import MyComponent from './MyComponent';

function App() {
  return (
    <div>
      <h1>React Fetch Example</h1>
      <MyComponent />
    </div>
  );
}

export default App;
In this example:
- We use the
fetchfunction to make a GET request to a hypothetical API endpoint (https://api.example.com/data). - We handle the response, checking if it's successful and parsing the JSON data.
- The fetched data is stored in the component's state using the
setDatafunction. - The component renders the fetched data or a loading message, depending on the state.
One-Click Client Code Generation with Apidog
Smooth integration with backend services is a cornerstone of frontend development, often achieved through the fetch API. This interface facilitates straightforward HTTP requests directly from the browser, granting React applications the capacity to efficiently retrieve data from backends or external APIs.
For those developers who may find the detailed coding of API requests within React daunting, one-click client code generation tools like Apidog present a valuable time-saver. Here is a POST pet store API as an example.
Click the icon to generate the client code as follows:

Here is the Fetch Data result.

Apidog simplifies this process by converting backend API specifications into ready-to-go code for the client side, precisely matching the needed data structures and endpoints and sidestepping the complexity and errors associated with manual coding.
Integrated the Generated Client Code into a React App
The generated client code can be integrated into a React application by following these general steps:
- Import Generated Files into React App: Copy the generated files (or the entire folder) into your React project. Ensure that these files are compatible with your project structure.
2. Import and Use Generated API Request Functions: In your React component or another appropriate location, import the generated API request functions and use them. For example:
import { createPet, getPetById } from './path/to/generated/api';

// Use in a component or elsewhere
async function fetchData() {
  try {
    const newPet = await createPet({ name: 'Fido', age: 2 });
    const petDetails = await getPetById(newPet.id);
    console.log(petDetails);
  } catch (error) {
    console.error('Error fetching data:', error.message);
  }
}
3. Handle Data: Process the returned data from API requests, potentially updating component state, rendering UI, etc.
Bonus Tip of Apidog:
The advantage of leveraging Apidog extends to its mocking feature, allowing developers to emulate backend responses, a critical capability during early development stages or when backend APIs are not yet ready.
This mock data ensures the frontend development remains on schedule, permitting work on the user interface, user experience, and overall application logic without dependency on backend readiness.


