Google Maps API is a powerful tool that allows developers to embed Google Maps into their applications and customize the maps to suit their specific needs. The API provides a wide range of features, including geocoding, directions, and places, making it easy to create location-based applications. In this article, we will provide a comprehensive guide on how to use the Google Maps API, with detailed step-by-step instructions and sample code.
Getting Started with Google Maps API
To get started with the Google Maps API, you will need to obtain an API key from the Google Cloud Console. Follow these steps to create a new project and enable the Maps JavaScript API:
- Go to the Google Cloud Console (https://console.cloud.google.com/) and sign in with your Google account.
- Create a new project or select an existing one.
- Enable the Maps JavaScript API by navigating to "APIs & Services" > "Library" and searching for "Maps JavaScript API". Click on "Enable" to enable the API for your project.
- Go to "APIs & Services" > "Credentials" and click on "Create credentials". Select "API key" as the credential type.
- Copy the API key and keep it safe, as you will need it to use the Maps JavaScript API.
Embedding a Map Using Google Maps API
To embed a Google Map into your web page, you will need to include the Maps JavaScript API script in your HTML file and create a <div> element with an ID to hold the map. Here's an example:
<!DOCTYPE html>
<html>
  <head>
    <title>Embedding a Map</title>
    <script src="https://maps.googleapis.com/maps/api/js?key=YOUR_API_KEY"></script>
    <style>
      #map {
        height: 500px;
        width: 100%;
      }
    </style>
  </head>
  <body>
    <div id="map"></div>
    <script>
      function initMap() {
        const map = new google.maps.Map(document.getElementById("map"), {
          center: { lat: -34.397, lng: 150.644 },
          zoom: 8,
        });
      }
    </script>
  </body>
</html>
In this example, we include the Maps JavaScript API script with our API key. We also create a <div> element with an ID of "map" and set its height and width using CSS. Finally, we define a function called initMap() that creates a new google.maps.Map object and sets the center and zoom level of the map.
Adding Markers with Google Maps API
To add markers to your map, you can use the google.maps.Marker class. Here's an example:
function initMap() {
  const map = new google.maps.Map(document.getElementById("map"), {
    center: { lat: -34.397, lng: 150.644 },
    zoom: 8,
  });

  const marker = new google.maps.Marker({
    position: { lat: -34.397, lng: 150.644 },
    map: map,
    title: "Hello World!",
  });
}
In this example, we create a new google.maps.Marker object and specify its position, map, and title. The position property is an object with lat and lng properties that specify the latitude and longitude of the marker. The map property specifies the map that the marker should be added to, and the title property specifies the text that should be displayed when the marker is hovered over.
Geocoding with Google Maps API
Geocoding is the process of converting an address or location name into latitude and longitude coordinates. You can use the google.maps.Geocoder class to perform geocoding. Here's an example:
function geocodeAddress() {
  const geocoder = new google.maps.Geocoder();
  const address = document.getElementById("address").value;

  geocoder.geocode({ address: address }, (results, status) => {
    if (status === "OK") {
      const map = new google.maps.Map(document.getElementById("map"), {
        center: results[0].geometry.location,
        zoom: 12,
      });

      const marker = new google.maps.Marker({
        position: results[0].geometry.location,
        map: map,
      });
    } else {
      alert("Geocode was not successful for the following reason: " + status);
    }
  });
}
In this example, we create a new google.maps.Geocoder object and call its geocode() method with an object that specifies the address to geocode. The geocode() method takes a callback function that is called with the results of the geocoding request. If the status is "OK", we create a new map and marker using the latitude and longitude coordinates returned by the geocoder. If there is an error, we display an alert with the error message.
Get Directions Using Google Maps API
The Google Maps API also provides directions functionality, which allows you to calculate routes between locations. Here's an example:
function calculateRoute() {
  const directionsService = new google.maps.DirectionsService();
  const directionsRenderer = new google.maps.DirectionsRenderer();

  const map = new google.maps.Map(document.getElementById("map"), {
    center: { lat: -34.397, lng: 150.644 },
    zoom: 8,
  });

  directionsRenderer.setMap(map);

  const request = {
    origin: document.getElementById("origin").value,
    destination: document.getElementById("destination").value,
    travelMode: google.maps.TravelMode.DRIVING,
  };

  directionsService.route(request, (result, status) => {
    if (status == "OK") {
      directionsRenderer.setDirections(result);
    } else {
      alert("Directions request failed due to " + status);
    }
  });
}
In this example, we create a new google.maps.DirectionsService object to handle the directions request and a google.maps.DirectionsRenderer object to display the directions on the map. We then create a new map and set the DirectionsRenderer to display the directions on the map.We create a request object that specifies the origin and destination addresses and the travel mode (in this case, driving). We then call the route() method of the DirectionsService object with the request object and a callback function. If the status is "OK", we set the directions on the DirectionsRenderer object. If there is an error, we display an alert with the error message.

Get Places with Google Maps API
The Google Maps API also provides a places API that allows you to search for places and retrieve information about them. Here's an example:
function searchPlaces() {
  const service = new google.maps.places.PlacesService(map);

  const request = {
    query: document.getElementById("query").value,
    fields: ["name", "geometry"],
  };

  service.findPlaceFromQuery(request, (results, status) => {
    if (status === google.maps.places.PlacesServiceStatus.OK) {
      for (let i = 0; i < results.length; i++) {
        createMarker(results[i]);
      }

      map.setCenter(results[0].geometry.location);
    }
  });
}

function createMarker(place) {
  const marker = new google.maps.Marker({
    map: map,
    position: place.geometry.location,
  });

  google.maps.event.addListener(marker, "click", () => {
    infowindow.setContent(place.name);
    infowindow.open(map, this);
  });
}
In this example, we create a new google.maps.places.PlacesService object and define a request object that specifies the search query and the fields to retrieve for each place. We then call the findPlaceFromQuery() method of the PlacesService object with the request object and a callback function.If the status is "OK", we loop through the results and create a marker for each place using the createMarker() function. We also set the center of the map to the location of the first result.The createMarker() function creates a new google.maps.Marker object and adds a click event listener to the marker. When the marker is clicked, it displays an info window with the name of the place.
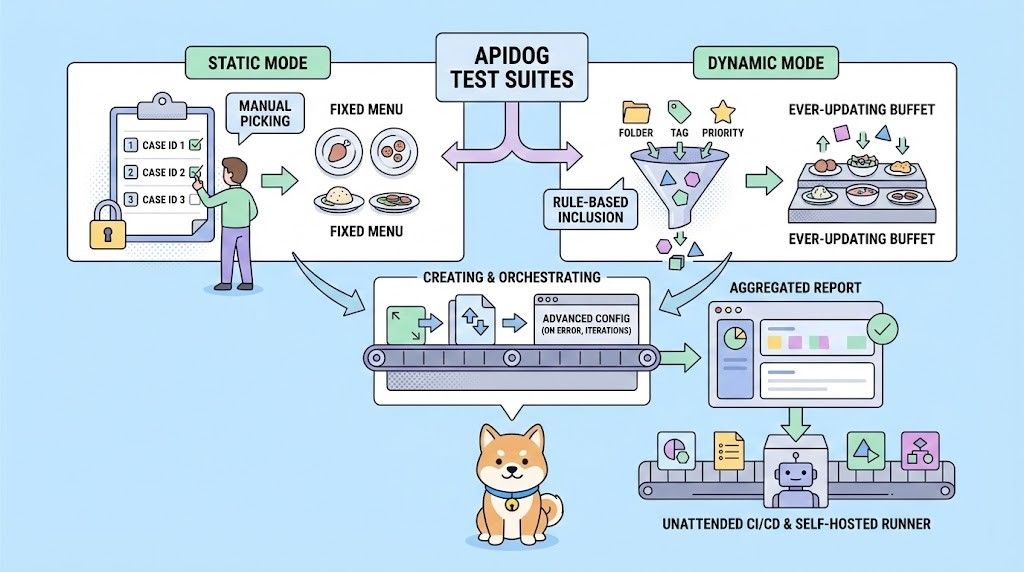
Using Apidog for API Calls
Let’s say you’re building a React.js app that fetches data from a weather API. Here’s how you could use Apidog to manage the API calls:
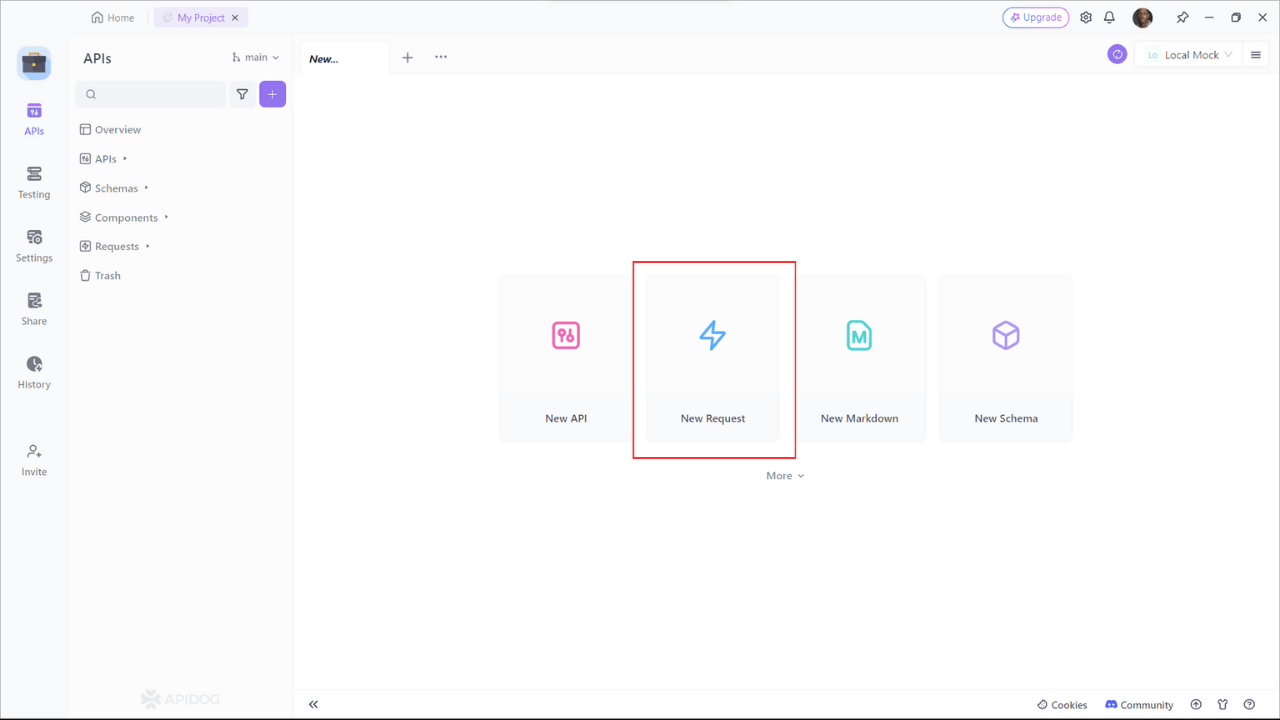
Step 1: Open Apidog and create a new request.
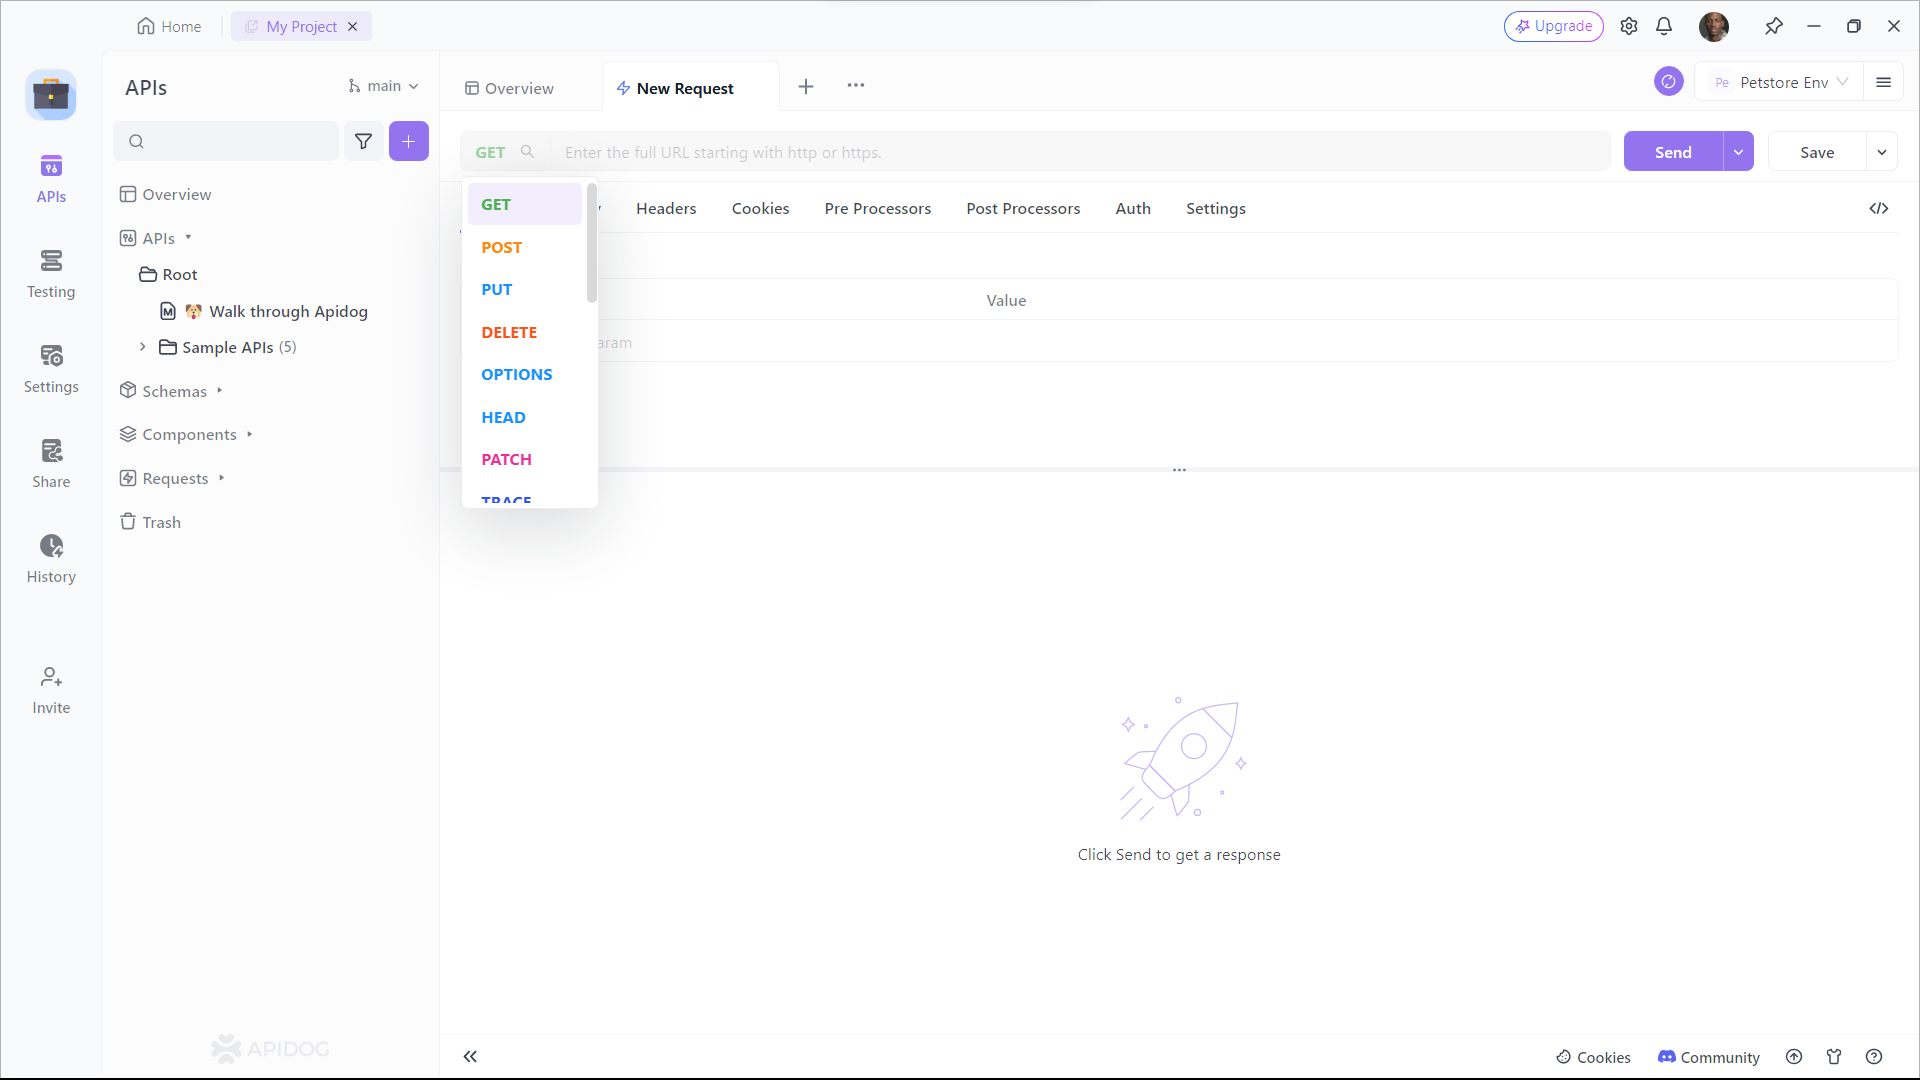
Step 2: In the test editor, enter the URL of your API endpoint, select the HTTP method, and add any headers, parameters, or body data that you need. For example, you can test the route that returns a simple message that we created earlier:
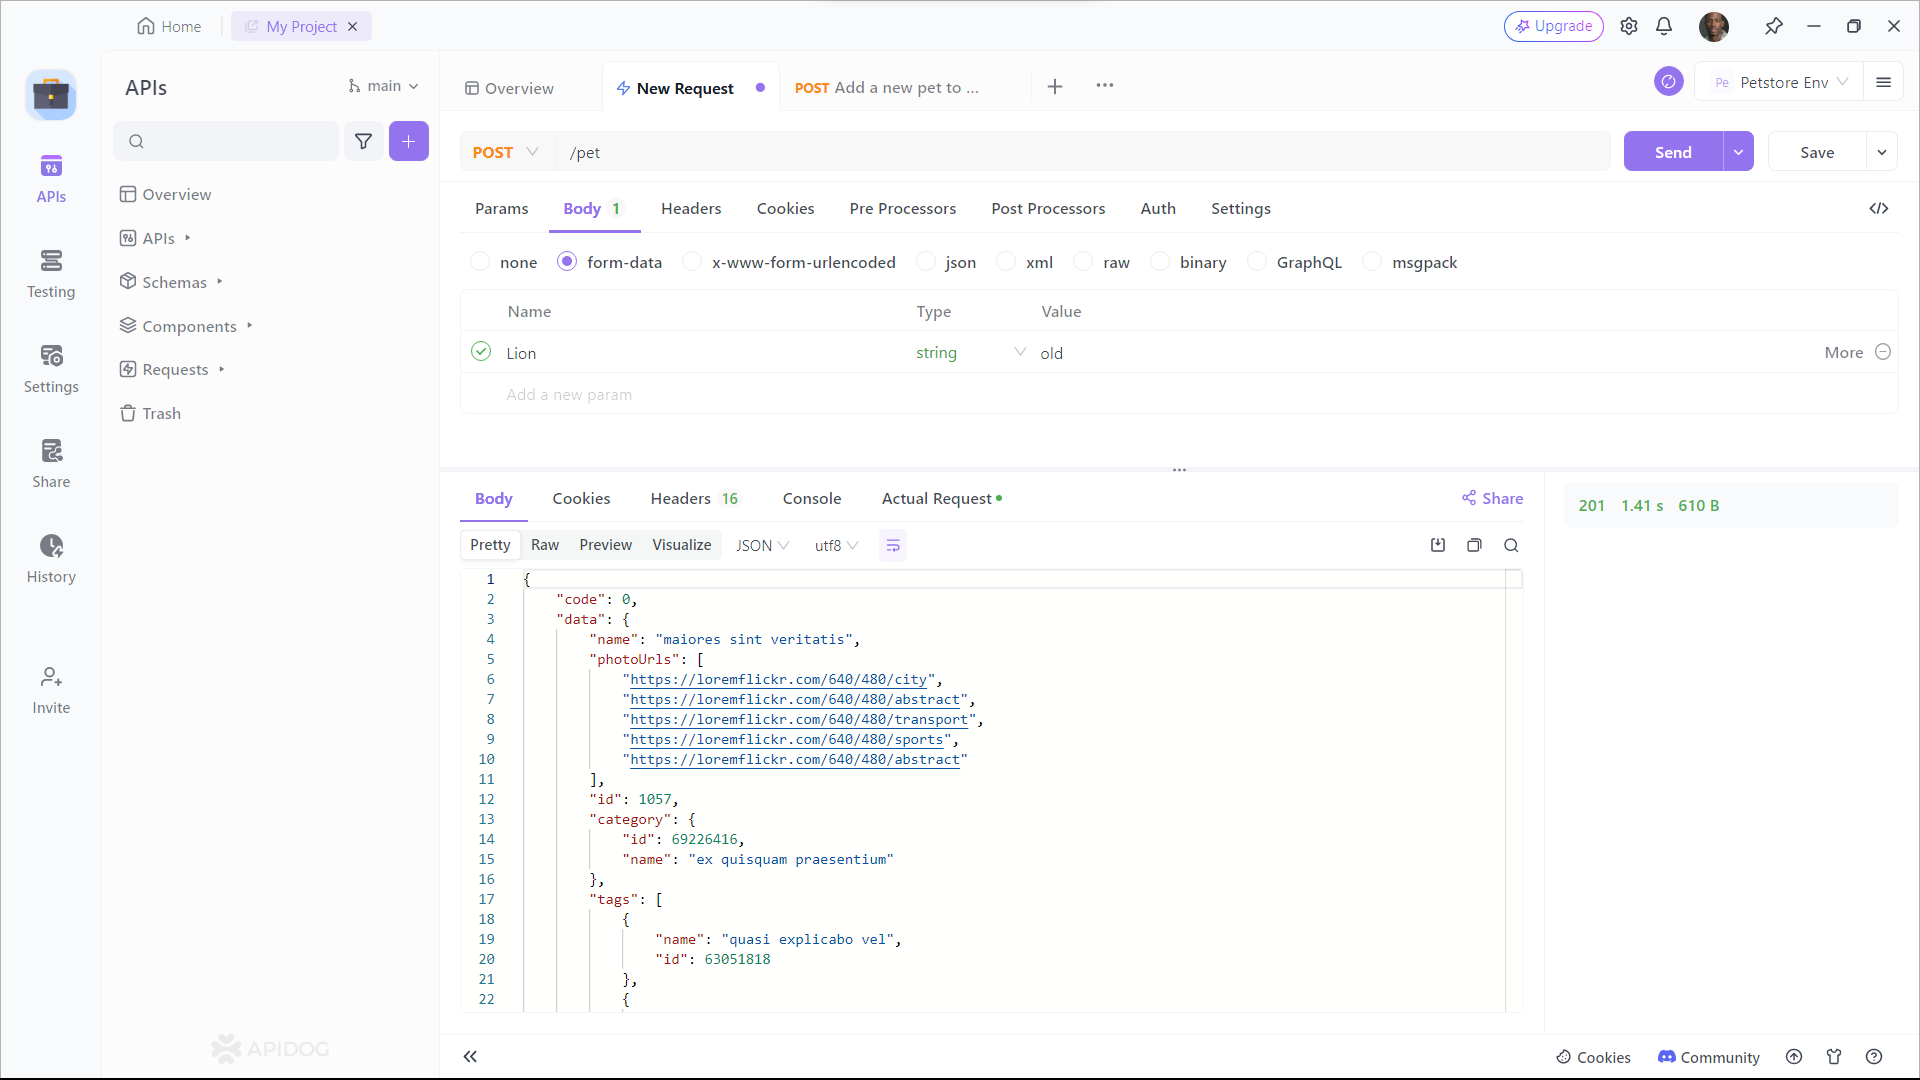
Step 3: Click on the Send button and see the result of your test. You should see the status code, the response time, and the response body of your API. For example, you should see something like this:
Apidog is a great tool for testing your APIs, as it helps you ensure the quality, reliability, and performance of your web services. It also saves you time and effort, as you don’t need to write any code or install any software to test your APIs. You can just use your browser and enjoy the user-friendly interface and features of Apidog.
Conclusion
In this article, we have provided a comprehensive guide on how to use the Google Maps API, with detailed step-by-step instructions and sample code. We have covered embedding a map, adding markers, geocoding, directions, and places. With this knowledge, you should be able to create powerful location-based applications using the Google Maps API.