
Unlocking the full potential of state-of-the-art text-to-image generation requires seamless integration and automation. In this guide, you’ll learn how to combine Flux—an advanced text-to-image model from Black Forest Labs—with ComfyUI’s modular, node-based workflow to create a scalable API for high-quality AI image generation. We’ll cover setup, containerization, API design, performance tuning, and best practices for testing with Apidog, the leading API development platform.

Why Combine Flux and ComfyUI for API-Driven Image Generation?
- Flux: Delivers cutting-edge text-to-image results, ideal for creative tools and production workflows.
- ComfyUI: Offers a robust, extensible interface with node-based logic and support for custom workflows.
- API Integration: Enables automation, batch processing, and seamless integration into your products or pipelines.
This combination is perfect for API developers, backend engineers, and technical leads who want scalable, programmatic access to AI-powered image creation.
Essential Tools: Fast API Testing with Apidog
Before diving into the technical setup, let’s talk API testing. Reliable, efficient API testing is crucial for any developer workflow. Apidog stands out as a modern Postman alternative designed for comprehensive API development:
- Unified API Ecosystem: Automated testing, powerful mock servers, and instant documentation.
- Collaborative Workflows: Easily share and refine API collections with your team.
- Optimized Debugging: Built-in tools for handling complex endpoints like those in ComfyUI.
Unlike generic API tools, Apidog streamlines the entire API lifecycle, making it ideal for testing and managing endpoints exposed by your Flux ComfyUI API.
Setting Up Your Flux + ComfyUI Environment
Prerequisites
- A Modal account for GPU-powered serverless deployment
- Python 3.11+
- Git installed locally
- Basic Python and API knowledge
Step 1: Build the ComfyUI + Flux Container
Start by creating a container image with all dependencies:
import modal

image = (
    modal.Image.debian_slim(python_version="3.11")
    .apt_install("git")
    .pip_install("fastapi[standard]==0.115.4")
    .pip_install("comfy-cli==1.3.5")
    .run_commands(
        "comfy --skip-prompt install --nvidia --version 0.3.10"
    )
)
This base image prepares your environment with ComfyUI and necessary tools.
Step 2: Add Custom ComfyUI Nodes
Custom nodes extend ComfyUI’s capabilities for image manipulation:
image = (
    image.run_commands(
        "comfy node install was-node-suite-comfyui@1.0.2"
    )
    # Add more custom nodes as needed
)
Step 3: Manage and Download Flux Models
Efficient model storage improves performance and reliability:
def hf_download():
    from huggingface_hub import hf_hub_download
    flux_model = hf_hub_download(
        repo_id="Comfy-Org/flux1-schnell",
        filename="flux1-schnell-fp8.safetensors",
        cache_dir="/cache",
    )
    subprocess.run(
        f"ln -s {flux_model} /root/comfy/ComfyUI/models/checkpoints/flux1-schnell-fp8.safetensors",
        shell=True,
        check=True,
    )

vol = modal.Volume.from_name("hf-hub-cache", create_if_missing=True)

image = (
    image.pip_install("huggingface_hub[hf_transfer]==0.26.2")
    .env({"HF_HUB_ENABLE_HF_TRANSFER": "1"})
    .run_function(
        hf_download,
        volumes={"/cache": vol},
    )
)
Add your workflow template to the container:
image = image.add_local_file(
    Path(__file__).parent / "workflow_api.json", "/root/workflow_api.json"
)
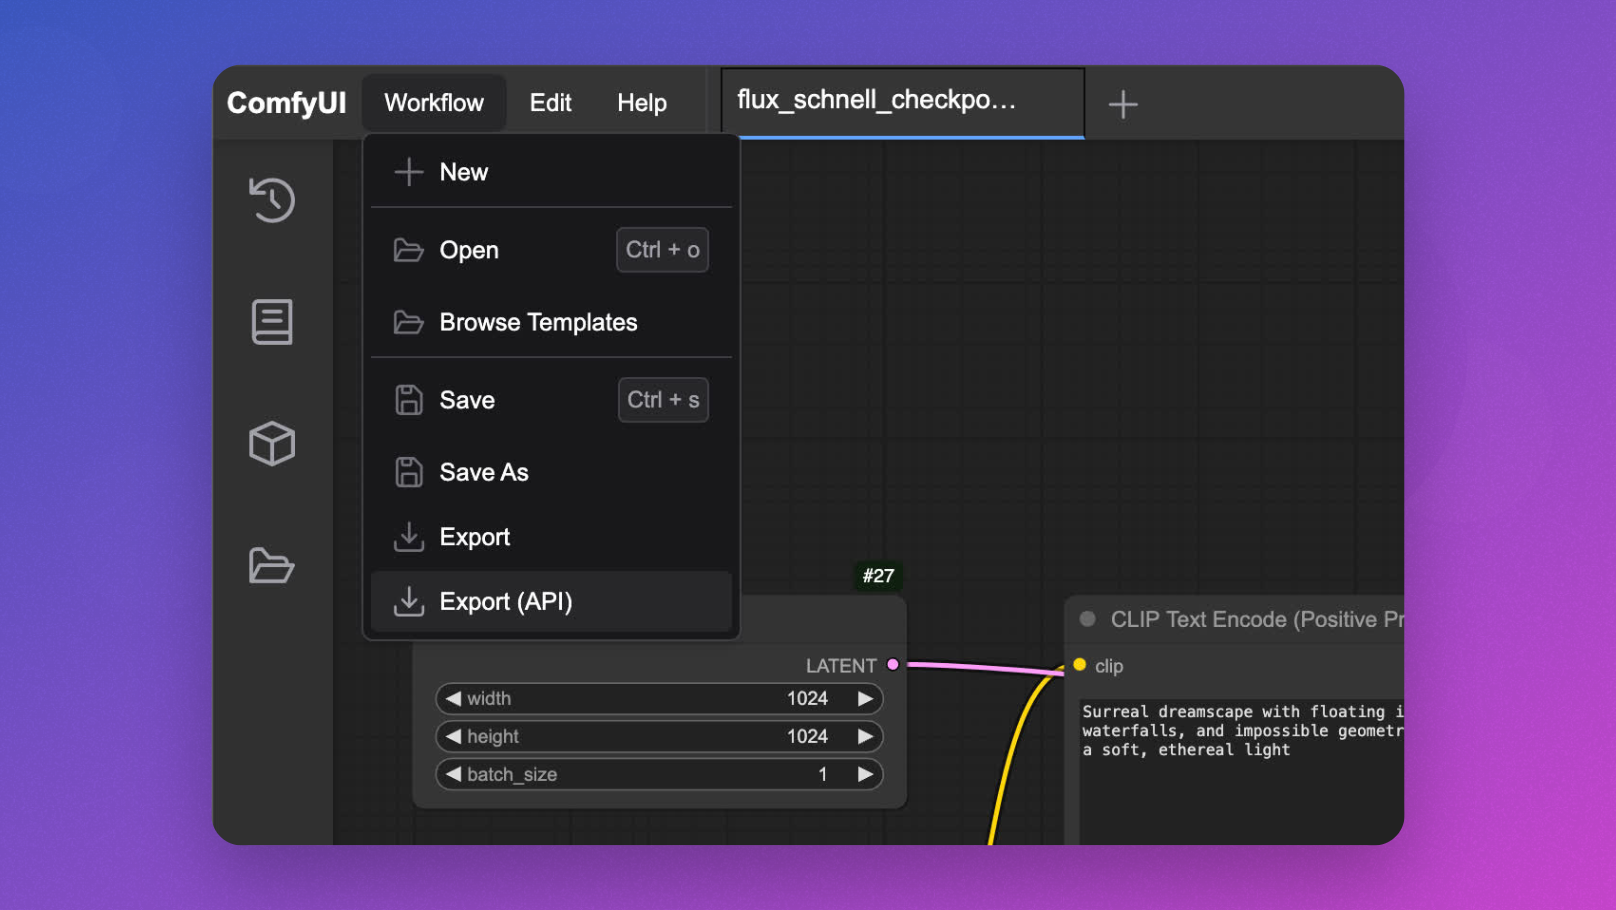
Interactive Workflow Testing in ComfyUI
Before API deployment, test your workflow in the browser:
app = modal.App(name="example-comfyui", image=image)

@app.function(
    allow_concurrent_inputs=10,
    max_containers=1,
    gpu="L40S",
    volumes={"/cache": vol},
)
@modal.web_server(8000, startup_timeout=60)
def ui():
    subprocess.Popen(
        "comfy launch -- --listen 0.0.0.0 --port 8000",
        shell=True
    )
Run modal serve your_file.py and open the UI to fine-tune your workflow.
Implementing the Flux ComfyUI API
Transform your ComfyUI workflow into a robust API:
@app.cls(
    allow_concurrent_inputs=10,
    scaledown_window=300,
    gpu="L40S",
    volumes={"/cache": vol},
)
class ComfyUI:
    @modal.enter()
    def launch_comfy_background(self):
        subprocess.run("comfy launch --background", shell=True, check=True)

    @modal.method()
    def infer(self, workflow_path: str = "/root/workflow_api.json"):
        self.poll_server_health()
        subprocess.run(
            f"comfy run --workflow {workflow_path} --wait --timeout 1200 --verbose",
            shell=True,
            check=True,
        )
        output_dir = "/root/comfy/ComfyUI/output"
        workflow = json.loads(Path(workflow_path).read_text())
        file_prefix = [
            node.get("inputs")
            for node in workflow.values()
            if node.get("class_type") == "SaveImage"
        ][0]["filename_prefix"]
        for f in Path(output_dir).iterdir():
            if f.name.startswith(file_prefix):
                return f.read_bytes()

    @modal.fastapi_endpoint(method="POST")
    def api(self, item: Dict):
        from fastapi import Response
        workflow_data = json.loads(
            (Path(__file__).parent / "workflow_api.json").read_text()
        )
        workflow_data["6"]["inputs"]["text"] = item["prompt"]
        client_id = uuid.uuid4().hex
        workflow_data["9"]["inputs"]["filename_prefix"] = client_id
        new_workflow_file = f"{client_id}.json"
        json.dump(workflow_data, Path(new_workflow_file).open("w"))
        img_bytes = self.infer.local(new_workflow_file)
        return Response(img_bytes, media_type="image/jpeg")

    def poll_server_health(self) -> Dict:
        import socket, urllib
        try:
            req = urllib.request.Request("<http://127.0.0.1:8188/system_stats>")
            urllib.request.urlopen(req, timeout=5)
            print("ComfyUI server is healthy")
        except (socket.timeout, urllib.error.URLError) as e:
            print(f"Server health check failed: {str(e)}")
            modal.experimental.stop_fetching_inputs()
            raise Exception("ComfyUI server is not healthy, stopping container")
[ ]
]
Testing Your Flux ComfyUI API with Apidog
To validate your new API, use the following example client or Apidog’s intuitive interface for sending and inspecting requests:
import requests
from PIL import Image
import io
import argparse

def main():
    parser = argparse.ArgumentParser()
    parser.add_argument("--prompt", default="A surreal landscape with floating islands and ethereal light")
    parser.add_argument("--endpoint", default="<https://your-modal-endpoint.modal.run>")
    args = parser.parse_args()

    response = requests.post(
        f"{args.endpoint}/api",
        json={"prompt": args.prompt}
    )

    if response.status_code == 200:
        image = Image.open(io.BytesIO(response.content))
        image.save("flux_output.jpg")
        print("Image generated and saved as flux_output.jpg")
        try:
            image.show()
        except:
            pass
    else:
        print(f"Error: {response.status_code}, {response.text}")

if __name__ == "__main__":
    main()
For streamlined requests, automated testing, and documentation, Apidog provides a more advanced and collaborative testing environment than alternatives.
Optimizing API Performance for Production
1. Minimize Cold Starts with Memory Snapshotting
Reduce startup time using Modal’s memory snapshotting:
@app.cls(
    allow_concurrent_inputs=10,
    gpu="L40S",
    volumes={"/cache": vol},
    memory_snapshot=modal.MemorySnapshot(
        snapshot_path="/root/comfy-snapshot",
        boot_command="comfy launch --background",
    ),
)
class ComfyUI:
    # Implementation continues...
2. Batch Inference for Higher Throughput
Process multiple prompts in a single request for efficiency:
@modal.method()
def batch_inference(self, prompts: list[str]):
    results = []
    for prompt in prompts:
        client_id = uuid.uuid4().hex
        workflow_data = json.loads(
            (Path(__file__).parent / "workflow_api.json").read_text()
        )
        workflow_data["6"]["inputs"]["text"] = prompt
        workflow_data["9"]["inputs"]["filename_prefix"] = client_id
        new_workflow_file = f"{client_id}.json"
        json.dump(workflow_data, Path(new_workflow_file).open("w"))
        img_bytes = self.infer.local(new_workflow_file)
        results.append(img_bytes)
    return results
Advanced Customization: Workflow Parameters and Model Selection
Accept Additional Parameters
Enable users to customize generation settings:
@modal.fastapi_endpoint(method="POST")
def advanced_api(self, item: Dict):
    from fastapi import Response
    workflow_data = json.loads(
        (Path(__file__).parent / "workflow_api.json").read_text()
    )
    workflow_data["6"]["inputs"]["text"] = item["prompt"]
    if "negative_prompt" in item:
        workflow_data["7"]["inputs"]["text"] = item["negative_prompt"]
    if "cfg_scale" in item:
        workflow_data["3"]["inputs"]["cfg"] = item["cfg_scale"]
    if "steps" in item:
        workflow_data["3"]["inputs"]["steps"] = item["steps"]
    client_id = uuid.uuid4().hex
    workflow_data["9"]["inputs"]["filename_prefix"] = client_id
    new_workflow_file = f"{client_id}.json"
    json.dump(workflow_data, Path(new_workflow_file).open("w"))
    img_bytes = self.infer.local(new_workflow_file)
    return Response(img_bytes, media_type="image/jpeg")
Support Multiple Flux Models
Switch between different Flux checkpoints as needed:
@modal.fastapi_endpoint(method="POST")
def model_selection_api(self, item: Dict):
    from fastapi import Response
    workflow_data = json.loads(
        (Path(__file__).parent / "workflow_api.json").read_text()
    )
    workflow_data["6"]["inputs"]["text"] = item["prompt"]
    if "model" in item:
        if item["model"] == "flux-schnell":
            workflow_data["2"]["inputs"]["ckpt_name"] = "flux1-schnell-fp8.safetensors"
        elif item["model"] == "flux-turbo":
            workflow_data["2"]["inputs"]["ckpt_name"] = "flux1-turbo-fp8.safetensors"
    client_id = uuid.uuid4().hex
    workflow_data["9"]["inputs"]["filename_prefix"] = client_id
    new_workflow_file = f"{client_id}.json"
    json.dump(workflow_data, Path(new_workflow_file).open("w"))
    img_bytes = self.infer.local(new_workflow_file)
    return Response(img_bytes, media_type="image/jpeg")
Monitoring and Logging
Ensure reliability and observability in production:
@app.cls(
    # Other parameters
    monitor_agent=modal.MonitorAgent(),
)
class ComfyUI:
    def log_request(self, prompt, model, processing_time):
        print(f"Generated image for prompt: '{prompt}' using {model} model in {processing_time:.2f}s")
Conclusion: Streamline AI Image Generation with API-First Workflows
With this comprehensive setup, you can deploy a scalable, customizable Flux ComfyUI API—ready for integration into any application. Combining ComfyUI’s workflow management with Flux’s image quality and Modal’s serverless infrastructure, you gain:
- Scalability: Handle concurrent requests with GPU-powered containers
- Flexibility: Tailor workflows and model selection per use case
- Integration: Connect to your product stack or automation pipelines
- Efficiency: Optimize costs and performance with batching and snapshotting
For every step of API design, testing, and maintenance, Apidog streamlines your workflow—making API-driven AI image generation robust and collaborative.


