
"Fetch POST Requests" has two terms you often hear when discussing web development. Commonly used in scenarios for creating new records or data on the server, they are essential for systems or applications to communicate with one another. Despite how complicated it may sound, this article will dissect Fetch POST requests for you!
What is Fetch API?
The Fetch API is a modern JavaScript interface provided by web browsers for making HTTP requests and handling responses. It is a more flexible and powerful replacement for the older XMLHttpRequest API, which was traditionally used for making asynchronous requests in JavaScript.
While the Fetch API can handle different types of HTTP requests, including GET, POST, PUT, DELETE, etc., it is particularly useful for making POST requests, which are commonly used for submitting data to a server.
When making a POST request using the Fetch API, you can include the request body, which contains the data you want to send to the server. The body can be in various formats, such as JSON, FormData, or plain text.
How to Send Fetch POST Requests with JavaScript?
Step 1: Setting up the request
- Specify the server endpoint URL to send data to. Endpoints handle POST requests and accompanying data.
- Set the HTTP method to
POSTusing themethodproperty in the request options forfetch(). - Include additional information like content type in request headers using the
headersproperty as an object. - The request body contains the data to send to the server. Use JSON (JavaScript Object Notation) format by converting a JavaScript object to JSON string with
JSON.stringify().
Step 2: Initiate the Request
Use the fetch() function to initiate the POST request.
Step 3: Handle the Response
- The
fetch()promise resolves to a Response object on success. Handle it with.then(). - Check
response.okfor error status codes like 400 or 500. Throw an error to handle failures. - Parse JSON response body to JavaScript object using
response.json().
Step 4: Handle Errors
Use .catch() to handle errors during the request like network or server issues.
Full Example: Create a Todo Item
const url = 'https://api.example.com/todos';
const data = {
  title: 'Buy groceries',
  completed: false
};

const jsonData = JSON.stringify(data);

const headers = new Headers();
headers.append('Content-Type', 'application/json');

fetch(url, {
  method: 'POST',
  headers: headers,
  body: jsonData
})
.then(response => {
  if (!response.ok) {
    throw new Error(`HTTP error! status: ${response.status}`);
  }
  return response.json();
})
.then(responseData => {
  console.log('Todo created successfully:', responseData);
})
.catch(error => {
  console.error('Error:', error);
});
This JavaScript code sends a POST request to create a new todo item with a title and completion status. It demonstrates setting up the request, sending it with fetch(), handling the response and errors.
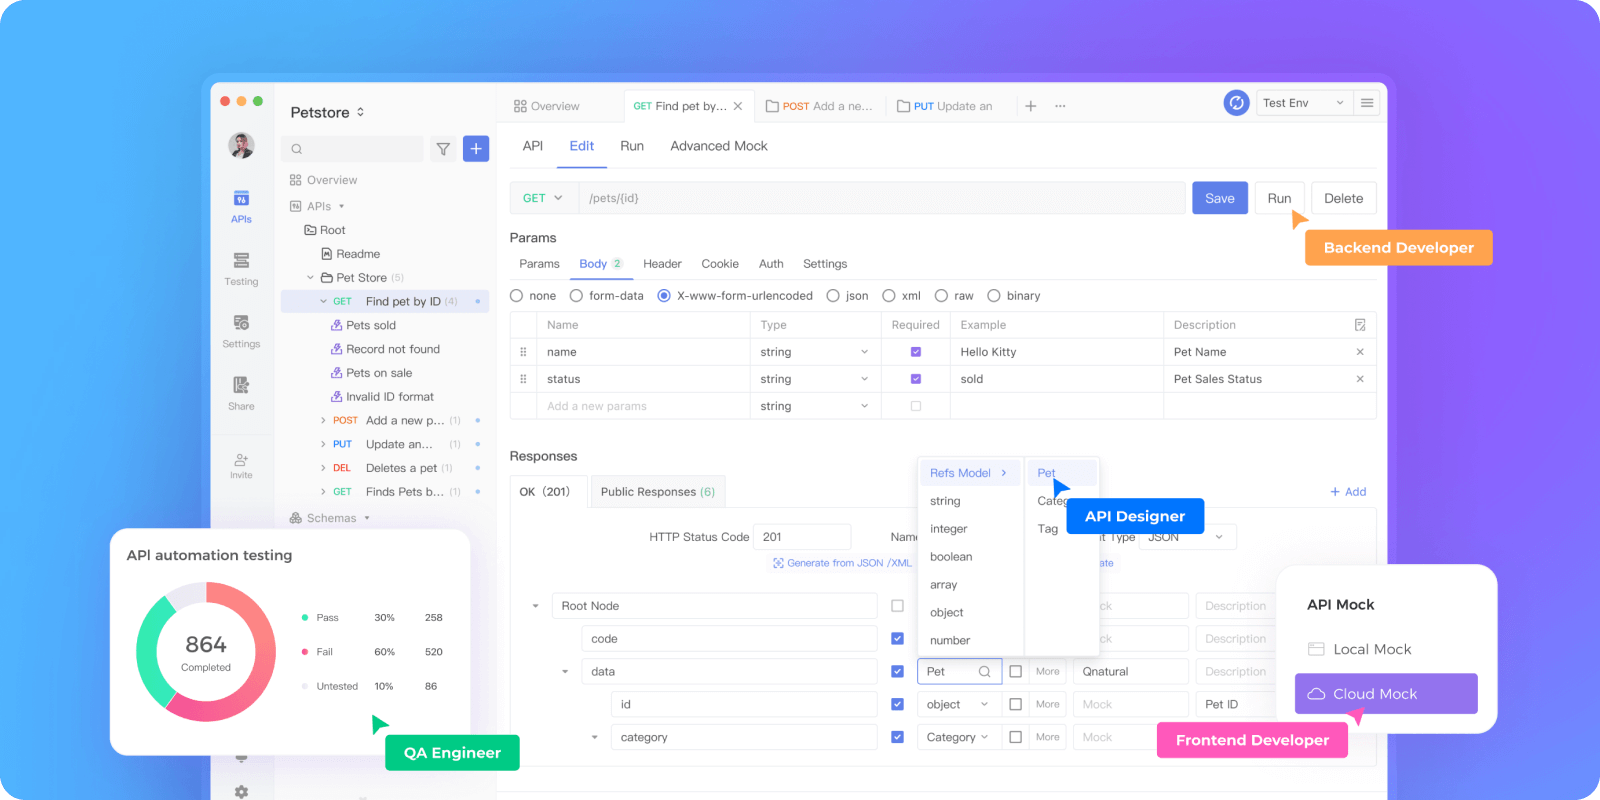
Apidog - A Powerful API Tool for Creating Fetch POST Requests
Apidog, a design-first API development platform, can be an API developer's best friend. You can build Fetch POST requests with Apidog - and test, mock, and document them after designing them!
Generating Fetch Code Using Apidog
You can utilize Apidog's client code generation feature to provide you with Fetch API code shells.
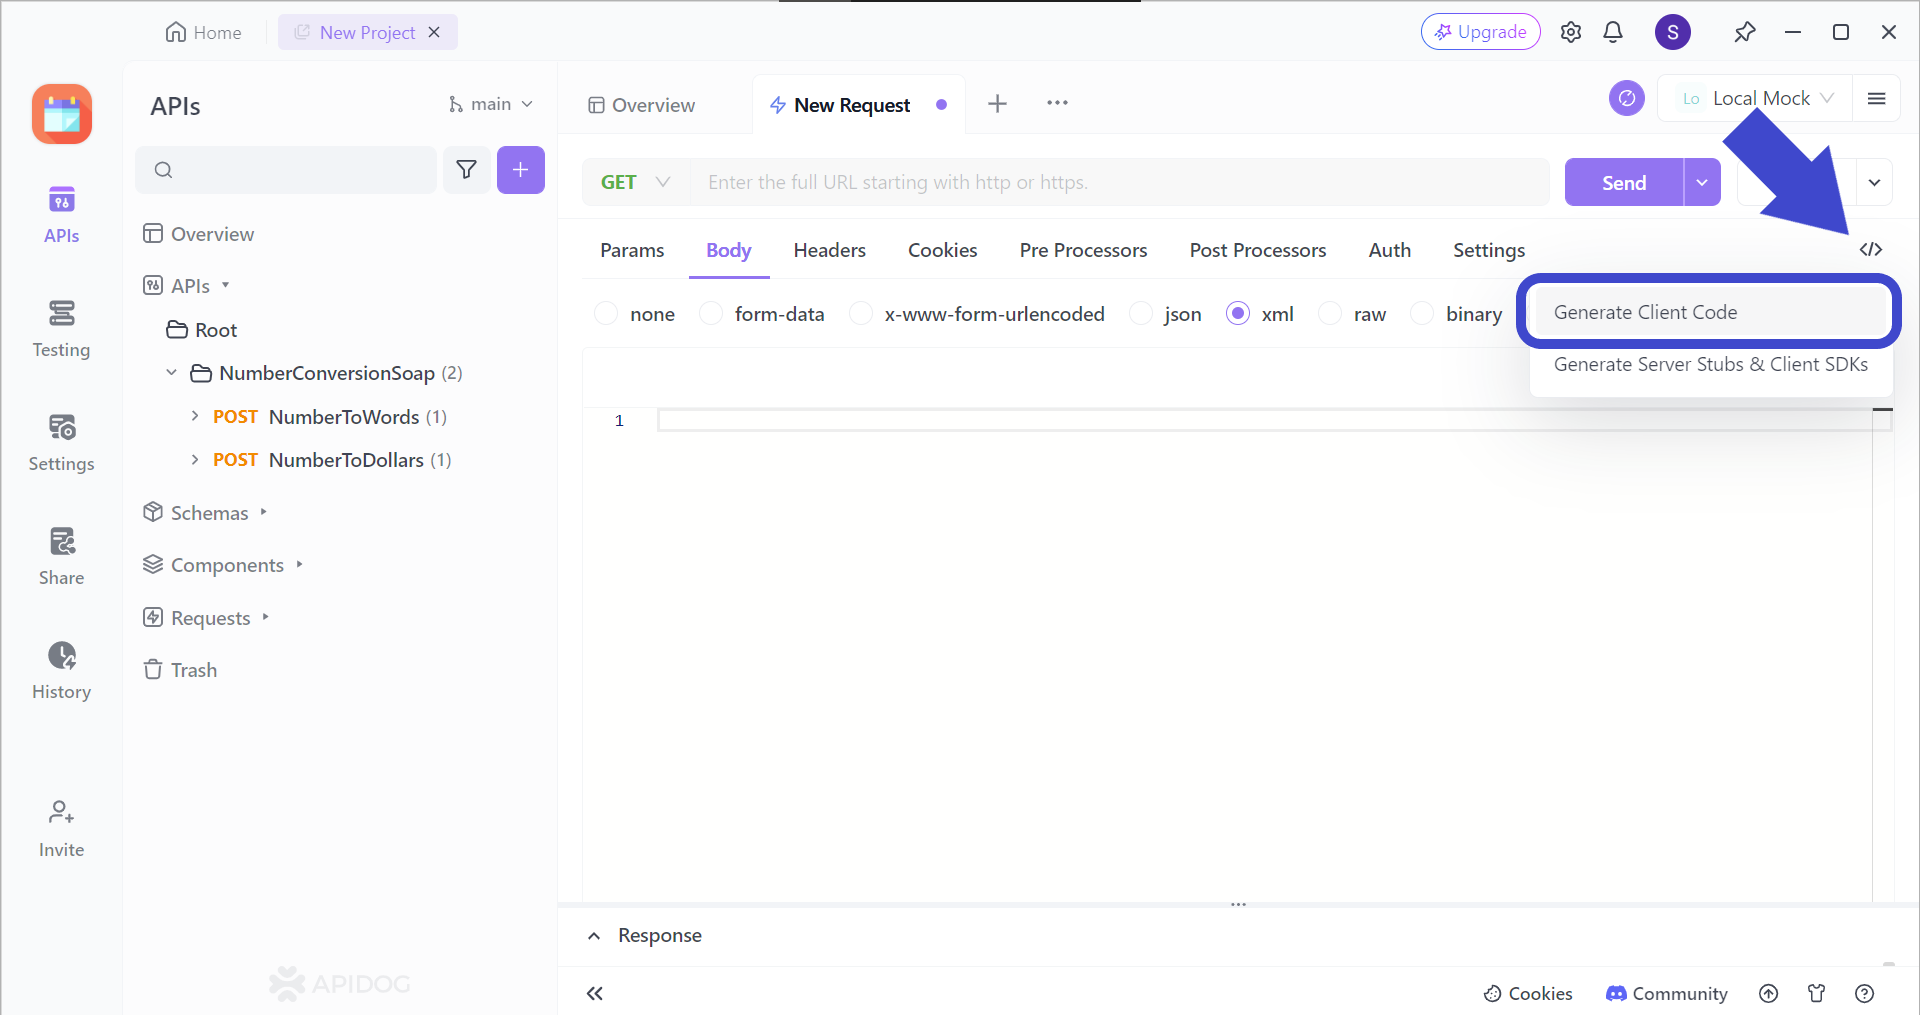
On any API or request, you can locate and press the </> button, and proceed to pressing the Generate Client Code button, as shown in the picture above.
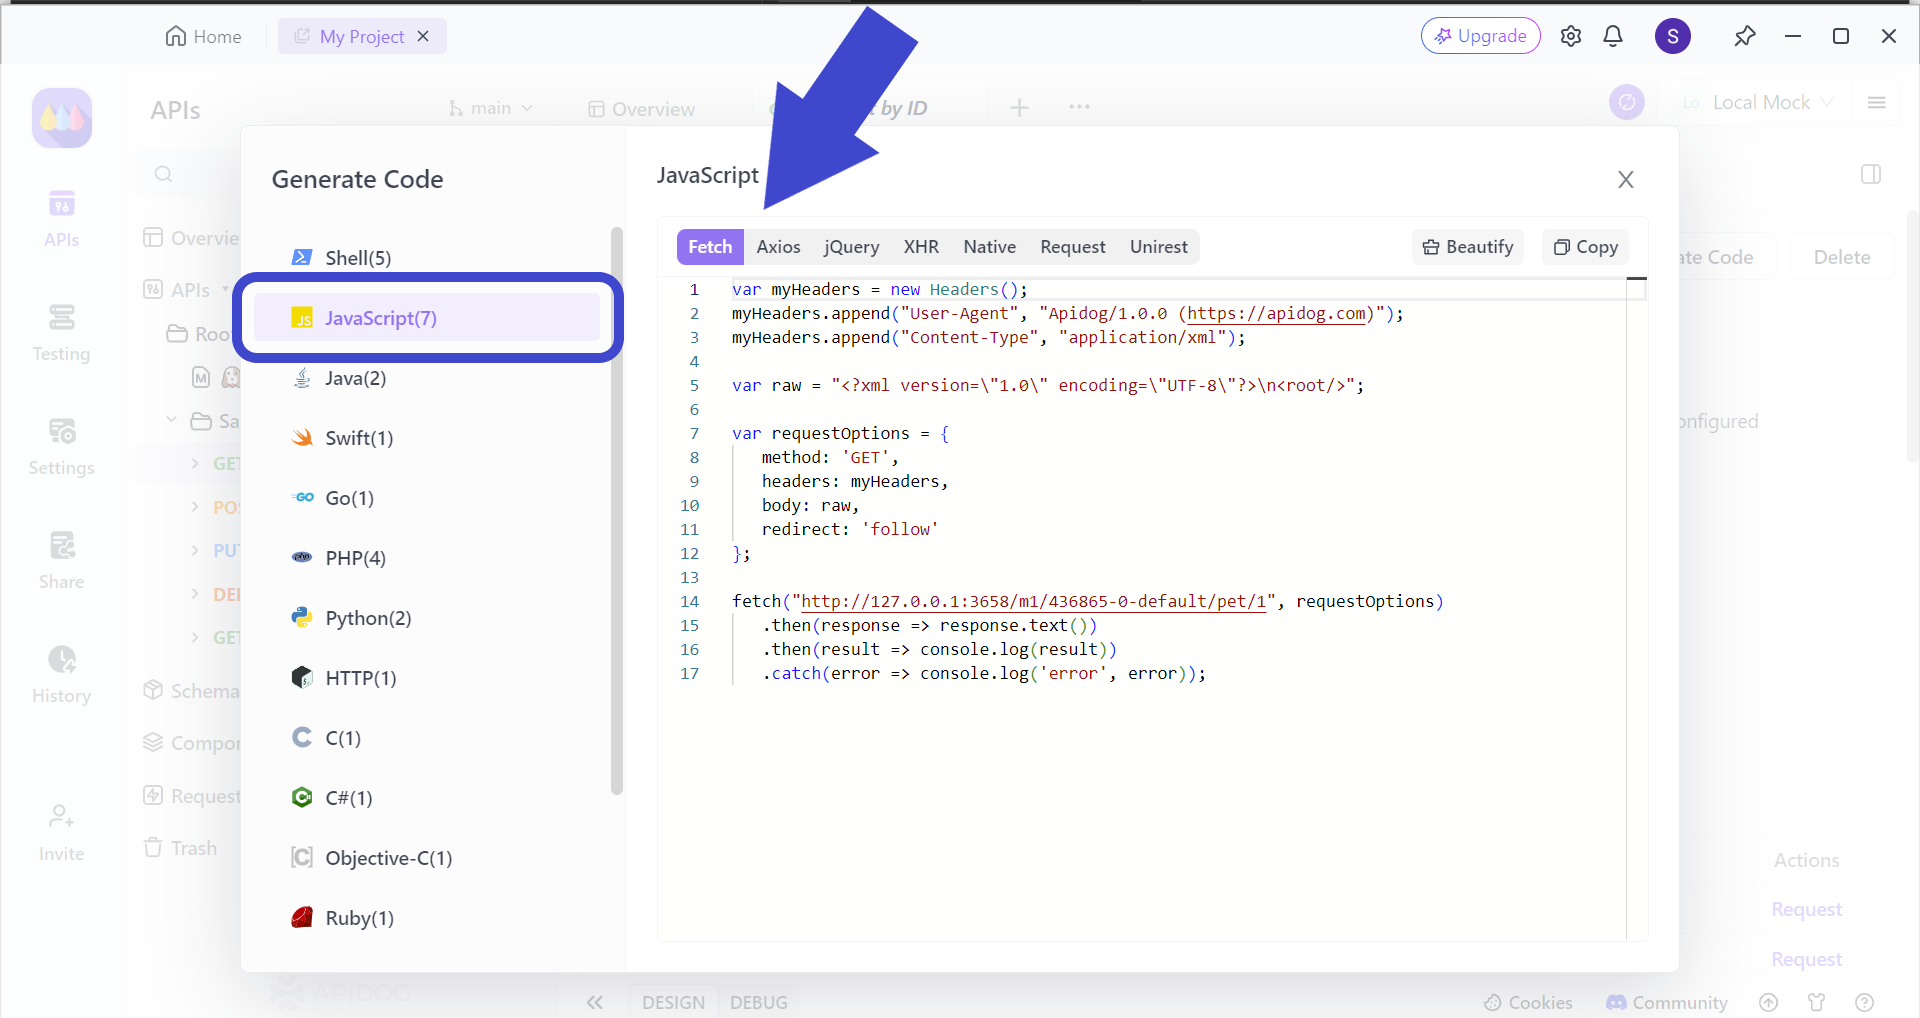
With Apidog, you can create Fetch client code. All you have to do next is copy and paste the code into your coding platform.
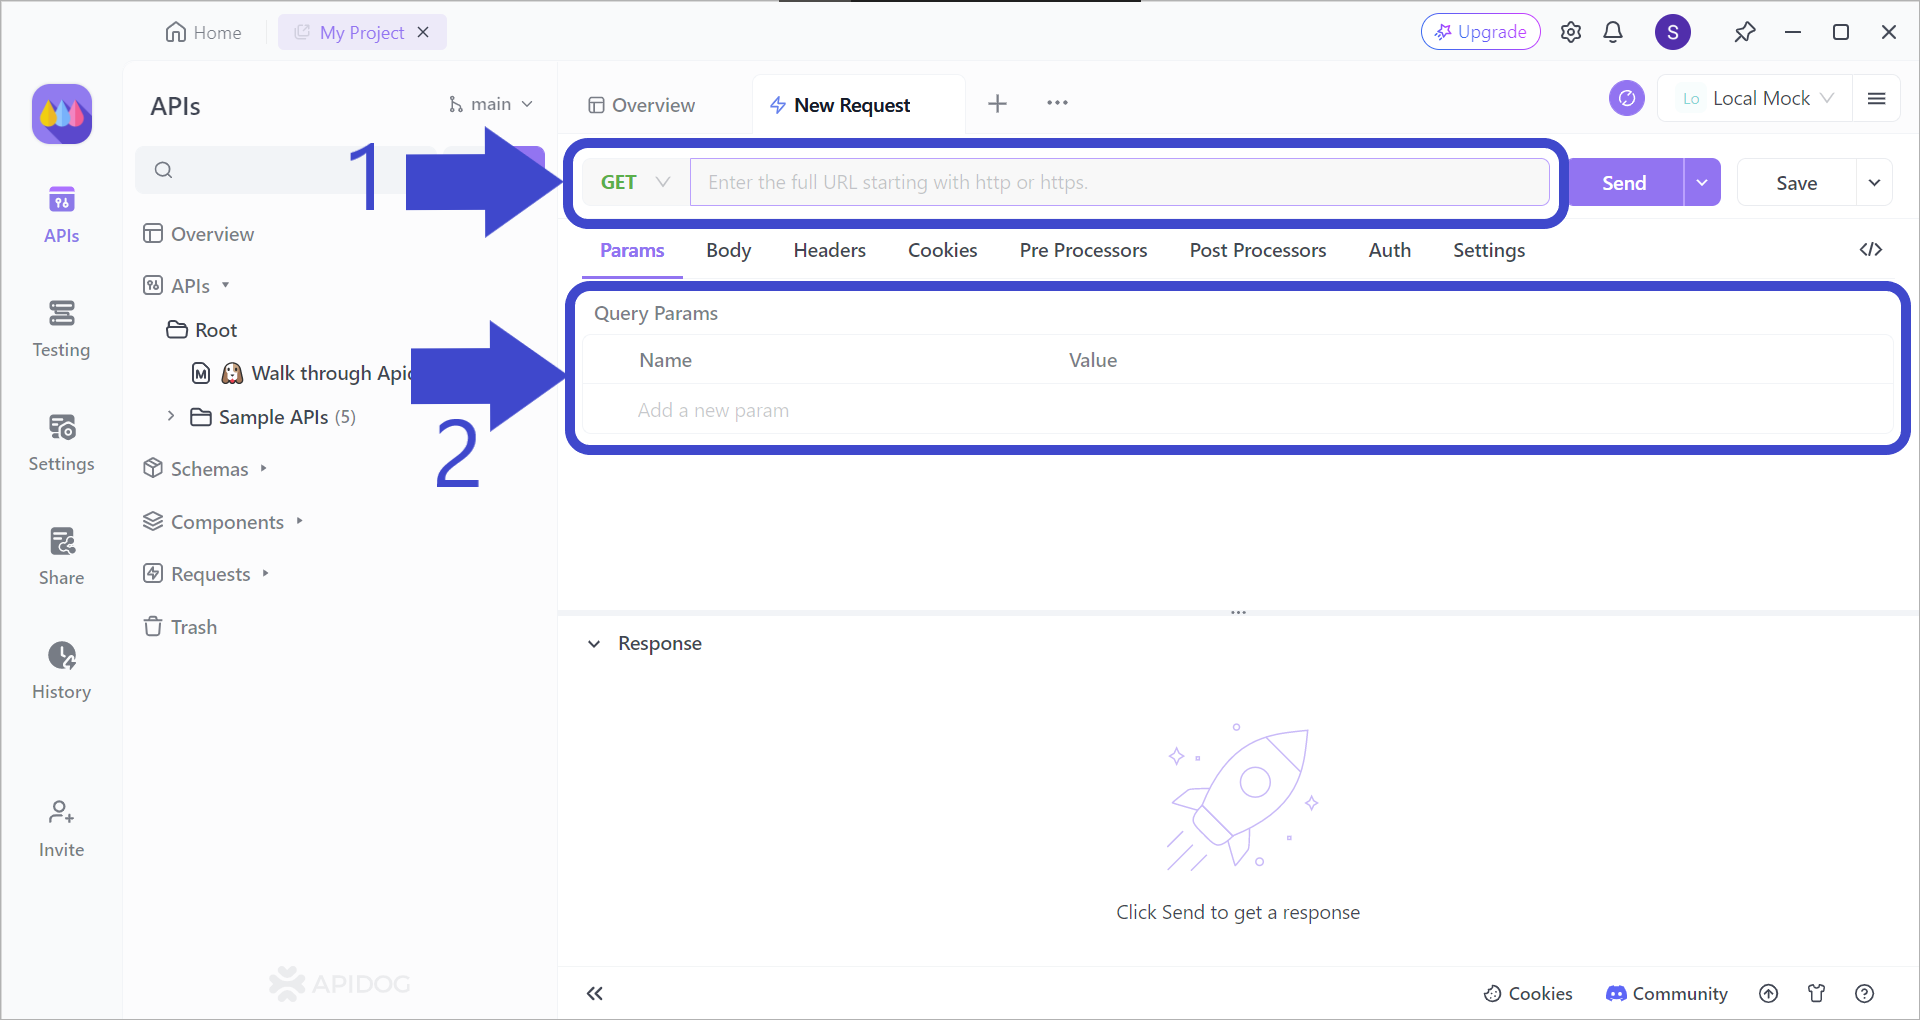
Create and Test a Fetch POST Request Using Apidog
Start building your very own Fetch POST request with Apidog by following the steps below. In Apidog, POST request body parameters include JSON data, form data, XML, etc.
Begin by creating a new POST HTTP request on Apidog. Input a proper REST API URL. You can use a mix of path and query parameters, along with multiple IDs to create a more specific API URL.
Pass JSON data in a POST request
Despite the manual input of your JSON data, Apidog also supports automatically generating JSON request bodies from templates, saving time and ensuring consistent JSON structures.
Here is a detailed guide of POST JSON data for you, check it now.

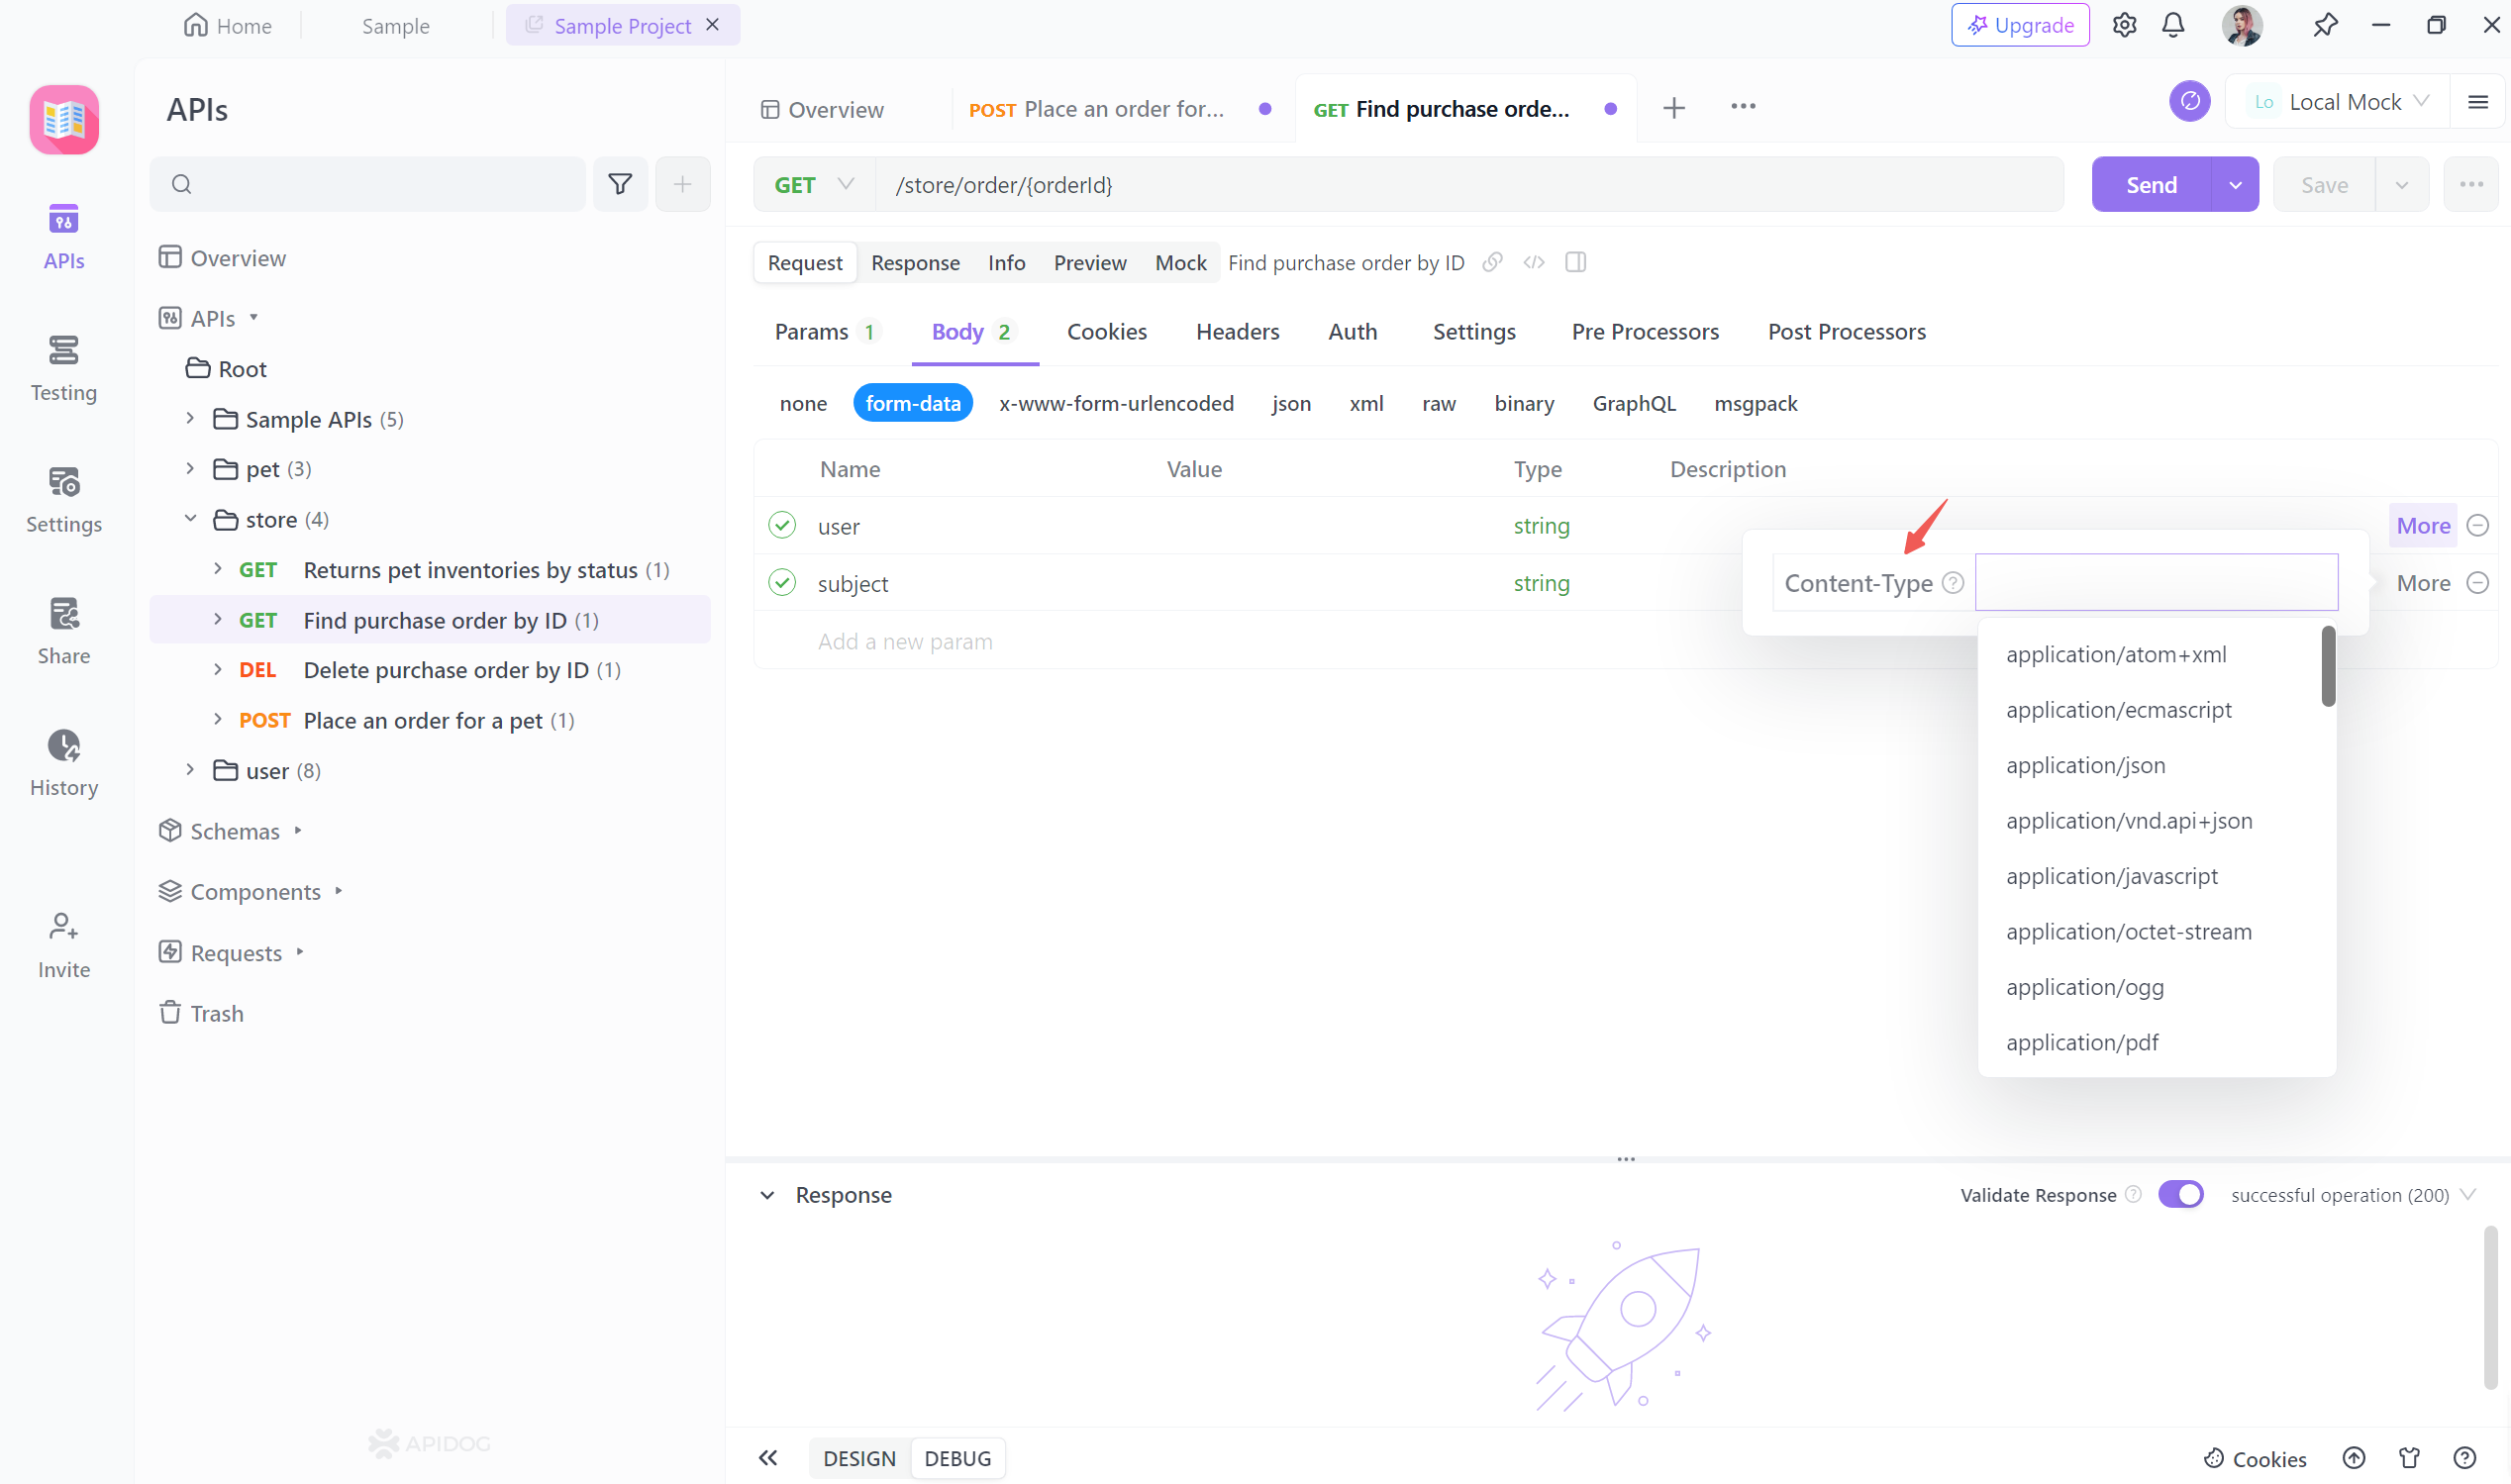
Pass form data in a POST request
In certain cases, sending data with the Content-Type of form-data parameters is required. Apidog simplifies this process. As a user-friendly API client, Apidog allows you to easily include form data in the request body when testing APIs. You can specify the Content-Type for each parameter, making it convenient to send form-data requests.
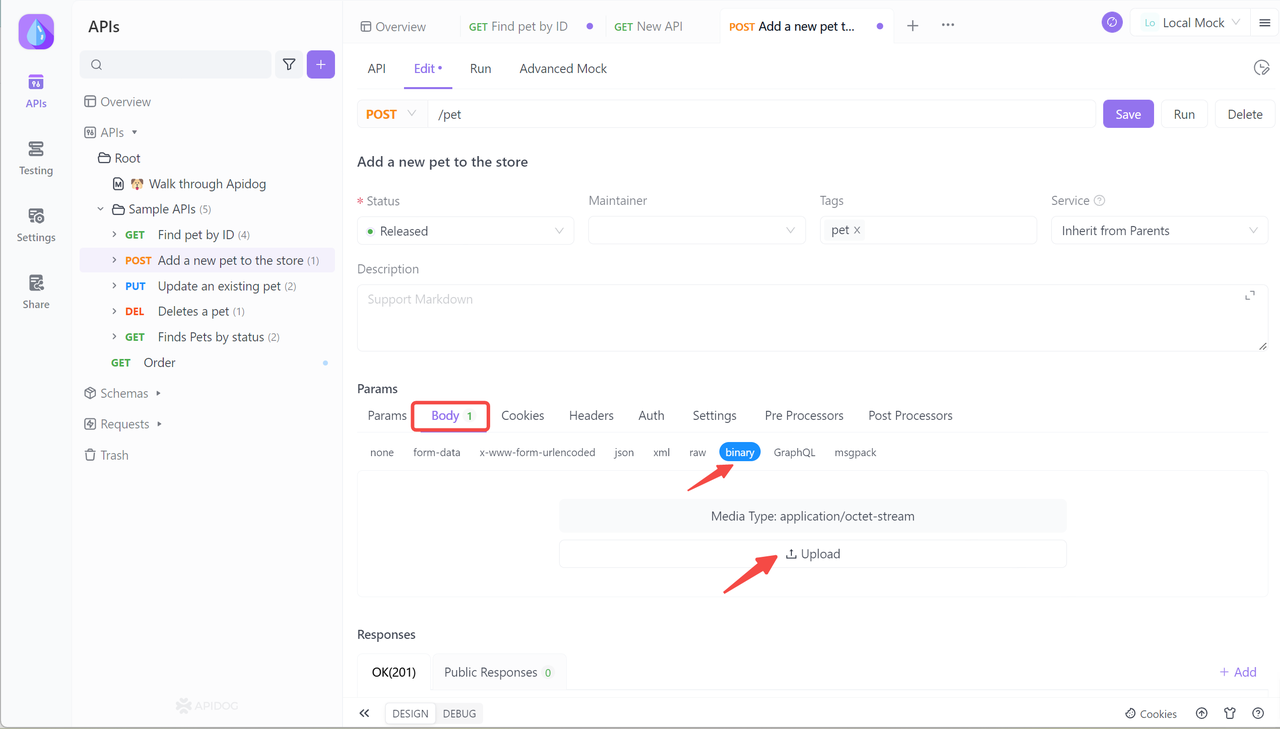
Upload files in a POST request
When testing APIs, it's common to need to upload files as part of the request. In Apidog, you can easily upload files for testing by creating a new request and navigating to the "Body" tab. You can click the "Upload" button to choose which file you want to upload in Apidog.
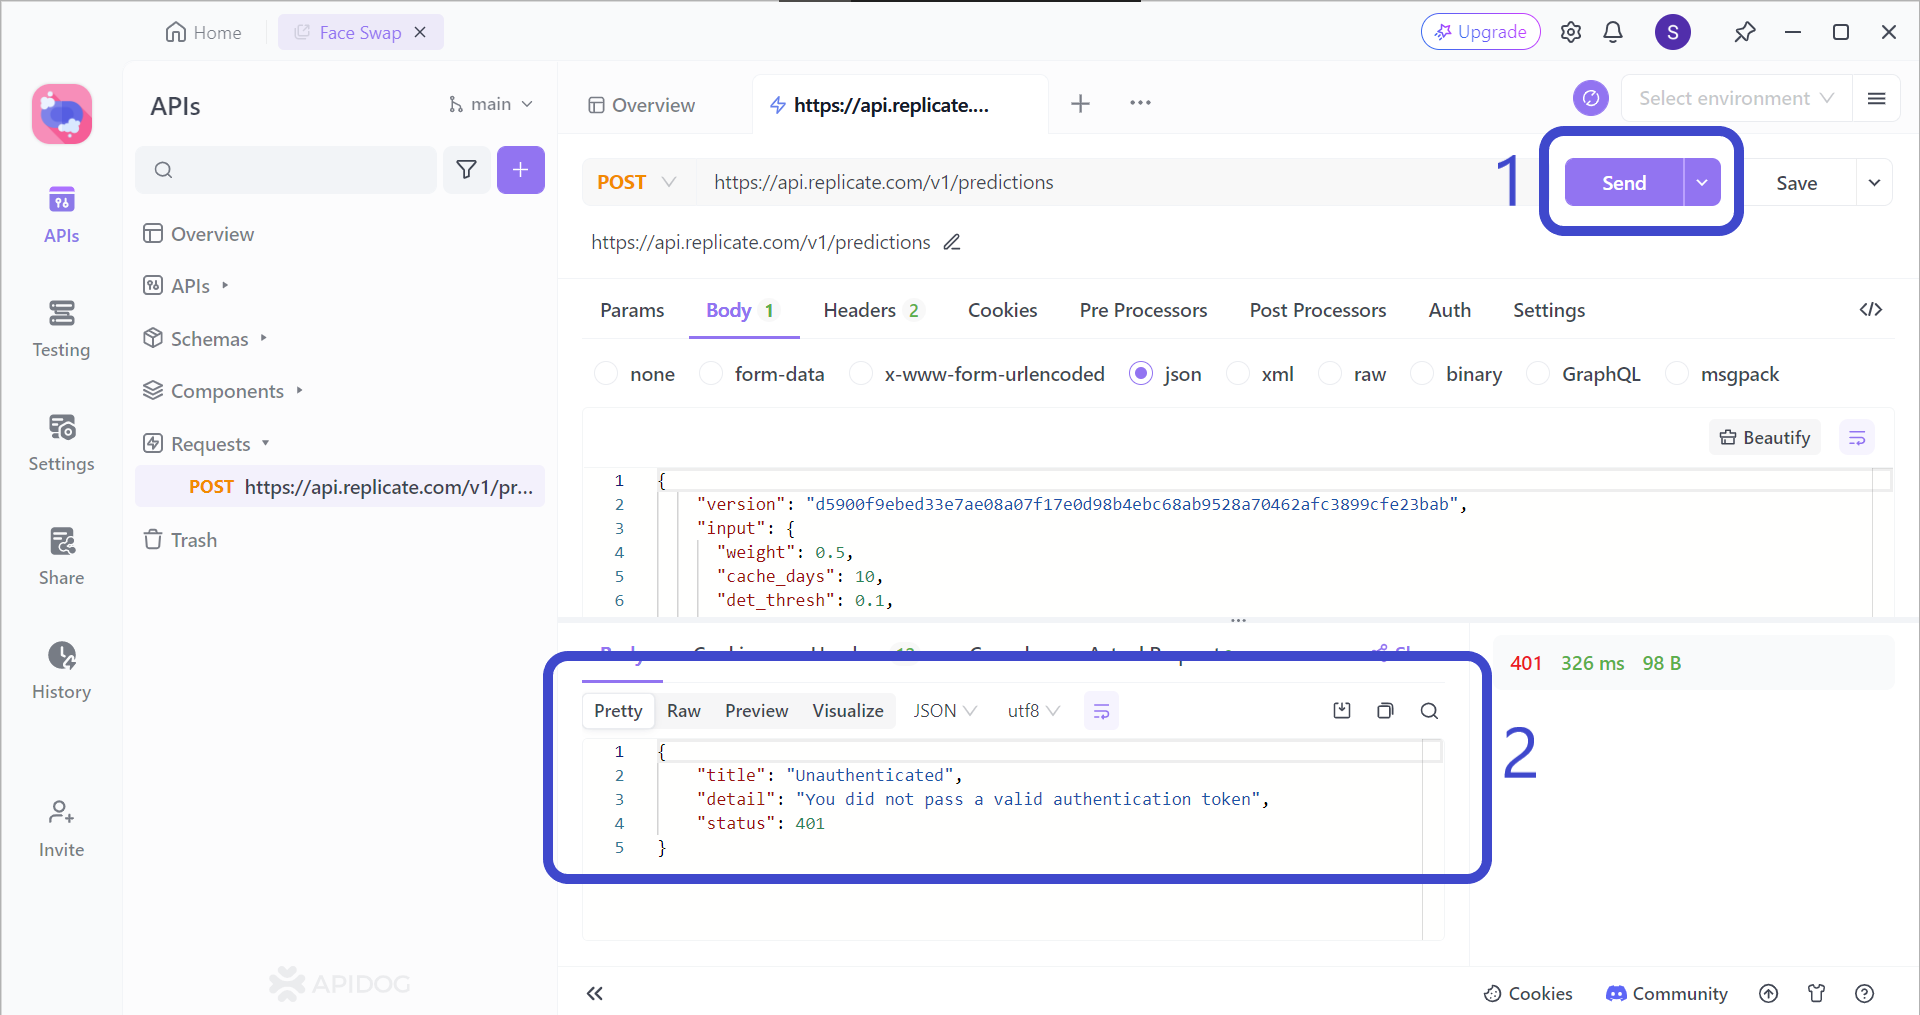
Once you have finished including all the request parameter, you can save the POST API by clicking the Save button.
To ensure that your POST request is responsive, click the Send button to test a request.
If your request is sent successfully, you should be able to receive a response, as shown in the lower portion of the image above.
Conclusion
Fetch POST requests are a combination of the Fetch API's advantages with POST requests, allowing API developers to efficiently send data to servers in a clean and modern way. They offer benefits like:
- Simpler syntax compared to older methods (XHR).
- Improved readability with clear separation of concerns.
- Built-in features for easier handling of responses and errors.
If you're working with JavaScript, using Fetch API for POST requests is generally recommended due to its modern approach and developer-friendly features.
When trying to find an API tool that is appropriate for Fetch POST request design, you can consider using Apidog. Aside from the generic building functionalities, Apidog facilitates testing, mocking, and documenting APIs - all for free! You can also rely on Apidog to help you with Fetch API coding if you are not so confident.


