
Have you ever felt overwhelmed by the sheer complexity of API documentation? You're not alone! Whether you're an experienced developer or just starting out, navigating the ins and outs of API development can be a daunting task. But fear not, because today we're diving deep into FastAPI documentation, a tool designed to make your life a whole lot easier.
What is FastAPI?
FastAPI is a modern, fast (high-performance), web framework for building APIs with Python 3.6+ based on standard Python type hints. It is designed to be easy to use and intuitive while ensuring that your code remains robust and maintainable. FastAPI's speed is on par with Node.js and Go and is often faster than many other Python frameworks. It achieves this thanks to its use of asynchronous programming and type hints.
Why Choose FastAPI?
Choosing FastAPI for your API development has several benefits:
- Speed: FastAPI is one of the fastest Python web frameworks.
- Ease of Use: The documentation is thorough and easy to follow.
- Data Validation: With Pydantic, FastAPI automatically validates request data.
- Async Support: FastAPI natively supports asynchronous programming.
- Automatic Documentation: FastAPI generates interactive API documentation using Swagger UI and ReDoc.
Getting Started with FastAPI
Installation
First things first, you need to install FastAPI and an ASGI server to serve your application. Uvicorn is a great choice for this.
pip install fastapi
pip install uvicorn
Creating Your First API
Let's dive into creating a simple API. Create a new Python file called main.py and add the following code:
from fastapi import FastAPI

app = FastAPI()

@app.get("/")
def read_root():
    return {"Hello": "World"}

@app.get("/items/{item_id}")
def read_item(item_id: int, q: str = None):
    return {"item_id": item_id, "q": q}
To run the application, use the following command:
uvicorn main:app --reload
Visit http://127.0.0.1:8000 in your browser, and you should see {"Hello": "World"}. Congratulations, you've just created your first FastAPI application!
Exploring the Automatically Generated Documentation
One of the standout features of FastAPI is its automatically generated interactive API documentation. FastAPI generates two types of documentation by default:
- Swagger UI: Available at
http://127.0.0.1:8000/docs - ReDoc: Available at
http://127.0.0.1:8000/redoc
These docs are incredibly useful for testing your API and sharing with your team.
Passing Parameters in FastAPI
FastAPI makes it easy to pass parameters in your API endpoints. You can pass parameters in different ways, such as path parameters, query parameters, and request bodies.
Path Parameters
Path parameters are extracted from the URL path. For example, in the URL /items/{item_id}, item_id is a path parameter.
@app.get("/items/{item_id}")
def read_item(item_id: int):
    return {"item_id": item_id}
Query Parameters
Query parameters are extracted from the query string. For example, in the URL /items/?q=search, q is a query parameter.
@app.get("/items/")
def read_item(q: str = None):
    return {"q": q}
Request Bodies
Request bodies are used to send data to the server. FastAPI makes it easy to work with JSON bodies.
from pydantic import BaseModel

class Item(BaseModel):
    name: str
    description: str = None
    price: float
    tax: float = None

@app.post("/items/")
def create_item(item: Item):
    return item
FastAPI Documentation Best Practices
Creating comprehensive and user-friendly documentation is essential for any API. Here are some best practices to follow when documenting your FastAPI application:
Use Clear and Descriptive Titles
Make sure your titles clearly describe the endpoints and their functionality. This helps users understand the purpose of each endpoint at a glance.
Provide Detailed Descriptions
Include detailed descriptions of your endpoints, parameters, and request/response bodies. This helps users understand how to use your API effectively.
Include Examples
Providing examples of requests and responses can be incredibly helpful for users. Examples demonstrate how to use the endpoints and what to expect in return.
Leverage FastAPI's Documentation Features
FastAPI provides several built-in features to enhance your documentation. Use these features to create comprehensive and interactive docs.
Tags
You can group your endpoints using tags. Tags help organize your documentation and make it easier to navigate.
@app.get("/items/", tags=["items"])
def read_items():
    return ["item1", "item2"]
Summaries and Descriptions
You can add summaries and descriptions to your endpoints to provide more context.
@app.post("/items/", summary="Create an item", description="Create an item with name, description, price, and tax.")
def create_item(item: Item):
    return item
Response Descriptions
You can specify the descriptions for different response status codes.
from fastapi import HTTPException

@app.get("/items/{item_id}", response_description="The retrieved item")
def read_item(item_id: int):
    if item_id not in items:
        raise HTTPException(status_code=404, detail="Item not found")
    return {"item_id": item_id}
Integrating FastAPI with Apidog
Now that you're familiar with FastAPI and its documentation features, let's talk about how Apidog can enhance your API development experience. Apidog is an all-in-one API management tool that simplifies the process of designing, testing, and managing your APIs.
How to Automatically Generate Standard API Documentation
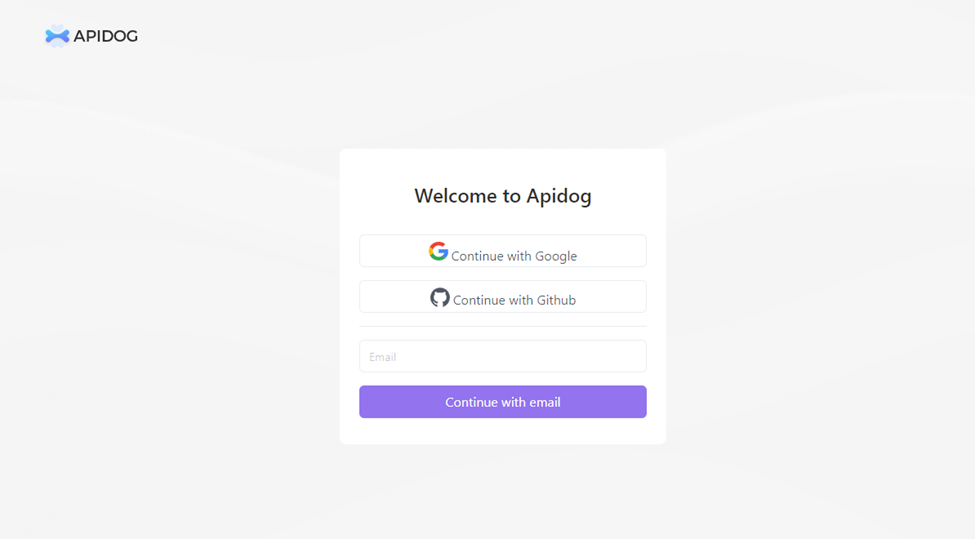
Step 1: Sign up to Apidog
To start using Apidog for API documentation generation, you'll need to sign up for an account if you haven't already. Once you're logged in, you'll be greeted by Apidog's user-friendly interface.
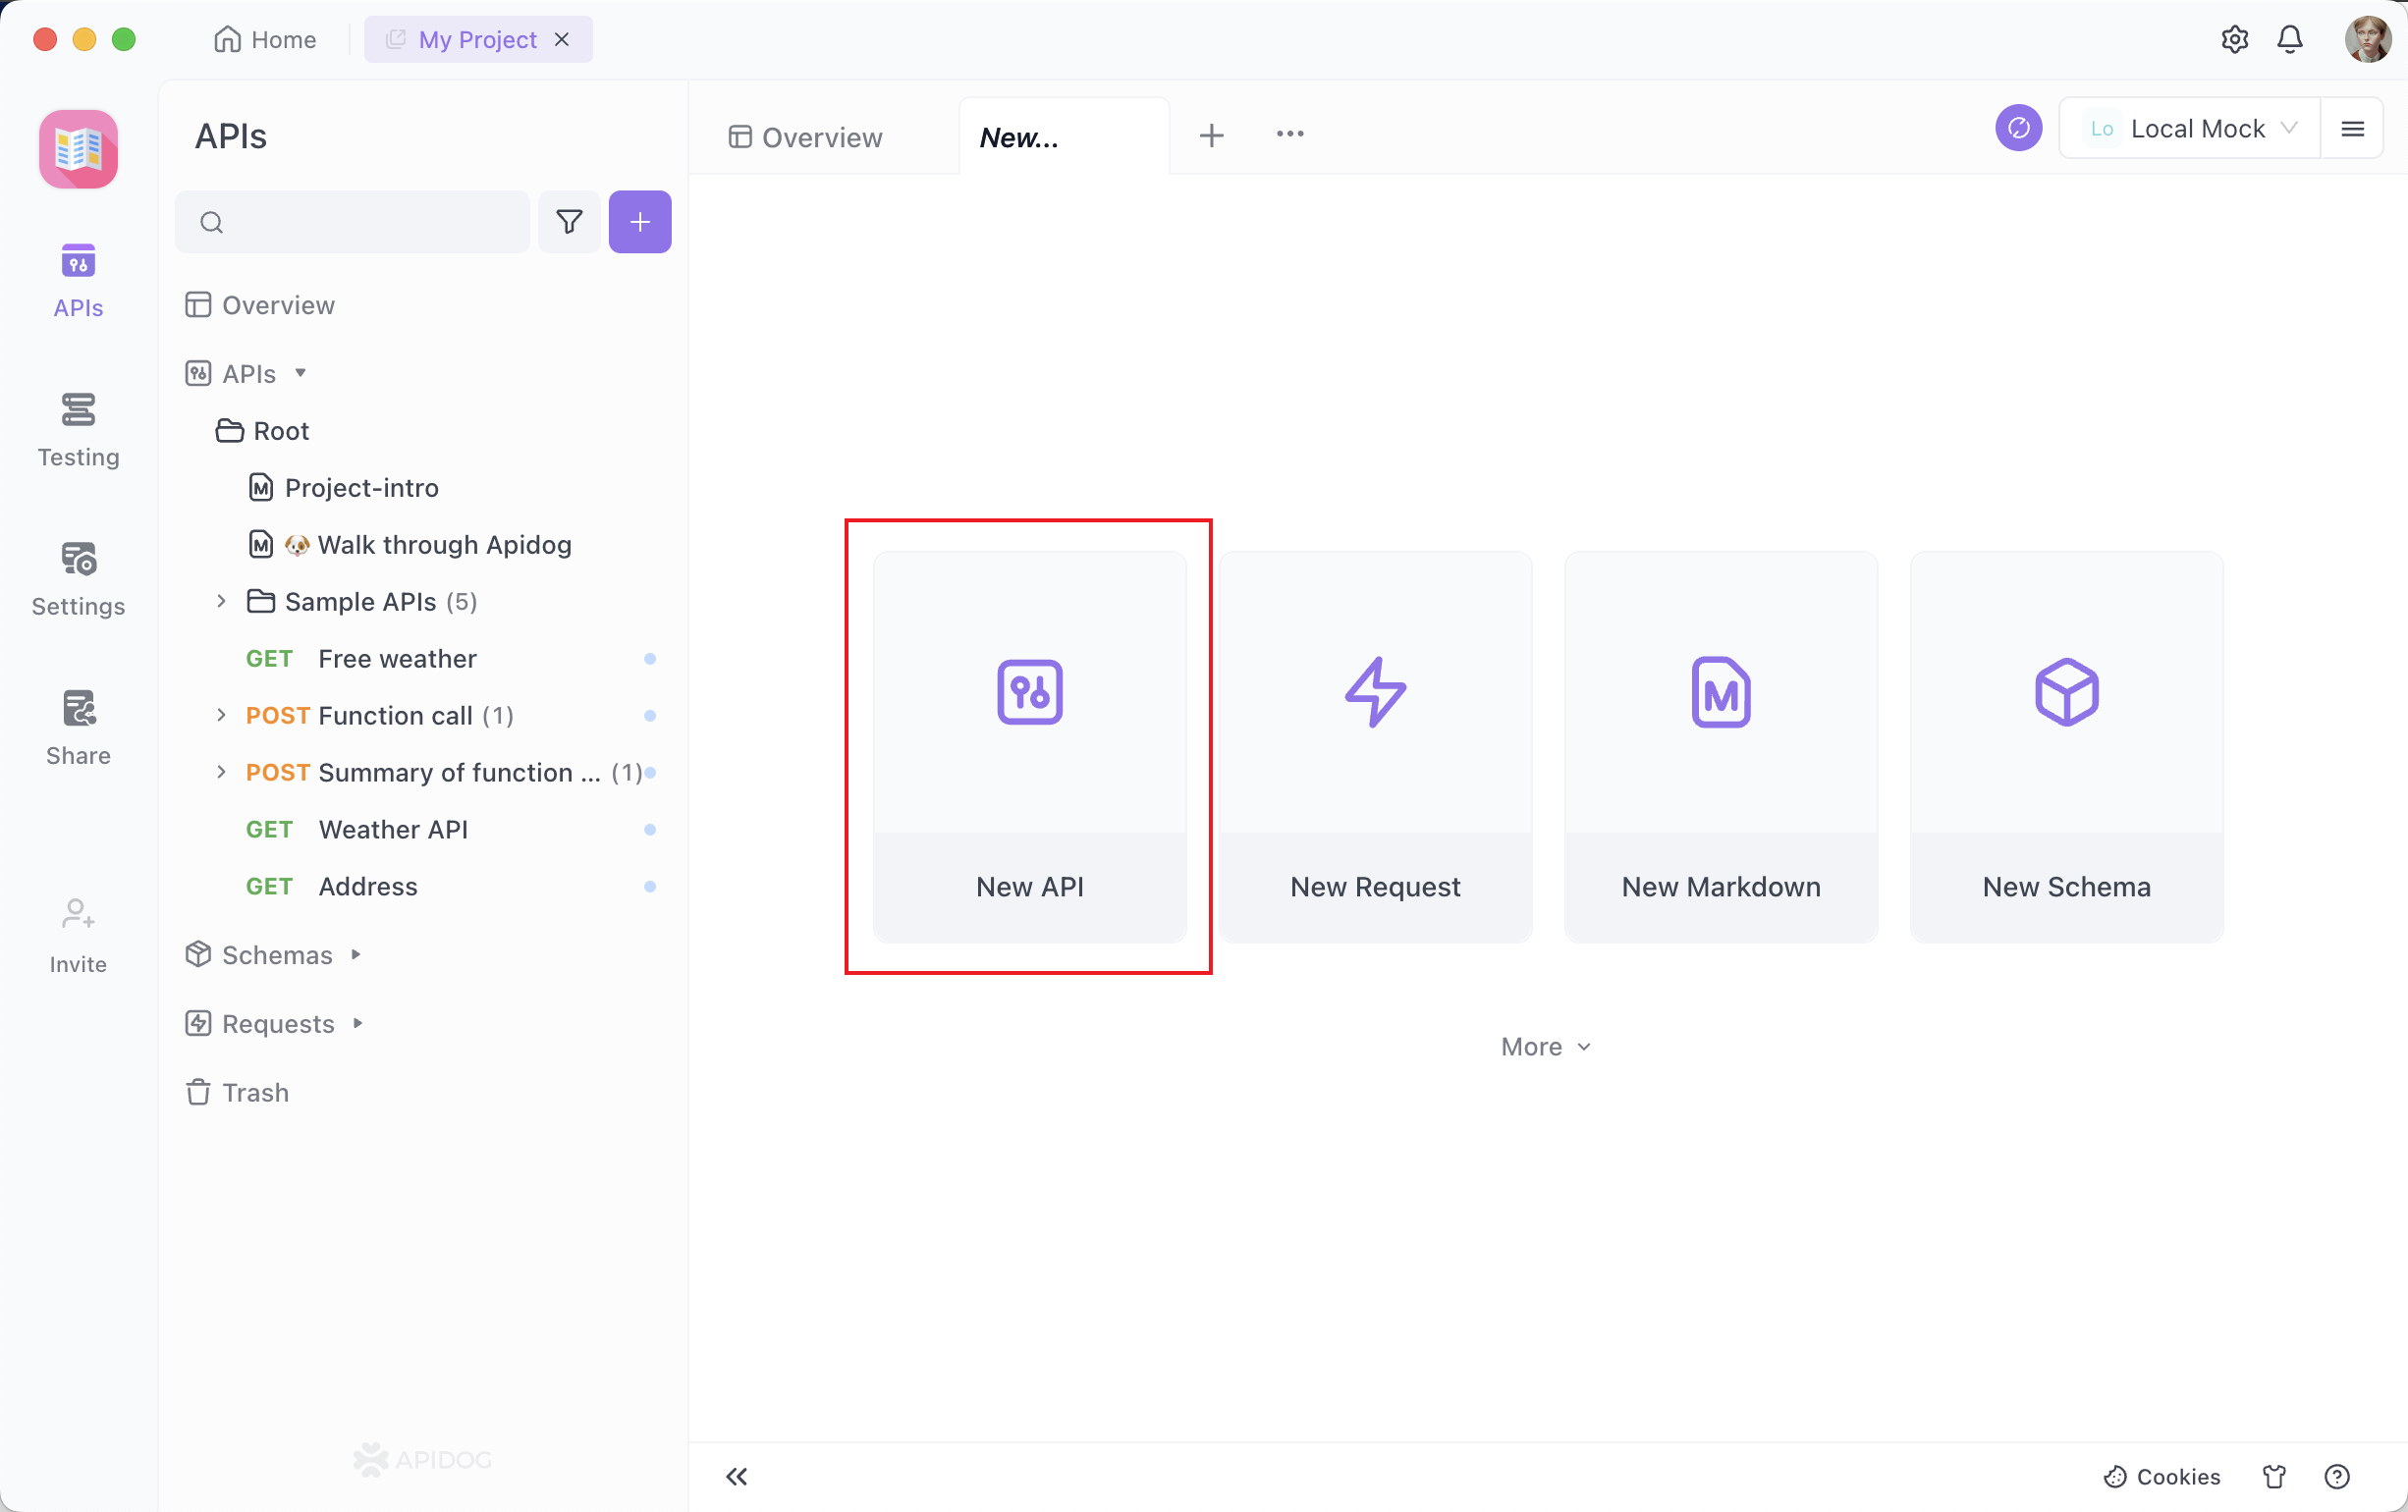
Step 2: Creating Your API Request
An API documentation project is composed of various endpoints, each representing a specific API route or functionality. To add an endpoint, click on the "+" button or "New API" within your project.
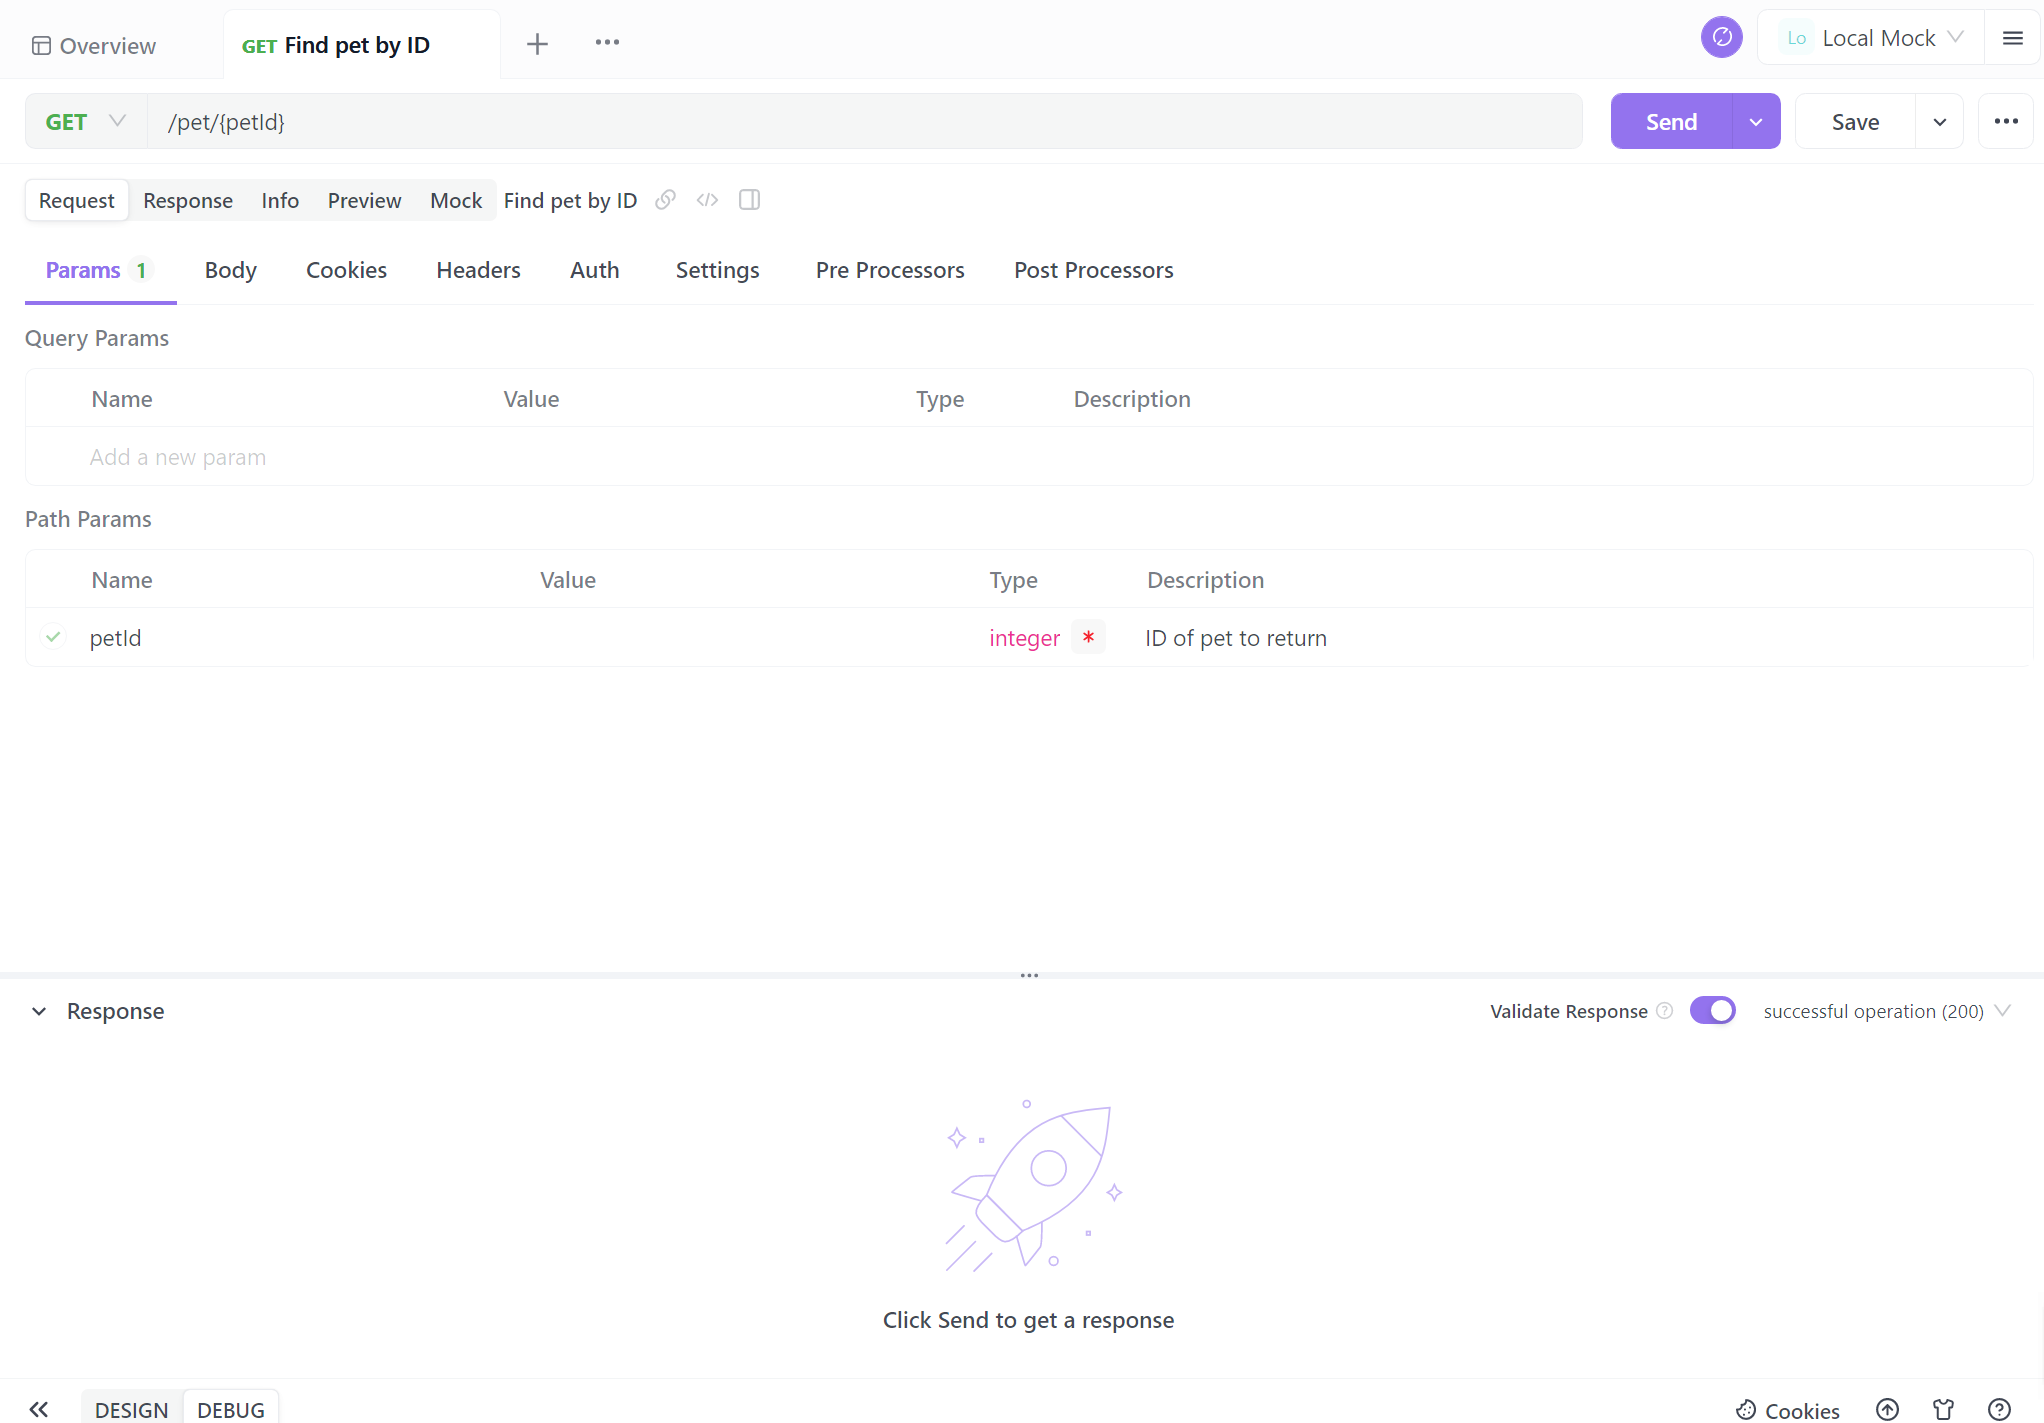
Step 3: Set up the Request Parameters
You'll need to provide details such as the endpoint's URL, description, and request/response details. Now comes the critical part – documenting your endpoints. Apidog makes this process incredibly straightforward. For each endpoint, you can:
- Specify the HTTP method (GET, POST, PUT, DELETE, etc.).
- Define request parameters, including their names, types, and descriptions.
- Describe the expected response, including status codes, response formats (JSON, XML, etc.), and example responses.
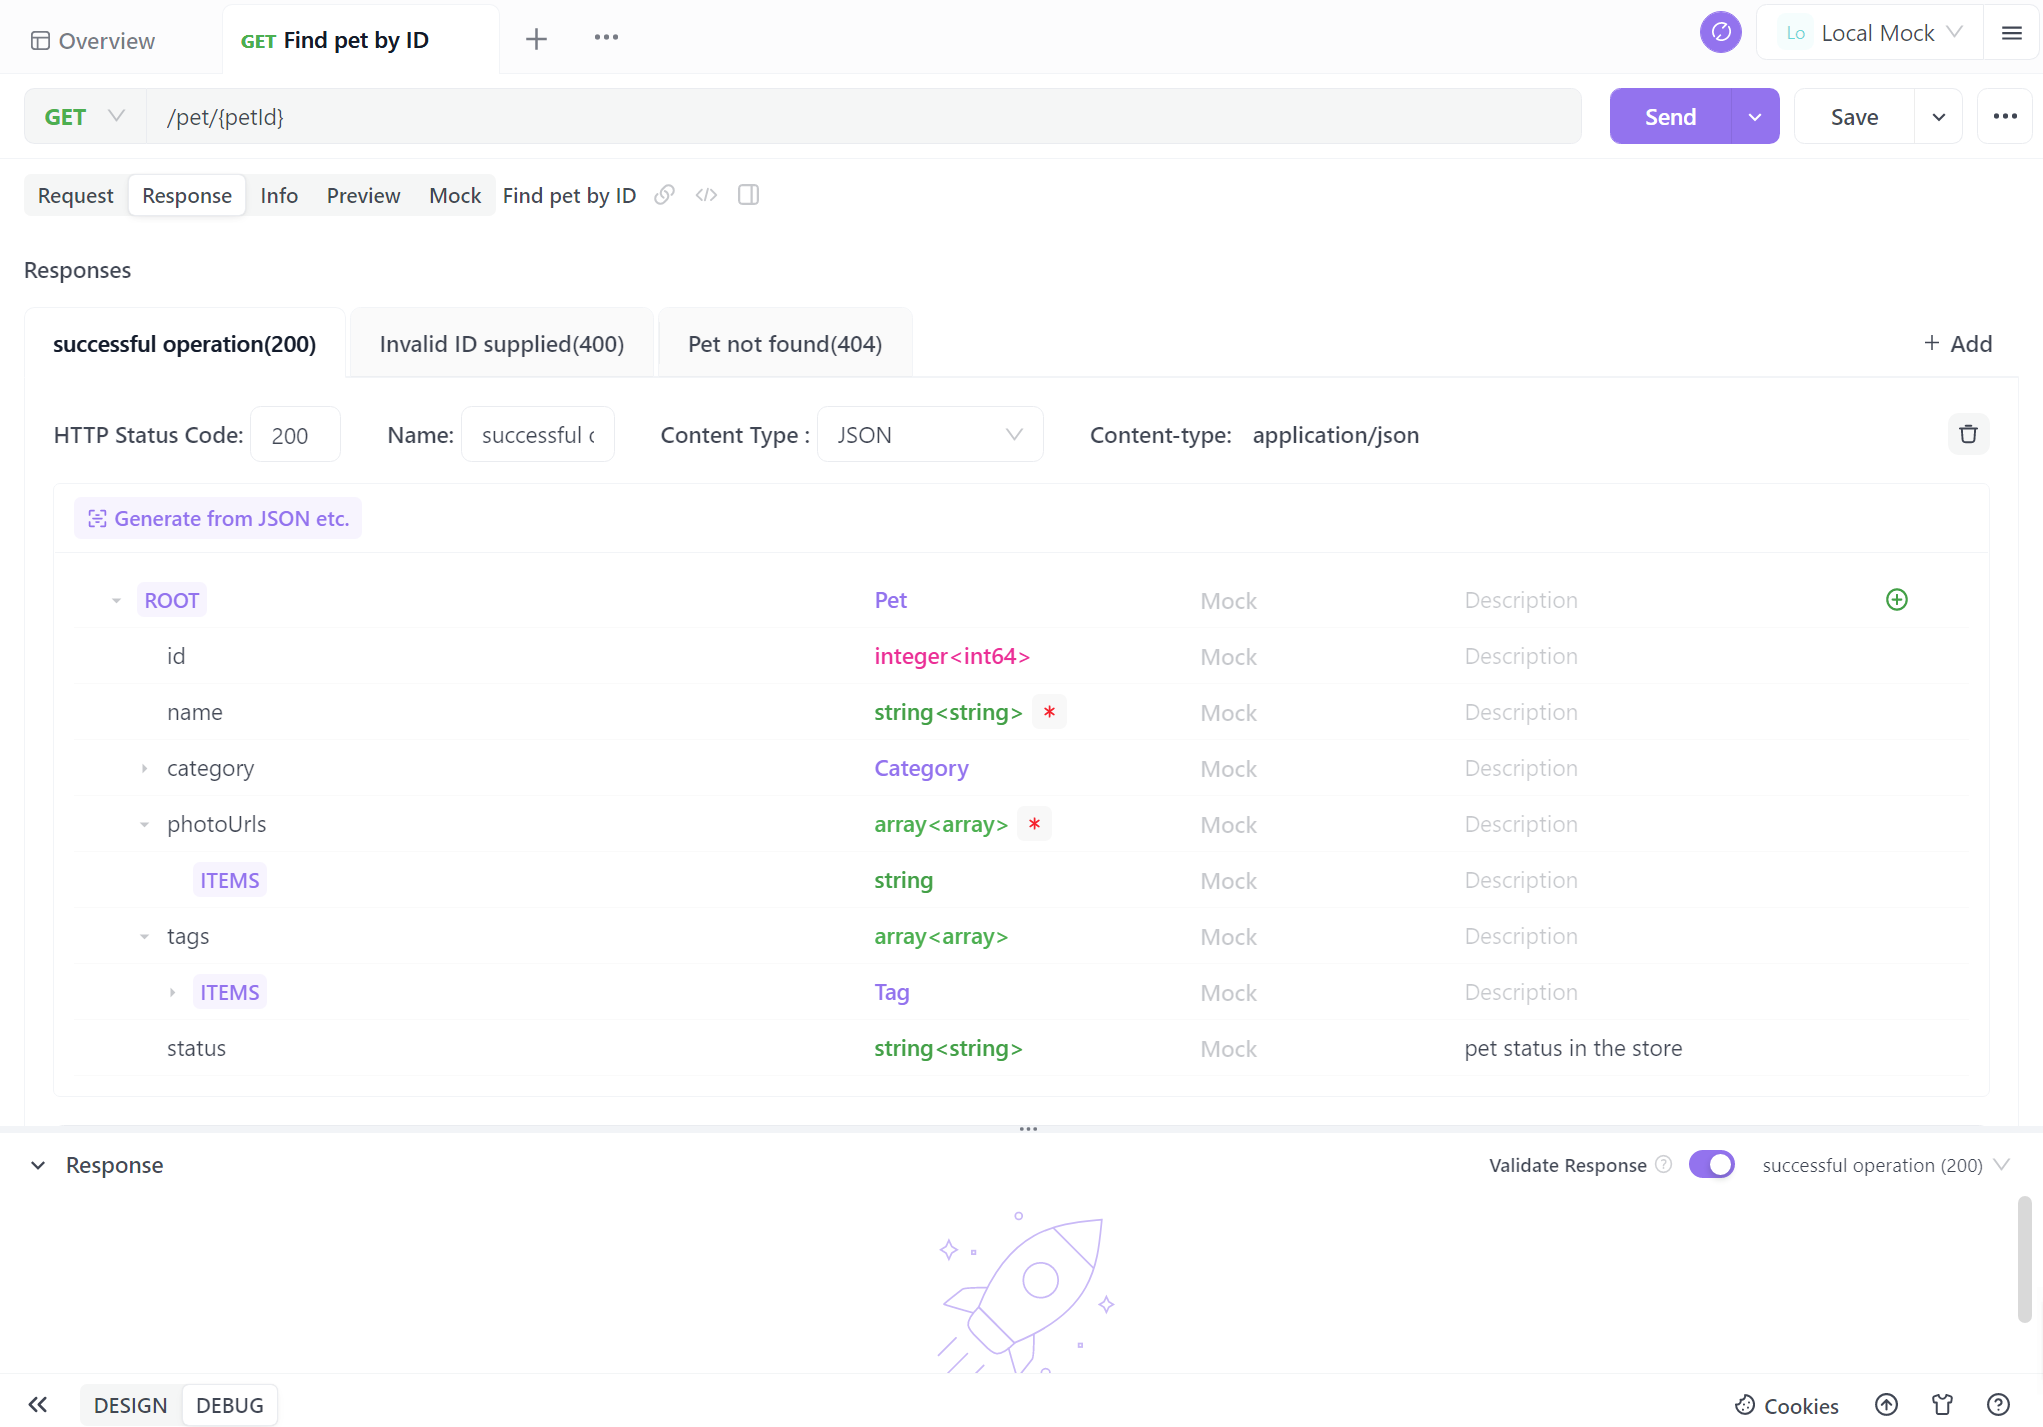
Many developers are not fond of writing API documentation, often finding it complex. However, in reality, with Apidog, you can complete it with just a few mouse clicks. Apidog's visual interface is beginner-friendly, making it much simpler than generating API documentation from code.
Step 4. Generate Your API
When you complete the basic API information, just one click to save as a case. You can also save it directly, but it is recommended to save it as a test case for easier future reference.
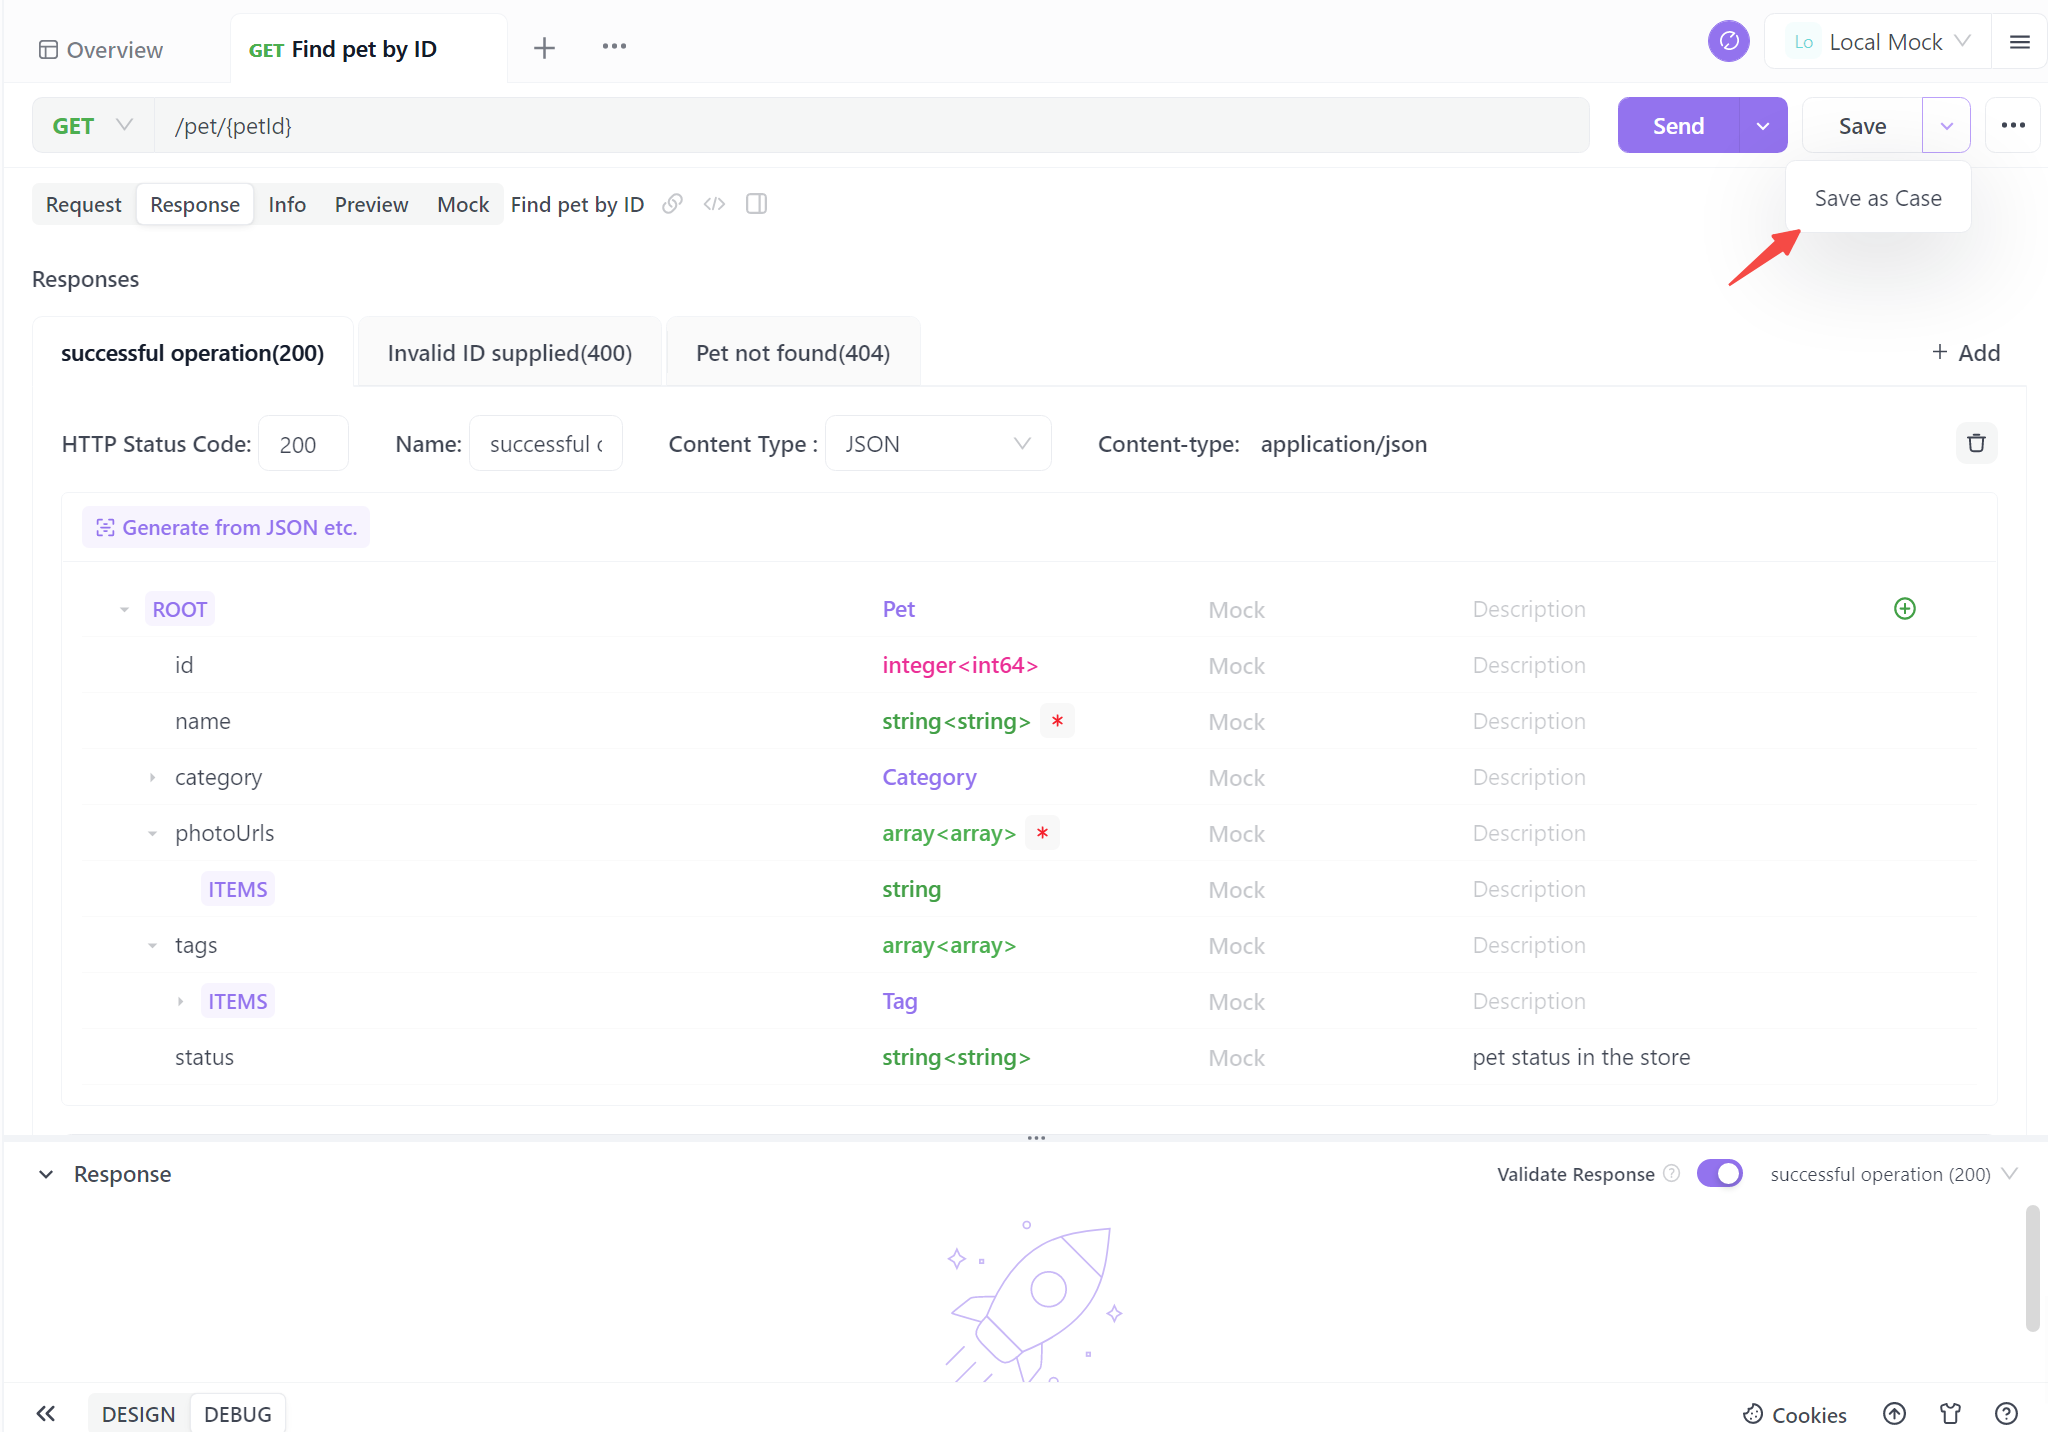
In conclusion, following these four steps empowers you to effortlessly generate standardized API documentation. This streamlined process not only ensures clarity and consistency but also saves valuable time. With automated documentation, you're well-equipped to enhance collaboration, simplify user interaction, and propel your projects forward with confidence.
Generating Documentation For Requests in Apidog
Apidog supports API documentation generation for API developers just based on what they have done in their projects.
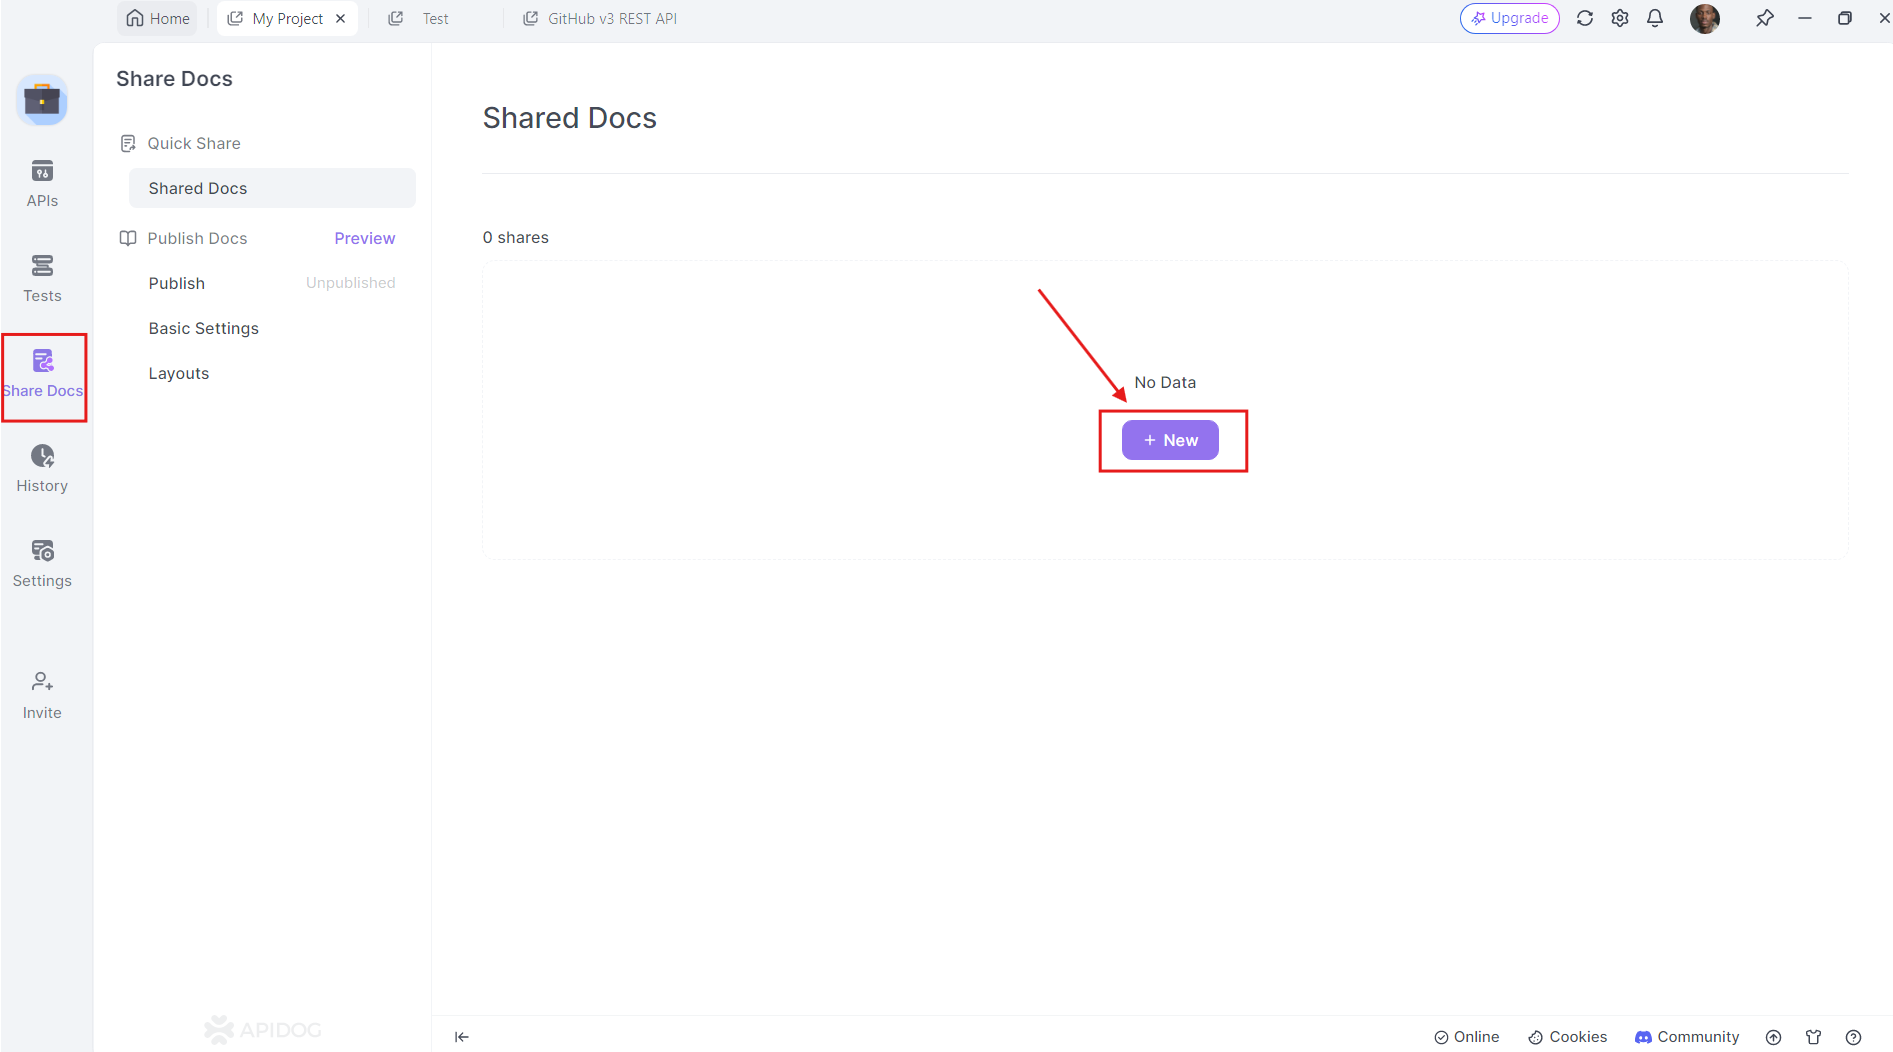
To begin, first, find the "Share" button as pointed out by Arrow 1, and press the "+ New" button as pointed out by Arrow 2
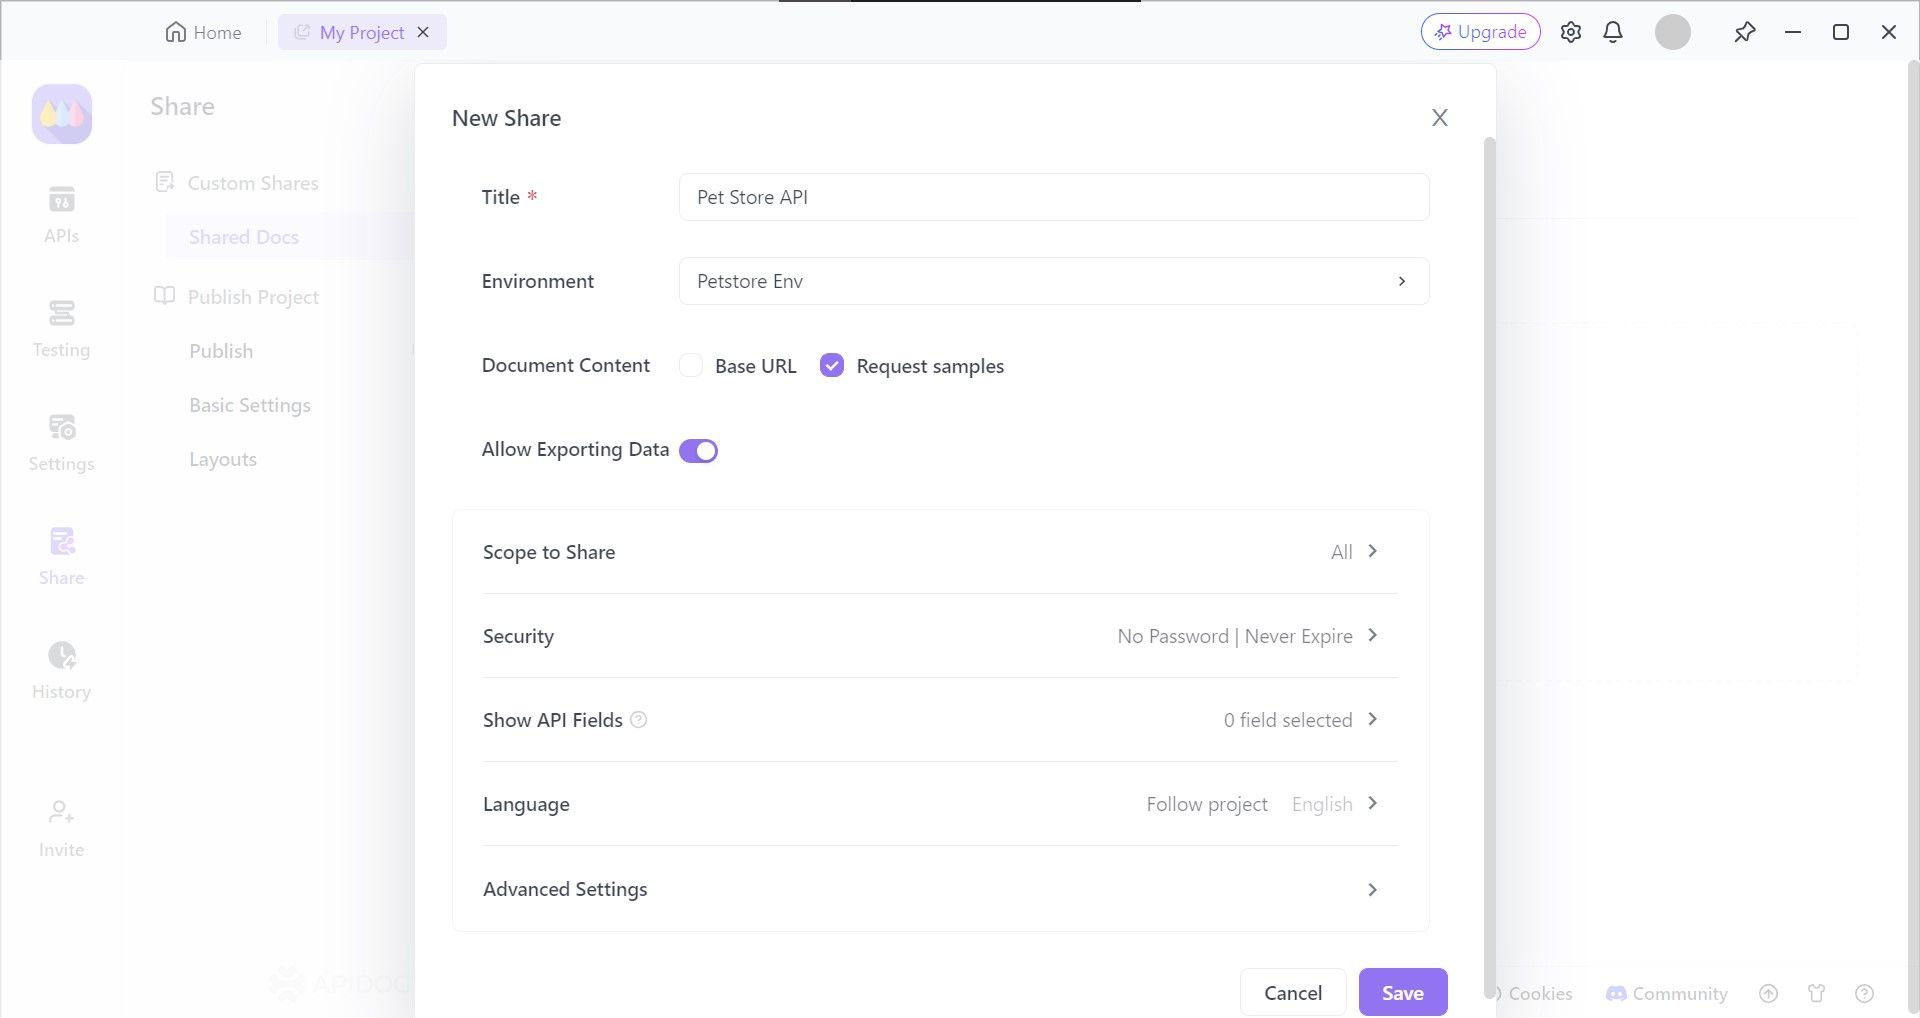
Apidog provides the option to choose who can view your API documentation as well as set a file password, so only chosen individuals or organizations can view it.
Once all required fields like API documentation name and language have been filled, hit Enter on your keyboard or the Save button.
View or Share Your API Documentation
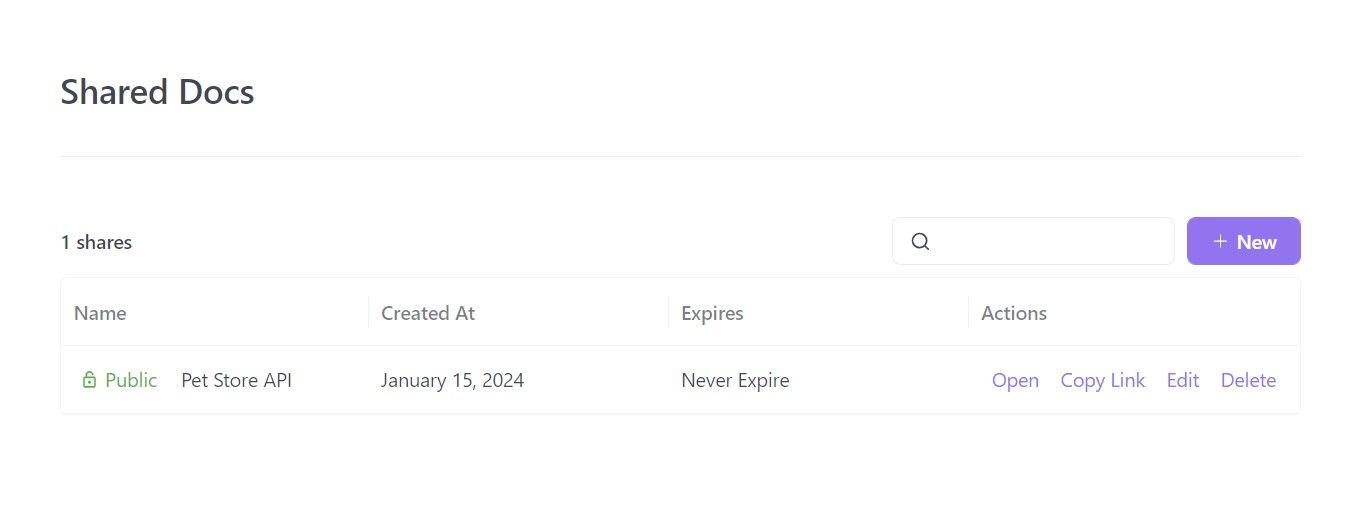
Apidog compiles your API project's details into an API documentation that is viewable through a website URL. All you have to do is click the Copy Link link under Actions, and paste the URL on your favorite browser to view your API Documentation!
Designing Your API
With Apidog, you can visually design your API endpoints, define parameters, and specify request/response schemas. This visual approach makes it easy to create a clear and concise API design.
Testing Your API
Apidog provides powerful testing capabilities that allow you to test your API endpoints directly within the tool. You can create test cases, run them, and view the results, all in one place.
Managing Your API
Apidog also offers features for managing your API, such as versioning, access control, and usage analytics. These features help you keep track of your API's performance and ensure that it remains secure and up-to-date.
Conclusion
FastAPI is an excellent choice for building high-performance APIs with Python. Its ease of use, automatic documentation, and robust features make it a favorite among developers. By following best practices for documentation and leveraging tools like Apidog, you can create powerful and user-friendly APIs that meet your needs.
So, what are you waiting for? Start building your next API with FastAPI and enhance your development process with Apidog. Download Apidog for free today and take your API development to the next level!


