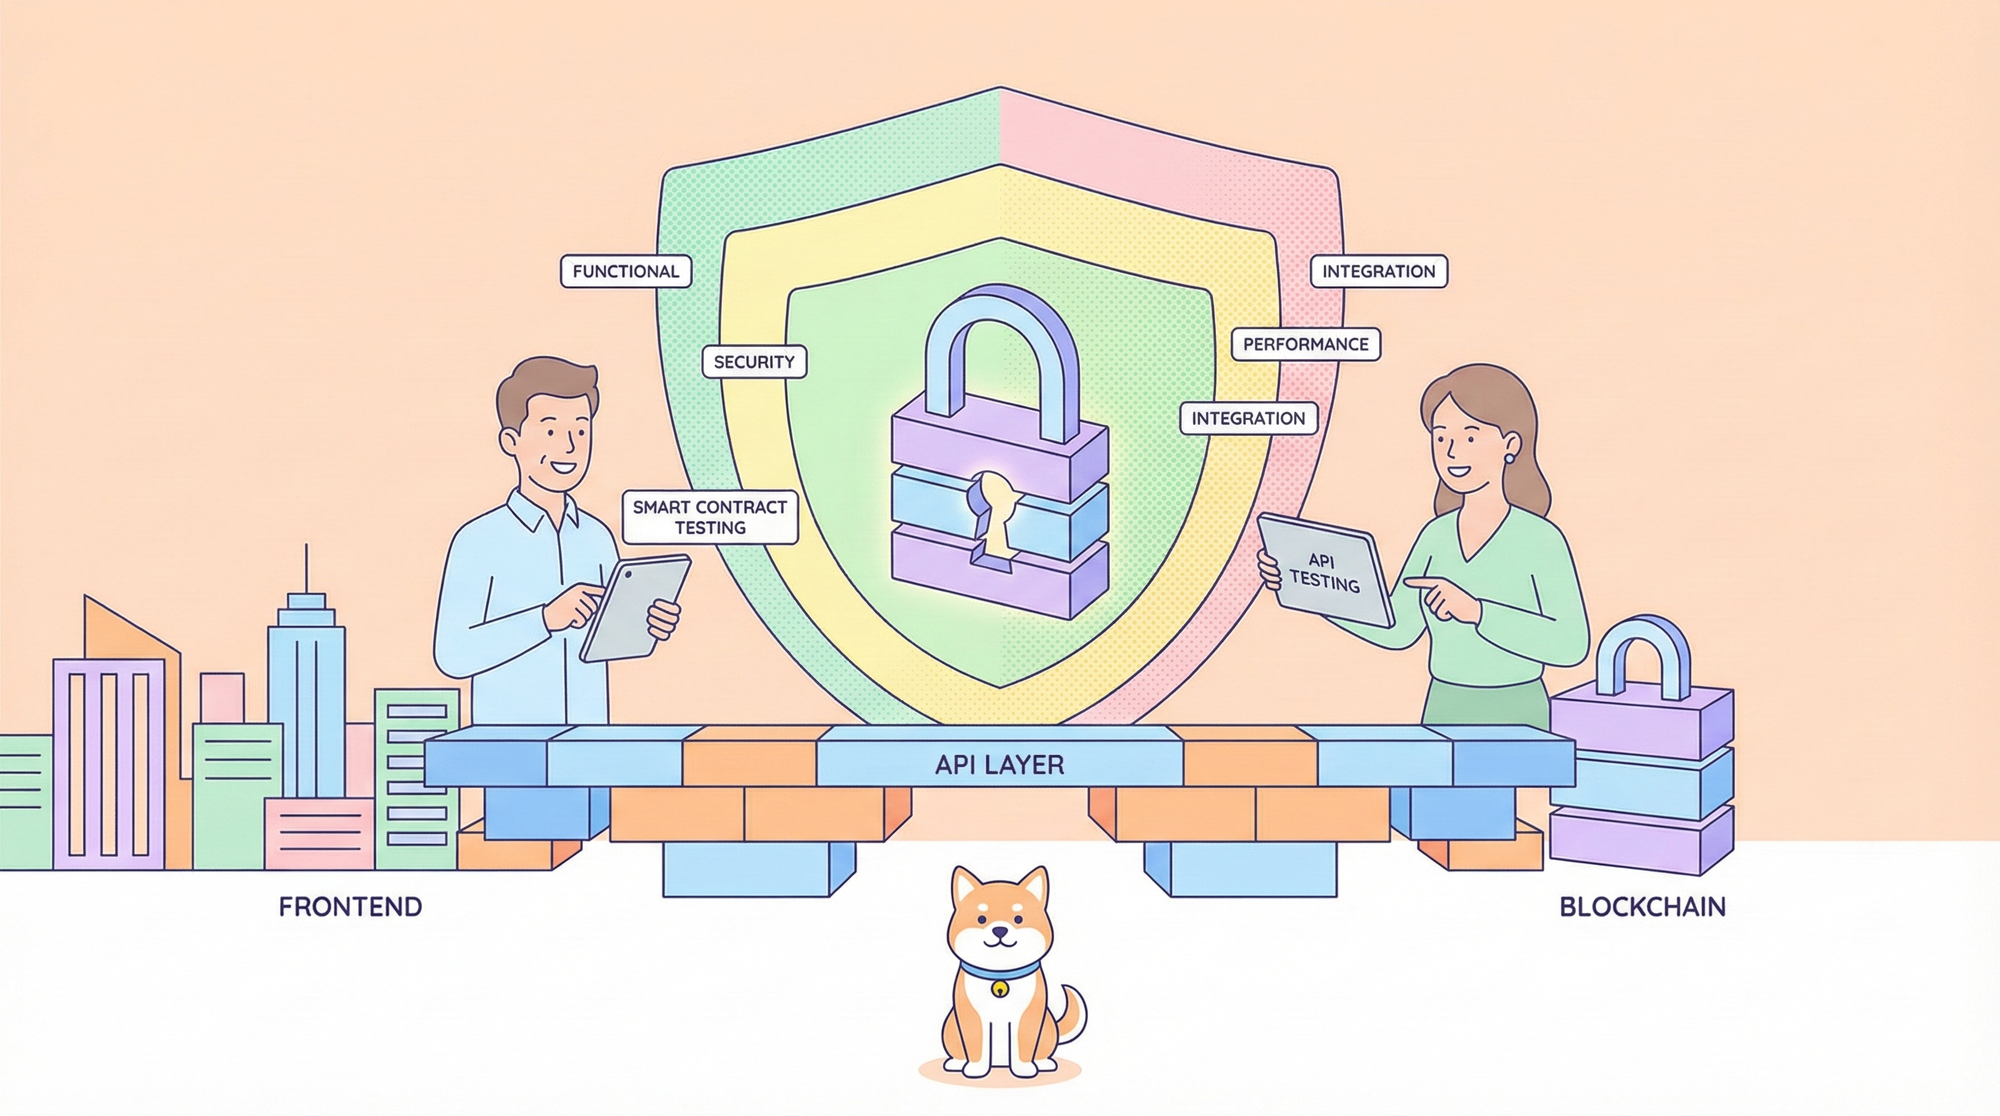
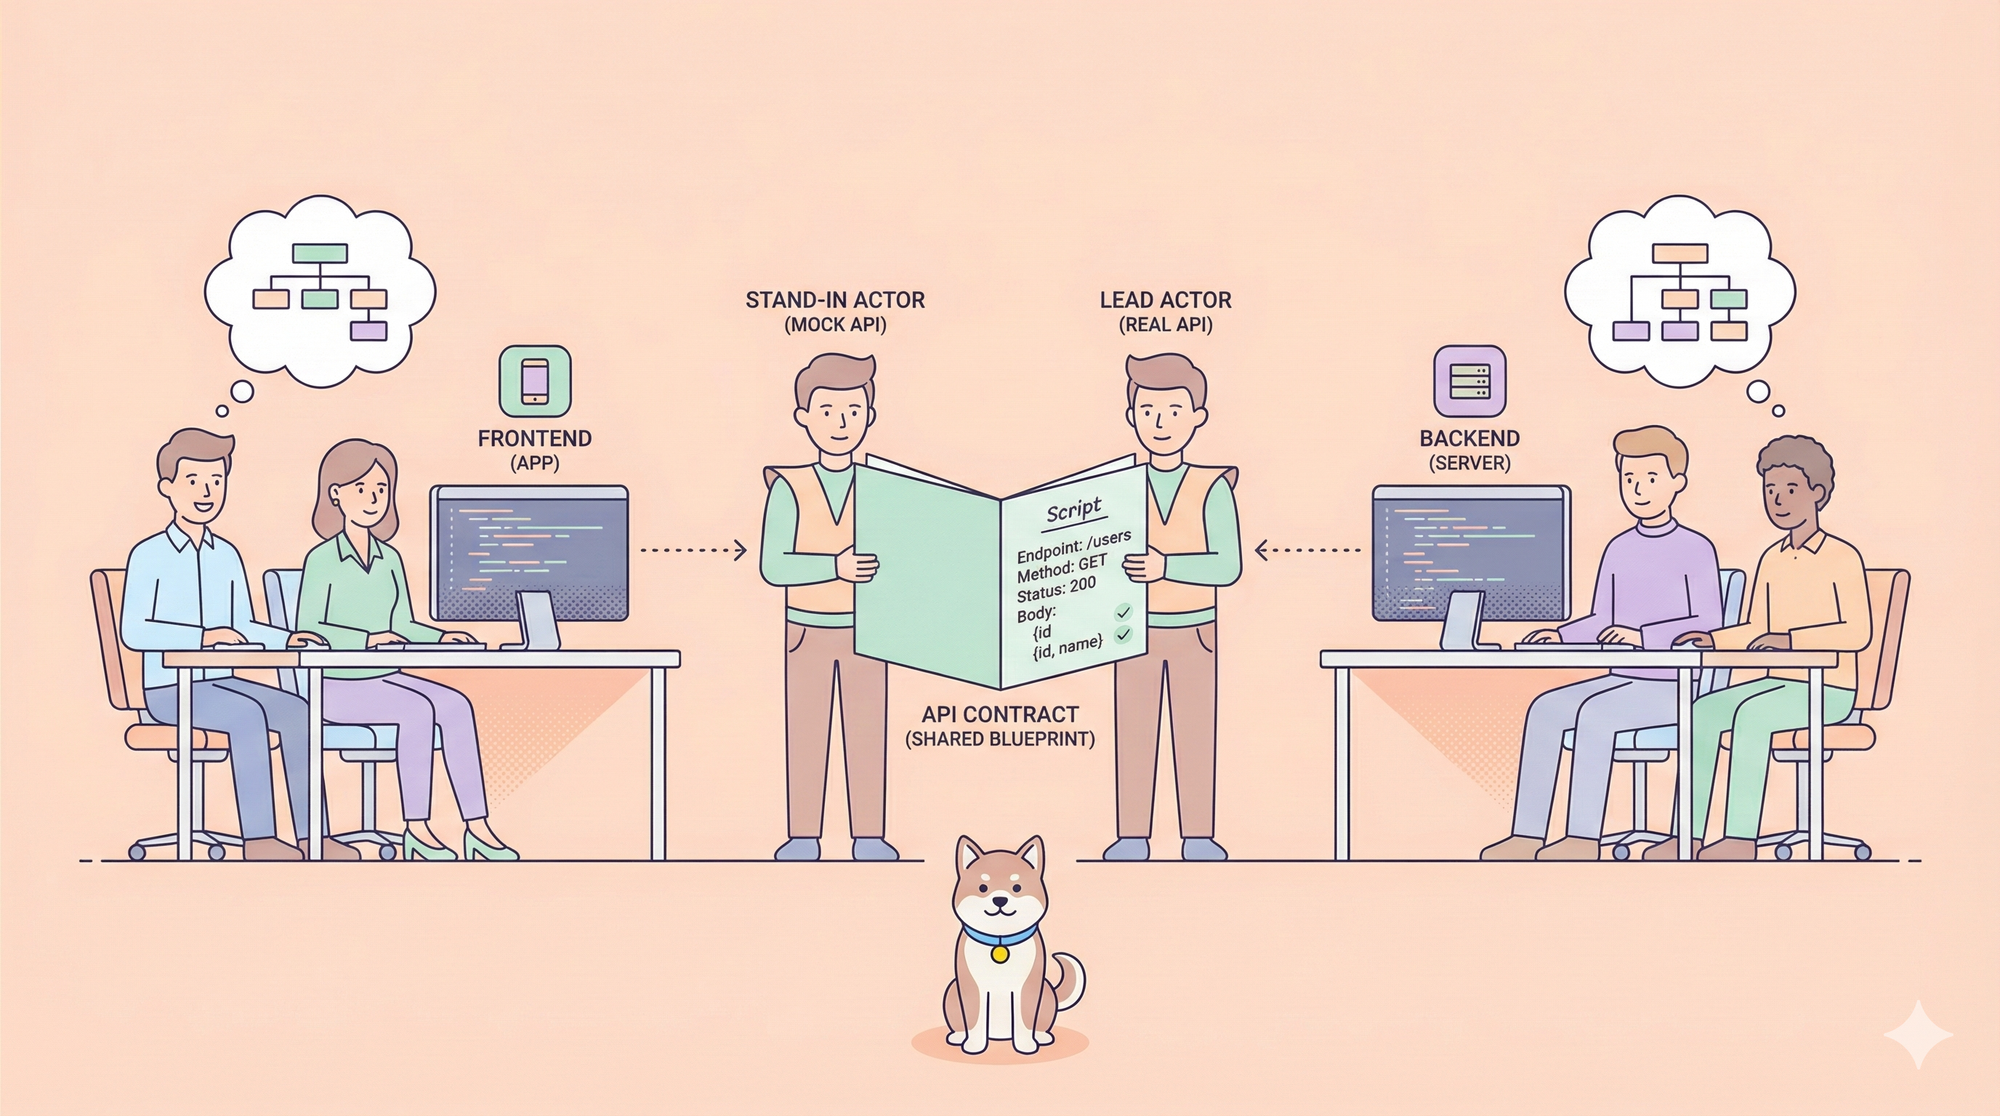
Welcome! In this tutorial, I'll guide you through running DeepSeek V3 0324, a powerful 671 billion parameter language model, on your local machine. We'll cover everything from preparation to running your first prompts using dynamic quantization techniques that balance model accuracy with memory requirements.
DeepSeek V3 0324: How Good Is It?

DeepSeek's March 2024 update brings significant performance improvements over the previous V3 model:
- MMLU-Pro score improved by +5.3% (to 81.2%)
- AIME score improved by +19.8%
- LiveCodeBench score improved by +10.0%
- GPQA score improved by +9.3%
The original model is a massive 671 billion parameters, which means we need efficient quantization techniques to run it on consumer hardware.
Here are the available quantization options for balancing disk space and accuracy:
| MoE Bits Type | Disk Size | Accuracy | Details |
|---|---|---|---|
| 1.78bit (IQ1_S) | 173GB | Okay | 2.06/1.56bit |
| 1.93bit (IQ1_M) | 183GB | Fair | 2.5/2.06/1.56 |
| 2.42bit (IQ2_XXS) | 203GB | Suggested | 2.5/2.06bit |
| 2.71bit (Q2_K_XL) | 231GB | Suggested | 3.5/2.5bit |
| 3.5bit (Q3_K_XL) | 320GB | Great | 4.5/3.5bit |
| 4.5bit (Q4_K_XL) | 406GB | Best | 5.5/4.5bit |
The original float8 model takes 715GB, so these quantized versions offer significant space savings!
Step-by-Step Tutorial: Running DeepSeek V3 0324 in llama.cpp
Before we start, let's understand the optimal settings for DeepSeek V3 0324:
- Temperature: 0.3 (use 0.0 for coding tasks)
- Min_P: 0.01 (helps filter out unlikely tokens)
- Chat template:
<|User|>YOUR_PROMPT<|Assistant|> - For KV cache quantization, use 8bit (not 4bit) for better performance
Step 1: Set up llama.cpp
First, we need to get and compile llama.cpp:
# Update packages and install required dependencies
apt-get update
apt-get install pciutils build-essential cmake curl libcurl4-openssl-dev -y

# Clone llama.cpp repository
git clone <https://github.com/ggml-org/llama.cpp>

# Build with CUDA support for GPU (use -DGGML_CUDA=OFF for CPU-only)
# Note: building with CUDA might take about 5 minutes
cmake llama.cpp -B llama.cpp/build \\\\
  -DBUILD_SHARED_LIBS=OFF -DGGML_CUDA=ON -DLLAMA_CURL=ON

# Build the necessary tools
cmake --build llama.cpp/build --config Release -j --clean-first --target llama-quantize llama-cli llama-gguf-split

# Copy the built tools for easy access
cp llama.cpp/build/bin/llama-* llama.cpp/
Step 2: Download the Quantized Model
Install the required Python packages and download the model:
pip install huggingface_hub hf_transfer

# Set up environment for faster downloads
import os
os.environ["HF_HUB_ENABLE_HF_TRANSFER"] = "1"

# Download the model (here we're using the 2.7bit dynamic quant for balance)
from huggingface_hub import snapshot_download
snapshot_download(
  repo_id = "unsloth/DeepSeek-V3-0324-GGUF",
  local_dir = "unsloth/DeepSeek-V3-0324-GGUF",
  allow_patterns = ["*UD-Q2_K_XL*"],  # Dynamic 2.7bit (230GB)
  # Use "*UD-IQ_S*" for Dynamic 1.78bit (151GB) if space is limited
)
Step 3: Run a Test Prompt
Let's test the model with a prompt asking it to create a Flappy Bird game:
./llama.cpp/llama-cli \\\\
  --model unsloth/DeepSeek-V3-0324-GGUF/UD-Q2_K_XL/DeepSeek-V3-0324-UD-Q2_K_XL-00001-of-00006.gguf \\\\
  --cache-type-k q8_0 \\\\
  --threads 20 \\\\
  --n-gpu-layers 2 \\\\
  -no-cnv \\\\
  --prio 3 \\\\
  --temp 0.3 \\\\
  --min_p 0.01 \\\\
  --ctx-size 4096 \\\\
  --seed 3407 \\\\
  --prompt "<|User|>Create a Flappy Bird game in Python. You must include these things:
1. You must use pygame.
2. The background color should be randomly chosen and is a light shade. Start with a light blue color.
3. Pressing SPACE multiple times will accelerate the bird.
4. The bird's shape should be randomly chosen as a square, circle or triangle. The color should be randomly chosen as a dark color.
5. Place on the bottom some land colored as dark brown or yellow chosen randomly.
6. Make a score shown on the top right side. Increment if you pass pipes and don't hit them.
7. Make randomly spaced pipes with enough space. Color them randomly as dark green or light brown or a dark gray shade.
8. When you lose, show the best score. Make the text inside the screen. Pressing q or Esc will quit the game. Restarting is pressing SPACE again.
The final game should be inside a markdown section in Python. Check your code for errors and fix them before the final markdown section.<|Assistant|>"
here're the explainations of the parameters:
-model: Path to the model file-cache-type-k q8_0: Uses 8-bit quantization for KV cache-threads 20: Number of CPU threads (adjust based on your CPU)-n-gpu-layers 2: Number of layers to offload to GPU (adjust if you have memory issues)no-cnv: Disables convolution for performance reasons-prio 3: Priority setting-temp 0.3: Temperature setting (use 0.0 for deterministic coding)-min_p 0.01: Minimum probability for token sampling-ctx-size 4096: Context window size-seed 3407: Random seed for reproducibility
Testing Deepseek V3 0324 with the "Heptagon Challenge"
You can further test your model's capabilities by running the "Heptagon Challenge," which asks the model to create a complex physics simulation with balls bouncing inside a spinning heptagon:
./llama.cpp/llama-cli \\\\
  --model unsloth/DeepSeek-V3-0324-GGUF/UD-Q2_K_XL/DeepSeek-V3-0324-UD-Q2_K_XL-00001-of-00006.gguf \\\\
  --cache-type-k q8_0 \\\\
  --threads 20 \\\\
  --n-gpu-layers 2 \\\\
  -no-cnv \\\\
  --prio 3 \\\\
  --temp 0.3 \\\\
  --min_p 0.01 \\\\
  --ctx-size 4096 \\\\
  --seed 3407 \\\\
  --prompt "<|User|>Write a Python program that shows 20 balls bouncing inside a spinning heptagon:
- All balls have the same radius.
- All balls have a number on it from 1 to 20.
- All balls drop from the heptagon center when starting.
- Colors are: #f8b862, #f6ad49, #f39800, #f08300, #ec6d51, #ee7948, #ed6d3d, #ec6800, #ec6800, #ee7800, #eb6238, #ea5506, #ea5506, #eb6101, #e49e61, #e45e32, #e17b34, #dd7a56, #db8449, #d66a35
- The balls should be affected by gravity and friction, and they must bounce off the rotating walls realistically. There should also be collisions between balls.
- The material of all the balls determines that their impact bounce height will not exceed the radius of the heptagon, but higher than ball radius.
- All balls rotate with friction, the numbers on the ball can be used to indicate the spin of the ball.
- The heptagon is spinning around its center, and the speed of spinning is 360 degrees per 5 seconds.
- The heptagon size should be large enough to contain all the balls.
- Do not use the pygame library; implement collision detection algorithms and collision response etc. by yourself. The following Python libraries are allowed: tkinter, math, numpy, dataclasses, typing, sys.
- All codes should be put in a single Python file.<|Assistant|>"
Optimizing Deepseek V3 0324 Performance
Flash Attention: For faster decoding, use Flash Attention when compiling llama.cpp:
-DGGML_CUDA_FA_ALL_QUANTS=ON
CUDA Architecture: Set your specific CUDA architecture to reduce compilation times:
-DCMAKE_CUDA_ARCHITECTURES="80" # Adjust for your GPU
Adjusting Parameters:
- If you run into out-of-memory issues, try reducing
-n-gpu-layers - For CPU-only inference, remove the
-n-gpu-layersparameter - Adjust
-threadsbased on your CPU cores
You now have DeepSeek V3 0324 running locally! To recap:
- We set up llama.cpp with CUDA support
- Downloaded a quantized version of the model (2.7bit dynamic quant)
- Ran test prompts to verify the model's capabilities
- Learned about optimal settings and performance tips
The 2.7bit dynamic quantization provides an excellent balance between disk space (231GB) and model accuracy, allowing you to run this 671B parameter model efficiently on your own hardware.
Feel free to experiment with different prompts and parameters to get the most out of this powerful model!
Testing DeepSeek API with Apidog
If you're developing applications that use DeepSeek through its API rather than running it locally, Apidog provides powerful tools for API development, testing, and debugging.
Setting Up Apidog for DeepSeek API Testing
Step 1: Download and Install Apidog
- Visit https://apidog.com/download/ to download the Apidog client for your operating system.
2. Install and launch Apidog, then create an account or sign in with Google/Github.
3. When prompted, select your role (e.g., "Fullstack developer") and preferred work mode (e.g., "API design first").
Step 2: Create a New API Project for DeepSeek
- Create a new HTTP project in Apidog for your DeepSeek API testing.
- Add your DeepSeek API endpoint(s) to the project.

Debugging Streaming Responses from DeepSeek
DeepSeek and many other AI models use Server-Sent Events (SSE) for streaming responses. Apidog (version 2.6.49 or higher) has built-in support for debugging SSE:
- Create and configure your DeepSeek API endpoint in Apidog.
- Send the request to your DeepSeek API.
- If the response includes the header
Content-Type: text/event-stream, Apidog automatically processes it as an SSE event. - View the real-time streaming responses in the Timeline view of the response panel.

Apidog has built-in support for popular AI model formats, including:
- OpenAI API Compatible Format
- Gemini API Compatible Format
- Claude API Compatible Format
For DeepSeek specifically, Apidog can display the model's thought process in the timeline, providing insight into the AI's reasoning.
Customizing SSE Response Handling for DeepSeek
If DeepSeek's response format doesn't match Apidog's built-in recognition rules, you can:
Configure JSONPath extraction rules for JSON-formatted SSE responses:
- For a response like:
data: {"choices":[{"index":0,"message":{"role":"assistant","content":"H"}}]} - Use JSONPath:
$.choices[0].message.content
Use post-processor scripts for non-JSON SSE messages:
- Write custom scripts to handle the data format
- Process the messages according to your specific requirements
Creating Automated Tests for DeepSeek APIs
Once you have your DeepSeek API endpoint set up, you can create automated tests in Apidog to ensure it functions correctly:
- Create test scenarios for different prompt types in the Tests module.
- Add validation and assertions to verify response structure and content.
- Configure the test scenario to run with different environments (e.g., development, production).
- Set up batch runs to test multiple scenarios at once.
For CI/CD integration, Apidog CLI allows you to run these tests as part of your pipeline:
# Install Apidog CLI
npm install -g apidog-cli

# Run test scenario
apidog run test-scenario -c <collection-id> -e <environment-id> -k <api-key>

You can read more about how apidog-cli works in the Official Documentation.
Performance Testing DeepSeek API
Apidog also offers performance testing capabilities to evaluate how your DeepSeek API performs under load:
Create a test scenario that includes calls to your DeepSeek API.
Configure the performance test settings:
- Set the number of virtual users (up to 100)
- Specify the test duration
- Configure the ramp-up duration to simulate gradual user increase
Run the performance test to see key metrics like:
- Average throughput
- Average response time
- Maximum/minimum response time
- Error rates
This is particularly useful for understanding how your DeepSeek deployment handles multiple concurrent requests.
Conclusion
You now have both DeepSeek V3 0324 running locally and the knowledge to test DeepSeek APIs effectively using Apidog! To recap:
- We set up llama.cpp with CUDA support
- Downloaded a quantized version of the model (2.7bit dynamic quant)
- Ran test prompts to verify the model's capabilities
- Learned how to use Apidog for testing and debugging DeepSeek APIs
- Explored performance optimization tips for both local deployment and API testing
The 2.7bit dynamic quantization provides an excellent balance between disk space (231GB) and model accuracy, allowing you to run this 671B parameter model efficiently on your own hardware. Meanwhile, Apidog gives you powerful tools to develop, test, and debug DeepSeek API implementations, especially with its SSE debugging capabilities for streaming responses.
Feel free to experiment with different quantization options and Apidog features to find the setup that works best for your specific needs!


