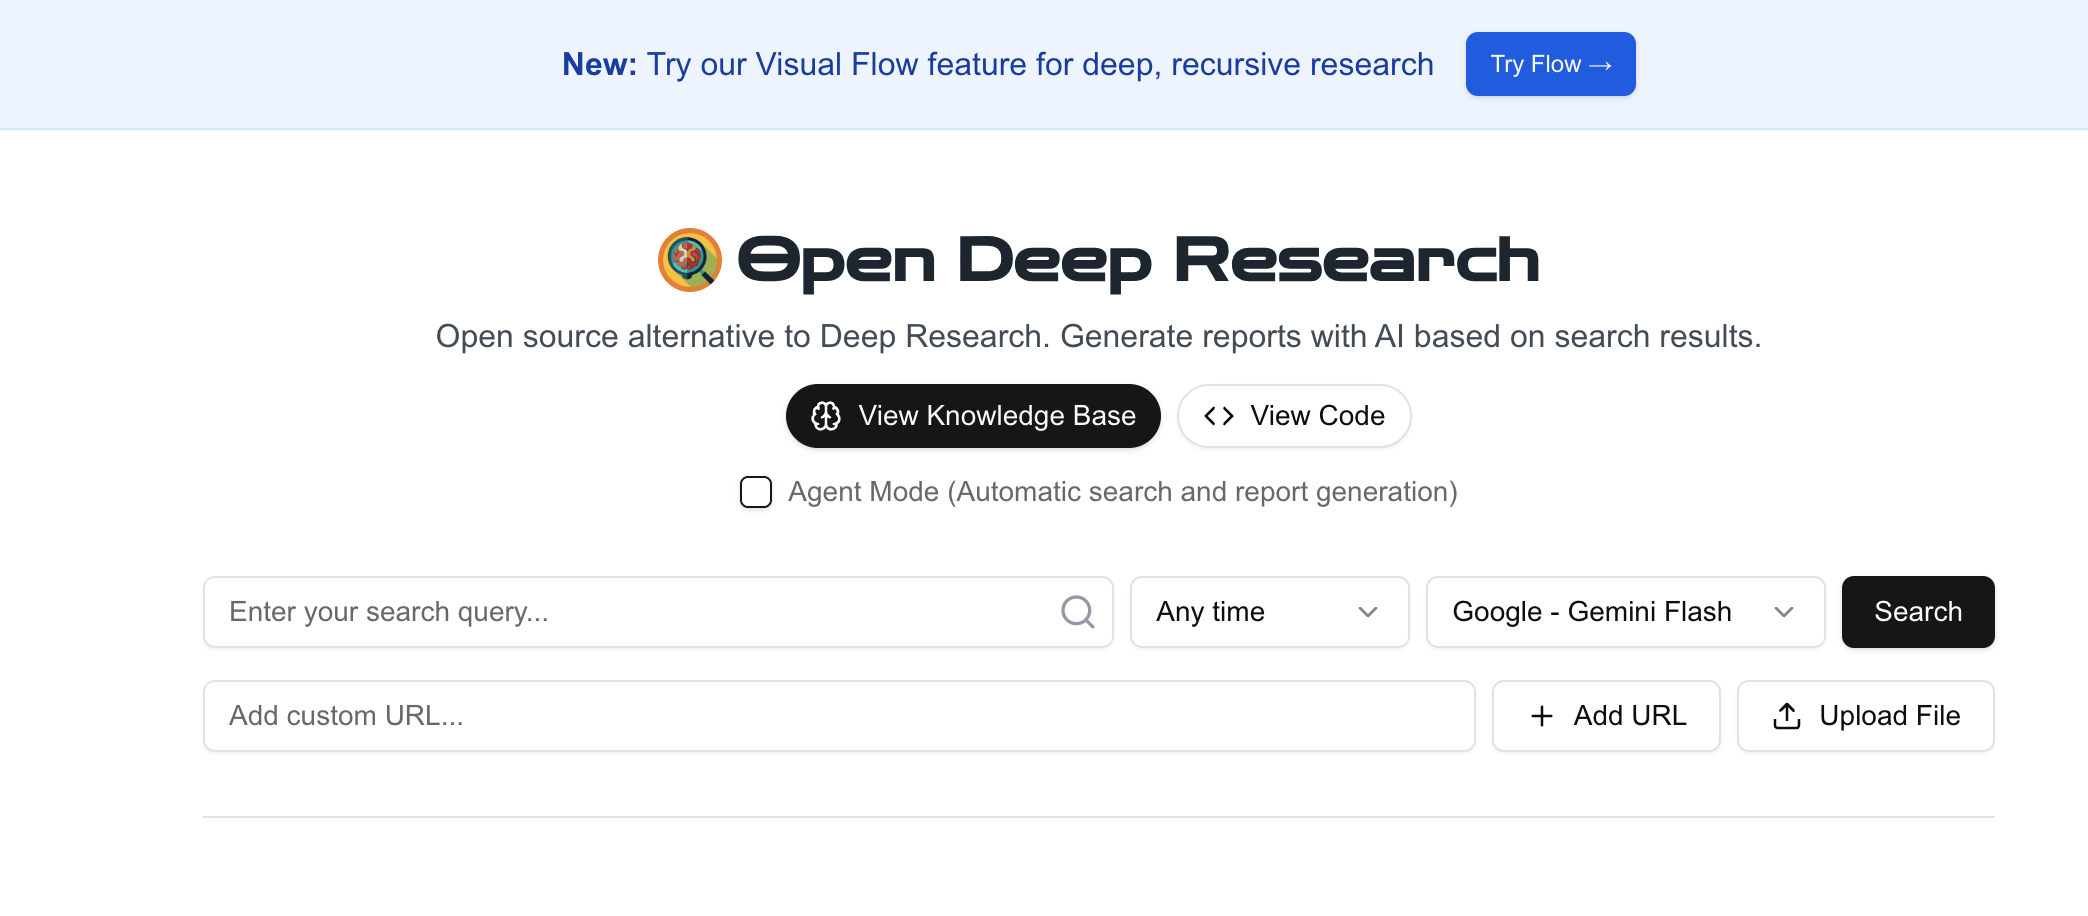
Looking for a way to automate in-depth web research like Anthropic’s Claude—without relying on closed, proprietary systems? As an API developer or backend engineer, you can now leverage open-source projects to create your own AI-powered research agent that collects, analyzes, and synthesizes information from across the web.
In this guide, we’ll break down:
- What makes tools like Claude Research so effective for technical research
- How to replicate these features using the open-source btahir/open-deep-research project
- Practical steps to set up your own automated research workflow
- Where Apidog fits in for teams who need robust, collaborative API tooling
Why Build an Open-Source AI Research Assistant?
Developers and engineering teams often need to:
- Explore complex technical topics from multiple perspectives
- Aggregate insights from varied, credible sources
- Document findings clearly for teammates or stakeholders
Claude’s closed-source approach is convenient but limits transparency and customization. Open-source solutions give you direct control over APIs, models, and data flow—ideal for teams who value auditability and integration with their existing workflows.
Introducing open-deep-research: An Open Source Research Pipeline

The open-deep-research framework orchestrates a pipeline similar to commercial AI research tools:
- Search Engine Automation: Uses APIs like SearchApi, Google Search API, or Serper to discover relevant URLs.
- Web Scraping: Fetches and parses page content.
- LLM Synthesis: Employs a Large Language Model (LLM)—often via the OpenAI API—to process, summarize, and organize acquired data.
- Output Generation: Assembles the results into structured reports (text or Markdown).
By running this pipeline yourself, you maintain full visibility into how information is sourced and synthesized. You can also adapt the workflow to fit your organization's technical stack or compliance requirements.
💡 Interested in supercharging your API workflow? Generate beautiful API documentation, boost your team’s productivity with an all-in-one platform, and replace Postman at a more affordable price — Apidog has you covered. 
Step-by-Step: Deploying open-deep-research for Automated Web Research
Ready to try it yourself? Here’s how to set up open-deep-research and automate technical topic research:
Prerequisites
- Python 3.7+ installed
- Git for cloning the repository
- API Keys for:
- A Search Engine API (e.g., SearchApi, Serper)
- An LLM API (e.g., OpenAI API key for GPT-3.5 or GPT-4)
- Terminal/Command Prompt access
Check the project’s README for the latest requirements.
1. Clone the Repository
git clone https://github.com/btahir/open-deep-research.git
cd open-deep-research
2. (Recommended) Set Up a Virtual Environment
macOS/Linux:
python3 -m venv venv
source venv/bin/activate
Windows:
python -m venv venv
.\venv\Scripts\activate
3. Install Python Dependencies
Install all required libraries (such as openai, requests, beautifulsoup4, etc.):
pip install -r requirements.txt
4. Configure API Keys
Set your API keys—either as environment variables or in a .env file. Typical variables:
OPENAI_API_KEYSEARCHAPI_API_KEY(orSERPER_API_KEY, etc.)
macOS/Linux:
export OPENAI_API_KEY='your_openai_api_key_here'
export SEARCHAPI_API_KEY='your_search_api_key_here'
Windows (Command Prompt):
set OPENAI_API_KEY=your_openai_api_key_here
set SEARCHAPI_API_KEY=your_search_api_key_here
Alternatively, create a .env file:
OPENAI_API_KEY=your_openai_api_key_here
SEARCHAPI_API_KEY=your_search_api_key_here
Refer to the project README for exact variable names.
5. Run the Research Tool
Launch the script with your research query. Replace the script name and argument as needed (see README):
python main.py --query "Impact of renewable energy adoption on global CO2 emissions"
Or:
python research_agent.py "Latest advancements in solid-state battery technology"
The tool will:
- Query the web for sources
- Scrape and process content
- Synthesize findings with the LLM
- Output a detailed report (to terminal or as a file)
6. Review and Iterate
Check the generated report (typically in your terminal or as report.md). Assess for:
- Relevance and depth
- Coherence and technical accuracy
- Source variety
Tweak prompts, API providers, or LLM settings for improved results.
Customization Tips & Considerations
- LLM Flexibility: The project defaults to OpenAI, but you can experiment with open-source models (e.g., via Ollama or LM Studio) if you prefer local inference.
- Search Providers: Swap APIs as needed based on availability and cost.
- Prompt Engineering: Adjust prompts to focus output (e.g., for technical summaries, comparison tables, or API documentation).
- Cost Controls: Both search and LLM APIs may incur usage fees—monitor your API dashboard.
- Reliability: As with all open-source scraping tools, expect occasional maintenance as site structures or APIs change.
- Technical Overhead: This solution requires basic Python and CLI skills—ideal for developer teams, but more complex than SaaS products.
Open-Source vs. Commercial AI Research: Which is Right for You?
Open-source tools like open-deep-research let you build transparent, customizable AI research agents—perfect for teams needing control and extensibility. However, if you’re seeking seamless, collaborative workflows for API development and documentation, platforms like Apidog provide integrated solutions that scale with your team.
Remember, for advanced API testing, automated documentation, and streamlined team collaboration, Apidog delivers everything your developer team needs — and can even replace Postman at a fraction of the price.


