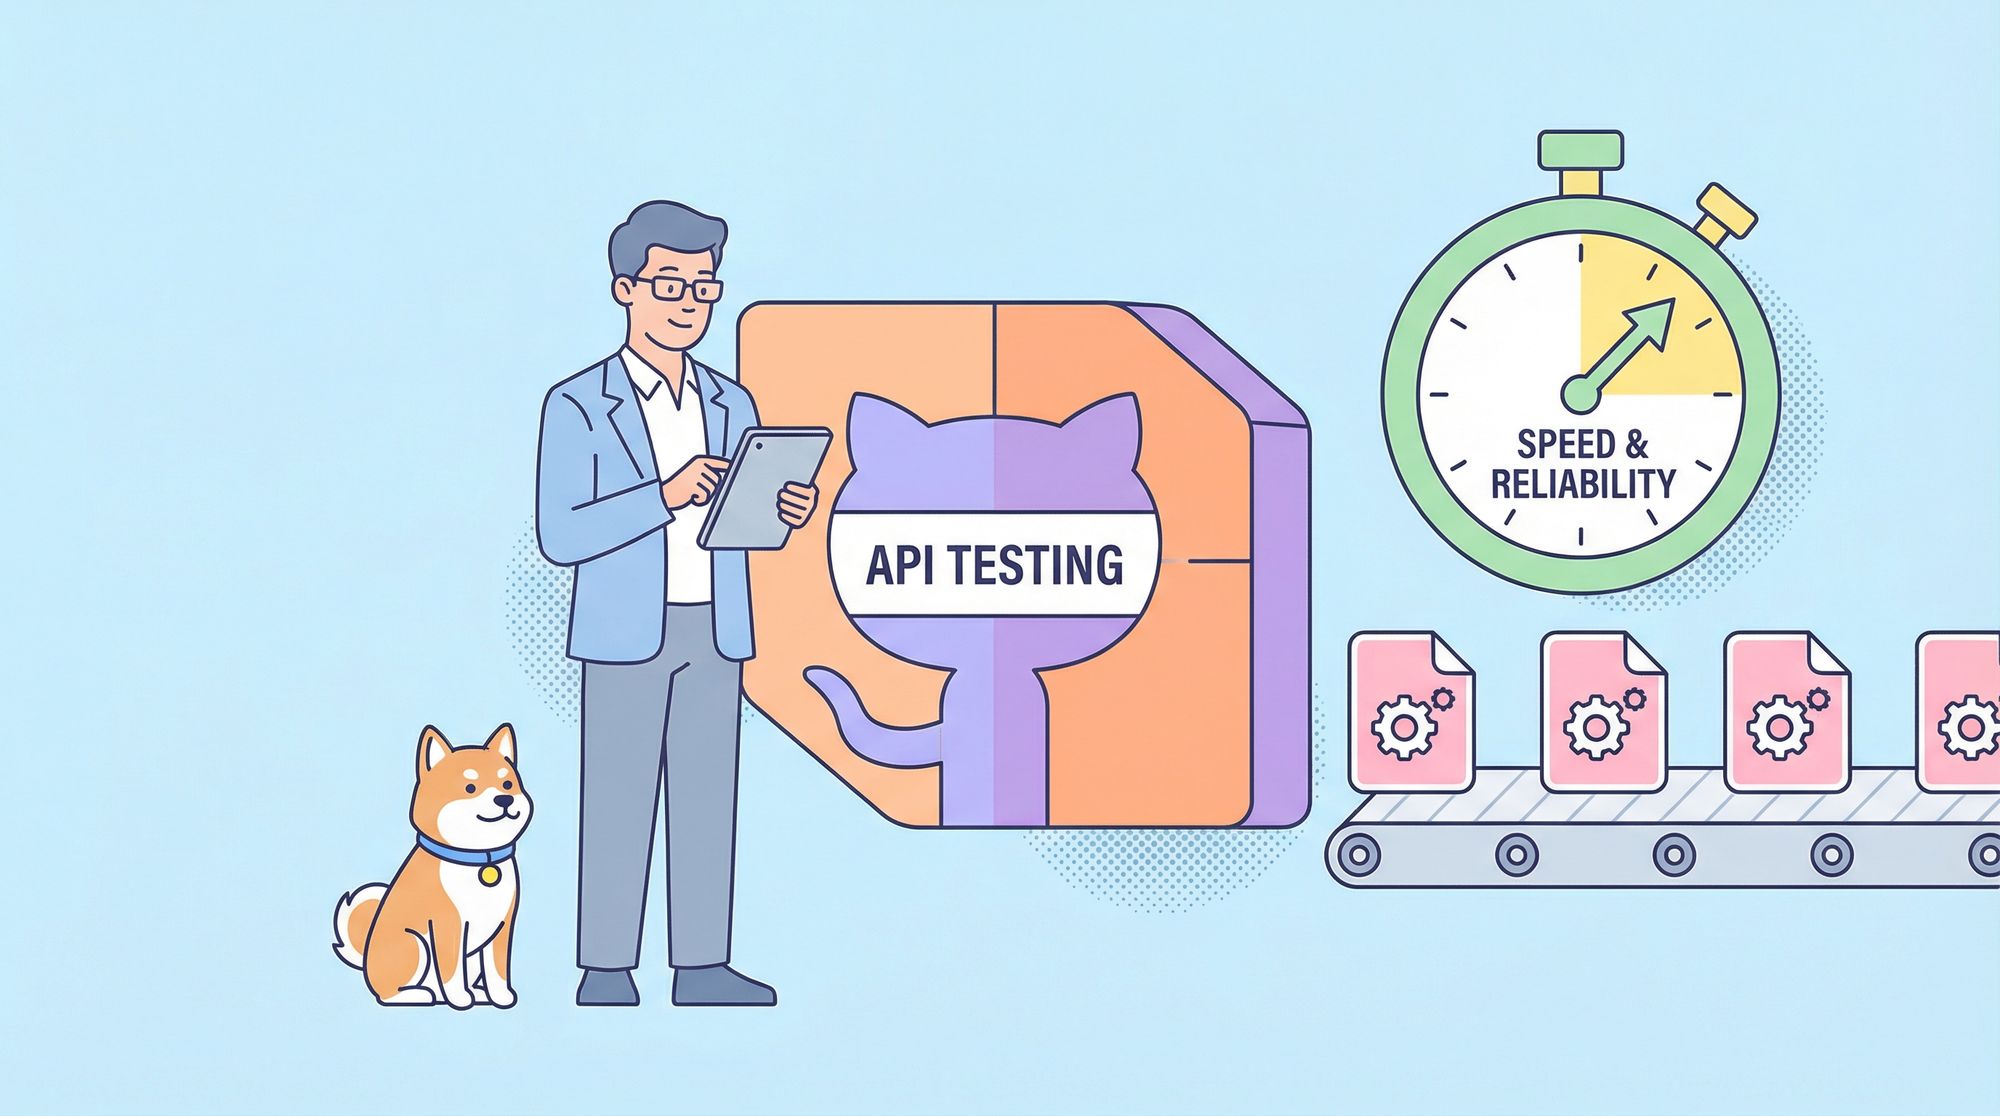
In modern software development, speed and reliability are paramount. As teams push code more frequently, ensuring that your APIs function correctly after every change becomes a critical challenge. Manual testing is too slow and error-prone to keep up with the pace of CI/CD (Continuous Integration/Continuous Deployment) pipelines. This is where Automated API Testing comes in.
By automating your API tests within GitHub Actions, you can catch bugs before they ever reach production, ensuring that every commit is verified against your usage scenarios.
Why Automate API Tests?
- Consistency: Automated tests run the exact same way every time, eliminating human error.
- Speed: Feedback is immediate. Developers know if they broke something minutes after pushing code.
- Confidence: Deploy to production knowing your core API contracts are intact.
The Solution: Apidog + GitHub Actions
While setting up API automation can sometimes be complex, Apidog makes it incredibly straightforward. Apidog is an all-in-one API development platform that not only handles design and documentation but also excels at automated testing.
With its dedicated CI/CD integration, Apidog allows you to generate a GitHub Actions workflow with just a few clicks. You don't need to write complex scripts from scratch; Apidog provides the standardized command-line tools to execute your test scenarios directly within your pipeline.
Step-by-Step Guide: Automating API Tests in GitHub Actions
Here is how you can set up a fully automated API testing pipeline using GitHub Actions and Apidog.
Step 1: Initialize Your GitHub Workflow
First, ensure you have a GitHub repository for your project.
- Log in to GitHub and navigate to your repository.
- Click on the "Actions" tab.
- If you haven't set up a workflow before, click "New workflow".
Step 2: Generate the Configuration in Apidog
Instead of writing the YAML file manually, let Apidog generate it for you.
- Open your project in Apidog.
- Navigate to the "Tests" section and select your test scenario.
- Switch to the "CI/CD" tab.
- Configure your run settings (environment, loop count, etc.).
- Select "GitHub Actions" as your CI/CD provider.
- Click "Copy" to get the workflow code.
Step 3: Add the Workflow to GitHub
- Go back to your GitHub repository's Actions page.
- Create a new workflow file (or edit an existing one).
- Paste the code you copied from Apidog.
- Commit the changes to your repository.
Important: Don't forget to set your $APIDOG_ACCESS_TOKEN as a secret in your GitHub repository settings to keep your credentials secure.The file will be saved under .github/workflows/ and will look something like this:
on: [push, pull_request]This configuration ensures that tests run automatically on every push or pull_request.
Step 4: Run and Monitor
Once committed, the workflow is active. Every time you or your team pushes code, GitHub Actions will trigger the Apidog CLI to run your specified API tests.
You can view the real-time progress and results directly in the Actions tab of your repository.
Conclusion
Automating API tests in GitHub Actions doesn't have to be a headache. By leveraging Apidog, you bridge the gap between API design and automated verification, creating a robust pipeline that safeguards your application's quality with every commit.


