
Managing headers consistently across numerous Postman requests can be a time-consuming and repetitive task. This comprehensive guide delves into two effective approaches that streamline the process, allowing you to focus on the core aspects of API testing.
To learn more about Apidog, click the button below! 👇
This article will explore the functionalities of pre-request scripts and environments, empowering you to automate header inclusion and elevate your workflow. Through the implementation of these techniques, you'll achieve consistent header usage, reduce manual configuration, and promote code reusability for frequently used headers.
What is Postman?
Postman is an API tool applicable to everything API-related. It streamlines the entire development cycle, allowing you to effortlessly build, test, and document your APIs. The platform simplifies API requests and empowers developers to focus on crafting powerful and effective APIs.

Postman's Key Features
1. Collections: Organization Made Easy
Imagine a well-organized filing cabinet for all your API interactions. That's the essence of Postman's Collections. This feature allows you to group related API requests, fostering better organization and simplifying access. Each collection can hold various requests, making it easy to manage complex APIs with multiple endpoints. This structured approach enhances clarity and promotes efficient navigation within your project.
2. Pre-request Scripts: Dynamic Request Control
Pre-request scripts unleash the power of JavaScript within Postman. This feature allows developers to write custom code that executes before an API request is sent. Imagine adding dynamic parameters, manipulating headers based on specific conditions, or setting up authentication tokens – all before the request even leaves your workspace. This level of control empowers you to tailor requests to your specific needs, making them more versatile and adaptable.
3. Environments: Managing Different API Configurations
Real-world APIs often exist in multiple environments, like development, testing, and production. Postman's Environments feature tackles this challenge by allowing you to manage distinct configurations for each environment. Imagine storing environment-specific variables like API base URLs or authentication keys. When switching environments, Postman automatically populates these values into your requests, ensuring you're working with the correct configuration for each stage of development.
4. Testing: Validating API Responses with Confidence
Effective API development hinges on robust testing. Postman integrates a powerful testing framework directly within the platform. This feature allows you to write assertions against API responses, verifying they adhere to your expectations. Imagine testing for specific data structures, validating status codes, or ensuring response times fall within acceptable ranges. By incorporating tests into your workflow, you can proactively identify and address issues, leading to higher-quality APIs.
5. Documentation: Effortless Documentation Generation
API documentation serves as the cornerstone of effective communication between developers and consumers. Postman streamlines this process by allowing you to generate API documentation directly from your collections. As you build your API and organize requests within collections, Postman automatically generates comprehensive documentation, saving you significant time and effort. This documentation can be exported in various formats, making it readily accessible to all stakeholders.
How to Add a Header to All Requests in Postman
Here is a step-by-step demonstration of how you can add a header to all your requests on the Postman application.
Step 1 - Create a Postman Account
Create a new Postman account (only if you do not have one.) and start downloading the Postman application onto your device. The application offers more features than its web version.
Step 2 - Create a New API Request on Postman
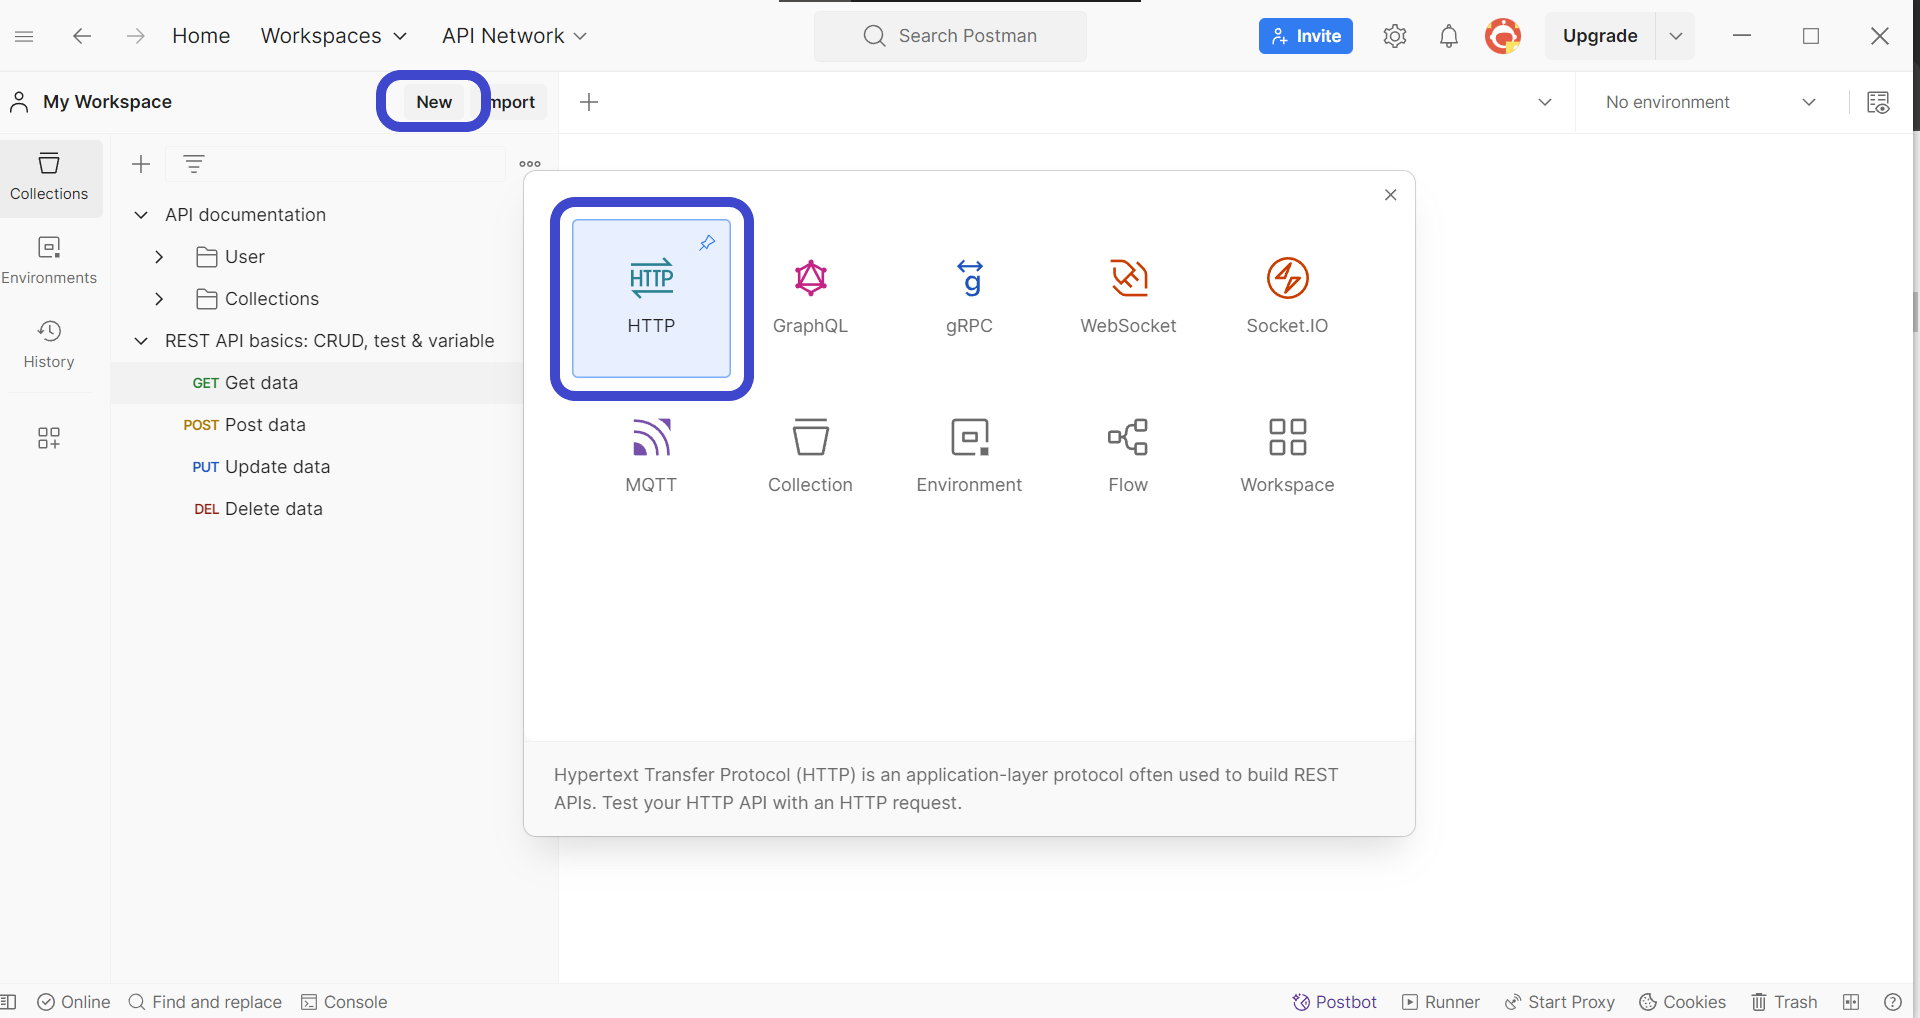
Once you have installed Postman, create a new request by clicking the New button in the top left corner of the Postman window. Select HTTP Request to create a new request, as shown in the image above.
Step 3 - Enter API Method and Details
Next, you need to include the details of the API request you wish to create. It must include components such as the URL, HTTP methods, and additional parameters the API will require.
Step 4 - Add Header to Every Request Using Pre-request Script

Under the Pre-request Script header, add the following syntax:
pm.request.headers.add({key: 'header_name', value: 'header_value' })If you wish to edit or remove it, you can use the following syntaxes:
#Used for updating headers
pm.request.headers.upsert({key: 'header_name', value: 'header_value' })

#Used for removing headers
pm.request.headers.remove('header_name')
Step 5 - Send a Request and Check the Raw Response

To ensure that the headers are applied to all requests, make sure to send the request. Click the Console header to view the raw Postman request, allowing you to view what the computer systems have to process.

Adding Headers to a Collection in Postman

With Postman, you can also add headers to all requests within a single collection. First, press the collection you would like to add headers to, and click the Pre-request Script to add the necessary code for adding headers to your API requests on Postman.
Apidog - Adding Scripts to Pre-processing Stage
Streamline the entire API lifecycle with Apidog, a free and comprehensive development tool. Apidog empowers developers with all the functionalities needed to build, test, mock, and document flawless APIs. Its intuitive user interface ensures a smooth learning curve, making it perfect for beginners and experienced developers alike.

Let's take a look at a couple of Apidog's main features!
Creating APIs Within a Few Clicks with Apidog
Apidog allows developers who have well-prepared their API design to realize their APIs within a few clicks here and there!
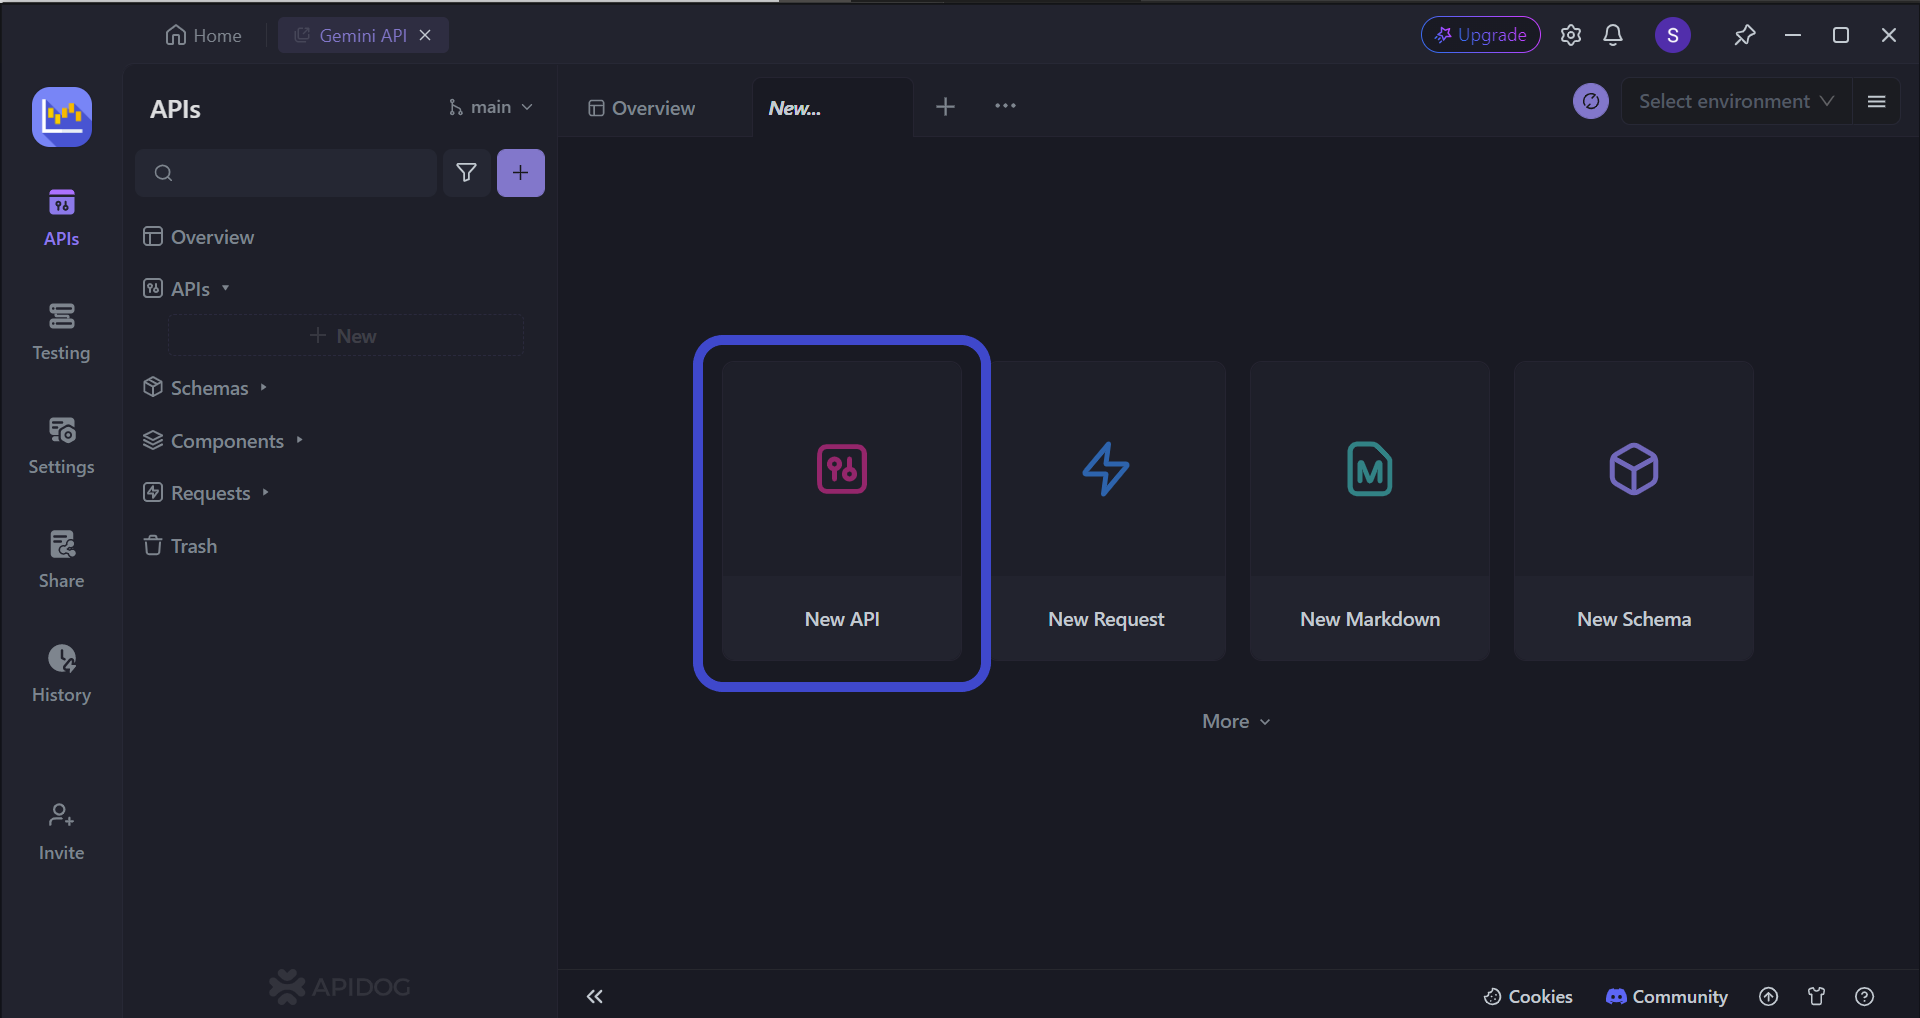
To begin, press the New API button, as shown in the image above.
Next, you can select many of the API's characteristics. On this page, you can:
- Set the HTTP method (GET, POST, PUT, or DELETE)
- Set the API URL (or API endpoint) for client-server interaction
- Include one/multiple parameters to be passed in the API URL
- Provide a description of what functionality the API aims to provide.


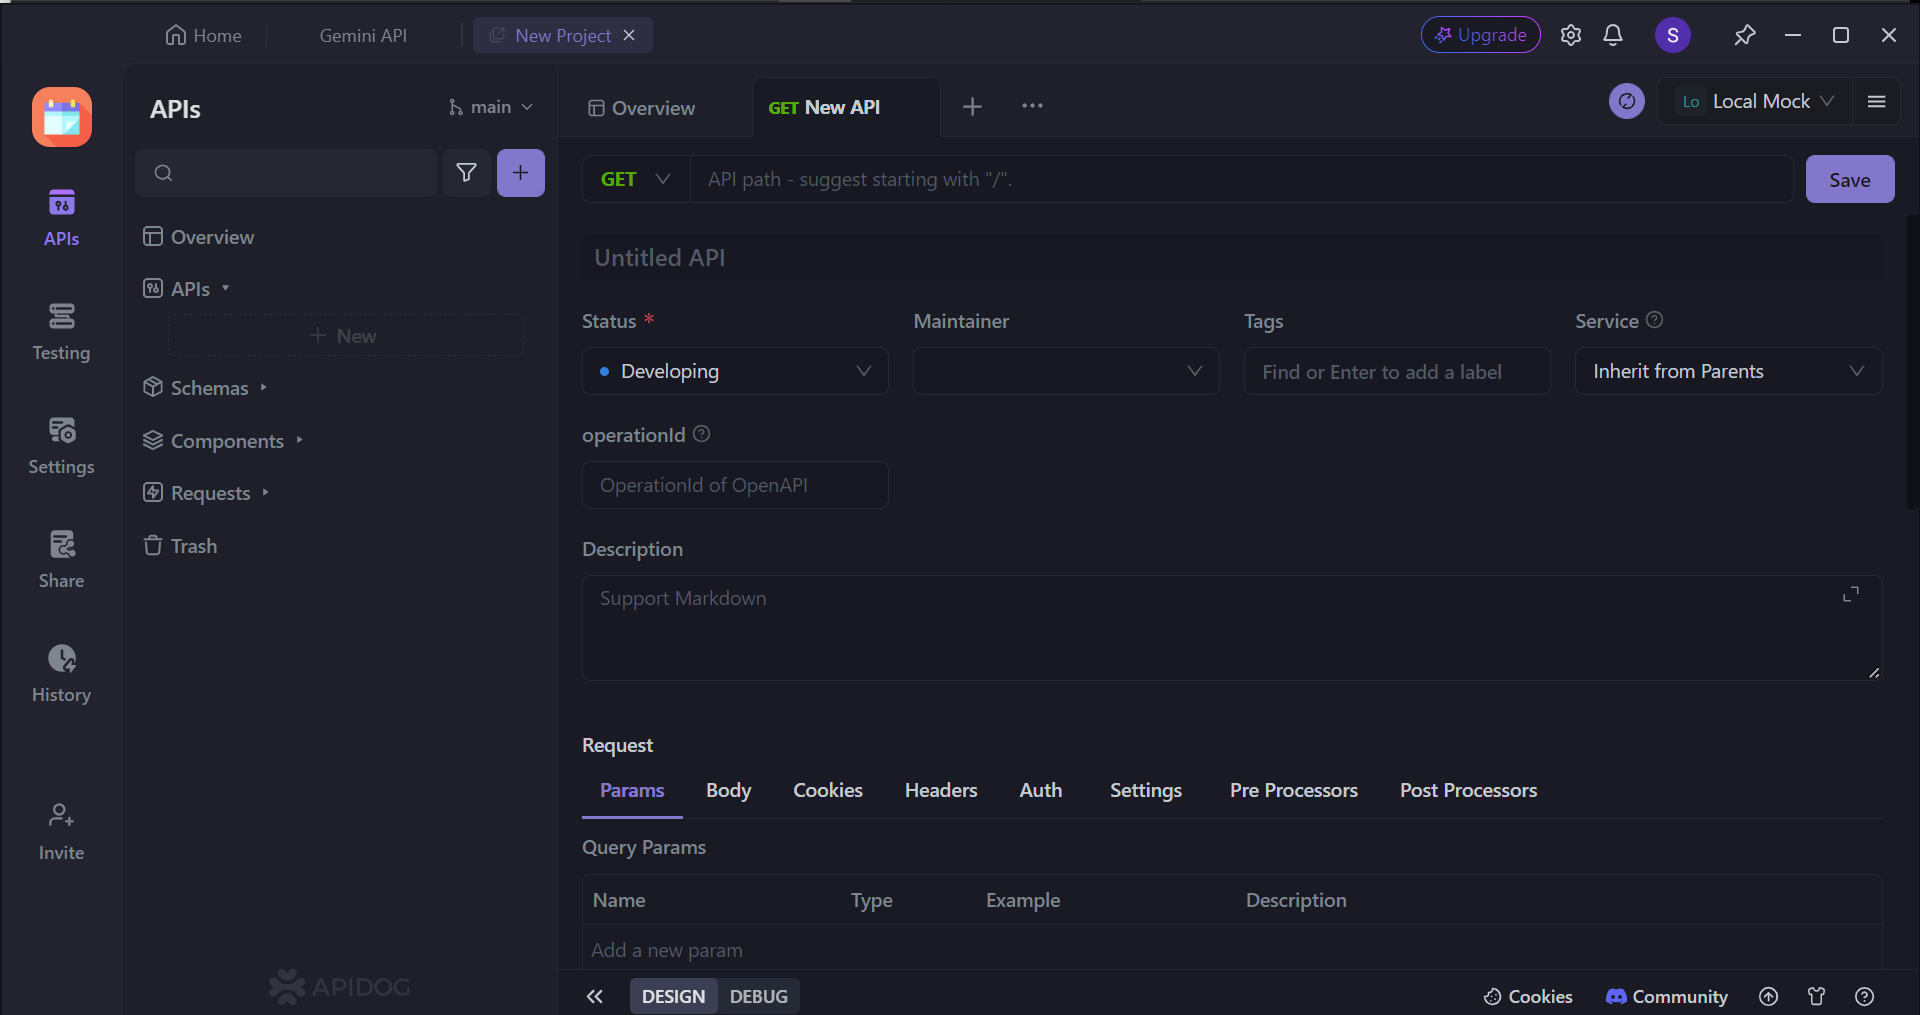
Personalizing APIs with Pre-processor Scripts Using Apidog

Similar to Postman, Apidog permits developers to go the extra mile by setting personal scripts on their APIs. These extra customizations can come in handy, all purely depending on the developer!
All you have to do is click the Pre Processors heading and insert the appropriate code. If you are still relatively new to API development and require some help, don't worry - you can use the code snippet feature, as shown in the image above, to accelerate your API development.
Adding Headers to All API Requests in Apidog

As each project has a root folder containing subfolders of your project, you can also set the headers for all your API requests by creating the appropriate script under the Pre-processing section.
This allows you to save a lot of time, as you no longer have to individually add the scripts for adding a header to API requests.
Conclusion
Mastering the techniques outlined in this guide, you've unlocked the power to automate header inclusion for all requests within your Postman collections. This not only saves you valuable time by eliminating repetitive manual configuration but also ensures consistent header usage across your entire API testing process. This consistency minimizes errors and promotes code reusability for frequently used headers, further streamlining your workflow.
With these newfound capabilities, you can focus on the core aspects of API testing – crafting powerful and effective APIs that meet your project requirements. So, leverage the power of pre-request scripts or environments, and elevate your API testing experience in Postman!


