
認証は、あらゆる最新のウェブアプリケーションの基礎ですが、その設定は開発者が直面する最も時間のかかる課題の1つです。そこで登場するのが、Better Auth APIです。これは、ユーザー管理の実装方法を変革することを約束する、フレームワークに依存しない認証ソリューションです。この包括的なガイドでは、Better Authのパワーとシンプルさを示す完全なフルスタックアプリケーションを、驚異的なパフォーマンスのBunを使用して構築する手順を説明します。
開発チームが最高の生産性で共同作業できる、統合されたオールインワンプラットフォームをお探しですか?
Apidogはあなたのすべての要求に応え、Postmanをはるかに手頃な価格で置き換えます!
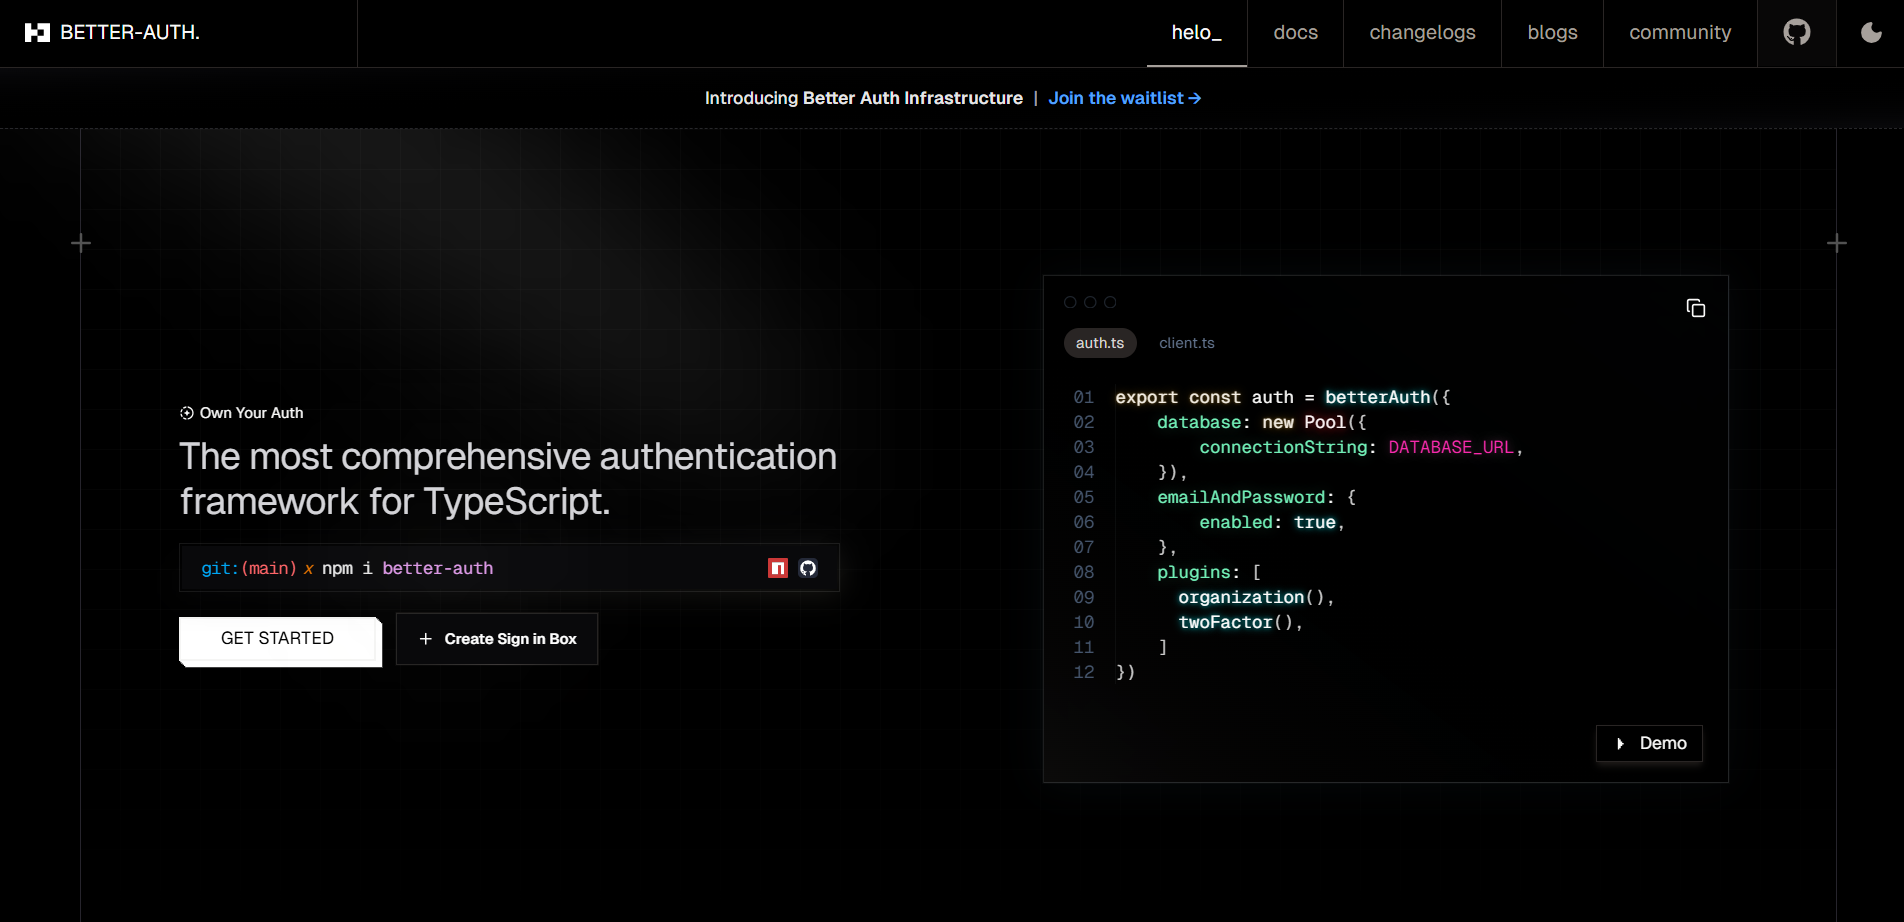
Better Auth APIとは?
Better Auth APIは、あらゆるJavaScript環境でシームレスに動作するように設計された、最新のオープンソース認証フレームワークです。特定のエコシステムに縛り付ける従来の認証ライブラリとは異なり、Better Authは、フロントエンドでReact、Vue、Svelte、またはバニラJavaScriptを使用しているか、バックエンドでNode.js、Bun、またはDenoを使用しているかにかかわらず、スタックに適応する統合APIを提供します。そのプラグインベースのアーキテクチャは、従来のメール/パスワードからOAuthプロバイダー、パスキー、マジックリンクまで、複数の認証戦略をサポートし、タイプセーフティと優れた開発者エクスペリエンスを維持します。
Better Authの始め方:前提条件とプロジェクト設定
コードに入る前に、以下のものがインストールされていることを確認してください。
- Bun 1.0+:このチュートリアルでは、その卓越した速度と最新のツールングのためにBunを使用します。
- Node.js 18+:バックエンドランタイムに必要です。
- コードエディター:TypeScriptサポートのためにVS Codeを推奨します。
この設定はnpmでも完全に機能しますが、ここではBunのワークフローを実演します。Bunは、パッケージのインストールが3〜5倍速く、より合理化された開発エクスペリエンスを提供します。
サンプルプロジェクトの構築:ステップバイステップの実装
ReactフロントエンドとExpressバックエンドを備え、データベース永続性も完備した実用的な認証システムを構築しましょう。
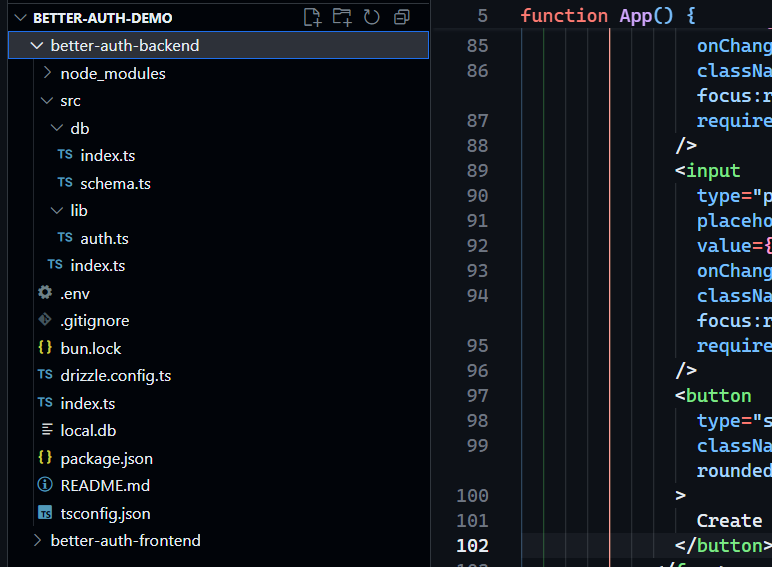
ステップ1:ExpressとDrizzle ORMによるバックエンドのセットアップ
1. バックエンドプロジェクトの初期化
まず、バックエンドディレクトリを作成して移動します。
mkdir better-auth-backend
cd better-auth-backend
bun init -y
2. 依存関係のインストール
サーバーにはExpress、認証にはBetter Auth、データベース管理にはDrizzle ORMが必要です。
bun add express better-auth drizzle-orm
bun add -D @types/bun @types/express drizzle-kit
3. 環境変数の設定
機密性の高い設定を保存するために、`.env`ファイルを作成します。
BETTER_AUTH_SECRET=your-secret-key-here # openssl rand -base64 32 で生成
BETTER_AUTH_URL=http://localhost:3000
DATABASE_URL=local.db
*BETTER_AUTH_SECRET*は、better-authのウェブサイトでも生成できます。
4. Drizzle ORMでデータベーススキーマを作成
Better AuthはDrizzleと最も相性が良く、Drizzleは優れたTypeScriptサポートを提供し、ネイティブモジュールの問題を回避します。`src/db/schema.ts`を作成します。
import { sqliteTable, text, integer } from "drizzle-orm/sqlite-core";

export const user = sqliteTable("user", {
  id: text("id").primaryKey(),
  name: text('name').notNull(),
  email: text('email').notNull().unique(),
  emailVerified: integer('email_verified', { mode: 'boolean' }).notNull().default(false),
  image: text('image'),
  createdAt: integer('created_at', { mode: 'timestamp' }).notNull(),
  updatedAt: integer('updated_at', { mode: 'timestamp' }).notNull(),
});

export const session = sqliteTable("session", {
  id: text("id").primaryKey(),
  expiresAt: integer('expires_at', { mode: 'timestamp' }).notNull(),
  token: text('token').notNull().unique(),
  createdAt: integer('created_at', { mode: 'timestamp' }).notNull(),
  userId: text('user_id').notNull(),
});

export const account = sqliteTable("account", {
  id: text("id").primaryKey(),
  accountId: text('account_id').notNull(),
  providerId: text('provider_id').notNull(),
  userId: text('user_id').notNull(),
  accessToken: text('access_token'),
  refreshToken: text('refresh_token'),
  createdAt: integer('created_at', { mode: 'timestamp' }).notNull(),
});

export const verification = sqliteTable("verification", {
  id: text("id").primaryKey(),
  identifier: text('identifier').notNull(),
  value: text('value').notNull(),
  expiresAt: integer('expires_at', { mode: 'timestamp' }).notNull(),
});
5. データベース接続の設定
BunのネイティブSQLiteバインディングを使用して`src/db/index.ts`を作成します。
import { Database } from "bun:sqlite";
import { drizzle } from "drizzle-orm/bun-sqlite";

const sqlite = new Database("local.db");
export const db = drizzle(sqlite);
6. Better Auth設定のセットアップ
Better Auth APIを設定するために`src/lib/auth.ts`を作成します。
import { betterAuth } from "better-auth";
import { drizzleAdapter } from "better-auth/adapters/drizzle";
import { db } from "../db";
import { user, session, account, verification } from "../db/schema";

export const auth = betterAuth({
  database: drizzleAdapter(db, {
    provider: "sqlite",
    schema: {
      user: user,
      session: session,
      account: account,
      verification: verification,
    },
  }),
  emailAndPassword: {
    enabled: true,
  },
  trustedOrigins: ["http://localhost:5173"],
});
7. Expressサーバーの作成
`src/index.ts`で、Better Auth APIハンドラーをマウントします。
import express from "express";
import cors from "cors";
import { toNodeHandler } from "better-auth/node";
import { auth } from "./lib/auth";

const app = express();
const PORT = process.env.PORT || 3000;

app.use(
  cors({
    origin: "http://localhost:5173",
    credentials: true,
  })
);

// /api/auth に Better Auth API をマウント
app.use("/api/auth", toNodeHandler(auth));
app.use(express.json());

app.get("/api/me", async (req, res) => {
  const session = await auth.api.getSession({
    headers: req.headers,
  });

  if (!session) {
    return res.status(401).json({ error: "Unauthorized" });
  }

  res.json({ user: session.user });
});

app.listen(PORT, () => {
  console.log(`Server running on http://localhost:${PORT}`);
});
8. データベースマイグレーションの実行
バックエンドのルートに`drizzle.config.ts`を作成します。
import { defineConfig } from "drizzle-kit";

export default defineConfig({
  dialect: "sqlite",
  schema: "./src/db/schema.ts",
  out: "./drizzle",
  dbCredentials: {
    url: "local.db",
  },
});
テーブルを作成するためにマイグレーションを実行します。
bunx drizzle-kit push
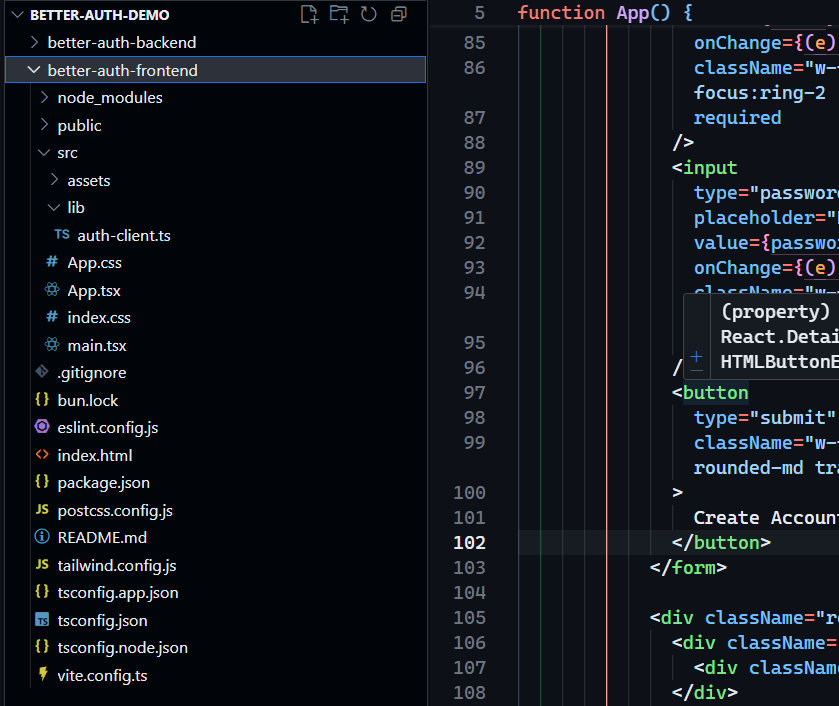
ステップ2:ReactとViteによるフロントエンドのセットアップ
1. Reactアプリケーションの作成
新しいターミナルで、フロントエンドを初期化します。
bun create vite better-auth-frontend --template react-ts
cd better-auth-frontend
2. 依存関係のインストール
bun add better-auth
3. Tailwind CSSの設定(V4アップデート)
Tailwind CSS v4以降では、異なるセットアップが必要です。新しいパッケージをインストールします。
bun add -D tailwindcss postcss @tailwindcss/postcss
プロジェクトルートに`tailwind.config.js`を作成します。
/** @type {import('tailwindcss').Config} */
export default {
  content: [
    "./index.html",
    "./src/**/*.{js,ts,jsx,tsx}",
  ],
  theme: {
    extend: {},
  },
  plugins: [],
}
`postcss.config.js`を作成します。
export default {
  plugins: {
    "@tailwindcss/postcss": {},
  },
}
`src/index.css`を作成します。
@import "tailwindcss";

body {
  margin: 0;
  font-family: system-ui, -apple-system, sans-serif;
}
4. Better Authクライアントのセットアップ
`src/lib/auth-client.ts`を作成します。
import { createAuthClient } from "better-auth/react";

export const authClient = createAuthClient({
  baseURL: "http://localhost:3000",
});

export const { signIn, signUp, useSession } = authClient;
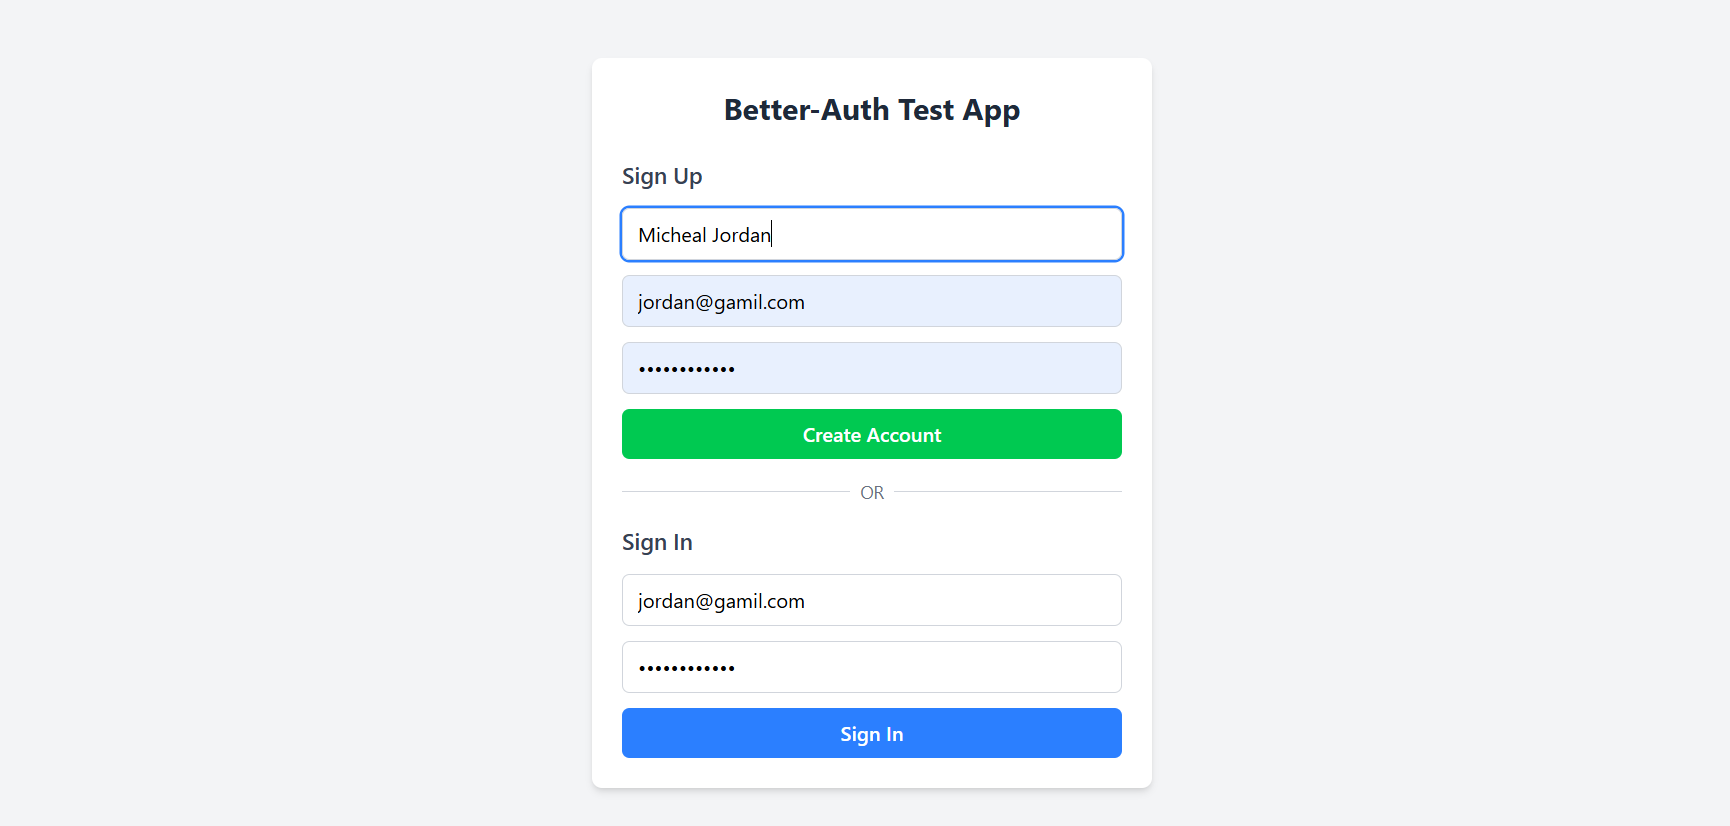
5. 認証UIの構築
`src/App.tsx`を完全な認証インターフェースに置き換えます。
import { useState } from 'react';
import { useSession, signIn, signUp } from './lib/auth-client';
function App() {
const { data: session, isPending } = useSession();
const [email, setEmail] = useState('');
const [password, setPassword] = useState('');
const [name, setName] = useState('');
const handleSignUp = async (e: React.FormEvent) => {
e.preventDefault();
await signUp.email({
name,
email,
password,
callbackURL: '/',
});
};
const handleSignIn = async (e: React.FormEvent) => {
e.preventDefault();
await signIn.email({
email,
password,
});
};
const handleSignOut = async () => {
await authClient.signOut();
};
if (isPending) return <div className="flex items-center justify-center min-h-screen">読み込み中...</div>;
return (
<div className="min-h-screen bg-gray-100 flex items-center justify-center p-4">
<div className="max-w-md w-full bg-white rounded-lg shadow-md p-6">
<h1 className="text-2xl font-bold text-center mb-6 text-gray-800">
Better Auth API テスト
</h1>
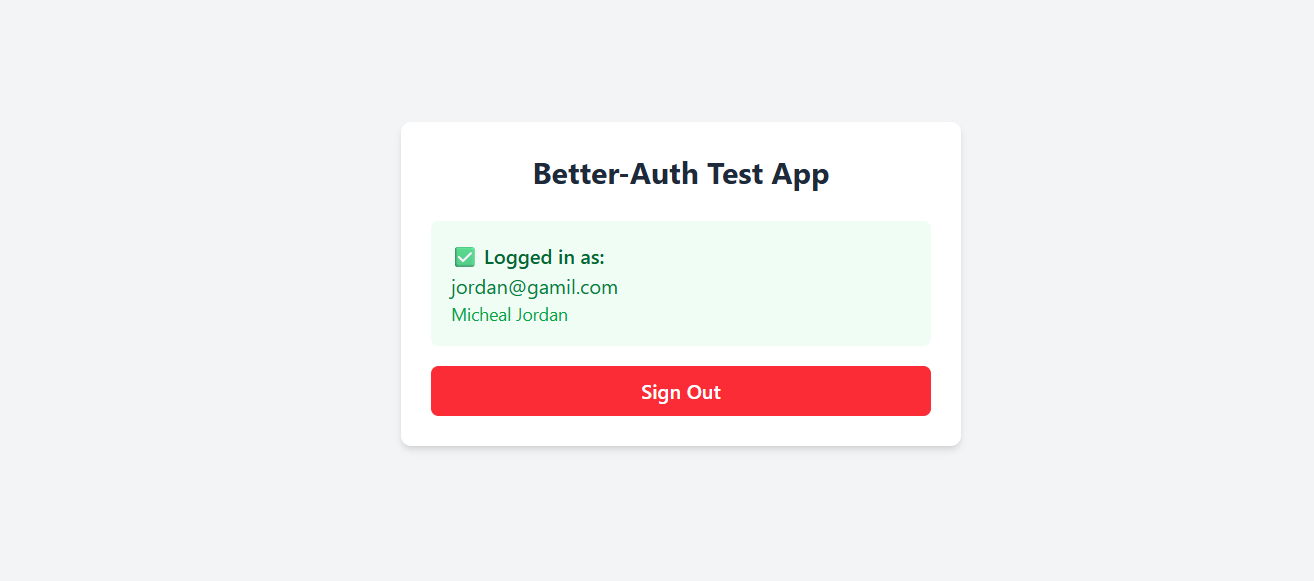
{session?.user ? (
<div className="space-y-4">
<div className="bg-green-50 p-4 rounded-md">
<p className="text-green-800 font-semibold">ログイン済み:</p>
<p className="text-green-700">{session.user.email}</p>
<p className="text-green-600 text-sm">{session.user.name}</p>
</div>
<button
onClick={handleSignOut}
className="w-full bg-red-500 hover:bg-red-600 text-white font-medium py-2 px-4 rounded-md transition"
>
サインアウト
</button>
</div>
) : (
<div className="space-y-4">
<form onSubmit={handleSignUp} className="space-y-3">
<h2 className="text-lg font-semibold text-gray-700">サインアップ</h2>
<input
type="text"
placeholder="名前"
value={name}
onChange={(e) => setName(e.target.value)}
className="w-full px-3 py-2 border border-gray-300 rounded-md focus:outline-none focus:ring-2 focus:ring-blue-500"
required
/>
<input
type="email"
placeholder="メールアドレス"
value={email}
onChange={(e) => setEmail(e.target.value)}
className="w-full px-3 py-2 border border-gray-300 rounded-md focus:outline-none focus:ring-2 focus:ring-blue-500"
required
/>
<input
type="password"
placeholder="パスワード"
value={password}
onChange={(e) => setPassword(e.target.value)}
className="w-full px-3 py-2 border border-gray-300 rounded-md focus:outline-none focus:ring-2 focus:ring-blue-500"
required
/>
<button
type="submit"
className="w-full bg-green-500 hover:bg-green-600 text-white font-medium py-2 px-4 rounded-md transition"
>
アカウント作成
</button>
</form>
<form onSubmit={handleSignIn} className="space-y-3">
<h2 className="text-lg font-semibold text-gray-700">サインイン</h2>
<input
type="email"
placeholder="メールアドレス"
value={email}
onChange={(e) => setEmail(e.target.value)}
className="w-full px-3 py-2 border border-gray-300 rounded-md focus:outline-none focus:ring-2 focus:ring-blue-500"
required
/>
<input
type="password"
placeholder="パスワード"
value={password}
onChange={(e) => setPassword(e.target.value)}
className="w-full px-3 py-2 border border-gray-300 rounded-md focus:outline-none focus:ring-2 focus:ring-blue-500"
required
/>
<button
type="submit"
className="w-full bg-blue-500 hover:bg-blue-600 text-white font-medium py-2 px-4 rounded-md transition"
>
サインイン
</button>
</form>
</div>
)}
</div>
</div>
);
}
export default App;
ステップ3:統合のテスト
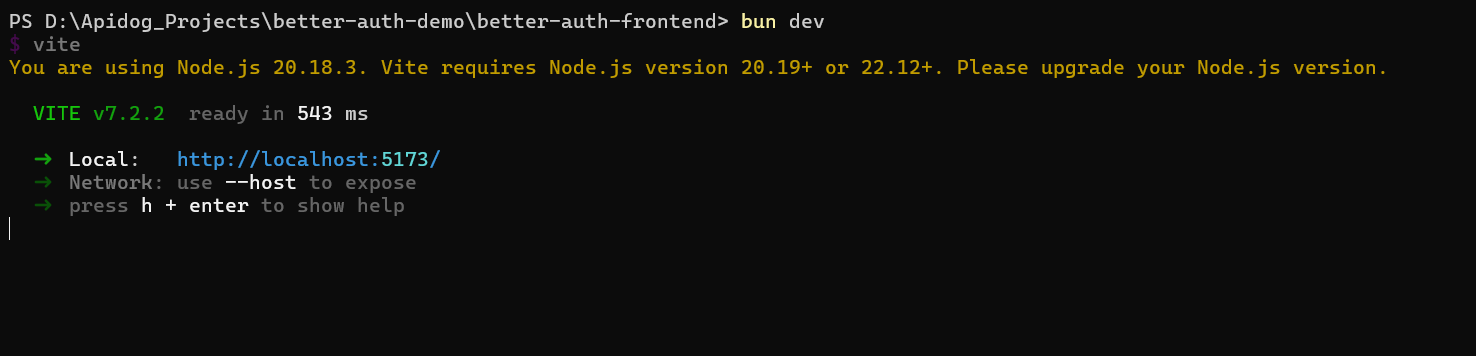
1. バックエンドサーバーの起動
cd better-auth-backend
bun dev

2. フロントエンド開発の開始
cd better-auth-frontend
bun dev
3. 認証フローのテスト
- ブラウザで`http://localhost:5173`を開きます
- サインアップフォームを使用して新しいユーザーを登録します
- テーブルが入力されるにつれてデータベースファイルが大きくなることを確認します
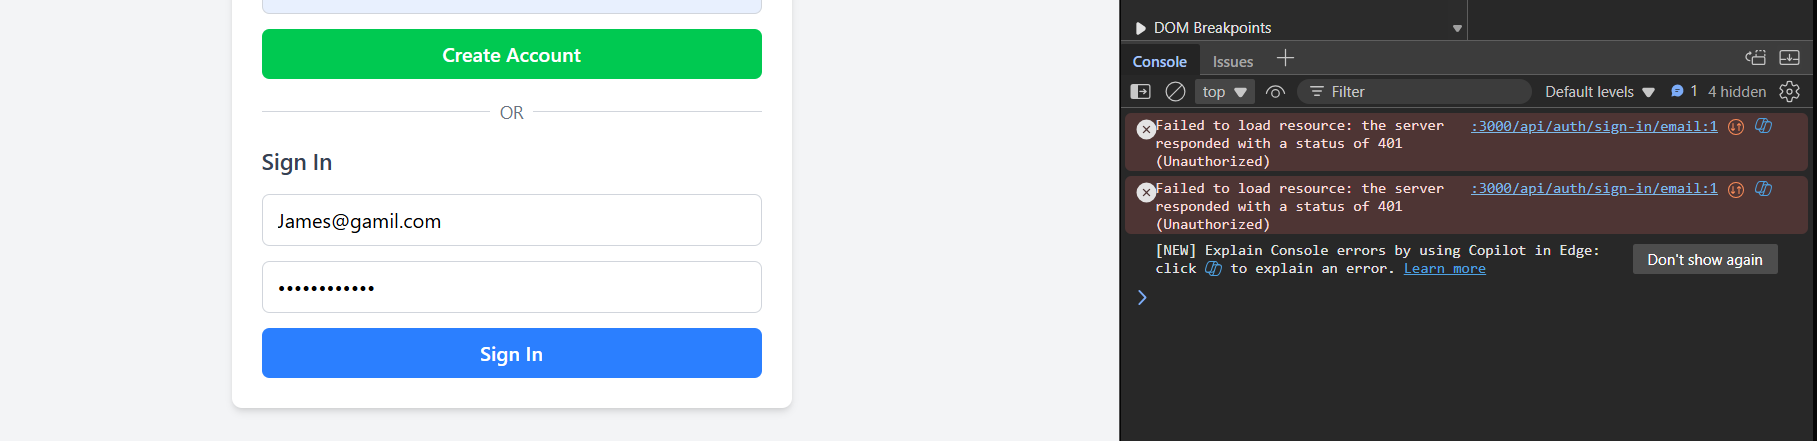
- サインアウトして再度サインインし、セッション管理を確認します
- セッションエンドポイントを確認します:`http://localhost:3000/api/auth/session`
Better Auth APIの主な利点
Better Auth APIは、いくつかの魅力的な利点によって際立っています。
- フレームワーク非依存:NextAuth.jsやFirebase Authとは異なり、Better AuthはJavaScriptが動作するあらゆる場所で機能します。同じ認証ロジックが、変更なしにウェブ、モバイル、APIクライアントにサービスを提供します。
- 複数の認証戦略:資格情報、OAuth 2.0、パスキー、二要素認証、マジックリンクをすぐにサポートします。各戦略は、1行の設定で有効にできるプラグインです。
- タイプセーフティ:データベーススキーマからの型推論による完全なTypeScriptサポートにより、認証コードベースでよく見られる「any」型地獄を排除します。
- データベースの柔軟性:Drizzle ORMアダプターを使用すると、認証ロジックを変更することなく、SQLite、PostgreSQL、MySQLを切り替えることができます。このチュートリアルではシンプルさのためにSQLiteを使用していますが、同じコードは本番データベースにもスケールします。
- プラグインエコシステム:組織サポートが必要ですか?マルチテナンシー?管理者ロール?Better Authのプラグインシステムにより、コアを肥大化させることなく機能を拡張できます。
- パフォーマンス:Bunをランタイムとして使用すると、コールドスタートは100ms未満で、控えめなハードウェアでも認証フロー全体が50ms未満で完了します。
よくある質問
Q1:Better Auth APIをBunの代わりにnpmで使用できますか?
回答: もちろんです。このガイドではパフォーマンス上の利点からBunを使用していますが、すべてのコマンドにはnpmの同等なものがあります。`bun add`を`npm install`に、`bun dev`を`npm run dev`に、`bunx`を`npx`に置き換えてください。Bun固有のコードは`bun:sqlite`のインポートのみで、これはNode.js環境では`better-sqlite3`に置き換えることができます。
Q2:なぜDrizzle ORMが必要だったのですか?Better Authは自動的にテーブルを作成できないのですか?
回答: Better Authは、明示的なデータベース管理の原則に従っています。Drizzleはタイプセーフなマイグレーション、スキーマバージョン管理を提供し、偶発的なデータ損失を防ぎます。`drizzle-kit push`コマンドは、データベースの進化を完全に制御できる一度限りのセットアップです。
Q3:「Missing parameter name」エラーが発生した場合はどうすればよいですか?
回答: これは、Expressでワイルドカードと共に`app.all()`を使用した場合に発生します。解決策は、代わりに`app.use("/api/auth", toNodeHandler(auth))`を使用することです。Better Authのハンドラーはすべてのサブルートを内部で管理するため、Expressはワイルドカードマッチングを必要としません。
Q4:ソーシャル認証プロバイダーを追加するにはどうすればよいですか?
回答: Better Authの設定でOAuthプラグインを有効にします。例えば、GitHubを追加するには:
import { betterAuth } from "better-auth";
import { github } from "better-auth/plugins";

export const auth = betterAuth({
  plugins: [
    github({
      clientId: process.env.GITHUB_CLIENT_ID,
      clientSecret: process.env.GITHUB_CLIENT_SECRET,
    })
  ]
});
Q5:Better Auth APIは本番環境に対応していますか?
回答: はい。Better Authは、数千人のユーザーを持ついくつかのSaaS製品の認証を支えています。このフレームワークは、安全なセッション管理、CSRF保護を実装し、OWASPガイドラインに準拠しています。ただし、常に独自の特定の実装を監査し、依存関係を最新の状態に保つようにしてください。
結論
Better Auth APIのような最新のソリューションがあれば、認証をゼロから構築する必要はもうありません。このガイドでは、データベーススキーマからUIコンポーネントまで、完全な認証システムを数分で作成しました!Better Authの柔軟性、Drizzle ORMのタイプセーフティ、そしてBunのパフォーマンスの組み合わせは、プロトタイプから本番環境までスケールする開発者エクスペリエンスを生み出します。
このステップバイステップのプロセスは、認証が重要である一方で、複雑である必要はないことを示しています。Better Authのプラグインアーキテクチャとフレームワーク非依存の設計を活用することで、セキュリティの実装に苦労するのではなく、ユーザーにとって重要な機能の構築に集中できます。
サイドプロジェクトを構築している場合でも、エンタープライズアプリケーションを構築している場合でも、Better Auth APIは、あなたのニーズに適応する安全でスケーラブルな認証の基盤を提供します。逆ではありません。
開発チームが最高の生産性で共同作業できる、統合されたオールインワンプラットフォームをお探しですか?
Apidogはあなたのすべての要求に応え、Postmanをはるかに手頃な価格で置き換えます!