Zed AI CodeEditor represents a cutting-edge tool tailored for developers seeking performance, collaboration, and AI-driven productivity. This technical guide dives into installing and utilizing Zed AI CodeEditor, targeting beginners who want a robust yet accessible entry into this high-performance, multiplayer code editor. We’ll explore its installation process, core functionalities, advanced features, and how it integrates with complementary tools like Apidog.
What is Zed AI CodeEditor?
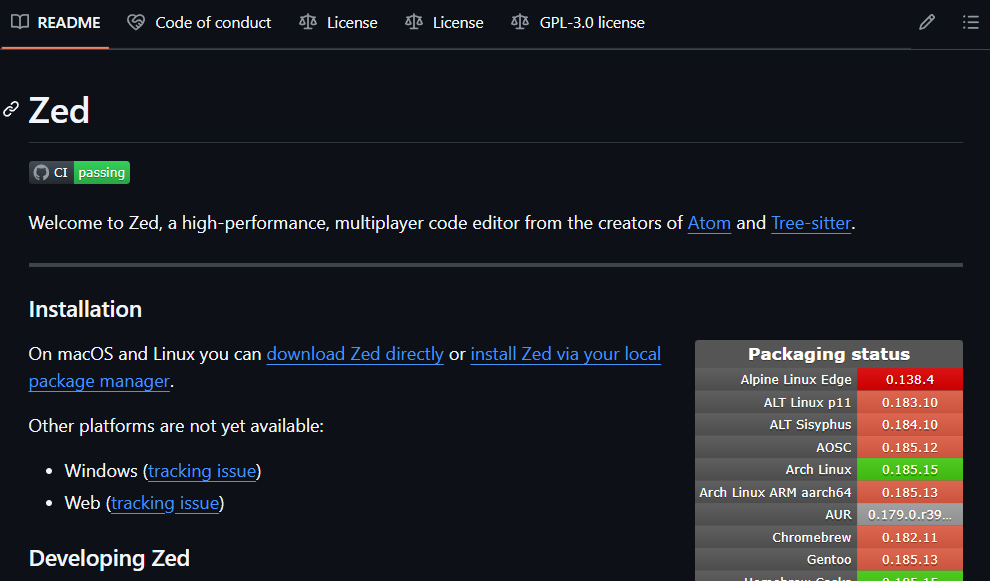
Zed AI CodeEditor is a modern, high-performance code editor developed by the team behind Atom and Tree-sitter. Built using Rust, Zed leverages multi-core CPU capabilities and GPU acceleration to deliver exceptional speed, even with large codebases. This editor distinguishes itself with multiplayer functionality, enabling real-time collaboration among developers, and integrates AI tools to enhance coding efficiency.
Key features include:
- Multiplayer collaboration: Developers can edit code simultaneously, chat, and share screens within the editor.
- Remote development: Zed runs its UI locally while executing code on remote servers, optimizing resource-heavy tasks.
- Multibuffers: This feature allows users to aggregate code excerpts from multiple files into one editable view.
- AI integration: Zed supports agentic editing with AI models like Zeta, its open-source language model, for code generation and analysis.
- Language support: It utilizes Tree-sitter, WebAssembly, and the Language Server Protocol (LSP) for broad language compatibility.
Transitioning to its purpose, Zed targets developers who prioritize speed, teamwork, and innovation in their coding environment.
Why Choose Zed AI CodeEditor?
Several compelling reasons position Zed AI CodeEditor as a top choice for developers. First, its performance excels due to Rust’s efficient memory management and Zed’s use of hardware acceleration. This ensures smooth operation, even when handling extensive projects or files exceeding thousands of lines.
Next, Zed’s collaboration features redefine teamwork. Multiple users can edit the same codebase in real time, akin to Google Docs for code, with integrated chat and screen-sharing capabilities. This proves invaluable for remote teams or pair programming scenarios.
Additionally, Zed’s AI integration accelerates development. By embedding tools like Zeta, it offers code suggestions, auto-generates snippets, and predicts edits, reducing manual effort. Moreover, its remote development support offloads heavy computations to servers, maintaining a responsive local UI.
Finally, Zed’s open-source nature fosters extensibility. Developers can customize it with extensions, tailoring the editor to specific workflows. Consequently, Zed suits both solo coders and collaborative teams seeking a versatile, high-speed editor.
Installation Guide
Installing Zed AI CodeEditor requires straightforward steps, though the process varies by operating system. Below, we detail the installation for macOS, Linux, and Windows, ensuring you can set up Zed efficiently.
Installing Zed on macOS
To install Zed on macOS, follow these steps:
- Navigate to the Zed download page and download the latest stable
.dmgfile. - Open the downloaded
.dmgfile from your Downloads folder. - Drag the Zed icon into the Applications folder to complete the installation.
- Launch Zed from Applications; it will auto-update as needed.
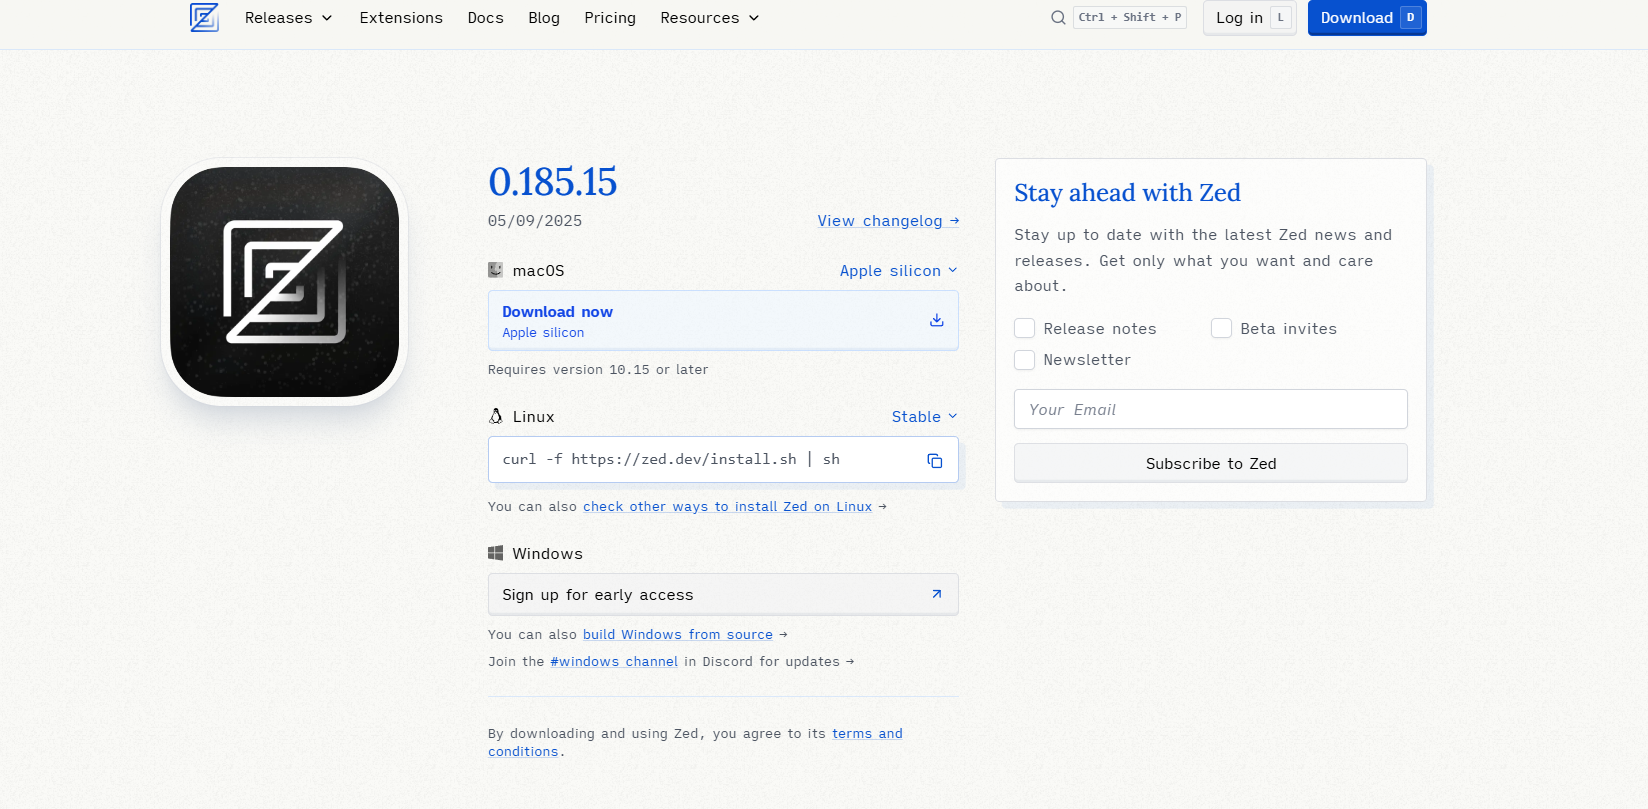
For those wanting cutting-edge features, download the preview build from the releases page.
Installing Zed on Linux
Linux users can install Zed via a shell script. Execute these commands:
Open your terminal.
Install the stable version with:
curl -f https://zed.dev/install.sh | sh
Alternatively, for the preview version, run:
curl -f https://zed.dev/install.sh | ZED_CHANNEL=preview sh
This script supports distributions like Ubuntu, Arch, and Debian. If issues arise, consult the Linux documentation.
Installing Zed on Windows
Windows support remains under development, lacking official binaries. However, you can build Zed from source:
Clone the repository:
git clone https://github.com/zed-industries/zed.git
Enter the directory and build using Cargo:
cd zed
cargo build -p remote_server --release
Run the compiled binary from the command line.
Monitor progress via the #windows Discord channel or GitHub issues.
With installation complete, let’s explore Zed’s basic usage.
Basic Usage
Mastering Zed AI CodeEditor begins with understanding its core operations. This section covers opening files, navigating the interface, and leveraging the command palette.
Opening Files and Projects
Zed supports opening files or directories via the CLI or GUI. First, install the Zed CLI:
Launch Zed.
Select Zed > Install CLI from the menu (macOS).
Open a terminal and run:
zed /path/to/project
Alternatively, use File > Open within Zed to select a file or folder.
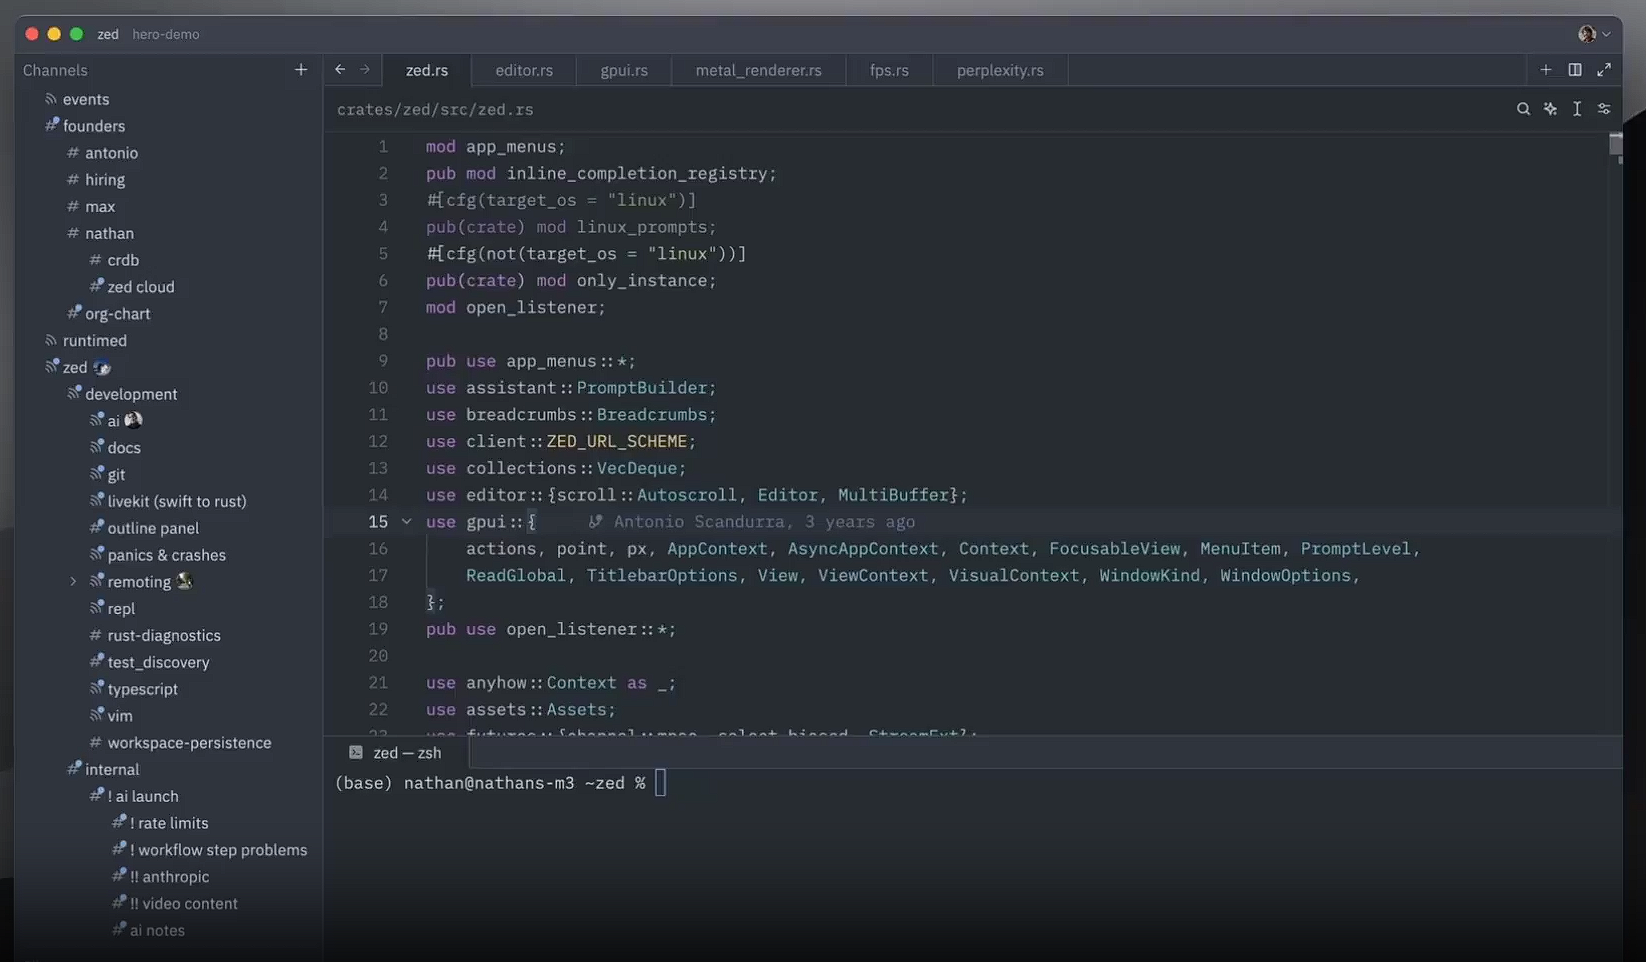
Navigating the Interface
Zed’s interface prioritizes simplicity and functionality:
- Editor pane: Your primary coding area.
- Tab bar: Displays open files and multibuffers.
- Status bar: Shows file details, git branch, and language mode.
- Command palette: Access it with
cmd-shift-p(macOS) orctrl-shift-p(Linux).
This layout ensures quick access to essential tools.
Using the Command Palette
The command palette serves as Zed’s control hub. Open it with cmd-shift-p (macOS) or ctrl-shift-p (Linux), then:
- Type "new file" to create a file via workspace: new file.
- Search "open settings" to adjust configurations.
- Enter "run task" to execute predefined tasks.
This tool streamlines navigation and command execution.
Customizing Settings
Customize Zed by editing its settings file. Open it with cmd-, (macOS) or ctrl-, (Linux). Modify preferences like:
- Theme: Switch between light and dark modes.
- Font: Adjust size and family.
- Keybindings: Reassign shortcuts.
For defaults, use the command palette and select "zed: open default settings". Now, let’s advance to Zed’s powerful features.
Advanced Features
Zed AI CodeEditor shines with its advanced capabilities, enhancing productivity for technical users. We’ll examine remote development, multibuffers, and AI integration.
Remote Development
Zed’s remote development feature separates the UI from the codebase, running the latter on a server. Set it up as follows:
- Verify SSH access to your remote server.
- Open Zed and use the command palette (
cmd-shift-porctrl-shift-p). - Select
zed: open remote projects. - Input server details (host, SSH keys).
Zed then connects, rendering the UI locally while executing code remotely, ideal for resource-intensive tasks.
Multibuffers
Multibuffers consolidate code snippets into one view. Create one by:
- Opening the command palette.
- Selecting "multibuffer: new".
- Adding excerpts from files.
Edit the multibuffer directly; changes sync to original files upon saving. This feature excels for refactoring or cross-file edits.
AI Integration
Zed’s AI tools, powered by models like Zeta, enhance coding. Configure them in settings:
Open settings (cmd-, or ctrl-,).
Add under "agent":
"agent": {
  "version": "2",
  "enabled": true,
  "default_model": {
    "provider": "zed.dev",
    "model": "claude-3-7-sonnet-latest"
  }
}
Activate features like:
- Edit prediction: Anticipates your next changes.
- Code generation: Produces snippets from prompts.
- Inline assistance: Offers real-time suggestions.
These capabilities streamline development significantly.
Comparison with Apidog
Zed AI CodeEditor excels at code editing, but it doesn’t cover API development tasks like design or testing. Here, Apidog complements it effectively.
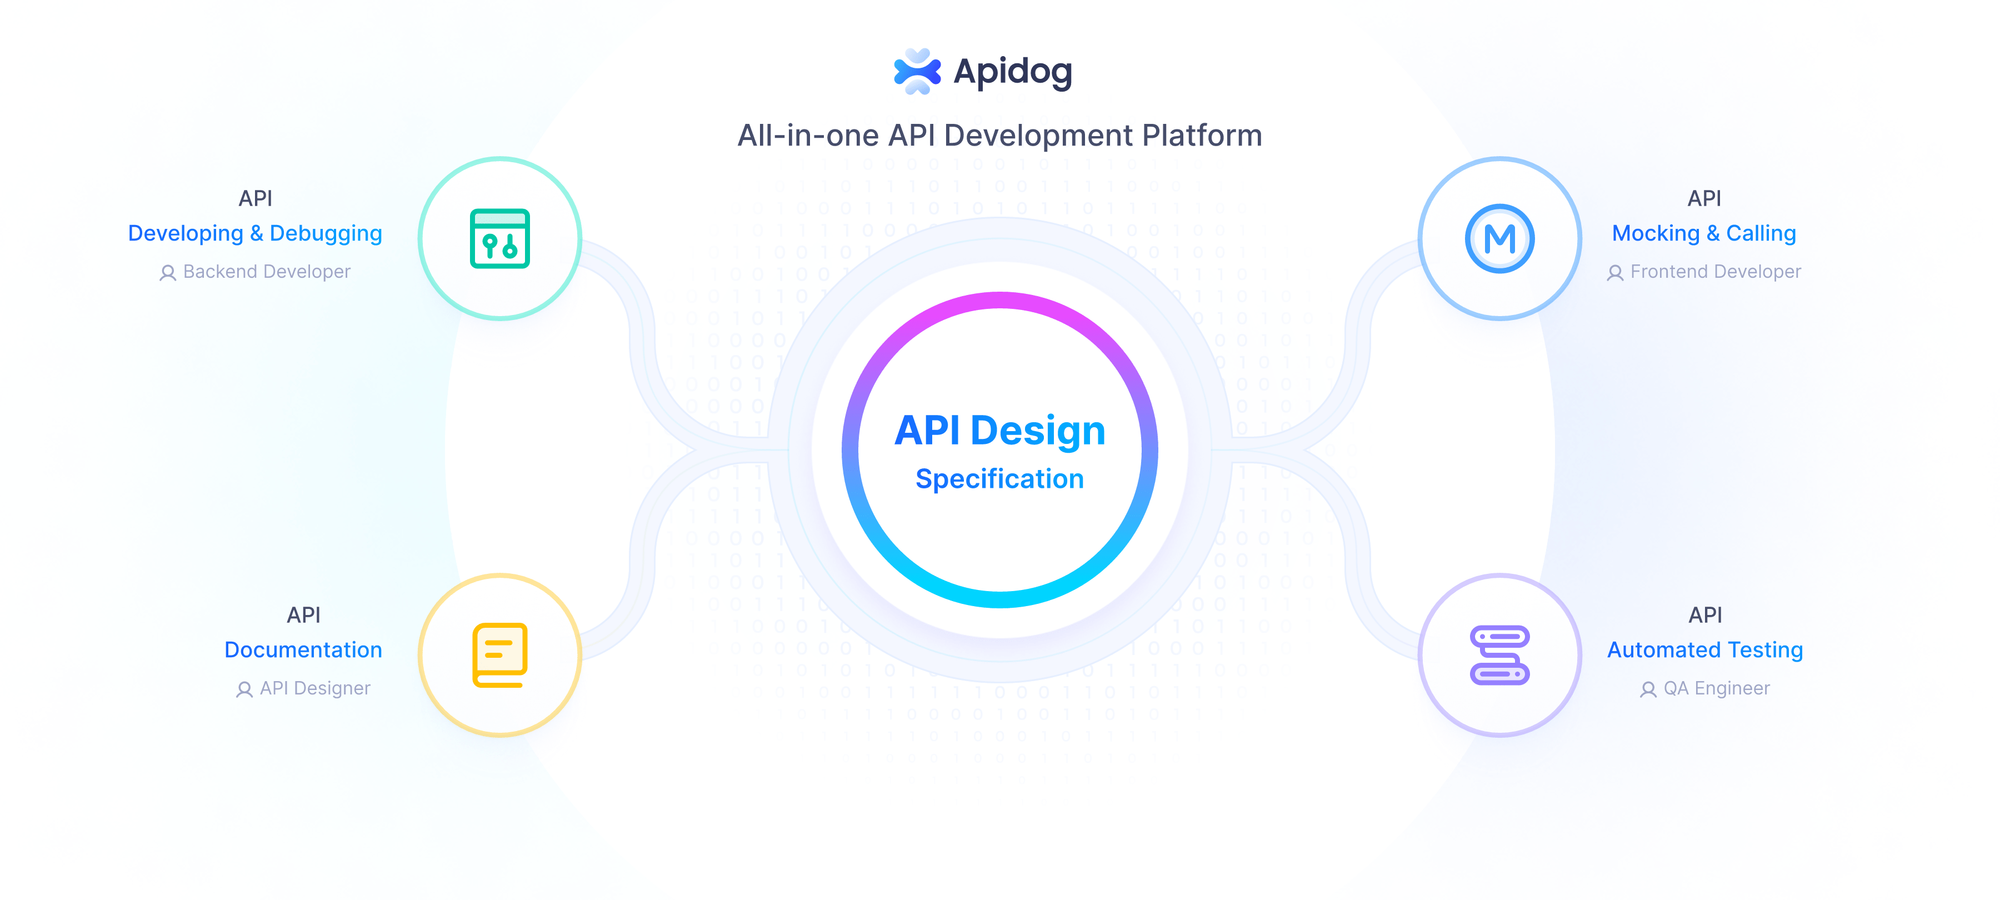
Apidog is an all-in-one API tool for designing, mocking, testing, and documenting APIs. Unlike Zed, which focuses on code creation, Apidog enhances API workflows. Together, they form a robust pair:
- Zed: Write API logic and routes.
- Apidog: Test endpoints, validate responses, and generate documentation.
For example, code an API in Zed, then use Apidog to send requests and auto-document the spec. This synergy optimizes development cycles.
Conclusion
Zed AI CodeEditor delivers a high-performance, collaborative, and AI-enhanced coding experience. This guide has equipped you to install it, navigate its interface, and harness its advanced features like remote development and multibuffers. Paired with Apidog, Zed becomes even more powerful for API-driven projects. Start using Zed today and elevate your coding efficiency.


