If you're building web applications, mobile apps, or front-end clients that need to interact with a WordPress site programmatically, the WordPress API is your key tool. With a properly configured site and the REST endpoints provided by WordPress (or WordPress.com), you can retrieve posts, create new content, edit existing pages, manage users, comments, and more — all via standard HTTP requests. This guide walks you through how to get started with the WordPress API, how the URL structure works, how to perform CRUD operations, and how to test everything in a browser or using an API tool like Apidog.
Want an integrated, All-in-One platform for your Developer Team to work together with maximum productivity?
Apidog delivers all your demands, and replaces Postman at a much more affordable price!
Getting Started with the WordPress API
a) Account or Site Setup
- If you are using a self-hosted WordPress site (WordPress.org), ensure your site is installed and running.

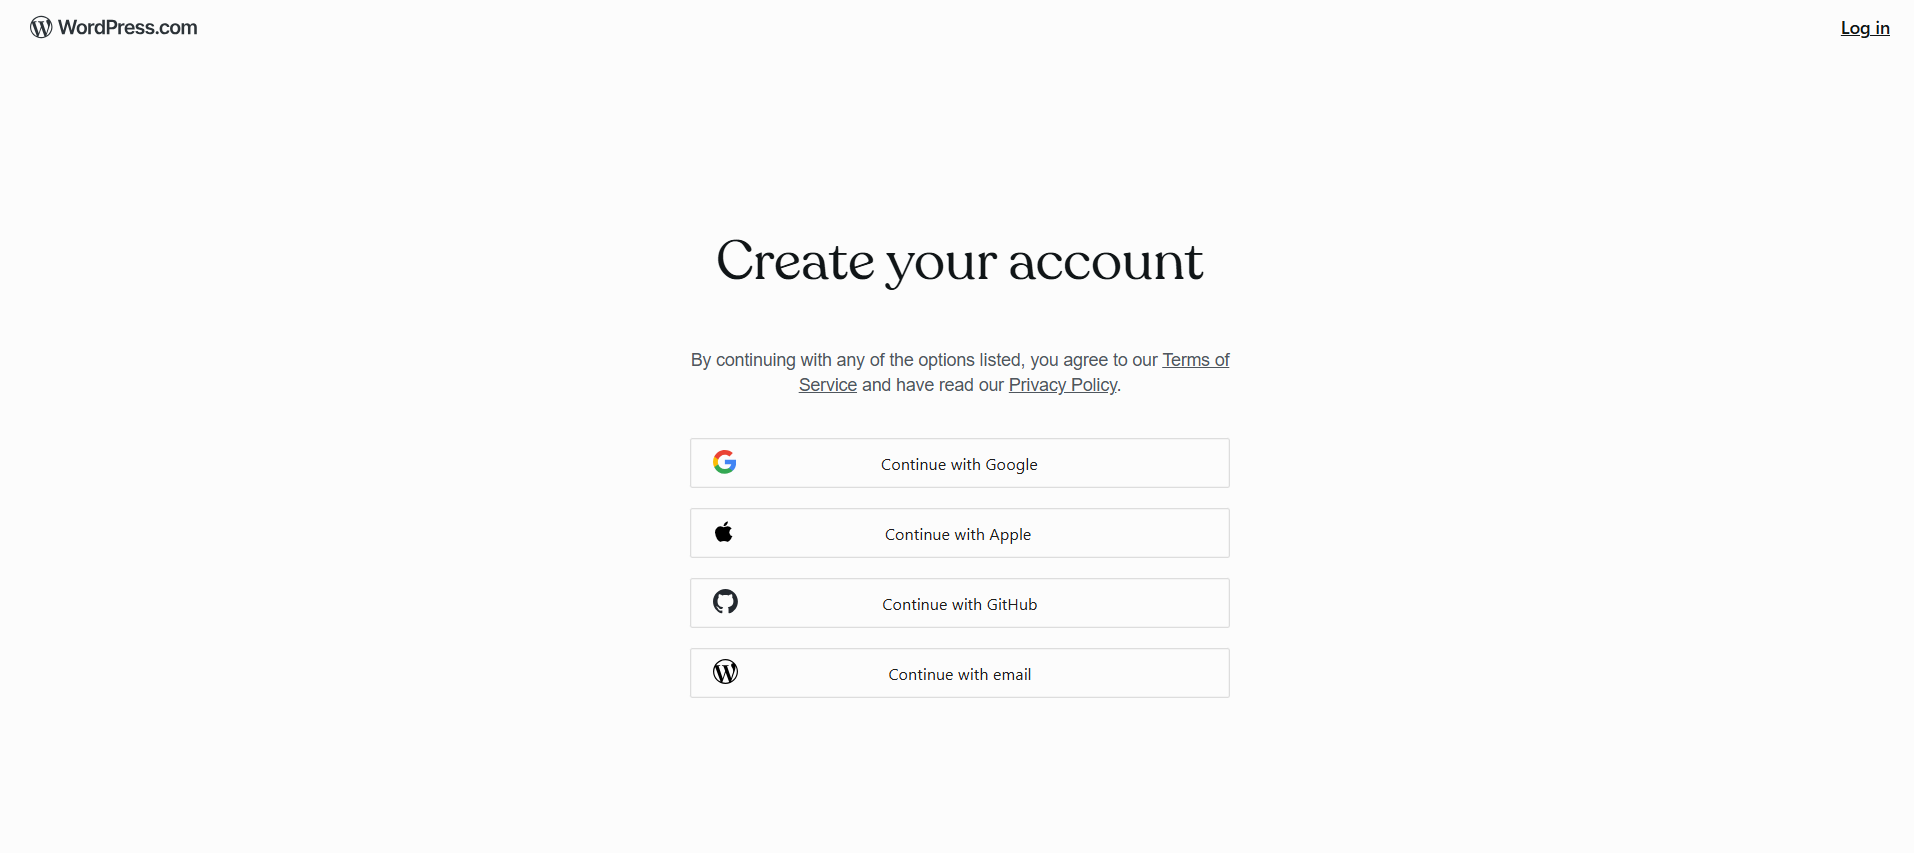
- If you are working with a WordPress.com site, sign in at WordPress.com and locate your site Dashboard.
- Ensure that REST API access is enabled — by default, modern WordPress installs expose the WP REST API at
your-site-url/wp-json/.
No additional account creation is needed beyond having access to the site (and appropriate permissions) — the REST API is built into WordPress core and accessible by default.
b) Understanding the Base URL Structure
For a self-hosted WordPress site, the base API URL is:
https://your-site.com/wp-json/
For example, to retrieve posts you would target:
https://your-site.com/wp-json/wp/v2/posts
If pretty permalinks are disabled, WordPress can still serve the API via a query parameter fallback — but in most modern setups, /wp-json/ works out of the box.
For WordPress.com hosted sites (or sites using the WordPress.com REST API), the URL structure may differ slightly, depending on the namespace and site identifier. For example:
https://public-api.wordpress.com/{namespace}/{version}/sites/{site_id}/...
Do check out the official docs at WordPress Developer Resources, for a more nuance guide on the Base URL structure.
Using the WordPress REST API: CRUD Operations
The WordPress API supports all standard CRUD operations — Create, Read, Update, Delete — using the appropriate HTTP method (POST, GET, PUT, DELETE). Let’s break them down with concrete examples that you can test in-browser or using Apidog.
1. Read: Retrieving Posts or Pages
- To get a list of posts:
GET https://your-site.com/wp-json/wp/v2/posts
- To fetch a single post by ID:
GET https://your-site.com/wp-json/wp/v2/posts/{id}
- You can add query parameters to filter or paginate results — for instance:
GET https://your-site.com/wp-json/wp/v2/posts?per_page=5&page=2

GET https://your-site.com/wp-json/wp/v2/posts?status=draft
You can also control which fields are returned using the _fields query parameter (e.g., ? _fields=id,title,excerpt,link) to reduce payload size and improve performance.
The same applies to pages (via /wp-json/wp/v2/pages) or other resource types like media, comments, etc., depending on what your site exposes.
2. Create: Adding a New Post
If you are authenticated (as an admin or user with permissions), you can create a new post via:
POST https://your-site.com/wp-json/wp/v2/posts
With a JSON body, for example:
{
  "title": "My New API Post",
  "content": "This post was created via the WordPress API.",
  "status": "publish"
}
This request will create a new post. Optionally, you can set status to "draft" or other valid statuses if you don’t want to publish immediately.
3. Update: Editing an Existing Post
To update a post by ID (e.g. updating its title or content):
PUT https://your-site.com/wp-json/wp/v2/posts/{id}
Body example:
{
  "title": "Updated Title via API",
  "content": "Updated content from API."
}
Alternatively, some implementations accept PATCH. After a successful request, the API responds with the updated post object.
4. Delete: Removing a Post
To delete a post by ID:
DELETE https://your-site.com/wp-json/wp/v2/posts/{id}
By default, this typically moves the post to Trash (if trash is enabled). You can add parameters (depending on site configuration) to permanently delete, if supported.
Authentication & Security Considerations When using the WordPress API
- Public data (e.g. published posts) can often be fetched without authentication.
- To create, update, or delete content, you typically need authentication — via WordPress login cookies, Application Passwords (available since WP 5.6), or OAuth / token-based systems.
- Always use HTTPS in production to protect credentials and data in transit.
Testing WordPress API Endpoints (Browser or Apidog)
You can just as easily test endpoints using a browser or an API testing tool like Apidog.
Using Browser:
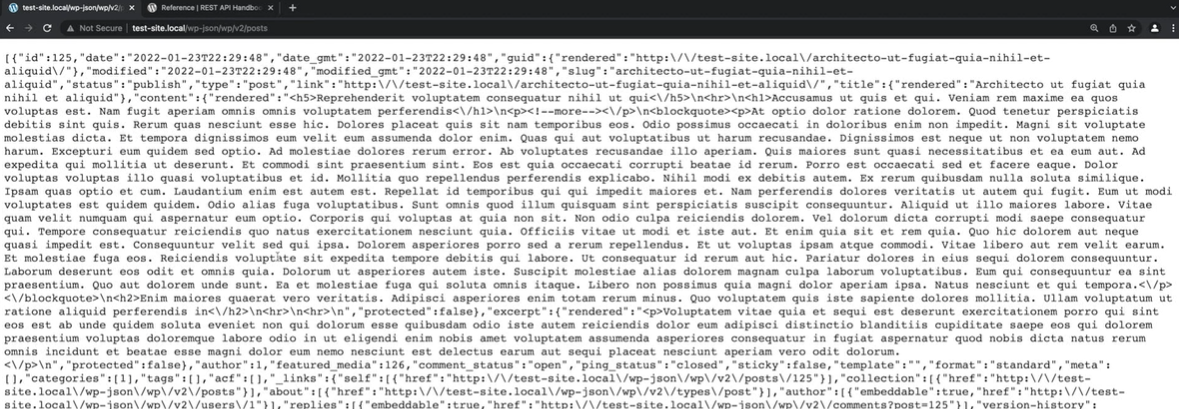
- Paste the URL (e.g.
.../wp-json/wp/v2/posts) into the browser address bar. - The browser will show raw JSON — to make it readable, install a JSON formatter extension (e.g. JSON Formatter for Chrome, Firefox).
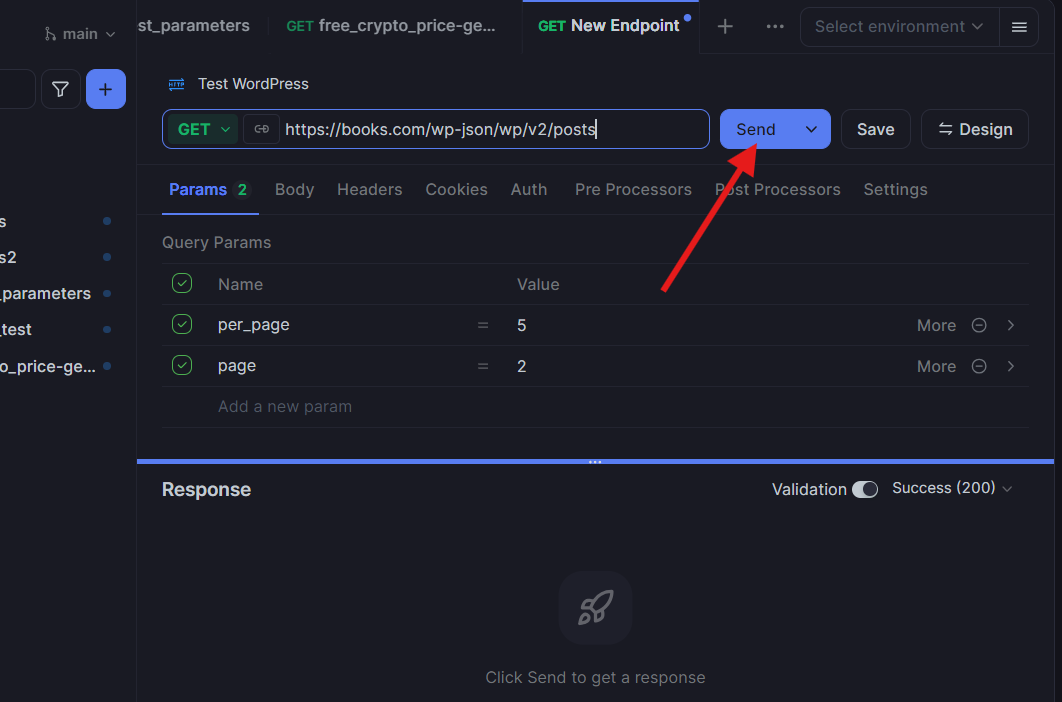
Using Apidog:
- Create a new API endpoint in Apidog.
- Enter the URL (e.g.
/wp-json/wp/v2/posts). - Choose the HTTP method (GET, POST, PUT, DELETE).
- Add headers if needed (for authentication).

- Send the request and inspect the JSON response — Apidog shows structured JSON, errors, response headers, and makes debugging easier than raw browser outputs.
This method is especially useful for POST/PUT/DELETE requests — where browser-only lacks an easy way to send JSON request bodies or custom headers.
Best Practices & Tips for Developers using the WordPress API
- Use
_fieldsor pagination parameters to limit payload size when retrieving lots of data. - Authenticate safely using Application Passwords or OAuth for write operations.
- Check site permalink settings — ensure pretty permalinks or fallback REST routes are working (
wp-json/). - Handle permissions — only users with appropriate roles can create or delete content.
- Rate-limit and error handling — treat API failures gracefully and respect server resources.
- Use JSON-formatting tools when testing in a browser for readability or debugging.
Frequently Asked Questions (FAQ)
Q1. Do I always need an API key to use the WordPress API?
No — for public data like published posts or public pages, you can use GET requests without authentication. However, for creating, editing, or deleting content, you generally need proper credentials. (For more depth on this subject, check out WPZOOM)
Q2. What is the difference between wp-json/wp/v2/ and public-api.wordpress.com endpoints?wp-json/wp/v2/ is used by self-hosted WordPress sites (WordPress.org). The public-api.wordpress.com/... structure is used by WordPress.com hosted sites — the base URL and namespaces differ, but the REST API concept remains similar. (View more examples at Noroff FEU Content System)
Q3. Can I create custom endpoints or expose custom post types in the API?
Yes. By default, core post types (posts, pages, media, comments, etc.) are exposed. For custom post types or custom fields (metadata), you may need to register REST support in your theme or plugin (e.g., using register_post_type(..., 'show_in_rest' => true)).
Q4. How can I test API endpoints without writing code?
You can use a browser (for GET requests) — just navigate to the endpoint URL. For POST/PUT/DELETE (or operations requiring authentication), use an API client tool like Apidog. It allows you to send JSON bodies, set headers, and inspect responses conveniently.
Q5. Is it safe to expose user or comment data via the API?
If your site allows public access to certain resources (like publicly visible posts or comments), then yes — the API returns only what is permitted. For private data or authenticated operations, ensure proper authentication and permissions are in place.
Conclusion
The WordPress API transforms your WordPress site into a programmable backend — enabling you to read, create, update, and delete content via standard HTTP calls. Whether you're building a headless CMS frontend, a mobile app, or automating content workflows, the REST API gives you a robust, flexible interface.
By understanding the URL structure, core endpoints, CRUD semantics, authentication, and testing methodology (via browser or Apidog), you can integrate WordPress with virtually any external system. With good API practices — secure authentication, efficient queries, and proper handling — WordPress becomes more than a blogging platform — it becomes a full-featured content backend.
Want an integrated, All-in-One platform for your Developer Team to work together with maximum productivity?
Apidog delivers all your demands, and replaces Postman at a much more affordable price!


