Imagine automating your WhatsApp messages, analyzing conversations, and bringing AI assistants like Claude directly into your messaging workflow—all with professional-grade control. With WhatsApp MCP (Model Context Protocol), you can bridge WhatsApp with leading AI tools, creating powerful, developer-friendly automations for communication, analysis, and workflow integration.
In this step-by-step tutorial, you’ll learn how to set up WhatsApp MCP, connect it with AI models, and leverage Apidog to bring seamless API-driven intelligence into your messaging pipeline. Whether you’re an API developer, engineer, or technical lead, you’ll discover how to automate workflows, enhance productivity, and integrate AI securely within WhatsApp.
Why Connect WhatsApp with AI and Apidog?
Integrating the Apidog MCP Server into your AI-augmented IDE (like Cursor) unlocks advanced coding capabilities:
- Direct API Access: Generate or update code, search API docs, and create data models directly from your Apidog project specs.
- Intelligent Documentation: Let AI assistants annotate code with up-to-date, API-aligned comments and references.
- Continuous Sync: The Apidog MCP Server bridges your specs and Cursor’s AI workspace, so your assistant always references the latest API design—complementing features like Cursor’s Memory Bank.
- Streamlined Development: Move faster by automating repetitive tasks with trusted, structured API information.
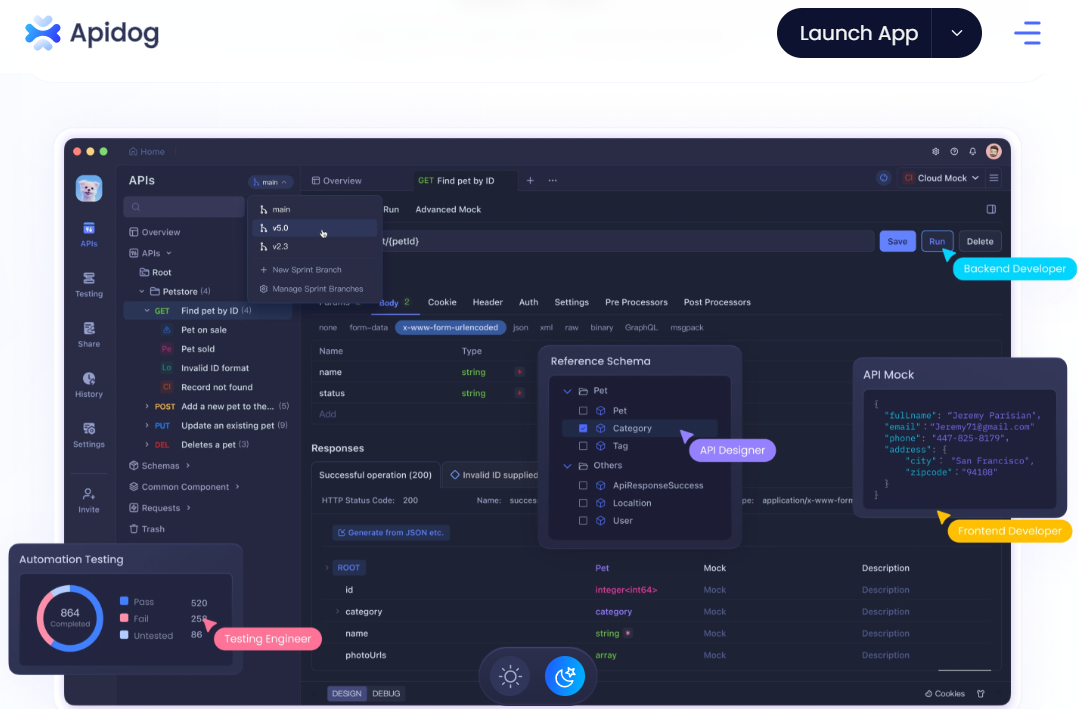
Apidog offers a robust, cost-effective alternative to legacy tools like Postman, making API development and AI-powered automation more accessible than ever. For more on the Apidog MCP Server, check the official docs or visit the NPM page.
Prerequisites
Before you begin, ensure you have the following:
- WhatsApp Account: Required for all WhatsApp-based automations.
- GitHub Account: Needed to clone the WhatsApp MCP repository. Create a GitHub account if you don’t have one.
- Claude Desktop App: Install and set up the Claude Desktop Application for AI integration.
- Basic Terminal Skills: Comfort with command-line usage is recommended.
- Git: For repository cloning. Install from Git-SCM.
- Go Programming Language: Required to run the bridge. Get it from Go Downloads.
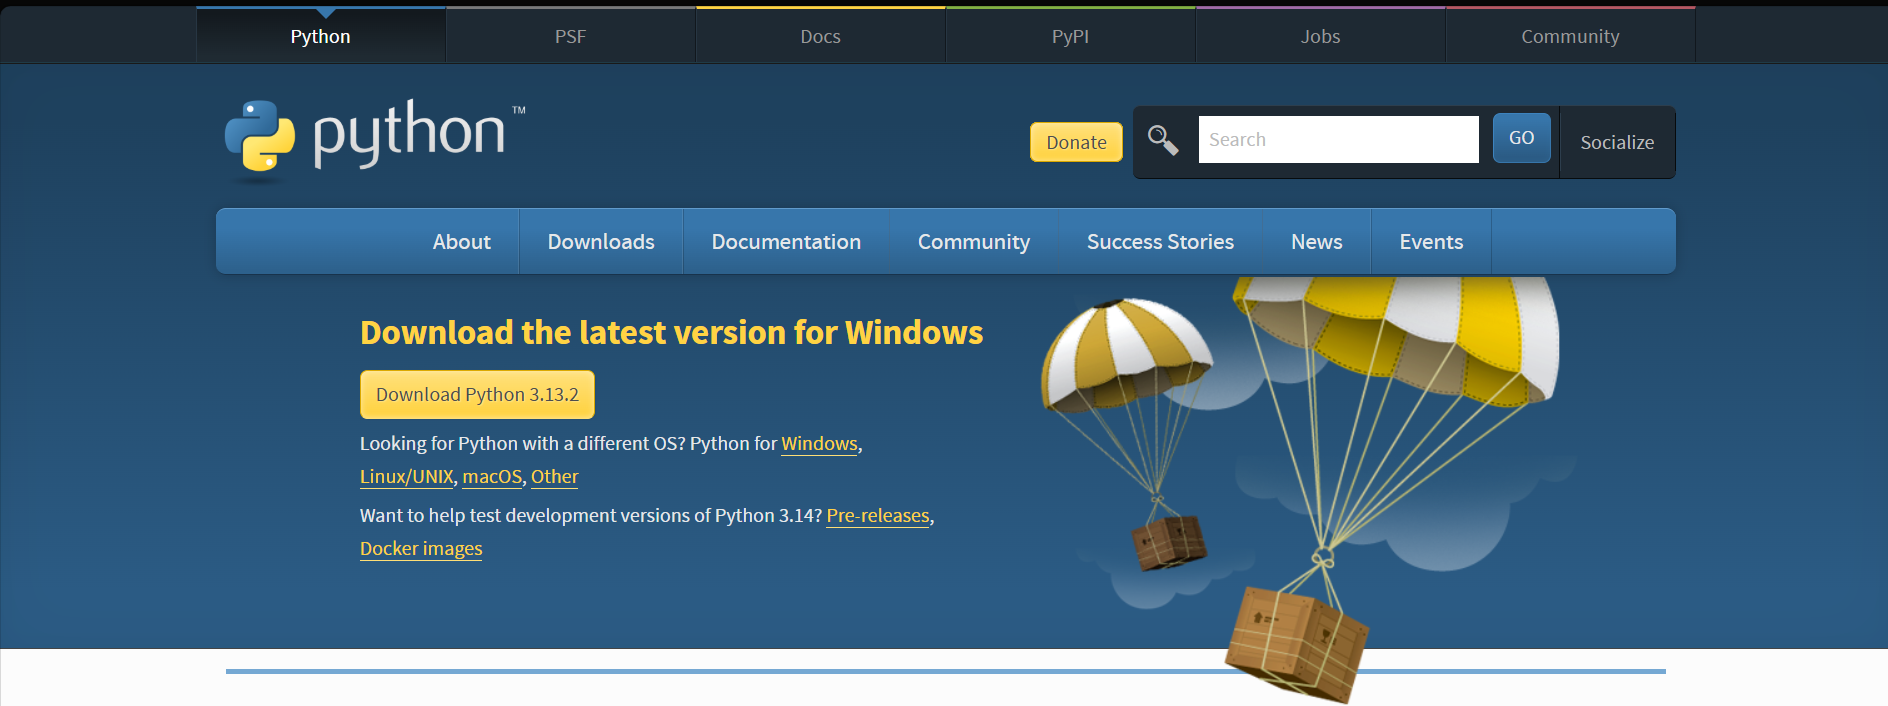
- Python: Needed for MCP server components. Download from Python Downloads.
- uv Package Manager: Will be installed during the guide.
How WhatsApp MCP Works
What Is WhatsApp MCP?
WhatsApp MCP is an open-source bridge connecting WhatsApp Web with AI models using the Model Context Protocol. It enables AI models (like Claude or Cursor) to programmatically read, send, and analyze WhatsApp messages.
Conceptual Analogy:
- WhatsApp: The language for messaging
- MCP: The translator between WhatsApp and the AI
- AI model: The speaker, empowered to perform actions in WhatsApp
Key Components
- WhatsApp API Server: Connects to WhatsApp Web and exposes REST endpoints for message and chat actions.
- MCP Server: Implements the Model Context Protocol, coordinating communication between AI models and the WhatsApp API Server.
Step-by-Step: Setting Up WhatsApp MCP
1. Clone the WhatsApp MCP Repository
Open your terminal and run:
git clone https://github.com/lharries/whatsapp-mcp
cd whatsapp-mcp
This fetches the code and moves into the project directory.
2. Install Go
Download and install Go from the official site.

3. Install Python
Download and install Python from Python Downloads.
4. Install the uv Package Manager
Run the following command:
pip install uv
This installs uv for Python dependency management.
5. Launch the WhatsApp Bridge
Navigate to the bridge directory and start the Go server:
cd whatsapp-bridge
go run main.go
A successful start will display:
2025/03/30 13:55:15 Server listening on port 8001
6. Integrate WhatsApp MCP with Claude Desktop
- Open Claude Desktop and go to Settings.
- Under Developer, open the
claude_desktop_config.jsonfile. - Add the following configuration (replace
{{PATH}}placeholders as directed):
{
  "mcpServers": {
    "whatsapp": {
      "command": "{{PATH}}/.local/bin/uv",
      "args": [
        "--directory",
        "{{PATH}}/whatsapp-mcp/whatsapp-mcp-server",
        "run",
        "main.py"
      ]
    }
  }
}
Instructions:
- Replace
{{PATH}}/.local/bin/uvwith the output fromwhich uv. - Replace
{{PATH}}/whatsapp-mcp/whatsapp-mcp-serverwith the full path to yourwhatsapp-mcp-serverdirectory (cdinto the repo and runpwd).
7. Restart Cursor
Completely close Cursor (including via Task Manager or Activity Monitor), then reopen it for configuration changes to take effect.
For a directory of available MCP servers, visit HiMCP.ai - Discover 1682+ MCP Servers.
Using WhatsApp MCP: Practical Use Cases
1. Automated Message Sending
Empower Claude or other AI models to send WhatsApp messages for you. For example:
/ask "Send a message to John Doe on WhatsApp: 'Hello, how are you?'"
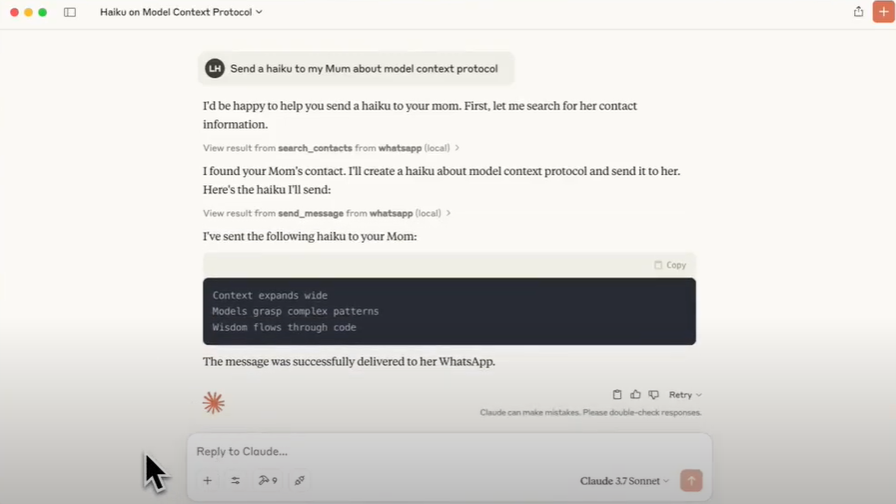
How it works:
- Claude triggers the WhatsApp MCP server.
- The MCP server uses the WhatsApp API to deliver the message.
2. Conversation Analysis
Analyze WhatsApp chats for sentiment, topics, or summaries using AI:
/ask "Analyze the last conversation with Jane on WhatsApp"
Claude processes the chat and returns actionable insights.
Advanced Features & Security Considerations
WhatsApp Session Management
WhatsApp MCP supports advanced operations:
- Manage multiple WhatsApp sessions
- Create/manage groups
- Send files
- Retrieve chat history
Refer to the WhatsApp MCP and API documentation for implementation details.
Security Best Practices
When automating personal messaging:
- Obtain User Consent: Always inform and gain consent before accessing user data.
- Protect Data Privacy: Use strong access controls and encryption; comply with regulations like GDPR and CCPA.
- Code Safety: Only run trusted code and understand the implications of code execution in your environment.
Troubleshooting & Frequently Asked Questions
Common Issues:
- Not receiving messages: Check your API keys, server status, and network.
- Claude not responding: Verify MCP configuration and Claude settings.
- WhatsApp account blocked: Avoid spam and adhere to WhatsApp’s terms of service.
Conclusion: Unlock AI-Powered Communication
You’ve now set up WhatsApp MCP, enabling next-level automation and AI-augmented messaging in WhatsApp. Whether you’re sending messages programmatically or analyzing conversations for insights, the integration of Apidog, WhatsApp MCP, and advanced AI assistants empowers your team to streamline workflows and deepen productivity.
Experiment with AI models, extend your automations, and use Apidog for robust API management—embracing the future of developer-friendly, intelligent communication.