
WebSockets have revolutionized web development by enabling persistent, two-way communication between browsers and servers. This constant connection streamlines data exchange, powering features like live chat, collaborative editing tools, and real-time data visualizations. To utilize this real-time communication effectively, developers need to understand how to send data from the client-side application to the server.
This article delves into the mechanics of the WebSocket Send method, exploring its functionalities, message formats, and best practices for efficient data transmission.
Understanding WebSocket Send
Functionality
The Send method allows developers to send messages to the server through the established WebSocket connection. This message can contain any data relevant to the application, enabling a continuous flow of information between the browser and server.
Message Formats
WebSocket Send supports two primary message formats:
Text: This format is ideal for sending human-readable data, often encoded in formats like UTF-8. It's suitable for messages containing instructions, commands, or data intended for direct display on the server side.
Binary: This format allows for efficient transmission of raw data like images, audio streams, or compressed data packets. Binary data is faster to transmit compared to text because it avoids character encoding overhead.
Choosing the appropriate format depends on the nature of your data:
- If the data is human-readable and intended for direct processing by the server, use text format.
- If the data is raw, large, or requires efficient transfer (e.g., images, audio), opt for binary format.
Error Handling
Unfortunately, data transmission over a network isn't foolproof. Here are some common errors that can occur during WebSocket Send and how to handle them:
Connection Closed: If the connection to the server is closed before the message is sent, the Send method will throw an error. Implement checks to ensure the connection is open before attempting to send data.
Invalid Data Format: The server might reject messages sent in an unsupported format (e.g., trying to send an image as text). Validate the message format on the client side before sending.
Network Errors: Network issues like timeouts or packet loss can disrupt the transmission. Consider implementing retries or alternative communication methods for robustness.
Best Practices for Sending Data with WebSocket
Data Structuring
Clear and Consistent Format: Structure your data in a clear and consistent format that the server can easily parse and understand. Consider using established formats like JSON (JavaScript Object Notation) which offer a human-readable and machine-friendly way to represent complex data structures. This simplifies processing on the server side and reduces the risk of errors due to misinterpretations.
Versioning: If you anticipate evolving your data structure over time, consider implementing a versioning system within your messages. This allows the server to identify the data format being used and handle messages appropriately, ensuring compatibility even with older client versions.
Message Chunking
Large Data Handling: When dealing with large amounts of data, sending it as a single message can be inefficient and introduce performance issues. Network limitations or server constraints might lead to delays or timeouts. To address this, consider chunking your data into smaller, manageable pieces. Each chunk can be a separate Send operation.
Reassembly on Server: On the server side, these chunks can be reassembled into the complete data structure. This approach ensures smoother transmission, especially for media files or large data sets.
Asynchronous Nature
Non-Blocking Communication: Remember that the WebSocket Send method is asynchronous. This means the code execution doesn't pause or wait for the message to be sent and acknowledged by the server. Your code continues to run after calling Send.
Handling Responses (Optional): While not always necessary, you can establish mechanisms to handle potential responses from the server regarding the sent data.
Security Considerations
Sensitive Data Transmission: If you're sending sensitive information like user credentials or financial data, always ensure proper security measures are in place. Consider encrypting the data before sending it over the WebSocket connection.
This protects the data from being intercepted during transmission, especially on untrusted networks. Explore libraries or frameworks that offer built-in encryption functionalities for WebSocket communication.
Code Examples of Using WebSocket Send
Example 1 - Sending a Text Message
This example shows sending a simple text message "Hello, server!" through a WebSocket connection:
// Assuming you have an established WebSocket connection object named 'ws'

function sendMessage(message) {
  if (ws.readyState === WebSocket.OPEN) {
    ws.send(message);
  } else {
    console.error("WebSocket connection not open!");
  }
}

sendMessage("Hello, server!");
This code defines a function sendMessage that takes a message string as input. It first checks the connection state using ws.readyState. If the connection is open (WebSocket.OPEN), it proceeds to send the message using ws.send(message). Otherwise, it logs an error message indicating the connection is not ready.
Example 2 - Sending a JSON Object
This example sends a JSON object containing user information to the server:
const userData = {
  name: "Alice",
  email: "alice@example.com",
};

function sendUserData() {
  if (ws.readyState === WebSocket.OPEN) {
    const message = JSON.stringify(userData);
    ws.send(message);
  } else {
    console.error("WebSocket connection not open!");
  }
}

sendUserData();
This example defines a userData object containing user information. The sendUserData function first checks the connection state. If open, it converts the user data object to a JSON string using JSON.stringify and then sends it using ws.send(message).
Example 3: Sending a Binary Message
This example demonstrates sending a binary message, assuming you have the binary data stored in a variable named imageData:
function sendBinaryData() {
  if (ws.readyState === WebSocket.OPEN) {
    ws.send(imageData);
  } else {
    console.error("WebSocket connection not open!");
  }
}

sendBinaryData();
This example keeps things simple, assuming the binary data is already prepared in the imageData variable. It directly sends the data using ws.send(imageData), provided the connection is open.
Important Note: Remember that browser support for sending binary data through WebSockets might vary. Ensure compatibility with your target audience's browsers.
Utilize WebSocket Advantages Through Apidog
An API tool that works cohesively with WebSocket is Apidog, a comprehensive API development tool that provides users with complete tools for the entire API lifecycle.
Build APIs with WebSocket Together with Apidog
You can easily begin creating a WebSocket API in an HTTP project.
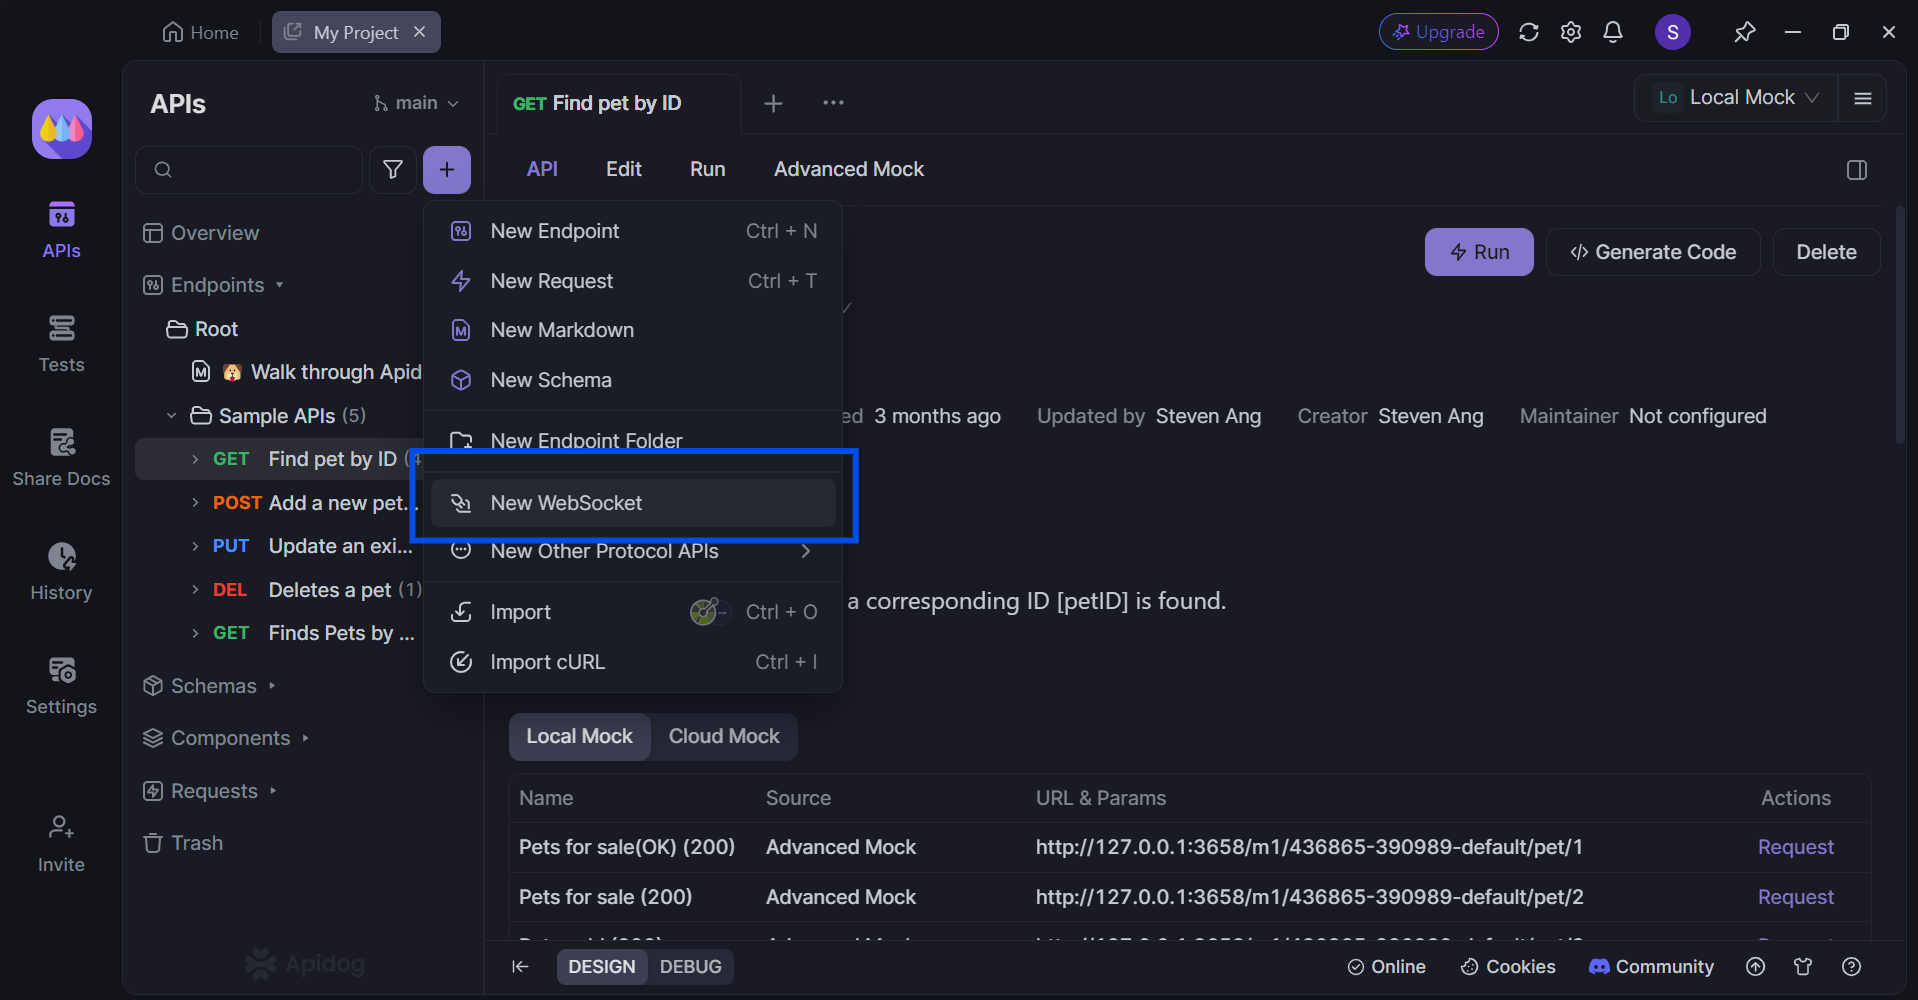
First, create a new API, and hover above the purple + button, as shown in the image above. This will show a drop-down menu. Proceed by selecting New WebSocket.
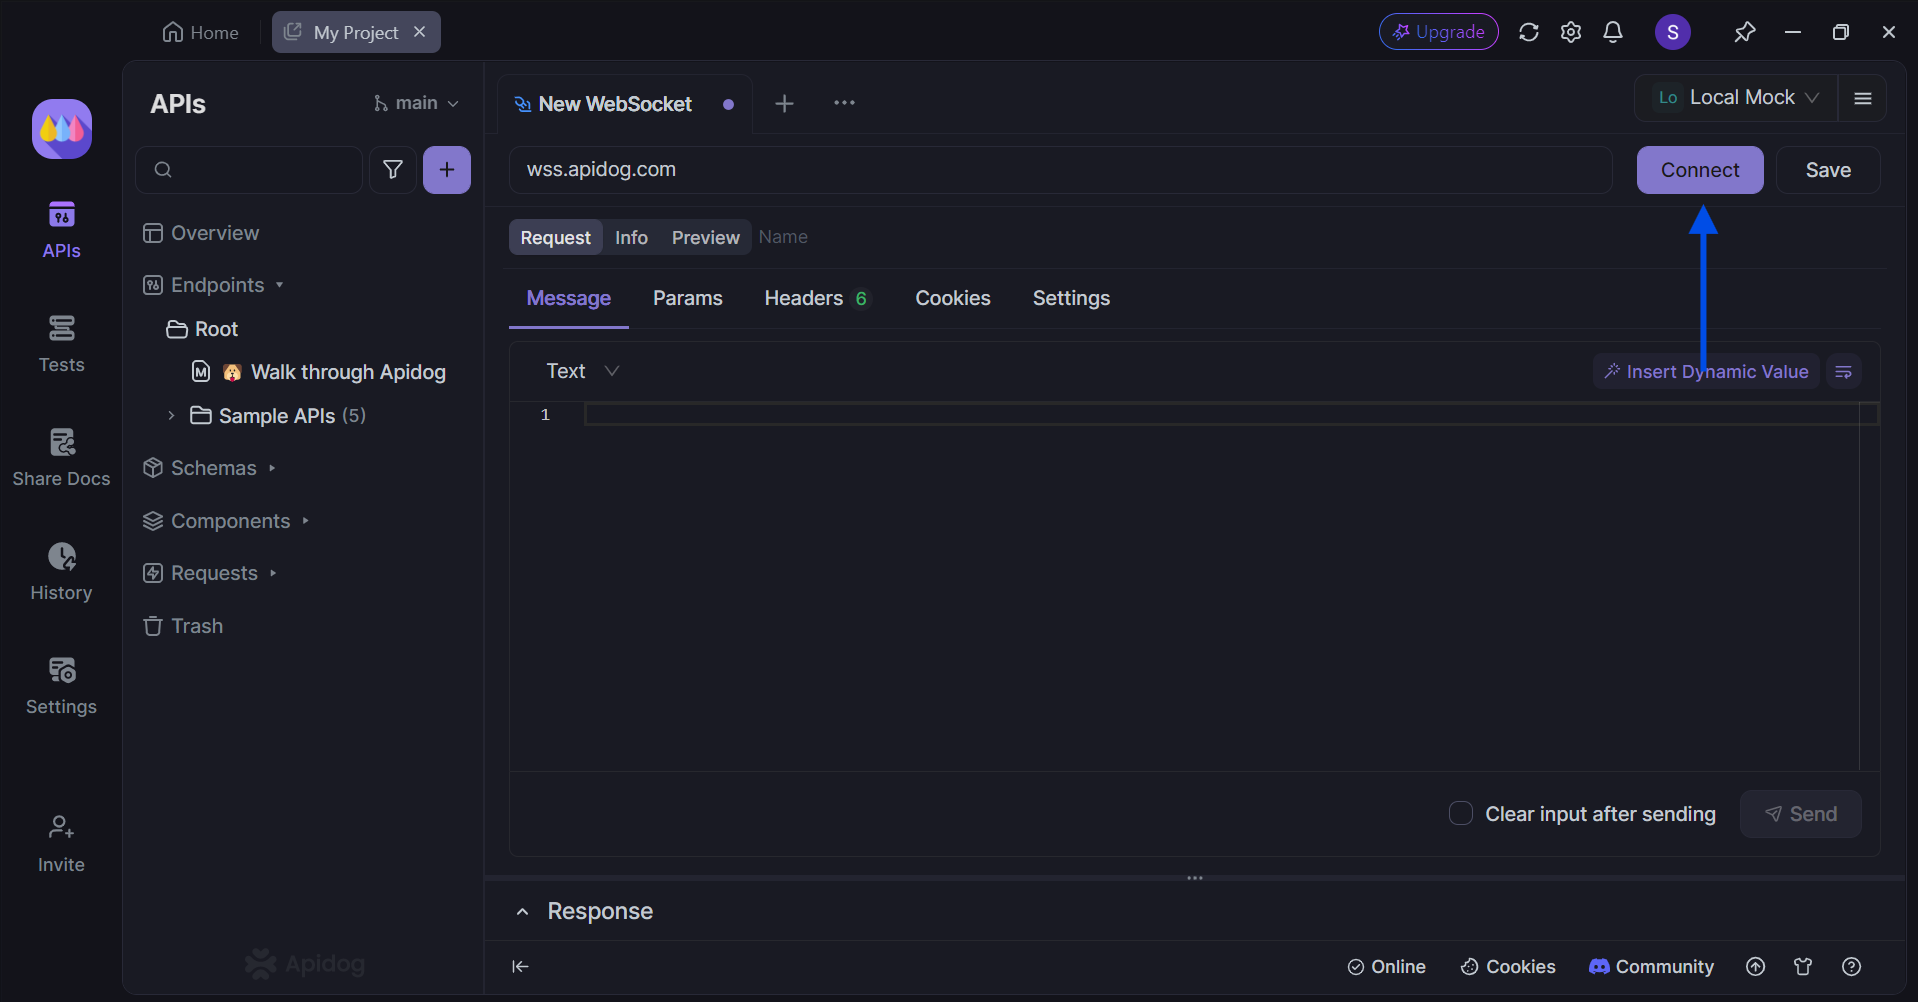
Once you have included the URL, press the Connect button to establish a WebSocket connection.
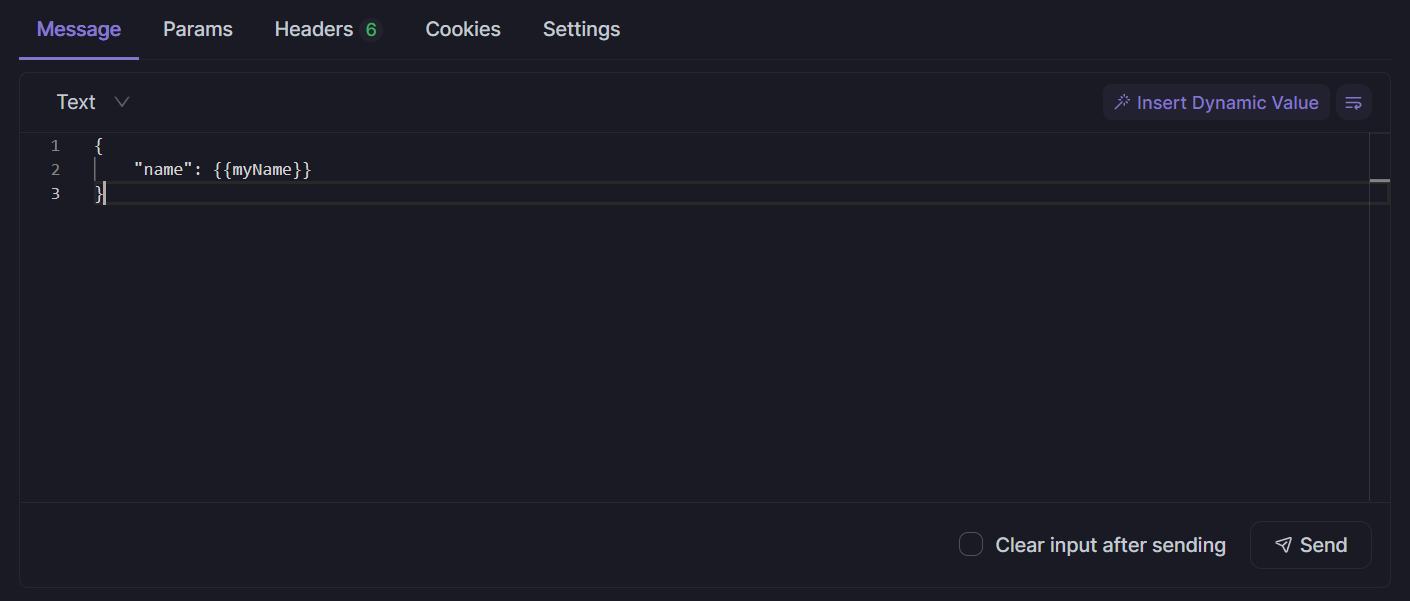
Finally, you can compose a message that you wish to send over. This includes text formats such as Text, JSON, XML, and HTML. You can also compose them in binary formats using Base64 or Hexadecimal.
Apidog will syntax highlight the message content based on the selected message format. If the message is in JSON, XML, or HTML format, you can also format the input content.
Adding Handshake Request Parameters
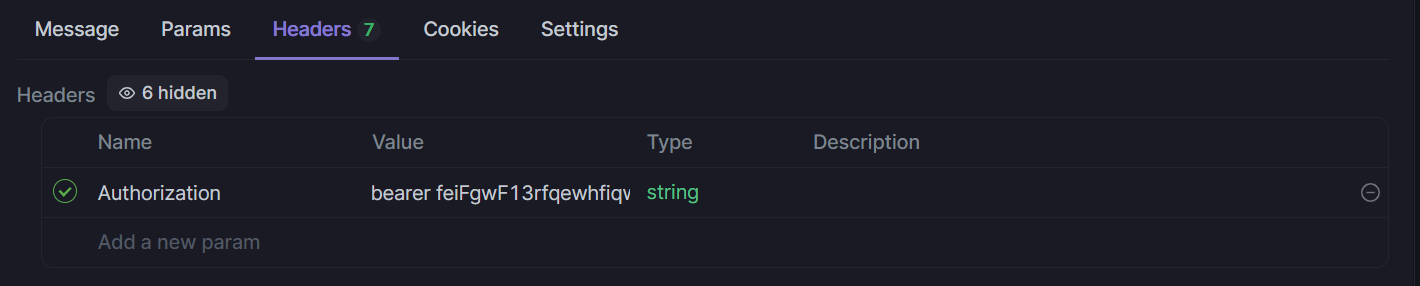
With Apidog, you can also customize the parameters required to pass during WebSocket handshakes, such as Params,Headers,Cookies to meet authentication or other complex scenarios.
Conclusion
WebSocket Send serves as a cornerstone for building dynamic and interactive web applications that thrive on real-time data exchange. By mastering its functionalities, message formats, and best practices, you can unlock its full potential. Remember to prioritize clear data structuring, leverage chunking for large messages, and acknowledge the asynchronous nature of the Send operation. Furthermore, consider implementing security measures when transmitting sensitive data.
WebSocket Send, when combined with other WebSocket features, empowers developers to create a powerful communication paradigm for web applications, enabling features like collaborative editing, live chat, and real-time data visualization. This approach fosters a truly interactive web experience where data flows seamlessly, keeping users engaged and applications responsive.


