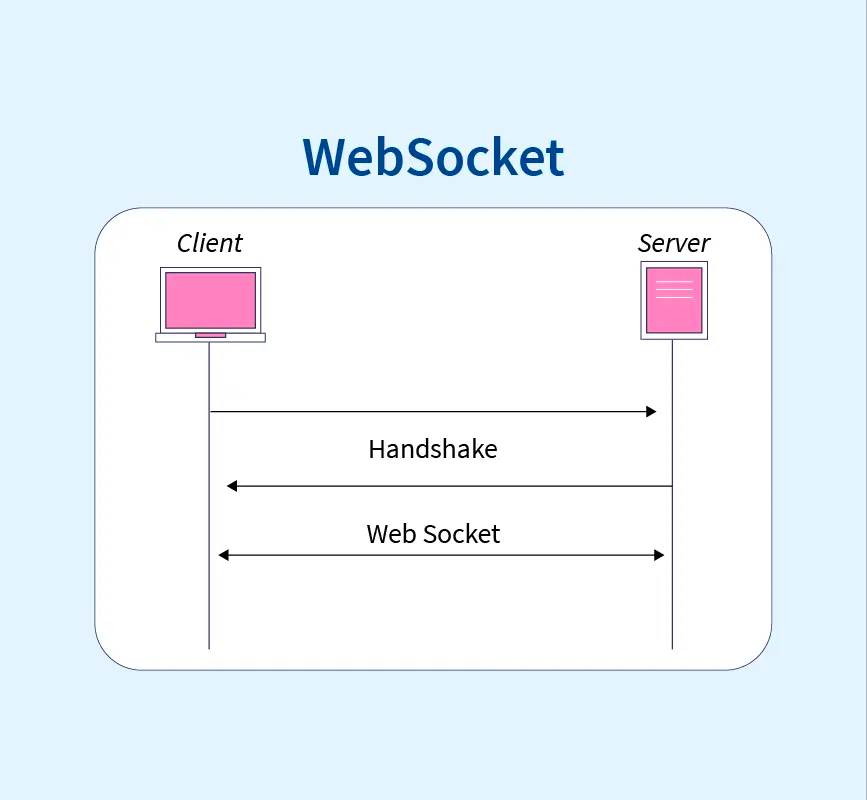
In modern web applications, WebSocket has become a popular technology for real-time communication. It enables data exchange between clients and servers over a single TCP connection. It is part of HTML5 and is widely supported by modern web browsers, including Chrome, Firefox, Safari, and Edge.

WebSocket connection failure is a common issue in web development. This article provides insights into the reasons behind WebSocket connection failures and offers practical solutions to help you quickly resolve the problem.
Why are You Unable to Establish a WebSocket Connection? With Solution
However, there are instances where WebSocket connections fail to establish successfully, leading to WebSocket errors like interrupted data transmission and compromised functionality. Here are some common reasons for WebSocket connection failures and their corresponding solutions:
Network Issues:
Cause: Unstable or unreliable network connections can lead to WebSocket connection failures. This may include issues such as high latency, packet loss, or intermittent connectivity problems.
Solution:
- Verify your network connection and ensure internet access on your device.
- Check for firewalls or proxy server restrictions on WebSocket connections.
- Test with different network environments or devices to identify configuration issues.
SSL/TLS Configuration:
Cause: Issues with SSL/TLS configurations may prevent secure WebSocket connections.
Solution: Verify SSL/TLS certificates, encryption protocols, and cipher suites. Ensure that both client and server support the same secure connection parameters.
Server-Side Configuration:
Cause: Incorrect server-side configurations or mismanagement of WebSocket connections on the server can result in connection failures.
Solution:
- Confirm the WebSocket server is running and listening on the correct port.
- Examine server log files for error messages or warnings.
- Contact the server administrator for details on configuration and status.
WebSocket Protocol Mismatch:
Cause: Incompatibility between the WebSocket protocol versions used by the client and server can lead to connection failures.
Solution:
- Ensure consistency in the WebSocket protocol version between client and server.
- Confirm application compatibility with the latest WebSocket specifications.
Security Concerns:
- Check if your website/application uses HTTPS.
- Validate SSL certificate validity and match with your domain.
WebSocket Coding Errors:
- Inspect JavaScript code for WebSocket syntax errors.
- Verify correct WebSocket object instantiation and URL usage.
Cross-Origin Resource Sharing (CORS) Issues:
Verify if your WebSocket requests are restricted by cross-origin policies. WebSocket connections require appropriate Cross-Origin Resource Sharing (CORS) header information set on the server.
Resource Limitations:
- Check server capacity for WebSocket connections.
- Implement load balancing and clustering for high-concurrency scenarios.
How to Fix WebSocket Connection Failed (Nginx Server)

Have you also encountered the WebSocket Connection Failed situation mentioned above? In most cases, a 400 error is caused by a reverse proxy. Are you using Nginx?
'WebSocket connection failed' typically indicates an issue with the WebSocket configuration of the Nginx server. Correctly configuring the server to support WebSocket can resolve this problem.

Step 1: Check if your Nginx version supports WebSocket. If your version is 1.3 or higher, WebSocket is supported.
Step 2: Edit your Nginx configuration file. You should locate the following line of configuration within the server block of the nginx.conf file.
location / {
    # ...
}
Step 3: Add the following configuration lines to enable WebSocket support:
proxy_passto send WebSocket traffic to the proxy server (withupstreambeing the target URL).proxy_http_versionto set the request protocol version to 1.1.- Set the value of the
Upgradeheader to$http_upgrade, which is the value of the request header with the 'Upgrade' title. - Set the value of the
Connectionheader to 'upgrade' to indicate a successful upgrade of the connection.
location / {
    proxy_pass http://your_upstream;
    proxy_http_version 1.1;
    proxy_set_header Upgrade $http_upgrade;
    proxy_set_header Connection "upgrade";
    proxy_read_timeout 86400;
}
Step 4: Save and exit the configuration file, then restart the Nginx service to apply the changes.
Step 5: Verify that you have correctly configured the Nginx WebSocket settings. You can use the following command to check if Nginx is configured to support WebSocket.
$ nginx -t
Step 6: If the command displays "OK," WebSocket is configured correctly. If the command shows an error, please review and fix your configuration file accordingly.
How to Debug WebSocket Service with Apidog
Apidog makes WebSocket debugging fast and visual. Use the client app for the best experience.
Step 1: Create a WebSocket Endpoint
1. Click the + button on the left and select New WebSocket.

2. Enter the server URL starting with ws:// or wss://.

3. Click Connect. Use Disconnect to end the session.
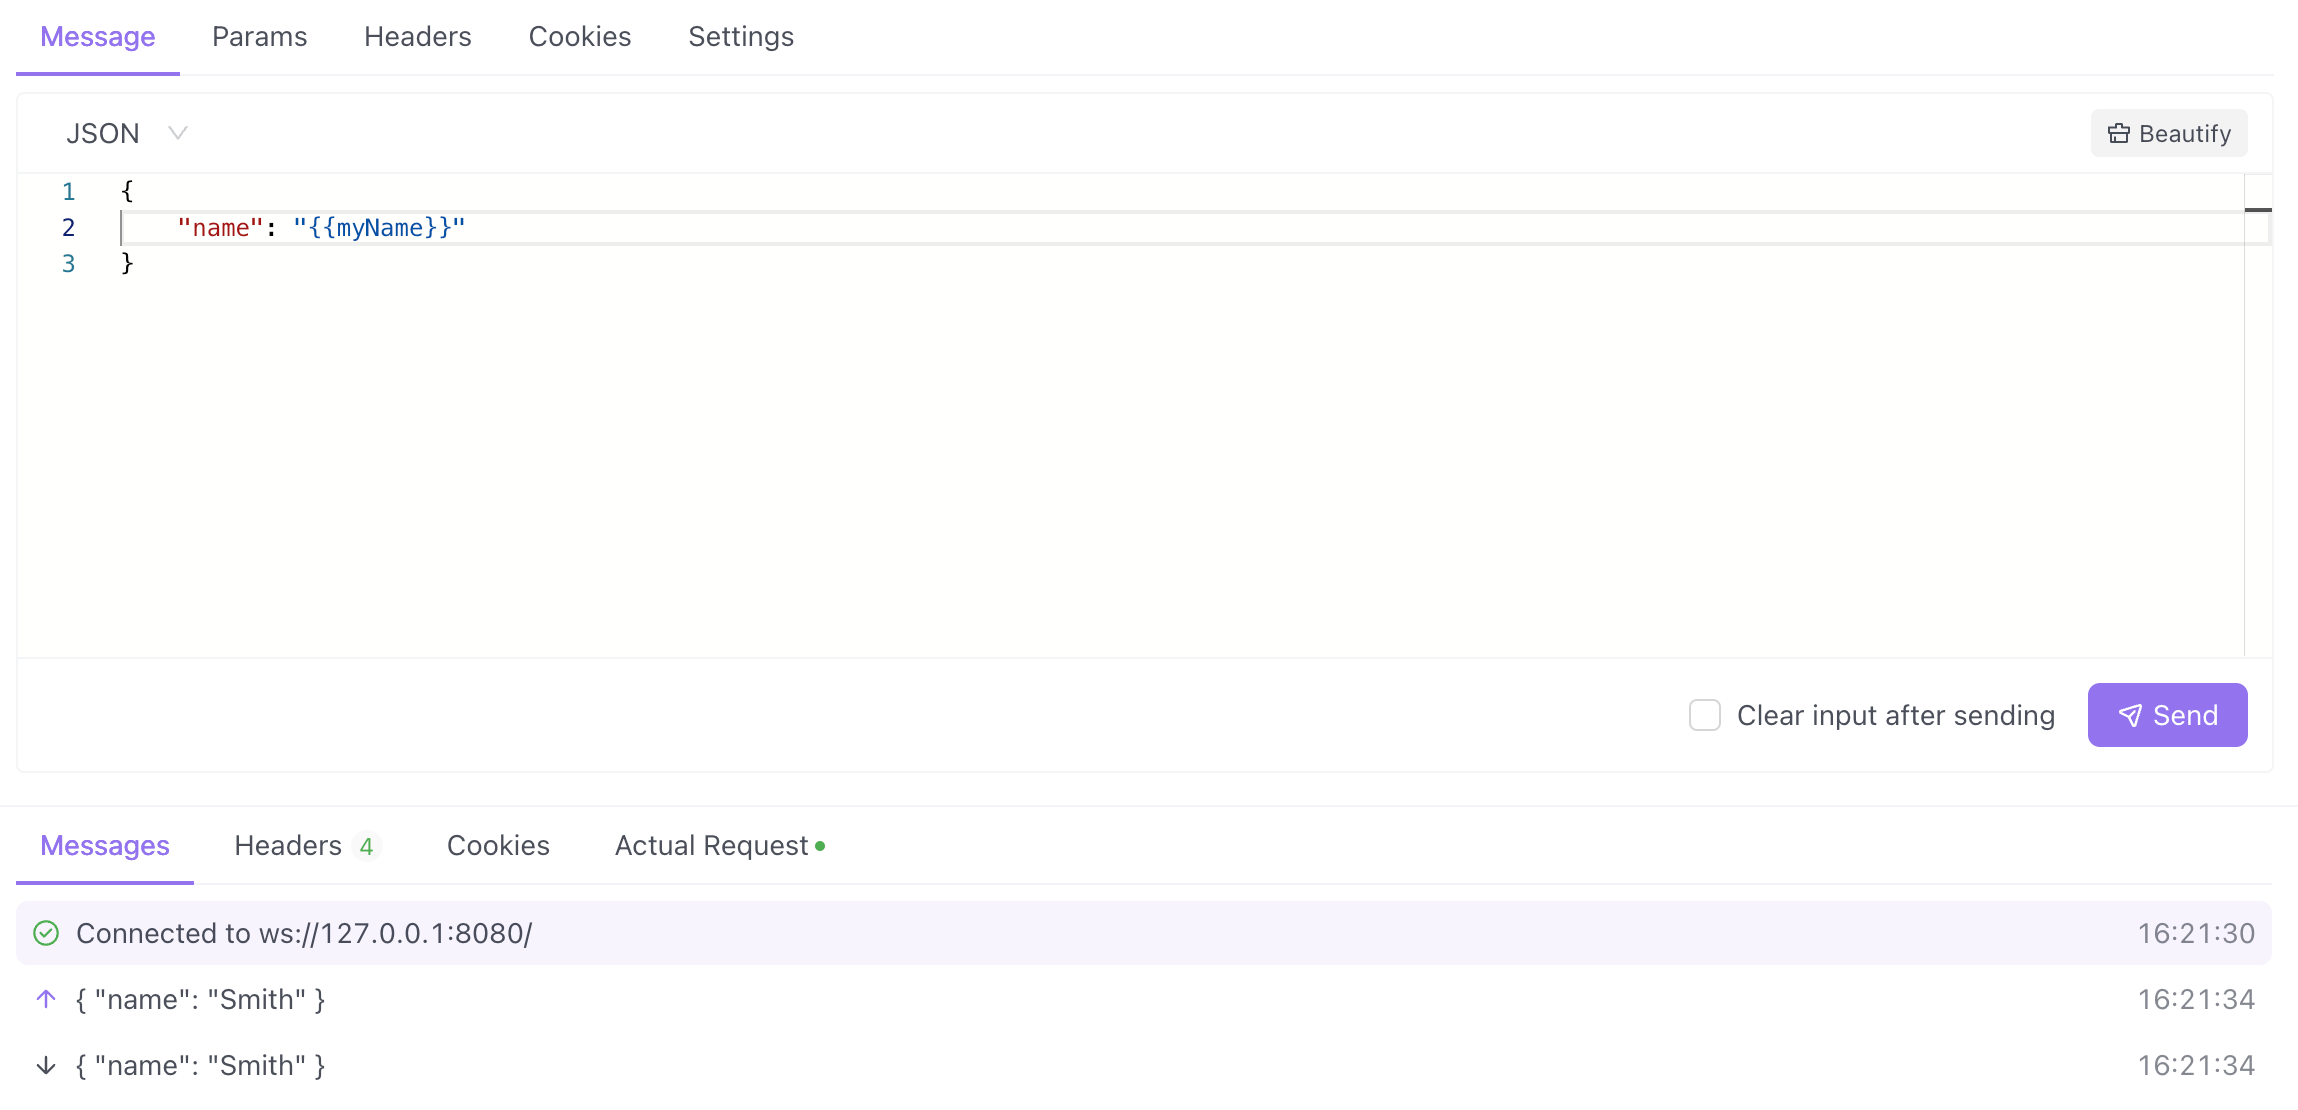
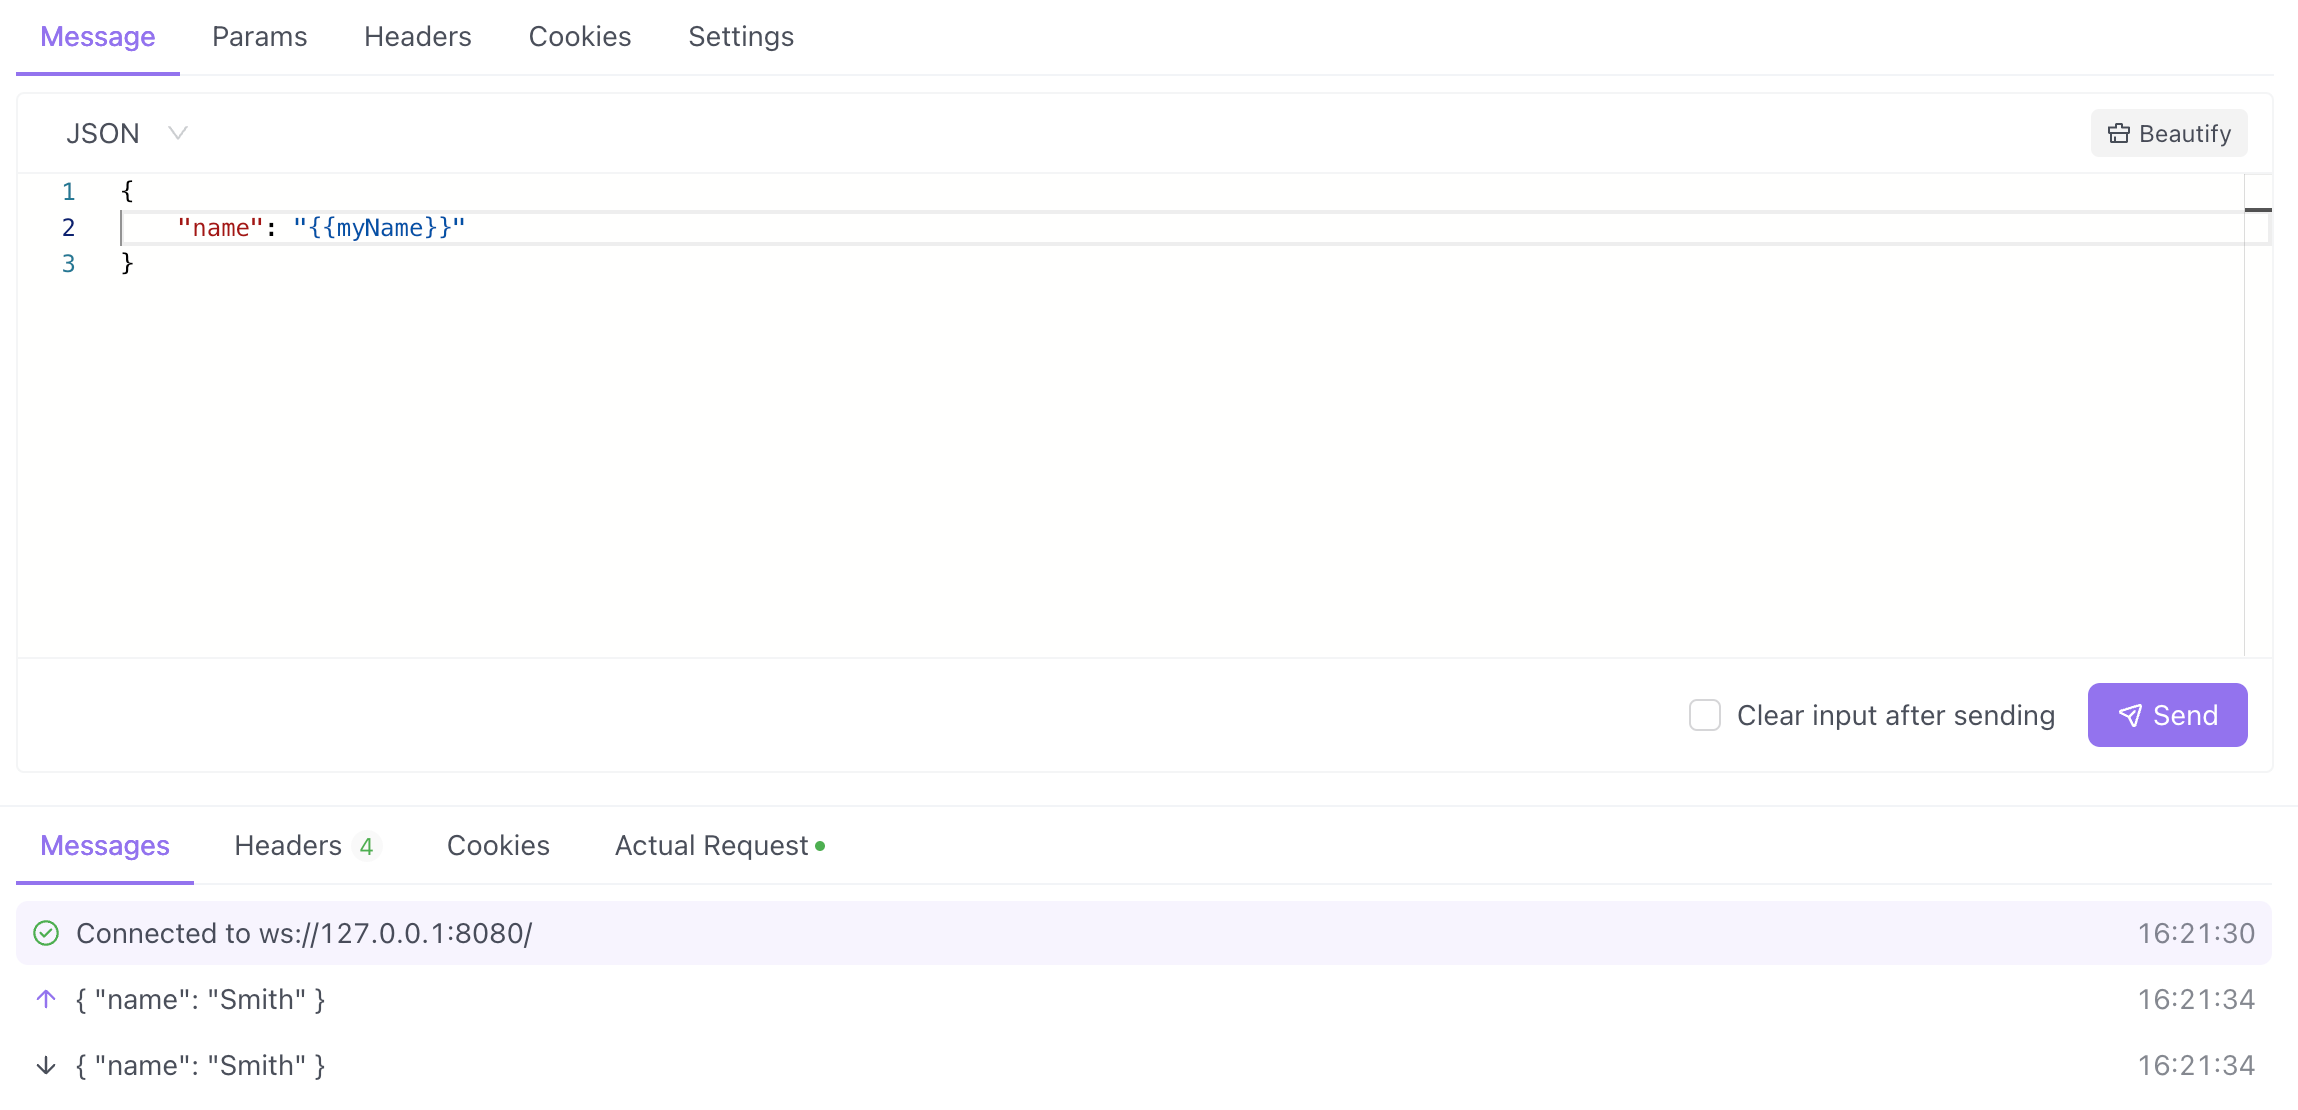
Step 2: Compose and send messages
- Compose messages in
Text,JSON,XML, orHTMLformats. - Send binary payloads using
Base64orHexadecimalencodings. - The editor auto‑highlights and can format JSON/XML/HTML.

Step 3: Inspect Messages in Real Time
The Messages panel shows connection events, sent messages, and received messages in order. Click any item to view details:
- Text messages show formatted content and allow manual format/encoding switches.
- Binary messages default to
Hexdump, with options to viewBase64and raw original.

Step 4: Add Handshake Parameters (Before Connecting)
Customize handshake Params, Headers, and Cookies for auth and advanced scenarios.

Tip: Handshake parameters cannot be modified once connected. Configure them before Connect or after Disconnect.
Step 5: Use Variables across Handshake and Messages
Leverage Apidog variables in the connection handshake and message bodies to reuse environment values and secrets.

Step 6: Save and Share the WebSocket API
When you're done debugging, click Save to add the WebSocket API to your project folder. Teammates can reuse it, and you can share read‑only API documentation externally.

Conclusion
In summary, troubleshooting WebSocket connection failures is vital for maintaining smooth and uninterrupted communication between clients and servers in web development.
By identifying the common causes of these failures and implementing effective solutions, such as resolving Nginx server configuration issues and utilizing debugging tools like Apidog, developers can ensure the reliable operation of WebSocket services. By following best practices and addressing any connection issues promptly, developers can optimize the performance and functionality of WebSocket-enabled applications.
![[SOLVED] WebSocket Connection Failed](https://assets.apidog.com/blog/2023/08/websocket-connection-failed--1-.png)


