
Google has raised the bar of video generation with Google Veo 2, a cutting-edge video generation model now accessible through its API. This powerful tool lets developers craft high-quality videos from text and image prompts, seamlessly blending technical precision with creative flexibility. Whether you aim to build dynamic content for apps or streamline video production, this guide walks you through everything you need to know about using the Google Veo 2 API.
What is Google Veo 2?
Google Veo 2 marks a significant leap in video generation technology. Developed by Google DeepMind, this model transforms text and image prompts into high-quality video clips, showcasing remarkable realism and adaptability. Unlike earlier models, Veo 2 excels at understanding complex instructions, simulating real-world physics, and producing videos in diverse styles—think cinematic landscapes or abstract animations.
Currently, Veo 2 supports resolutions up to 4K, though tools like VideoFX cap outputs at 720p for now. Its ability to mimic natural motion and physics sets it apart. For example, it can generate a video of a car drifting through streets with accurate tire smoke or a queen walking through a palace with lifelike fabric flow. Human evaluations confirm that Veo 2 outperforms competitors, topping benchmarks like MovieGenBench for prompt accuracy and visual quality.

Why does this matter? For developers, Veo 2 opens doors to innovative applications—personalized video content, automated marketing clips, or interactive game cinematics. Built on years of AI research, including models like Imagen-Video and Lumiere, Veo 2 combines technical prowess with practical utility, making it a standout choice in generative AI.
Introducing the Google Veo 2 API
Now that you understand Veo 2’s capabilities, let’s shift to its API. The Google Veo 2 API, part of the Gemini API suite, brings this video generation power directly into your applications. Recently made generally available, it’s production-ready, meaning you can deploy it in real-world projects without hesitation.
The API offers two core functionalities:
- Text-to-Video (t2v): Input a text prompt, and Veo 2 generates a matching video.
- Image-to-Video (i2v): Provide an image, optionally with text, to create a video based on that input.
This flexibility empowers developers to craft tailored video experiences. Imagine an e-commerce app generating product demo videos from descriptions or a social platform creating animated profile intros from user-uploaded images. The API’s integration into the Gemini framework ensures seamless access alongside other Google AI tools, amplifying its potential.
Transitioning from concept to implementation, the API’s general availability signals reliability and support for commercial use. Next, we’ll explore how to use it, step by step, so you can start building right away.
How to Use the Google Veo 2 API
Using the Google Veo 2 API involves a straightforward process, but it requires attention to technical details. Below, we break it down into clear steps, blending simple explanations with developer-friendly specifics.
Step 1: Set Up Your Environment
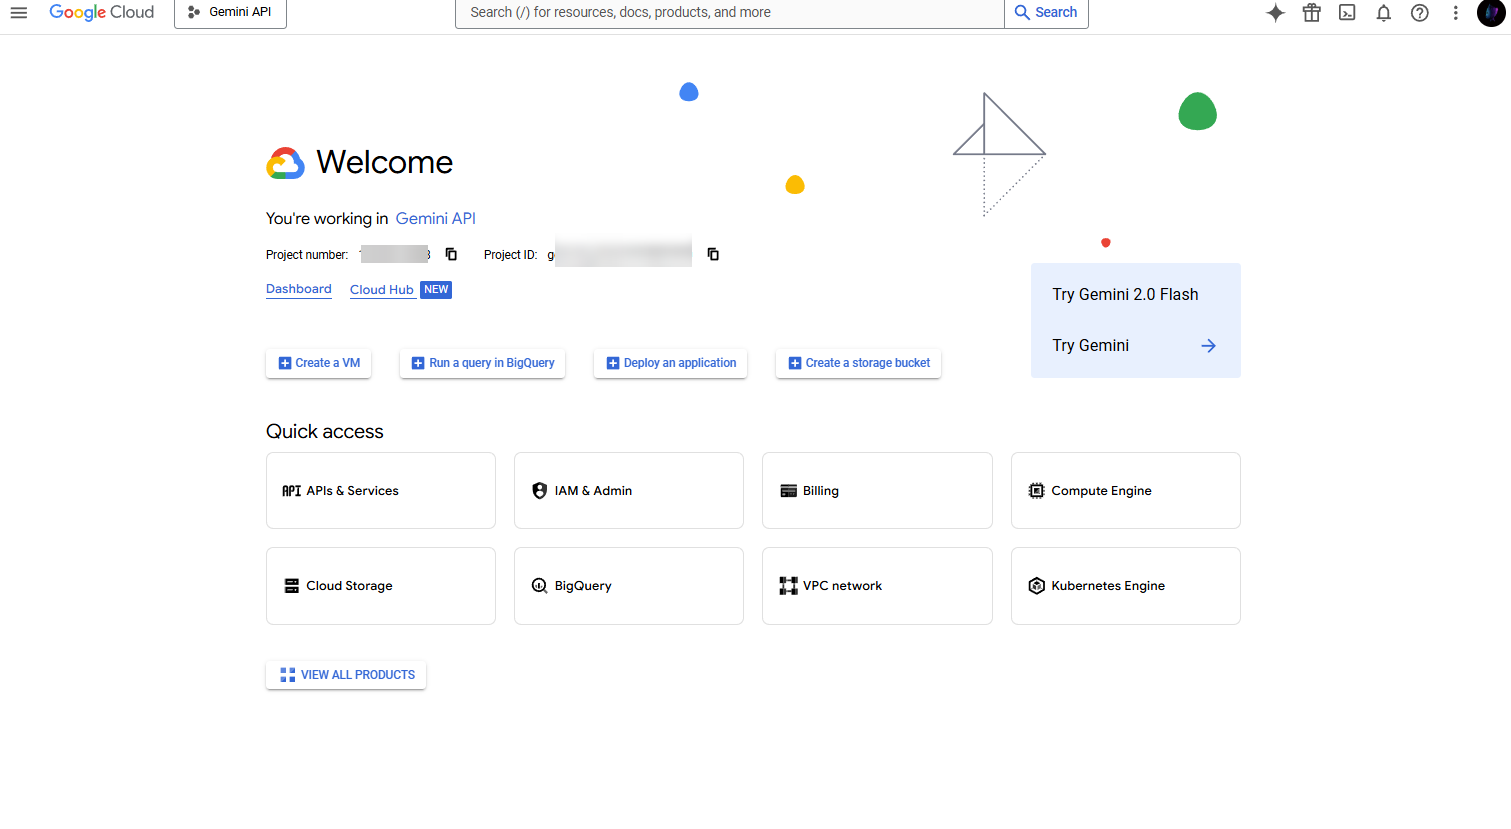
First, prepare your development environment. Since the API runs through Google Cloud, you need a Google Cloud account.
- Create a Project: Head to the Google Cloud Console, log in, and create a new project.
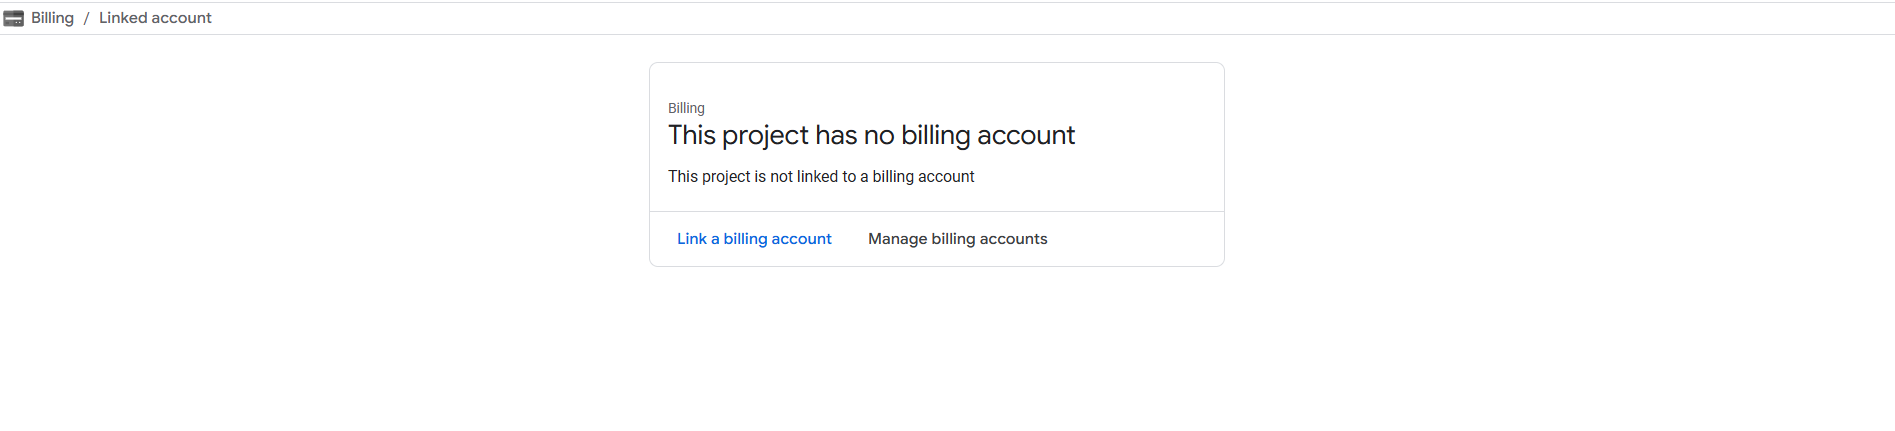
- Enable Billing: Link a billing account to your project. Video generation can rack up costs, so monitor usage.
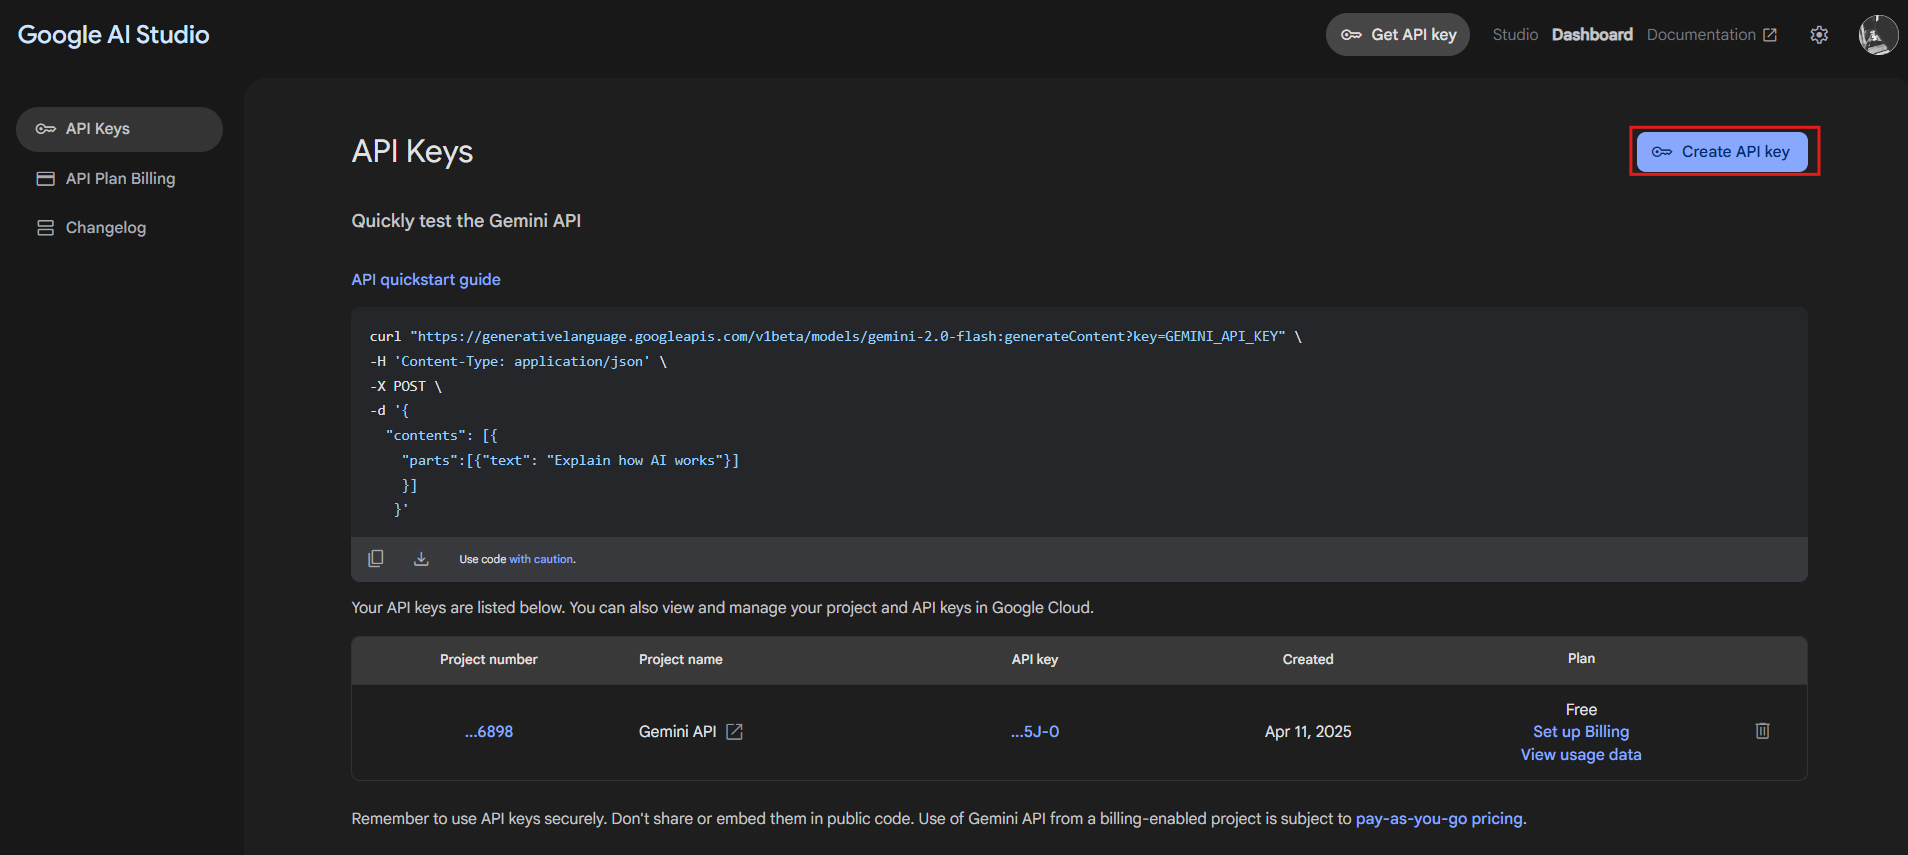
- Get API Credentials: Access Google AI Studio or the Gemini API docs to generate an API key. This key authenticates your requests.
With your setup complete, you’re ready to interact with the API.
Step 2: Choose Your Access Method
Next, decide how to access the API. Google provides two options:
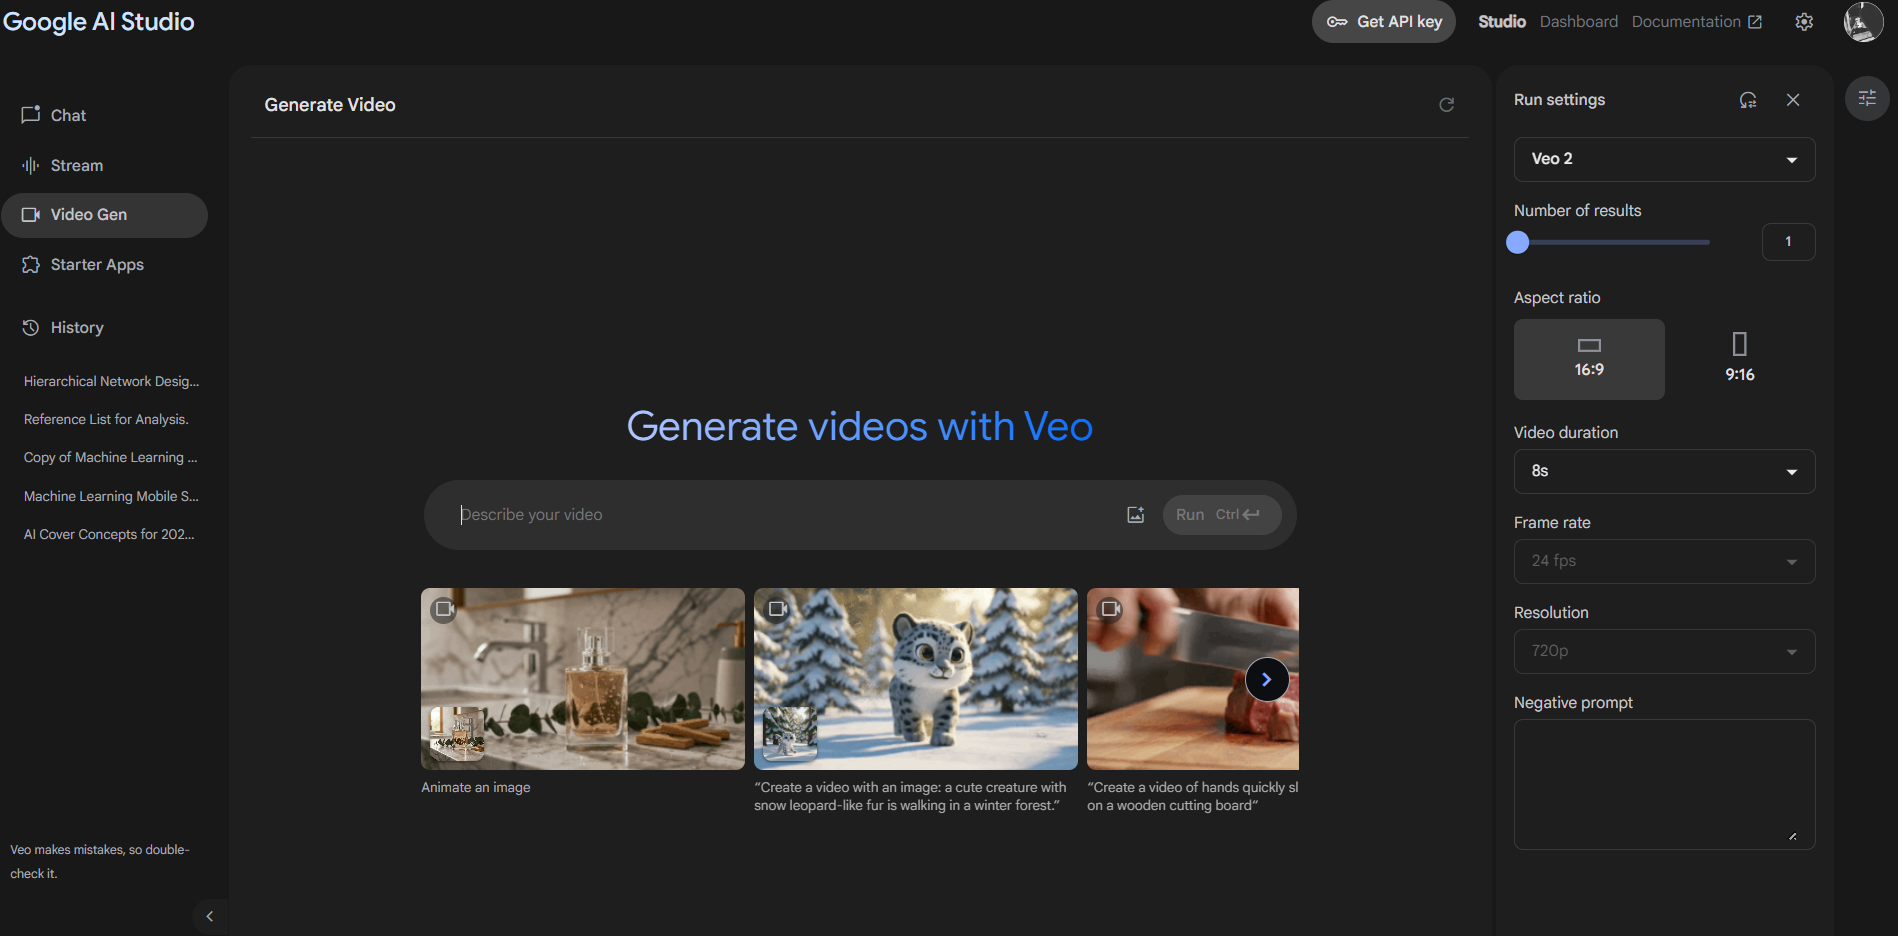
- Google AI Studio: A no-code interface for testing prompts and exploring outputs. Ideal for prototyping.
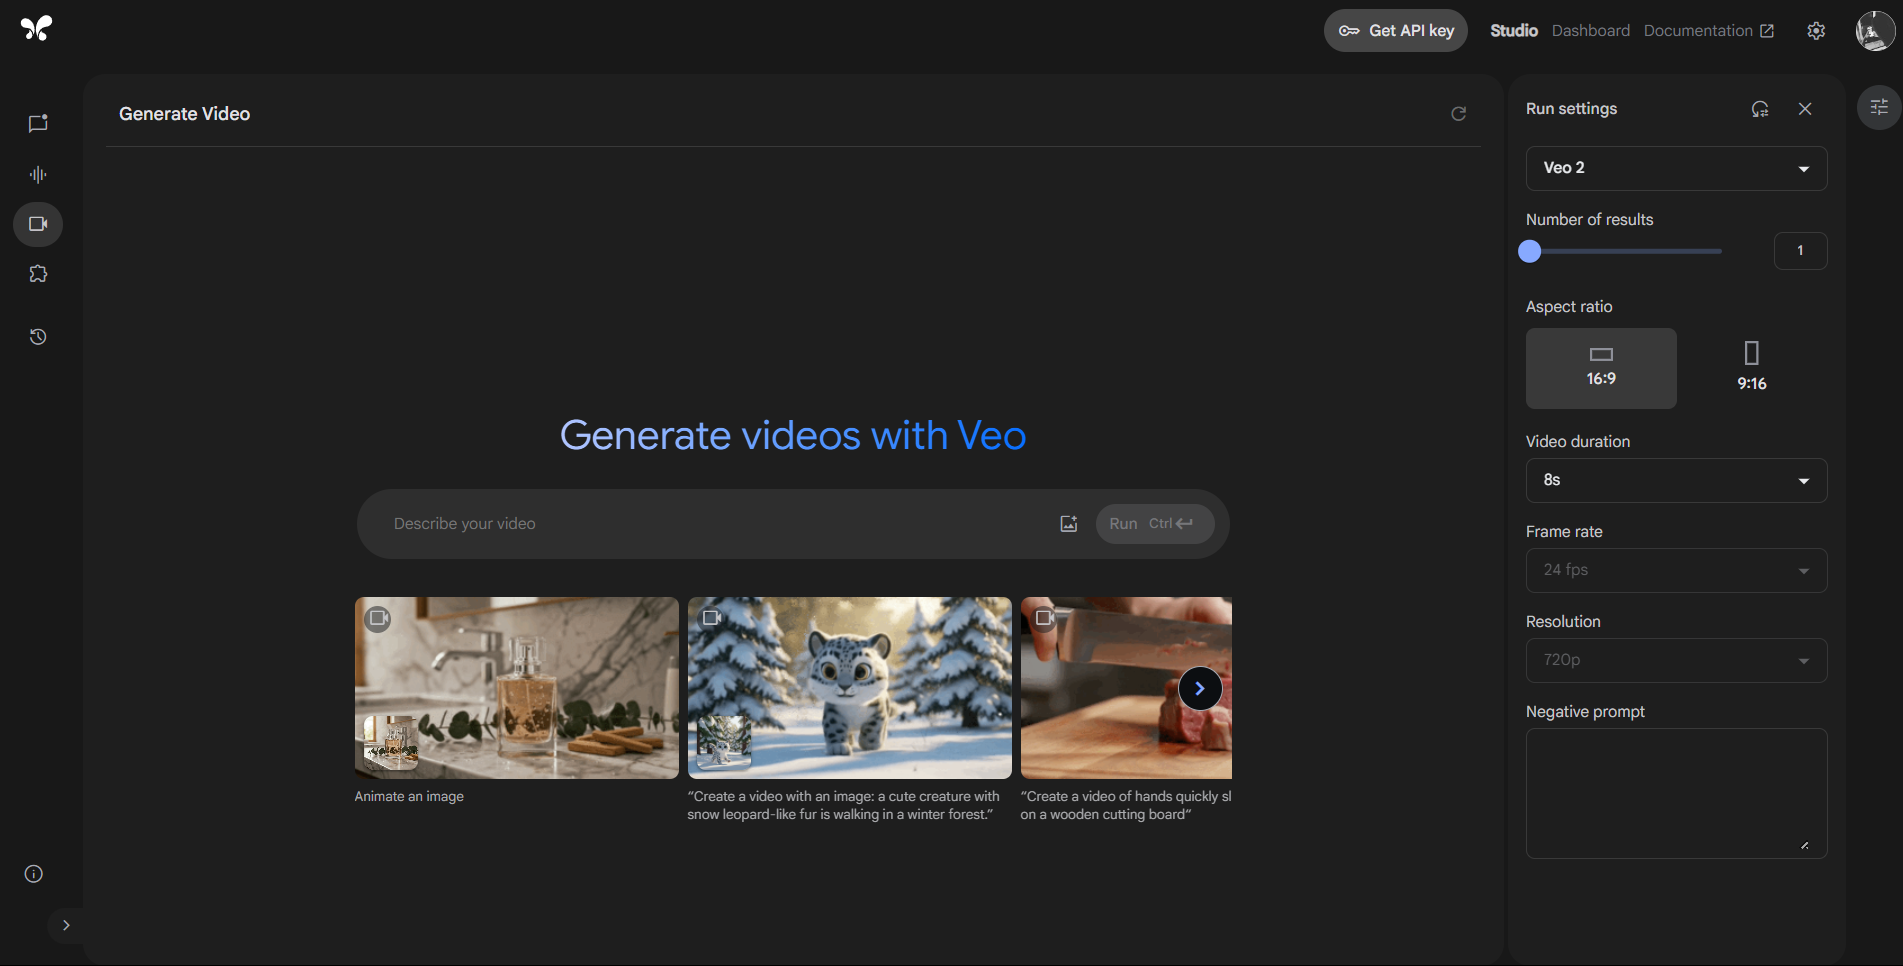
- Gemini API: A programmatic approach for integrating Veo 2 into apps. Perfect for production.
For this guide, we focus on the Gemini API, offering a technical path for developers who code.
Step 3: Send Your First Request
Now, let’s make an API call. The Veo 2 API supports text-to-video and image-to-video generation. Here’s a basic Python example for text-to-video:
import requests

api_key = 'YOUR_API_KEY'  # Replace with your key
url = 'https://api.gemini.google.com/v1/video/generate'
headers = {'Authorization': f'Bearer {api_key}'}
data = {'prompt': 'A futuristic cityscape with flying cars at dusk'}

response = requests.post(url, headers=headers, json=data)
video_url = response.json()['video_url']
print(f'Video ready at: {video_url}')
This code sends a text prompt and retrieves a video URL. For image-to-video, add an image file or URL to the data payload, like this:
data = {
    'image_url': 'https://example.com/city.jpg',
    'prompt': 'Animate this city with flying cars'
}
Authentication uses a Bearer token, so keep your API key secure. The response typically includes a URL to the generated video, ready for download or display.
Step 4: Customize Your Output
The API doesn’t stop at basic generation. Customize videos with parameters like:
- Resolution: Set to 720p, 1080p, or higher (up to 4K, depending on availability).
- Aspect Ratio: Adjust for platforms like Instagram (1:1) or YouTube (16:9).
- Style: Guide the aesthetic—realistic, cartoonish, or cinematic.
For example, tweak the request:
data = {
    'prompt': 'A serene lake with mountains at sunset',
    'resolution': '1080p',
    'style': 'cinematic'
}
Check the Gemini API docs for all options. Experimenting with these settings tailors the output to your needs.
Step 5: Process and Integrate
Finally, handle the response. The API returns a video URL or binary data. Integrate it into your app—display it on a webpage, store it in a database, or stream it to users. For a web app, embed the video:
<video controls src="VIDEO_URL_HERE"></video>
With these steps, you’re generating and using Veo 2 videos programmatically. But how do you test and refine this process? That’s where Apidog comes in.
Boost Your Workflow with Apidog
Testing APIs can be tricky, especially with a tool as powerful as the Veo 2 API. Enter Apidog, a free platform that simplifies API development.
Here’s how it helps:
- Test Requests Easily: Build and send API calls, tweaking prompts and parameters live.
- Inspect Responses: View video URLs or error messages to debug quickly.
- Automate Checks: Run tests to ensure consistent output across multiple prompts.
Imagine testing a dozen prompts to find the perfect video style. Apidog lets you do this efficiently, saving time and effort. Download it free and streamline your Veo 2 API integration today.
Why Use the Google Veo 2 API?
So, why invest in this API? The benefits are clear and compelling:
- Engage Users: Create personalized videos—like game highlights or custom ads—that captivate audiences.
- Save Time: Automate video production, cutting hours from manual editing workflows.
- Unleash Creativity: Use Veo 2’s physics-aware generation for unique, realistic content.
For instance, a fitness app could generate workout recap videos from user data, while a startup could produce pitch videos from text alone. These use cases highlight the API’s versatility and value.
Technical Tips and Best Practices
Before you scale up, consider these pointers:
- Monitor Costs: High-resolution or bulk generation can get pricey. Track usage in Google Cloud.
- Optimize Prompts: Clear, detailed prompts yield better results. Test variations with Apidog.
- Check Quality: Review videos for accuracy and ethics. Veo 2 adds SynthID watermarks to flag AI content.
Following these practices ensures efficient, responsible use of the API.
Conclusion
The Google Veo 2 API redefines video generation, blending advanced AI with developer-friendly access. From setup to customization, this guide equips you to integrate Veo 2 into your projects confidently. Pair it with Apidog for seamless testing, and you’ve got a winning combo. As AI evolves, Veo 2 paves the way for smarter, faster video creation—ready to transform your applications.


