
Looking to get the most out of Augment Code without paying? Discover five effective ways to use Augment Code for free, plus how to optimize your API development workflow by integrating Apidog—your all-in-one API platform.
Why Developers Love Augment Code—and How to Maximize Free Access
AI coding assistants like Augment Code are changing how developers write, review, and debug code. With features for code generation, smart completions, and debugging, it’s a valuable tool for any developer. But after the free tier and trial, what options do you have to keep using Augment Code for free?
Below, we’ll break down five practical ways to access Augment Code without cost. Plus, learn how pairing Augment Code with Apidog streamlines API design, debugging, testing, documentation, and mocking—supercharging your workflow with minimal effort.
1. Get Started with Augment Code’s Free Version
If you’re new to AI coding tools, Augment Code’s free version is the simplest entry point. It typically includes:
- Core features for code suggestions and debugging
- A limited quota of interactions (e.g., 50 messages)
- Easy integration with popular IDEs
How to use it:
- Sign up for an account
- Install the Augment Code extension in your IDE
- Start writing and let the AI assist with code generation, refactoring, and bug fixes
This no-cost option is ideal for individuals, side projects, or those exploring how AI can fit into their workflow.
2. Unlock All Features with the Free Developer Trial
Need access to advanced capabilities? Augment Code’s Developer Plan offers a 14-day free trial, giving you:
- Full access to pro features
- Enhanced chat, “Next Edit”, and robust completions
- Support for large codebases and complex tasks
How to leverage the trial:
- Install the IDE extension
- Activate the free trial during sign-up
- Tackle a complex feature, refactor, or bug using advanced AI support
This is perfect for evaluating whether Augment Code meets your needs for larger-scale or team-based development.
3. Multi-Email Sign-Up: Proceed with Caution
Some users extend free access by registering multiple accounts with different emails (e.g., Google, Microsoft, GitHub). While technically possible, keep in mind:
- Terms of service may restrict this behavior
- Risk of account limitations or bans
- Not a sustainable long-term strategy
If you try this approach, be responsible and understand the risks. It can serve as a temporary solution while exploring other options.

4. Join the Augment Code Open-Source Program
Are you an open-source contributor or maintainer? Augment Code offers free usage to those actively supporting open projects.
How to qualify:
- Demonstrate your open-source contributions when applying
- Await approval to unlock complimentary access
Benefits:
- Use Augment Code for free while contributing to the developer community
- Accelerate project reviews and code improvements
Note: Data generated may be used to help improve AI models.
5. Explore Community GitHub Solutions (Use Responsibly)
The developer community often creates tools—like “Free AugmentCode” scripts on GitHub—to reset local telemetry or database entries, allowing new logins and extended free use.
Important considerations:
- Only use scripts from trusted, reputable sources
- Understand potential security risks and software conflicts
- These tools may become outdated as Augment Code updates
If you go this route, always review code and scan for malicious activity before use.
Boost API Coding: Integrate Augment Code with Apidog MCP Server
For API developers, workflow efficiency comes from integration—not just free access. Apidog offers a unified platform for API design, debugging, testing, documentation, and mocking.
By connecting Augment Code to your API specs via Apidog MCP Server, you enable your AI assistant to directly reference your latest API documentation—reducing errors and keeping your code aligned with production APIs.
How to Connect Apidog MCP Server to Your IDE
Want Augment Code to fetch real-time API details? Here’s how to integrate Apidog MCP Server into IDEs like Cursor:
Prerequisites:
- Node.js v18+ installed (latest LTS recommended)
- IDE with MCP support (e.g., Cursor)
Step 1: Prepare Your OpenAPI Specification
You’ll need your API definition as either:
- A URL (e.g.,
https://petstore.swagger.io/v2/swagger.json) - A local file path (e.g.,
~/projects/api-docs/openapi.yaml) - Formats supported:
.jsonor.yaml(OpenAPI 3.x recommended)
Step 2: Add MCP Configuration
Insert the MCP server setup into your IDE’s config file (for example, mcp.json in Cursor).
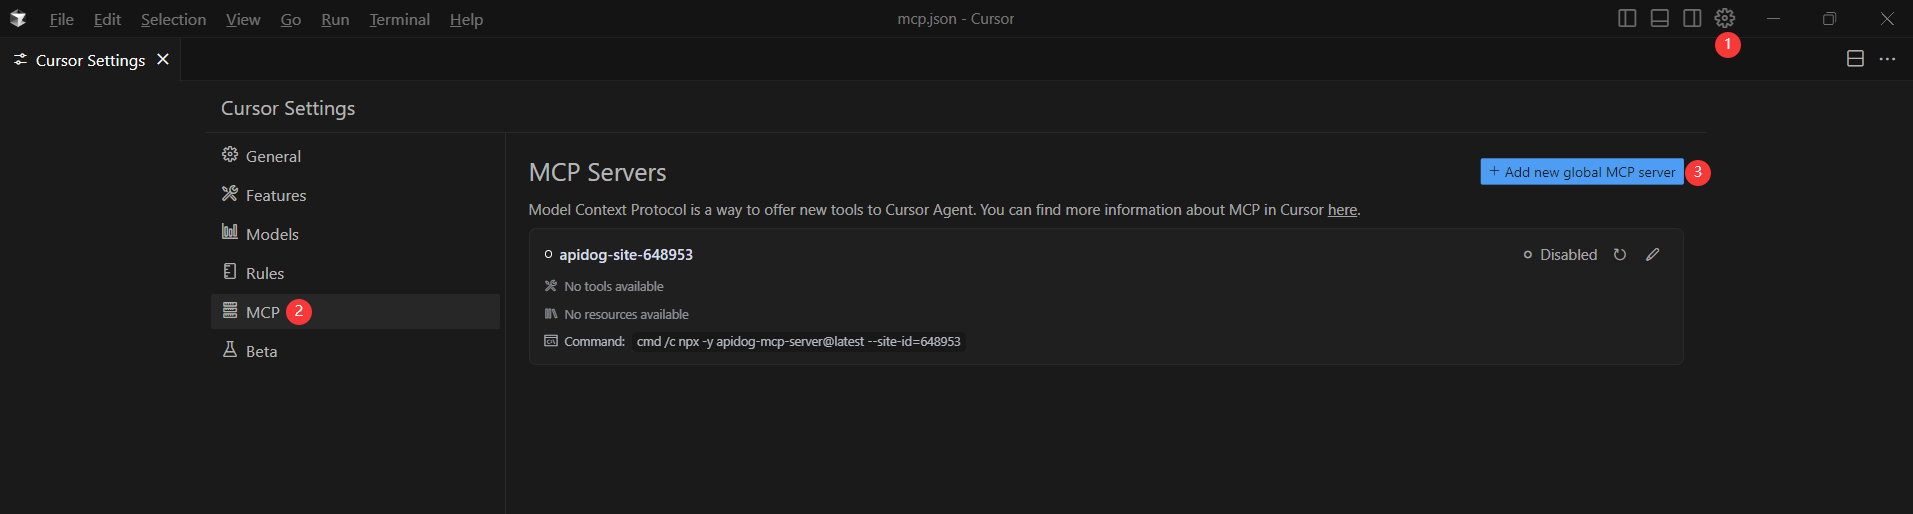
Replace <oas-url-or-path> with your OpenAPI URL or file path.
-
For MacOS/Linux:
{ "mcpServers": { "API specification": { "command": "npx", "args": [ "-y", "apidog-mcp-server@latest", "--oas=https://petstore.swagger.io/v2/swagger.json" ] } } } -
For Windows:
{
  "mcpServers": {
    "API specification": {
      "command": "cmd",
      "args": [
        "/c",
        "npx",
        "-y",
        "apidog-mcp-server@latest",
        "--oas=https://petstore.swagger.io/v2/swagger.json"
      ]
    }
  }
}
Step 3: Test the Connection
In your IDE, switch to Agent mode and use a command like:
“Please fetch API documentation via MCP and tell me how many endpoints exist in the project.”
If configured correctly, you’ll receive a structured list of endpoints and details. If not, double-check your OpenAPI file path and Node.js installation.
Conclusion: Smarter Free Coding with Augment Code and Apidog
Augment Code’s free options—free tier, trial, open-source access, and community tools—help developers tap into powerful AI coding without upfront cost. But long-term productivity comes from smart integrations.
By combining Augment Code with Apidog and MCP Server, you ensure every code suggestion and API call is based on up-to-date, accurate specs. This minimizes errors, accelerates development, and keeps your workflow API-first.
Ready to streamline your API development? Try Apidog to boost your productivity with seamless API management and direct integration with tools like Augment Code.


