In the rapidly evolving world of logistics and e-commerce, the demand for automation has never been higher. Manual shipping processes often lead to inefficiencies, errors, and wasted resources. UPS APIs are designed to address these challenges, offering a powerful solution for businesses to automate and optimize their shipping workflows.
This guide will delve into how you can utilize UPS APIs to automate your shipping process and create a streamlined, scalable operation.
Key Features of UPS APIs
When you utilize UPS APIs, you gain access to a wide range of features that simplify the complexities of shipping and logistics. Here’s a breakdown of the most critical functions:
- Rate and Service Selection: UPS APIs allow you to retrieve real-time shipping rates based on package size, weight, and destination.
- Shipment Tracking: Track packages globally and receive real-time updates at every step of the delivery process.
- Address Validation: Reduce failed deliveries by verifying addresses before shipping.
- Shipping Labels: Automatically generate and print shipping labels directly from your system.
- International Shipping: Handle customs, duties, and cross-border logistics with ease using UPS's global shipping APIs.
- Returns Management: Automate return shipping processes, making it easier for customers to send back packages.
These features allow businesses to eliminate repetitive tasks, streamline processes, and ensure a high level of accuracy in shipping.
How UPS APIs Improve Shipping Efficiency?
The use of UPS APIs to automate shipping directly correlates with increased shipping efficiency. Automation removes the need for manual input, reducing the chances of human error, speeding up processes, and ensuring consistency across the board.
Here are key areas where UPS APIs improve shipping efficiency:
- Automated Shipping Calculations: Automatically calculate shipping rates based on package dimensions, weight, and delivery location, reducing the need for manual entry and costly mistakes.
- Faster Label Generation: With API-driven automation, shipping labels are generated instantly, allowing for a smoother, quicker workflow.
- Reduced Human Error: Errors in manual data entry, address input, and shipping label creation are minimized, reducing the risk of shipping delays or incorrect deliveries.
- Real-Time Tracking: Customers can track their packages in real-time through UPS APIs, resulting in fewer customer service inquiries and improved transparency.
- Seamless Integration with E-commerce Platforms: UPS APIs can be integrated directly into platforms like Shopify, Magento, and WooCommerce, allowing for a seamless experience from order placement to shipment.
When properly integrated, these APIs create an automated system that can handle hundreds or even thousands of shipments daily without a hitch.
How to Integrate UPS APIs with Existing Systems?
Here is a detailed step-by-step guide on how to integrate UPS APIs with your existing systems:
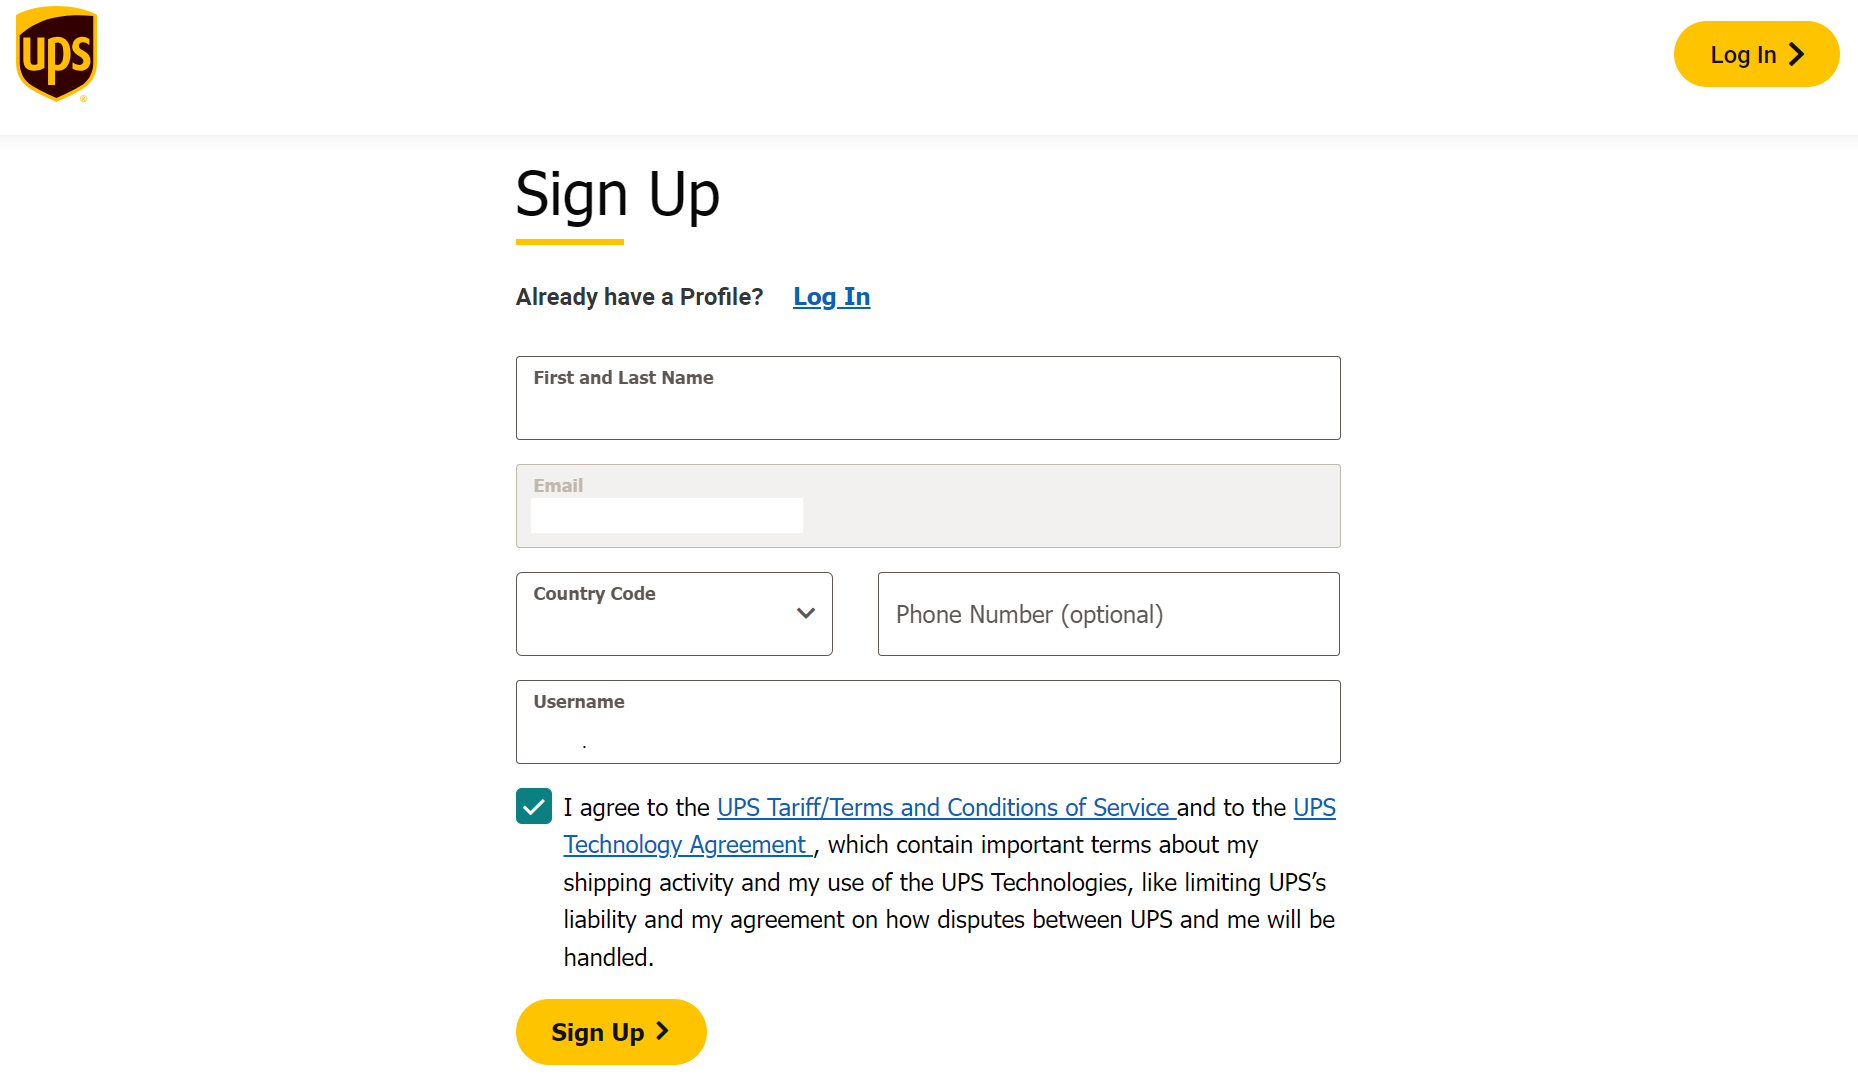
Step 1: Create a UPS Developer Account
- Visit the UPS Developer Portal.
- Sign up or log in to your existing UPS account. A developer account is necessary to access API services.
Step 2: Request Access to UPS APIs
- Navigate to the API Catalog and select the APIs that best suit your needs (e.g., Shipping, Tracking, Address Validation, etc.).
- Review API documentation to understand the capabilities and select the APIs to integrate into your system.
- Apply for API Access to receive API credentials, including your API key, username, and password.
Step 3: Choose Between REST or SOAP
- UPS offers APIs in both REST and SOAP formats. Choose the format that aligns with your system's architecture.
- REST APIs are generally simpler for modern web applications, while SOAP APIs are more suited for legacy systems.
Step 4: Set Up Authentication
- UPS uses OAuth 2.0 for authentication. This ensures secure access to the UPS API services.
- Implement OAuth 2.0 in your system:
- Request an OAuth token by making an API call with your credentials.
- Use the access token in subsequent API requests to authorize your requests.
Step 5: Integrate API Endpoints
- Review the UPS API Documentation to understand the request and response formats.
For example, to integrate UPS Shipping API:
- Send shipping details (like package weight, origin, and destination) to create a shipment.
- Receive a shipping label in response, which you can print or send to customers.
Step 6: Test in the Sandbox Environment
- Before deploying your API integration into production, use UPS's Sandbox Environment to test your API requests.
- Validate the API responses by checking if they match the expected outcomes (e.g., correct shipping rates, delivery times, etc.).
- UPS offers a sandbox for testing without impacting your live operations or incurring costs.
Step 7: Handle API Responses
- Parse the API responses, which are typically in JSON (for REST) or XML (for SOAP).
- Process the returned data based on your system’s needs, such as:
Tracking API: Display shipment tracking information.
Rate API: Show shipping rates to your customers.
Shipping API: Generate and store shipping labels.
Step 8: Error Handling and Logging
- Implement proper error handling to manage failed API requests or invalid responses.
- Use UPS API status codes to interpret errors and take corrective action.
- Log requests and responses to monitor performance and troubleshoot issues.
Step 9: Monitor and Optimize
- After going live, monitor API usage and performance.
- UPS offers reporting tools in the developer portal to review usage and error trends.
Step 10: Deploy to Production
- Once you’re satisfied with the sandbox testing, move to the production environment.
- Update your API credentials to the production versions and ensure OAuth tokens are regularly refreshed to maintain access.
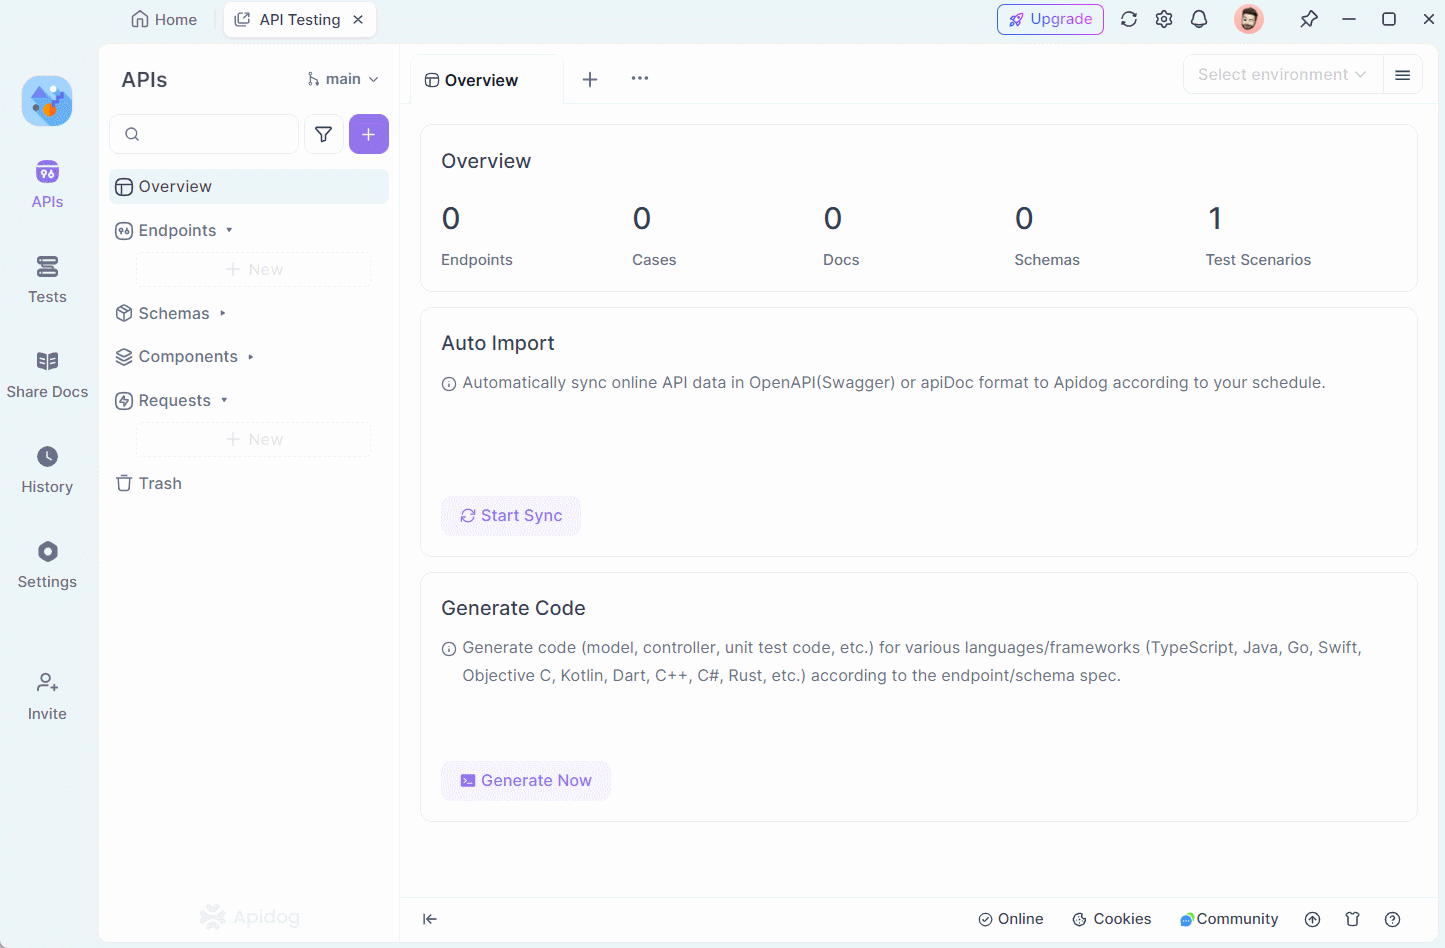
Leveraging Apidog to Test and Manage UPS APIs
When managing complex API integrations, tools like Apidog come in handy. Apidog is an all-in-one API management platform that allows developers and businesses to test, document, and optimize their API workflows.
Here’s how Apidog simplifies working with UPS APIs:
- API Documentation: Automatically generates API documentation, making it easy to understand and manage your UPS API endpoints.
- Manual Testing: Apidog's manual testing feature allows developers to test UPS API endpoints in real-time, ensuring accurate responses and smooth integration before automation. With its user-friendly interface and detailed logs, teams can easily troubleshoot and validate shipping processes efficiently.
- Monitoring and Debugging: With Apidog, you can monitor API performance and debug issues in real-time, ensuring your shipping processes remain uninterrupted.
- Automated Testing: Apidog allows you to test your UPS API endpoints in a simulated environment before going live, reducing the risk of failures in the production stage.
- Collaboration Tools: If your development team is spread across various locations, Apidog offers collaboration features, allowing teams to work together on API integrations seamlessly.
Step-by-step Guide to Test and Manage UPS API
Let's test the UPS API and integrate it into your existing system using Apidog step by step.
Step 0: Apply for UPS API Access
Sign up or log in to your existing UPS account. Apply for API Access to receive API credentials, including your API key, username, and password, which will be needed for getting the auth 2.0 token.
Step 1: Generate Auth 2.0 token for UPS API
Authentication is the first step in testing any API, and Apidog simplifies this by handling the authentication process internally, making it easy to obtain and test auth tokens like OAuth 2.0. Here is how:
- Sign in to Apidog and navigate to the API Requesting section.
- Select OAuth 2.0 Authentication under the "Auth" tab.
- Input the necessary details like Client ID, Client Secret, and Access Token URL for UPS API.
- Click on "Get Token"—Apidog will automatically request and get the auth 2.0 token for you.
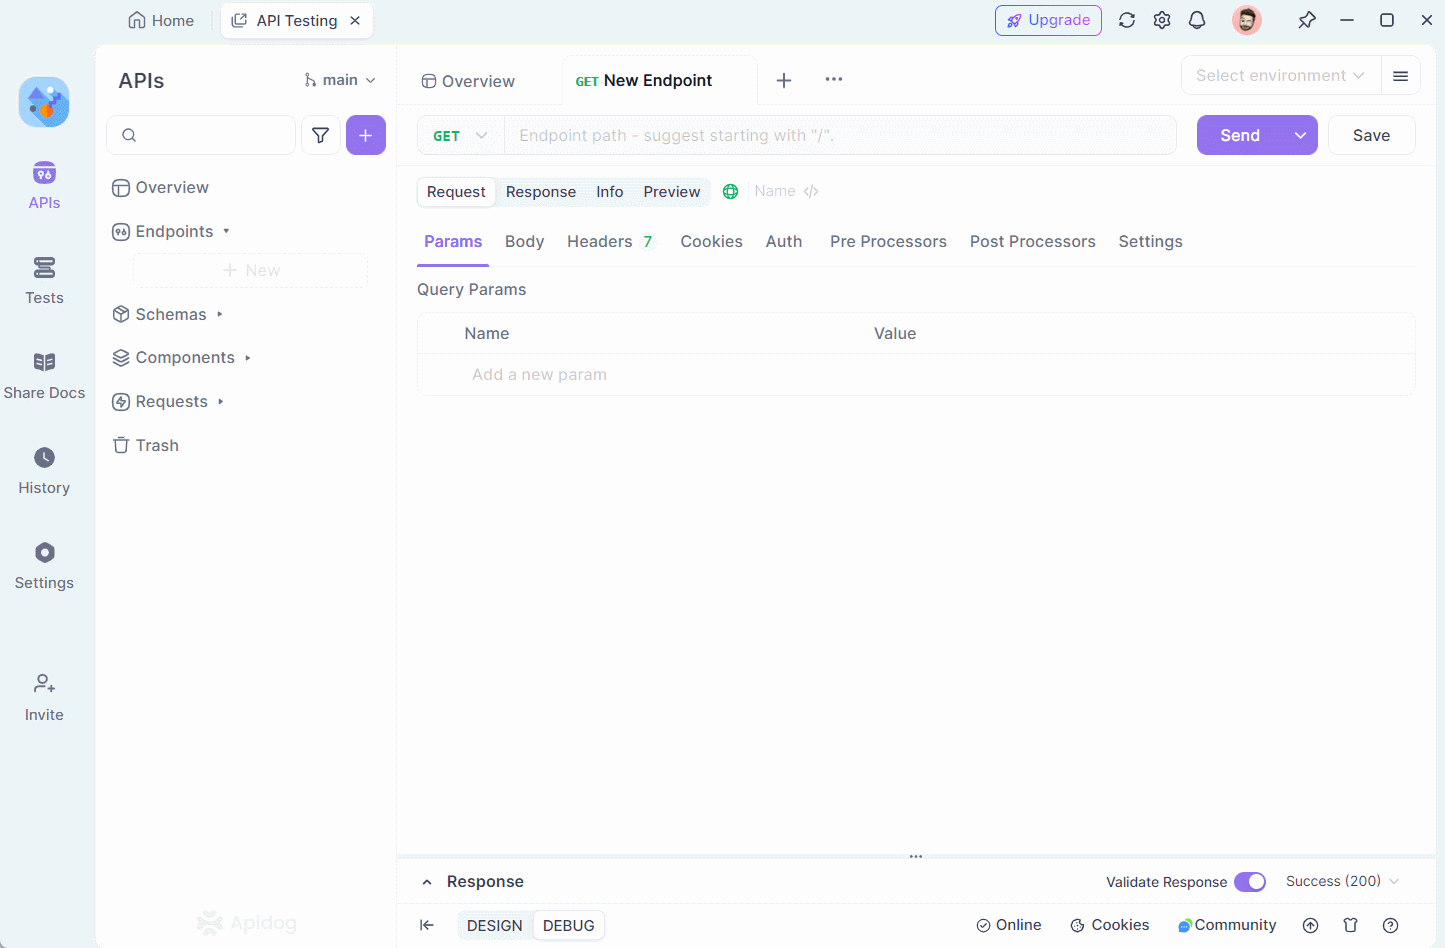
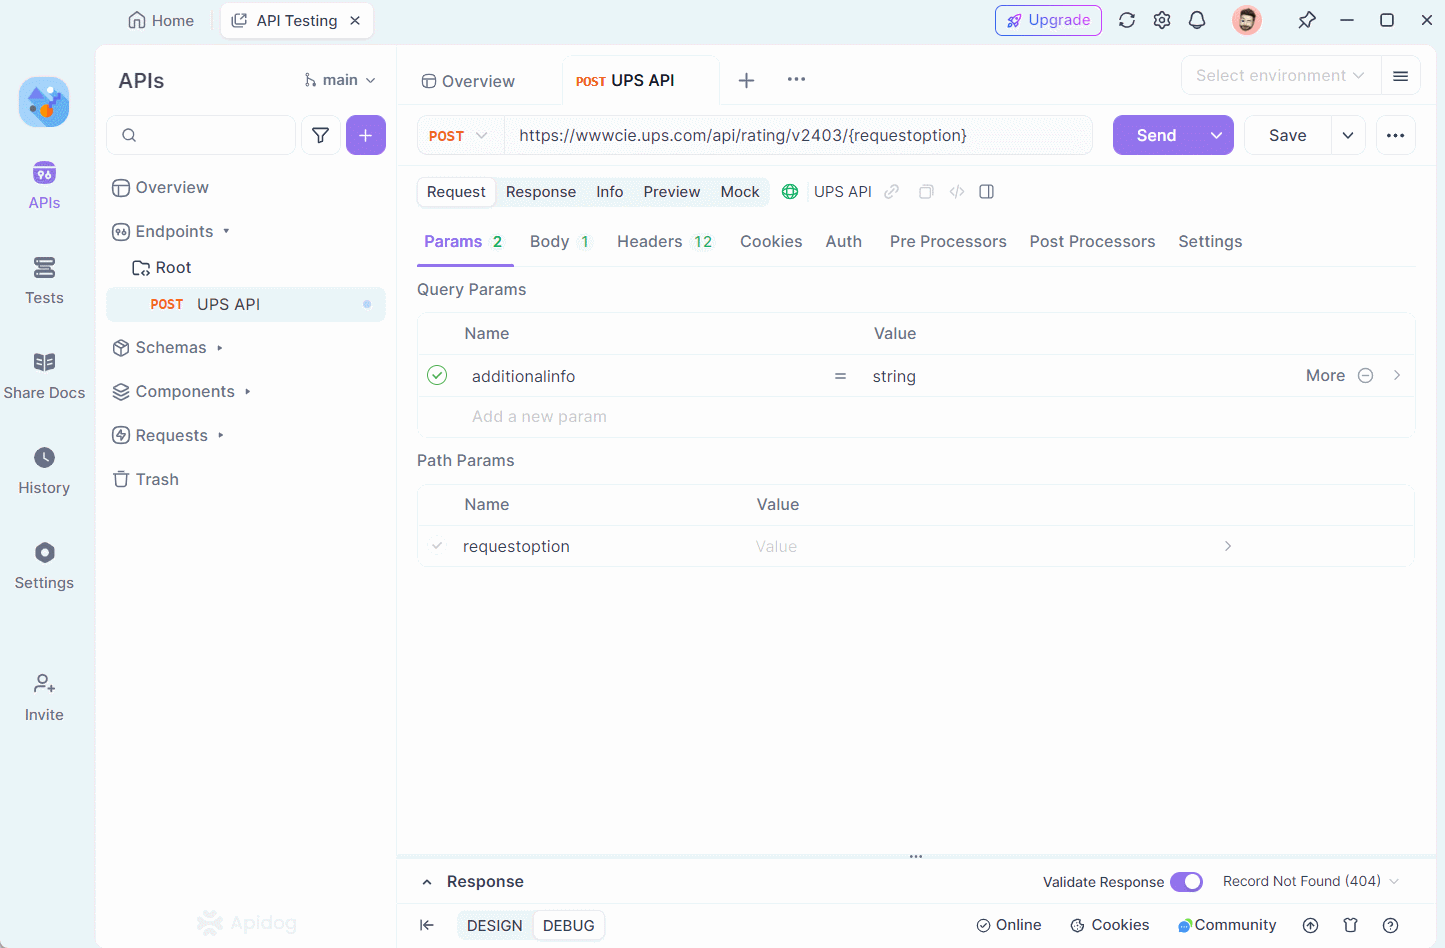
Step 2: Test UPS API Requests Directly in Apidog
Once authenticated, you can begin testing the UPS API right away, as Apidog automatically attaches the generated token to the request headers when you send a UPS API request.
Moreover, Apidog’s user-friendly interface enables you to send API requests and view real-time results instantly, making it simple to verify the functionality of UPS API endpoints such as shipping rates, tracking details, and address validation.
- In the request section, choose the HTTP method and input the UPS APl endpoint path you want to test (e.g. Shipping Rates).
- Enter the required parameters, such as package weight, dimensions, and destination.
- Click on "Send" to trigger the APl call.
- View the response directly in Apidog's visualized dashboard, which presents the raw response data, status code and a detailed report. (Pro tip: You can choose to visualize the API response data if you want.)
Step 3: Get Detailed API Response Reports
After testing or mocking a UPS API, you need insights into the API’s performance and accuracy. Apidog generates detailed API response reports, breaking down the response data into understandable metrics.
Key Features of the Response Reports:
- Status Codes and Headers: View the exact status code returned by the UPS API and any relevant headers.
- Response Time: Analyze how fast the UPS API responds, which is critical for high-volume shipping.
- Detailed Response Body: Inspect the complete response body, whether in JSON or XML format, to verify if the correct information (like shipping rates, tracking numbers, or address validation results) is returned.

With this level of detail, you can quickly diagnose any issues in the API’s response and ensure it is delivering accurate data.
Step 4: Generate Client Code Automatically
Once the UPS API has been successfully tested and validated, Apidog simplifies the process further by automatically generating client code for you. This feature is incredibly helpful for developers who need to integrate UPS API into different programming environments.
Here is how to Generate Client Code:
- Once the API request is validated, click on the Generate Code button`<>` in the API request window.
- Select your preferred programming language (e.g., Java, Python, JavaScript, etc.).
- Apidog will automatically generate the client-side code for making the same API requests, complete with all necessary headers, authentication tokens, and parameters.
Benefit of Client Code Generation:
This feature saves time and ensures consistency across the development team, as the code is generated directly from the tested and verified API requests, reducing the chances of coding errors.
From seamless authentication and direct testing to mocking APIs and automatically generating client code, Apidog simplifies API management, ensuring that your UPS API integration runs smoothly and efficiently. By leveraging Apidog’s robust features, you can save time, reduce errors, and ensure a reliable integration process for UPS API functionalities.
Conclusion
Utilizing UPS APIs for shipping automation is a game-changer for businesses looking to streamline their logistics operations. By integrating these APIs, businesses can eliminate manual errors, reduce shipping costs, and enhance the customer experience. With tools like Apidog to support API management, businesses can ensure that their API-driven workflows remain efficient and reliable.