Three.js is one of the most popular JavaScript libraries for creating 3D graphics in web browsers. Built on top of WebGL, it simplifies the process of creating and displaying animated 3D computer graphics on a web browser without requiring you to learn low-level WebGL. Whether you're looking to create interactive visualizations, games, or immersive web experiences, Three.js provides the tools you need to bring your ideas to life.
Before we dive into Three.js development, consider trying Apidog as a Postman alternative for your API testing needs. Apidog offers an intuitive interface with powerful features for API development, testing, and documentation—all without the feature bloat that many users find frustrating with Postman. It's an excellent companion tool when developing web applications that interact with APIs.

Now, let's begin our journey into Three.js!
1. Setting Up Your Environment
Installation
There are several ways to include Three.js in your project:
Option 1: Using npm (Recommended)
npm install three
Then import it into your JavaScript file:
import * as THREE from 'three';
Option 2: Using a CDN
Add this to your HTML file:
<script src="https://cdn.jsdelivr.net/npm/three@0.157.0/build/three.min.js"></script>
Option 3: Download and include locally
Download the library from Three.js website, and include it in your HTML:
<script src="path/to/three.min.js"></script>
Project Structure
For a basic Three.js project, you'll need:
project-folder/
├── index.html
├── style.css
└── script.js
Your index.html file should include:
<!DOCTYPE html>
<html>
<head>
    <meta charset="utf-8">
    <title>My Three.js App</title>
    <style>
        body { margin: 0; }
        canvas { display: block; }
    </style>
</head>
<body>
    <script src="https://cdn.jsdelivr.net/npm/three@0.157.0/build/three.min.js"></script>
    <script src="script.js"></script>
</body>
</html>
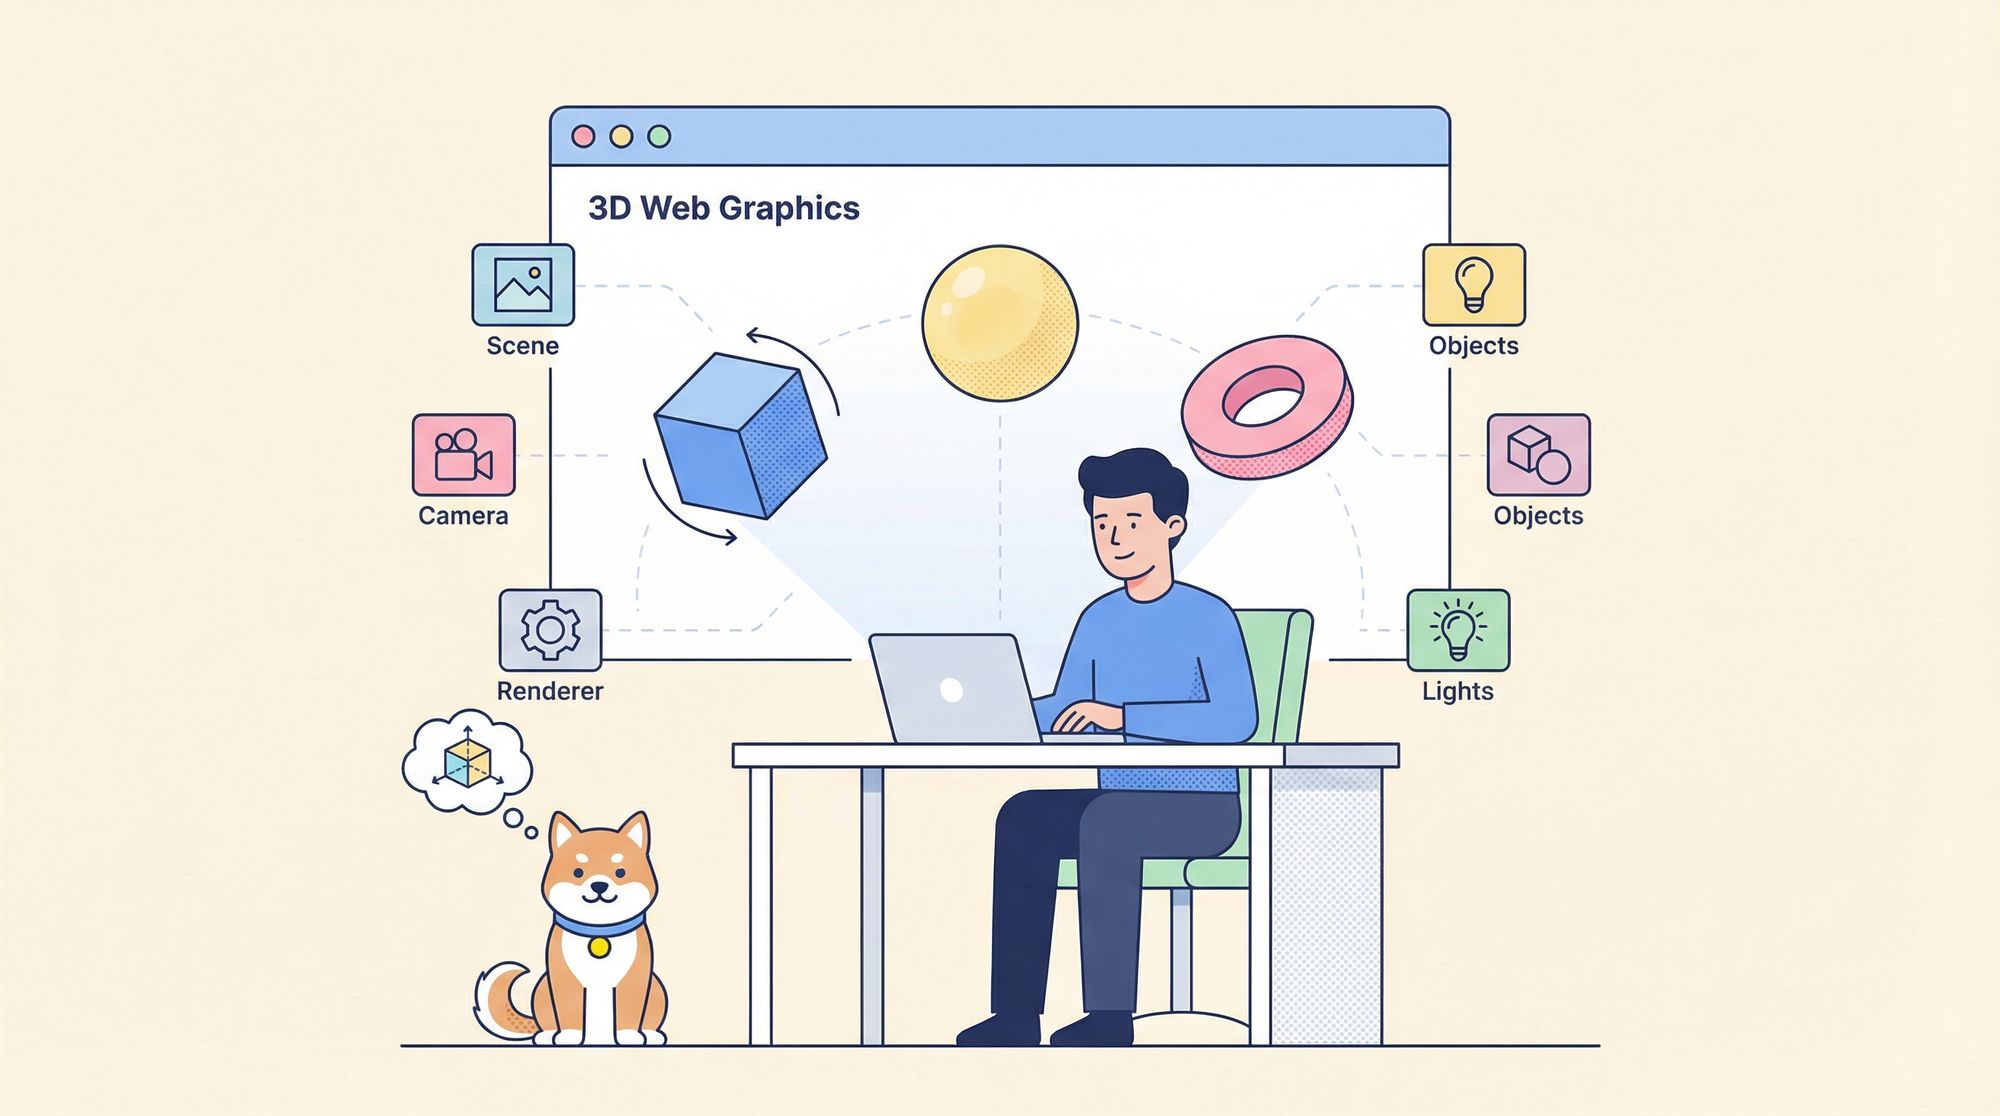
2. Understanding the Fundamentals
Three.js operates on a few key concepts that are essential to understand:
The Core Components
- Scene: Think of this as a container that holds all your objects, lights, and cameras.
- Camera: Defines what part of the scene is visible (your viewpoint).
- Renderer: Draws what the camera sees onto your screen.
- Objects (Meshes): The 3D objects in your scene, typically composed of geometry and material.
- Lights: Sources of illumination for your scene.
Creating Your First Scene
Here's a basic example to create a spinning cube:
// Create the scene
const scene = new THREE.Scene();

// Create a camera
const camera = new THREE.PerspectiveCamera(
    75,                                     // Field of view
    window.innerWidth / window.innerHeight, // Aspect ratio
    0.1,                                    // Near clipping plane
    1000                                    // Far clipping plane
);
camera.position.z = 5;

// Create the renderer
const renderer = new THREE.WebGLRenderer();
renderer.setSize(window.innerWidth, window.innerHeight);
document.body.appendChild(renderer.domElement);

// Create a cube
const geometry = new THREE.BoxGeometry();
const material = new THREE.MeshBasicMaterial({ color: 0x00ff00 });
const cube = new THREE.Mesh(geometry, material);
scene.add(cube);

// Animation loop
function animate() {
    requestAnimationFrame(animate);

    // Rotate the cube
    cube.rotation.x += 0.01;
    cube.rotation.y += 0.01;

    renderer.render(scene, camera);
}
animate();
3. Making Your App Responsive
To ensure your Three.js application looks good on all devices, you need to handle window resizing:
// Handle window resizing
window.addEventListener('resize', () => {
    const width = window.innerWidth;
    const height = window.innerHeight;

    // Update renderer
    renderer.setSize(width, height);

    // Update camera
    camera.aspect = width / height;
    camera.updateProjectionMatrix();
});
4. Adding Materials and Lighting
Basic scenes are just the beginning. Let's enhance the visual quality with materials and lights:
Materials
// Standard material with reflection
const material = new THREE.MeshStandardMaterial({
    color: 0x0088ff,       // Blue color
    roughness: 0.5,        // Somewhat shiny
    metalness: 0.5,        // Somewhat metallic
});

// Phong material for simple shiny surfaces
const phongMaterial = new THREE.MeshPhongMaterial({
    color: 0xff0000,       // Red color
    shininess: 100,        // Very shiny
    specular: 0x111111     // Specular highlight color
});
Lights
// Add ambient light
const ambientLight = new THREE.AmbientLight(0x404040);
scene.add(ambientLight);

// Add directional light (like the sun)
const directionalLight = new THREE.DirectionalLight(0xffffff, 1);
directionalLight.position.set(1, 1, 1);
scene.add(directionalLight);

// Add point light (like a light bulb)
const pointLight = new THREE.PointLight(0xffffff, 1, 100);
pointLight.position.set(10, 10, 10);
scene.add(pointLight);
5. Creating Different Geometries
Three.js comes with many built-in geometries:
// Sphere
const sphereGeometry = new THREE.SphereGeometry(1, 32, 32);
const sphere = new THREE.Mesh(sphereGeometry, material);
sphere.position.x = -3;
scene.add(sphere);

// Cylinder
const cylinderGeometry = new THREE.CylinderGeometry(1, 1, 2, 32);
const cylinder = new THREE.Mesh(cylinderGeometry, material);
cylinder.position.x = 0;
scene.add(cylinder);

// Torus (donut)
const torusGeometry = new THREE.TorusGeometry(0.8, 0.3, 16, 100);
const torus = new THREE.Mesh(torusGeometry, material);
torus.position.x = 3;
scene.add(torus);
6. Creating Text in Three.js
Text can be added to your scene using the TextGeometry:
// First, load the font
const loader = new THREE.FontLoader();
loader.load('https://threejs.org/examples/fonts/helvetiker_regular.typeface.json', function(font) {
    const textGeometry = new THREE.TextGeometry('Hello Three.js!', {
        font: font,
        size: 0.5,
        height: 0.1,
        curveSegments: 12,
        bevelEnabled: true,
        bevelThickness: 0.03,
        bevelSize: 0.02,
        bevelOffset: 0,
        bevelSegments: 5
    });

    const textMaterial = new THREE.MeshStandardMaterial({ color: 0xffff00 });
    const text = new THREE.Mesh(textGeometry, textMaterial);

    // Center the text
    textGeometry.computeBoundingBox();
    const textWidth = textGeometry.boundingBox.max.x - textGeometry.boundingBox.min.x;
    text.position.x = -textWidth / 2;

    scene.add(text);
});
7. Drawing Lines
You can create lines in Three.js for wireframes or path visualization:
// Create points for the line
const points = [];
points.push(new THREE.Vector3(-2, 0, 0));
points.push(new THREE.Vector3(0, 2, 0));
points.push(new THREE.Vector3(2, 0, 0));

// Create the line geometry
const lineGeometry = new THREE.BufferGeometry().setFromPoints(points);

// Create material
const lineMaterial = new THREE.LineBasicMaterial({ color: 0xffffff });

// Create the line
const line = new THREE.Line(lineGeometry, lineMaterial);
scene.add(line);
8. Interaction and Controls
To allow users to interact with your 3D scene, you can add controls:
// Import OrbitControls
import { OrbitControls } from 'three/examples/jsm/controls/OrbitControls.js';

// Create controls
const controls = new OrbitControls(camera, renderer.domElement);
controls.enableDamping = true; // Add smooth damping effect
controls.dampingFactor = 0.05;

// Update the animation loop
function animate() {
    requestAnimationFrame(animate);

    // Update controls
    controls.update();

    renderer.render(scene, camera);
}
9. Loading 3D Models
You can import models created in software like Blender:
import { GLTFLoader } from 'three/examples/jsm/loaders/GLTFLoader.js';

const loader = new GLTFLoader();
loader.load(
    'path/to/model.gltf',
    // Called when loaded
    function(gltf) {
        scene.add(gltf.scene);
    },
    // Called during loading
    function(xhr) {
        console.log((xhr.loaded / xhr.total * 100) + '% loaded');
    },
    // Called on error
    function(error) {
        console.error('An error happened', error);
    }
);
10. Debugging and Performance Tips
Stats Panel
import Stats from 'three/examples/jsm/libs/stats.module.js';

const stats = new Stats();
document.body.appendChild(stats.dom);

function animate() {
    requestAnimationFrame(animate);
    stats.begin();

    // Your animation code here

    stats.end();
    renderer.render(scene, camera);
}
Performance Tips
- Use BufferGeometry instead of Geometry (which is deprecated)
- Reuse materials and geometries when possible
- Set
renderer.powerPreference = 'high-performance'for better GPU usage - Use
Object3D.frustumCulled = trueto hide objects outside the camera view - Optimize model complexity by using fewer polygons where possible
Conclusion
You've now learned the basics of Three.js, from setting up your environment to creating interactive 3D scenes. This is just the beginning—Three.js offers a vast array of features for creating stunning 3D web experiences.
To deepen your knowledge, explore the official Three.js documentation and examples gallery. The community is also active on forums and GitHub, providing resources and support for developers at all levels.
Remember, the best way to learn is by experimenting. Start with simple projects and gradually work your way up to more complex scenes. With practice and patience, you'll be creating impressive 3D web experiences in no time!
Happy coding with Three.js!


