
Postman has emerged as a powerful tool that allows developers to verify, interact with, and debug their APIs. One of the key features of Postman is its ability to print values to the test results and console, providing real-time feedback and aiding in the debugging process.
This article will guide you through the process of printing values to the test results and console in Postman, a feature that can greatly enhance your API testing and debugging experience. Whether you’re a seasoned developer or just starting out, this guide will provide you with the knowledge you need to effectively use this feature.
Understanding APIs and Postman
APIs, or Application Programming Interfaces, are a set of protocols that enable different software components to communicate and transfer data. They are used to bridge the gaps between small, discrete chunks of code in order to create applications that are powerful, resilient, secure, and able to meet user needs.

Postman is a popular tool used for API testing. It allows developers to send requests to web servers and get a response back. The tool allows users to set up all the headers and cookies the API expects, and checks the response.
Why Print Values to Test Results and Console?
Printing values can be incredibly useful in a variety of scenarios. Here are some common use cases:
- Debugging: Printing values to the console can help you debug your API requests. By printing out variables, headers, or body content, you can see exactly what is being sent and received.
- Data Validation: You can print responses to the console to validate the data you’re receiving from the API. This can be especially useful when testing endpoints that return complex JSON objects.
- Performance Monitoring: By printing the response time of requests, you can monitor the performance of your API endpoints and identify any that are slower than expected.
- Error Handling: Printing error messages to the console can help you understand why a request failed and how to fix it.
- Learning and Documentation: If you’re learning about a new API or creating documentation, printing values can provide valuable insights into how the API works.
The ability to print values is a powerful feature that can enhance your API testing and debugging process. Use it wisely!
How to Print Values to the Test Results and Console in Postman
Now, let’s get to the fun part: how to actually print values to the test results and console in Postman. Here’s a step-by-step guide:
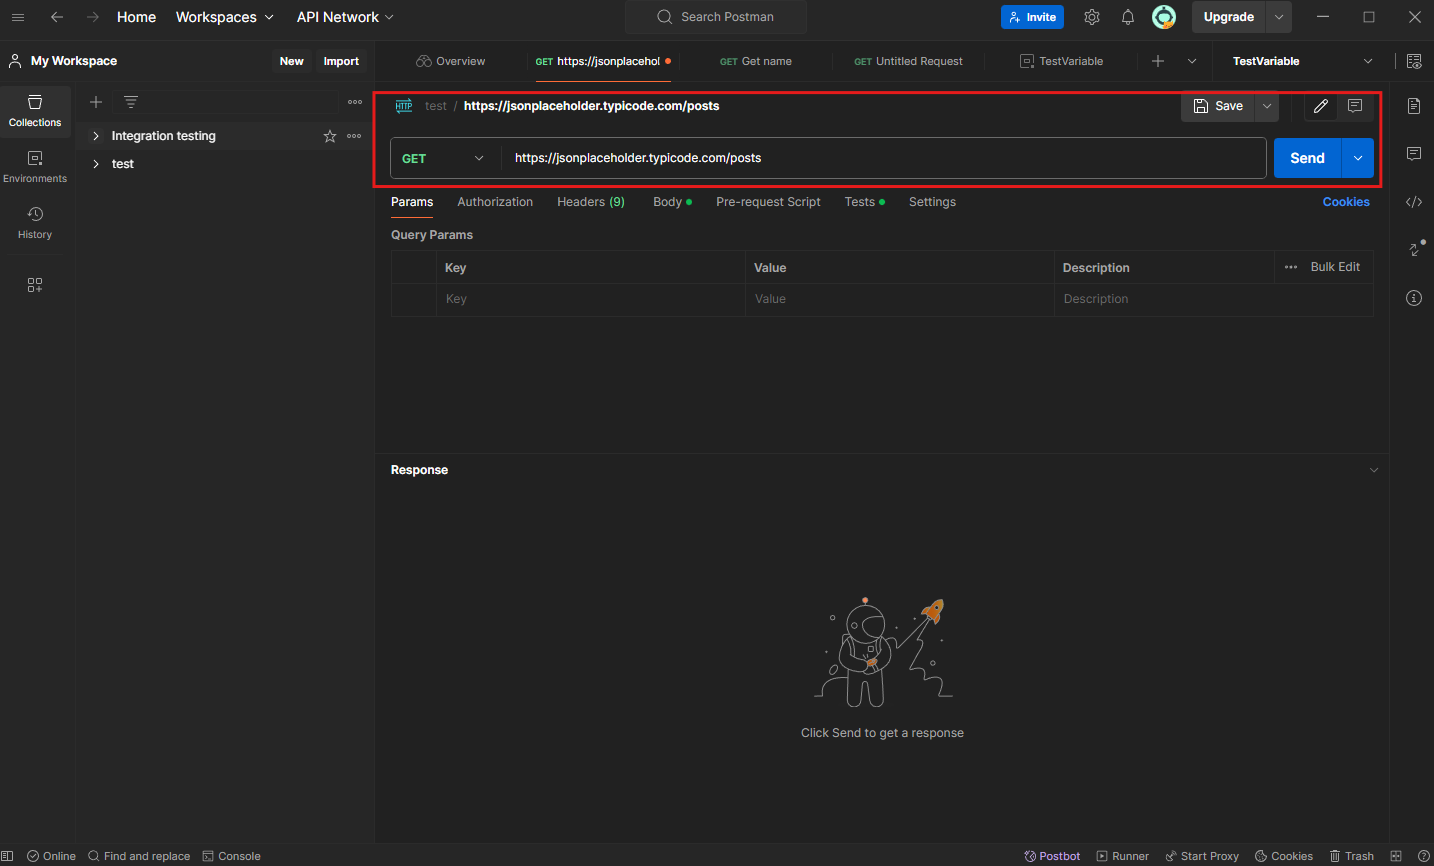
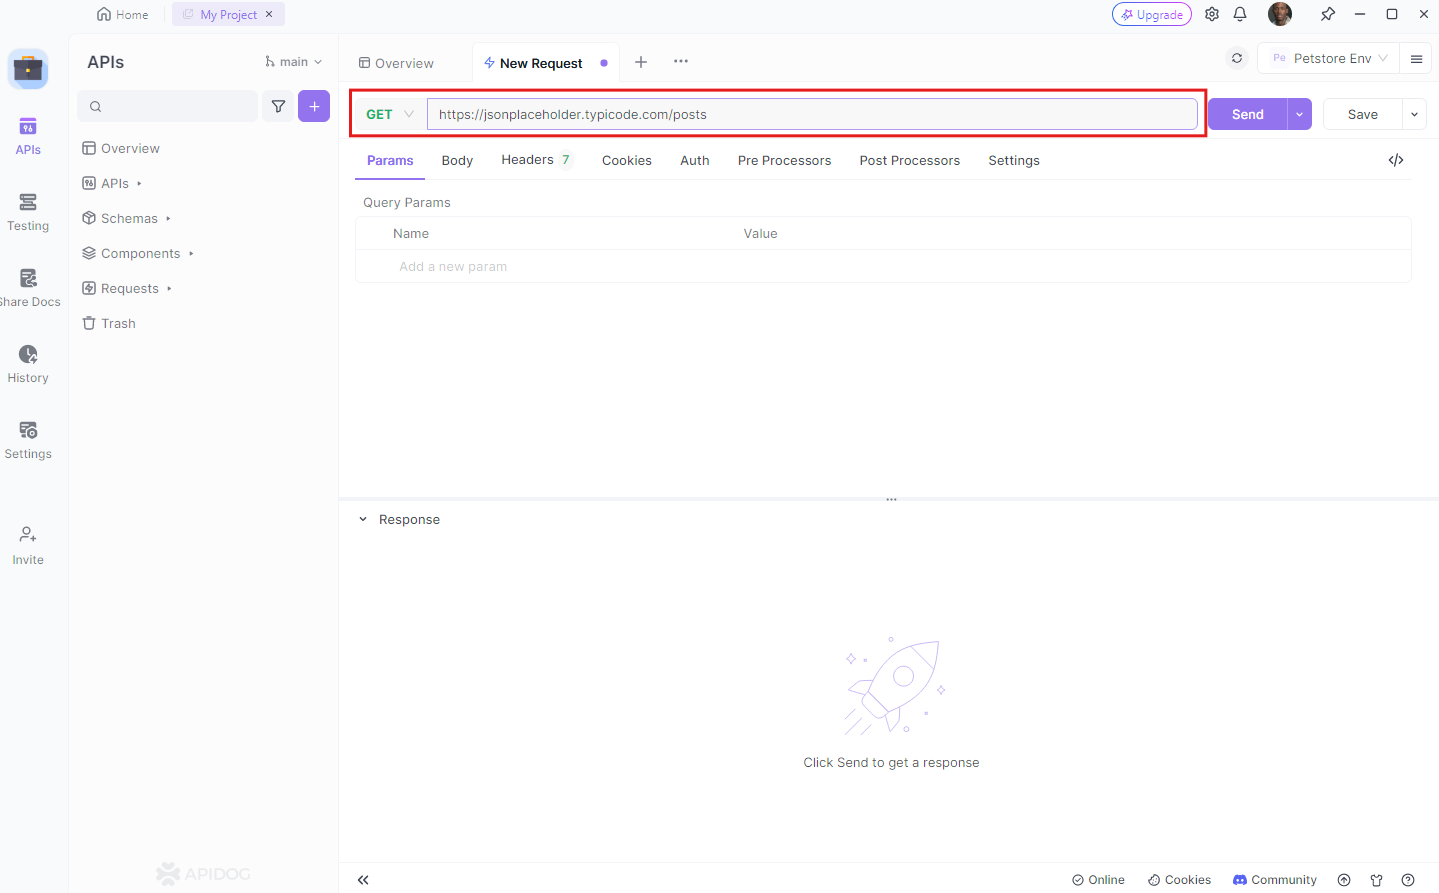
Step One: Open Postman and select the API you want to test.
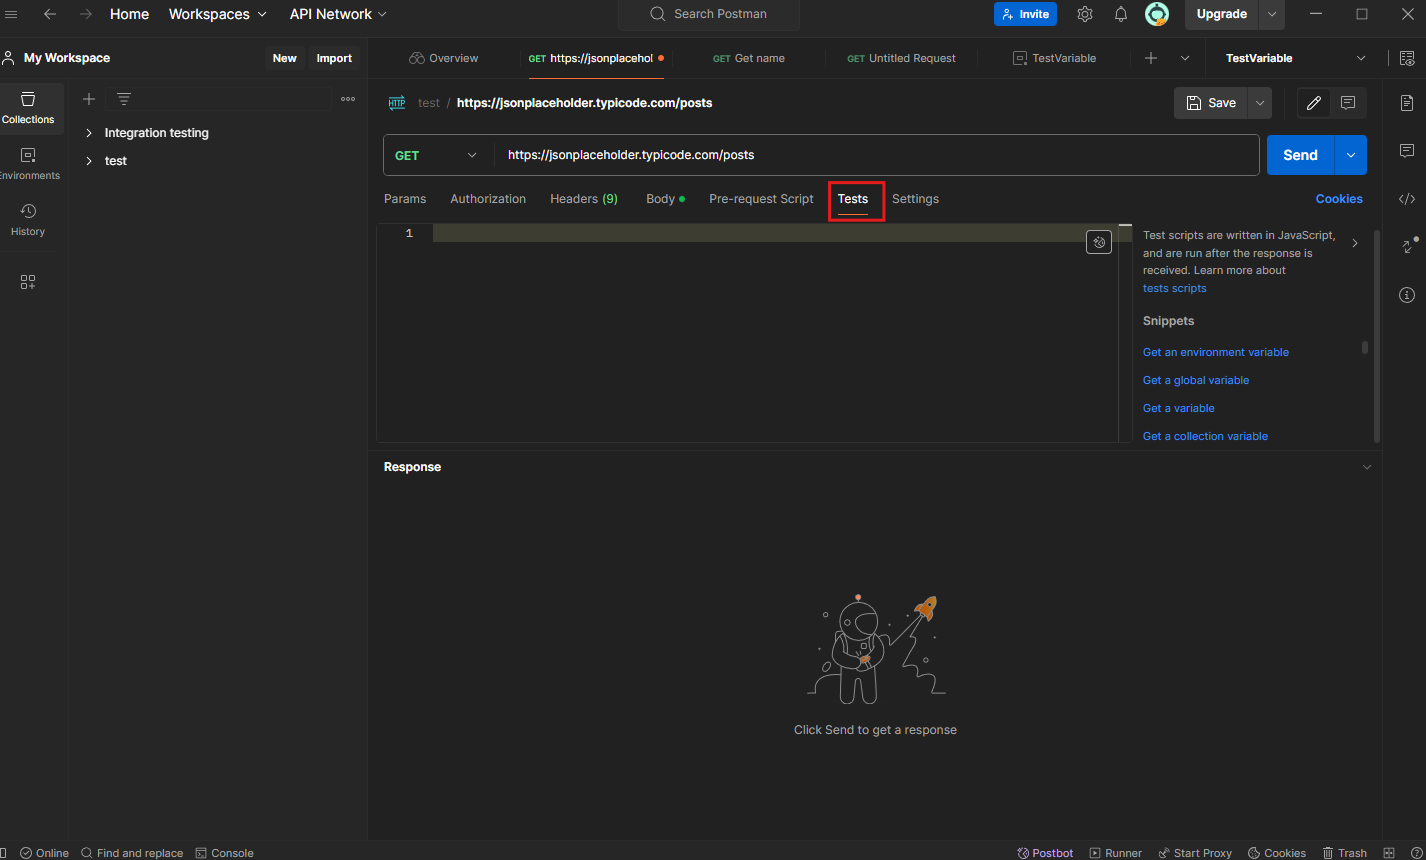
Step Two: In the ‘Tests’ tab of your request, you can write JavaScript code to manipulate your tests and print values to the console.
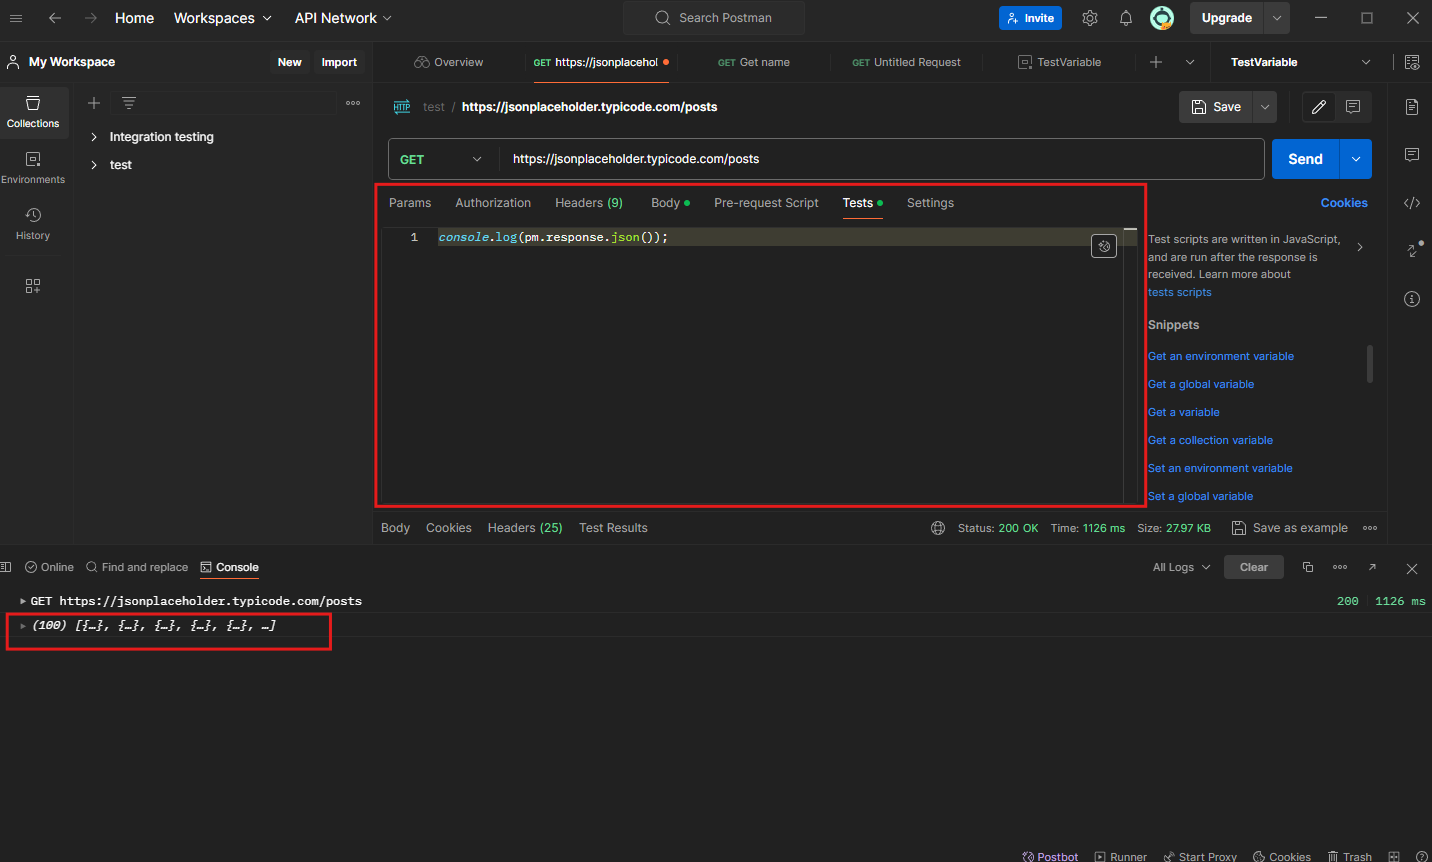
Step Three: To print a value to the console, you can use the console.log() function. For example, console.log(pm.response.json()); will print the response of the API to the console.
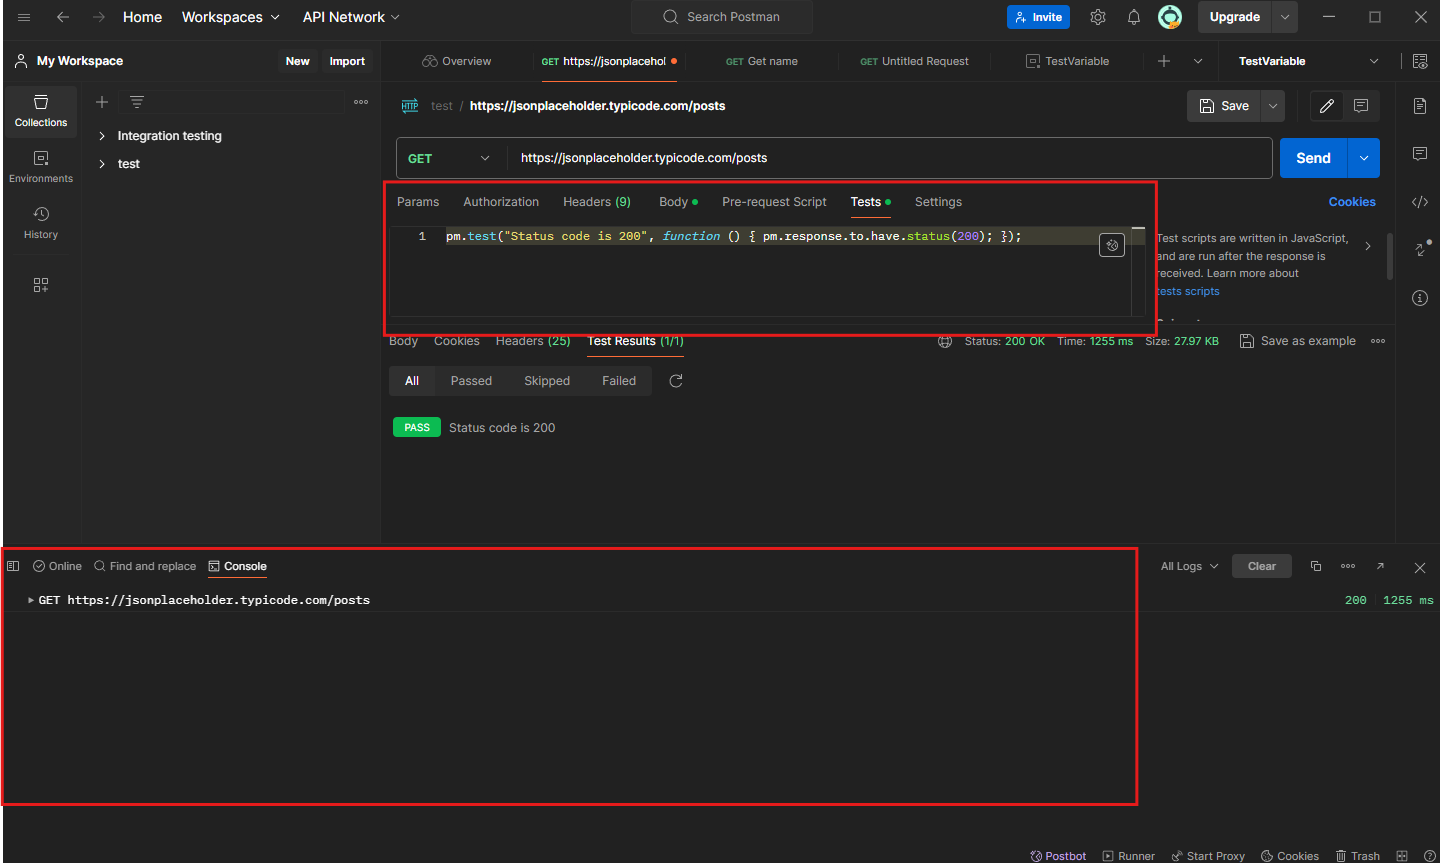
Step Four: To print values to the test results, you can use the pm.test() function. For example, pm.test("Status code is 200", function () { pm.response.to.have.status(200); }); will check if the status code of the response is 200 and print the result to the test results.
Printing Values to the Test Results and Console in Apidog
Apidog is an integrated platform designed to streamline the entire API lifecycle. It provides a comprehensive set of tools that help R&D teams implement best practices for API Design-first development.
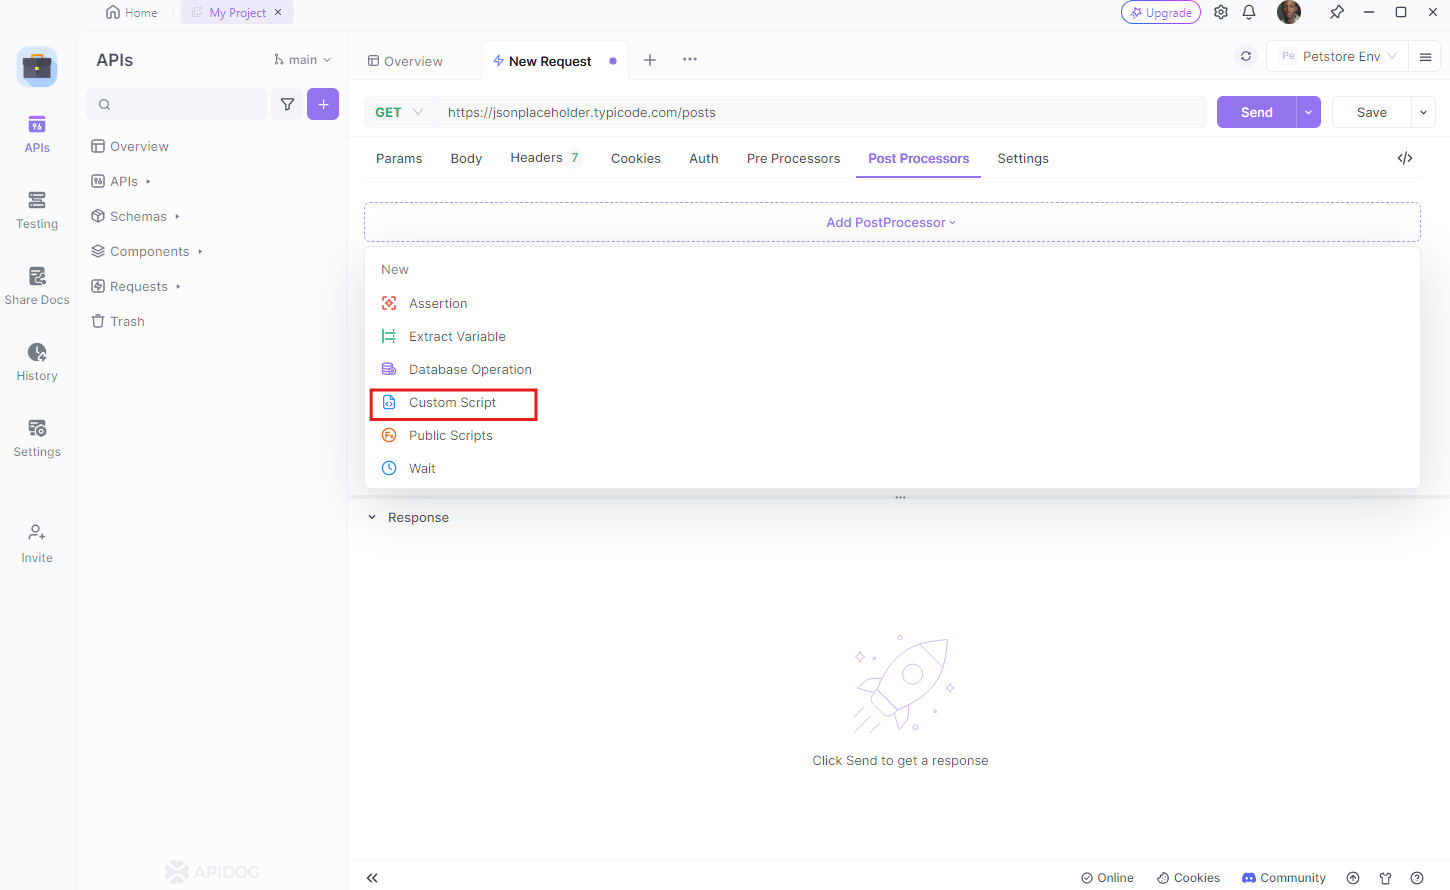
Step One: Initiate Apidog and choose the API you wish to evaluate
Step Two: Navigate to the ‘Post processors’ tab of your request and select "Custom Script" where you have the ability to write JavaScript code to modify your tests and output values to the console.
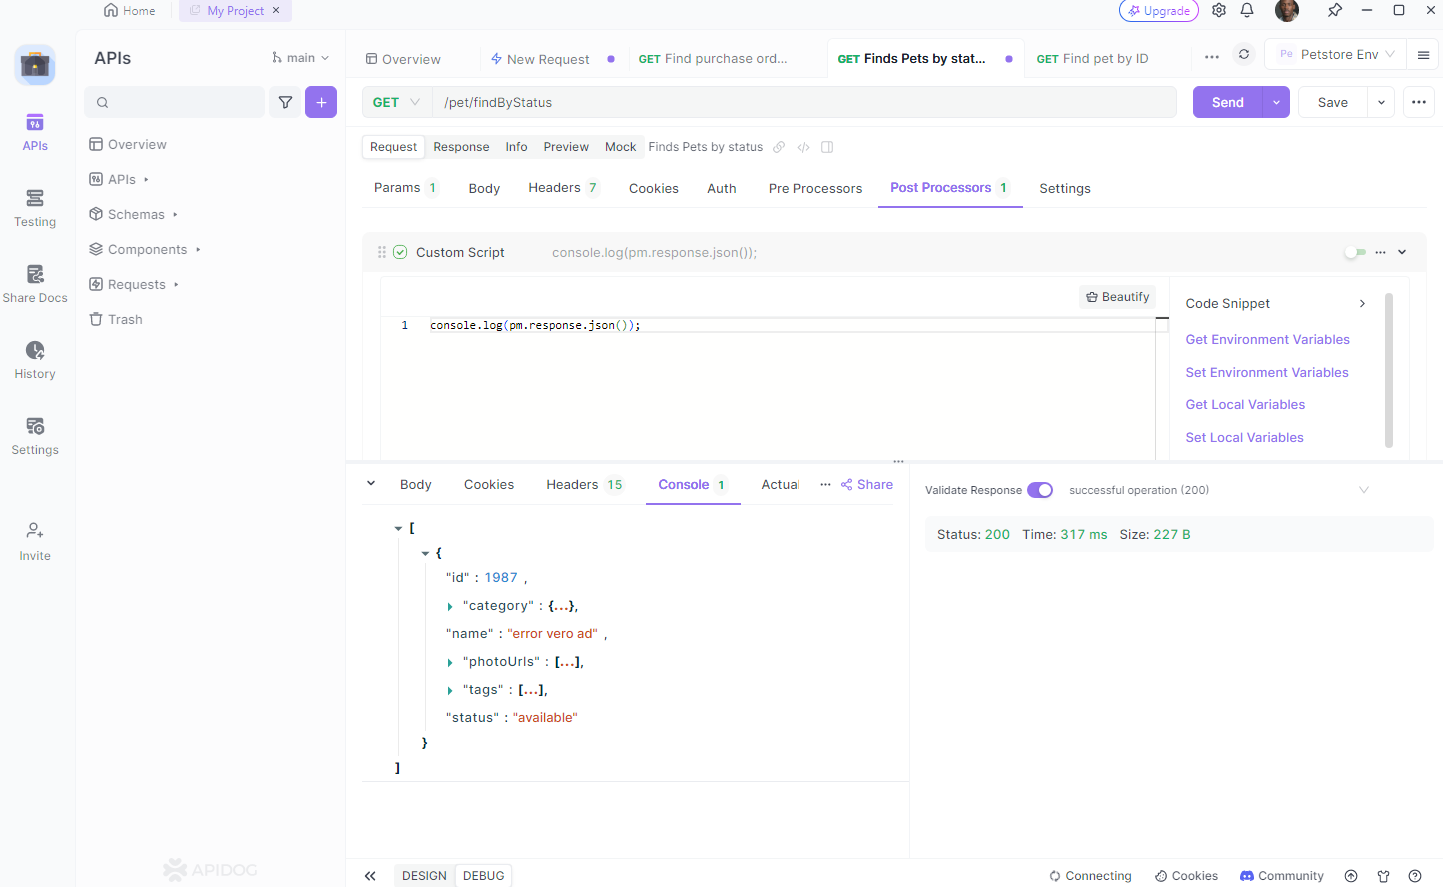
Step Three: If you want to output a value to the console, you can utilize the console.log() function. For instance, executing console.log(pm.response.json()); will output the API’s response to the console.
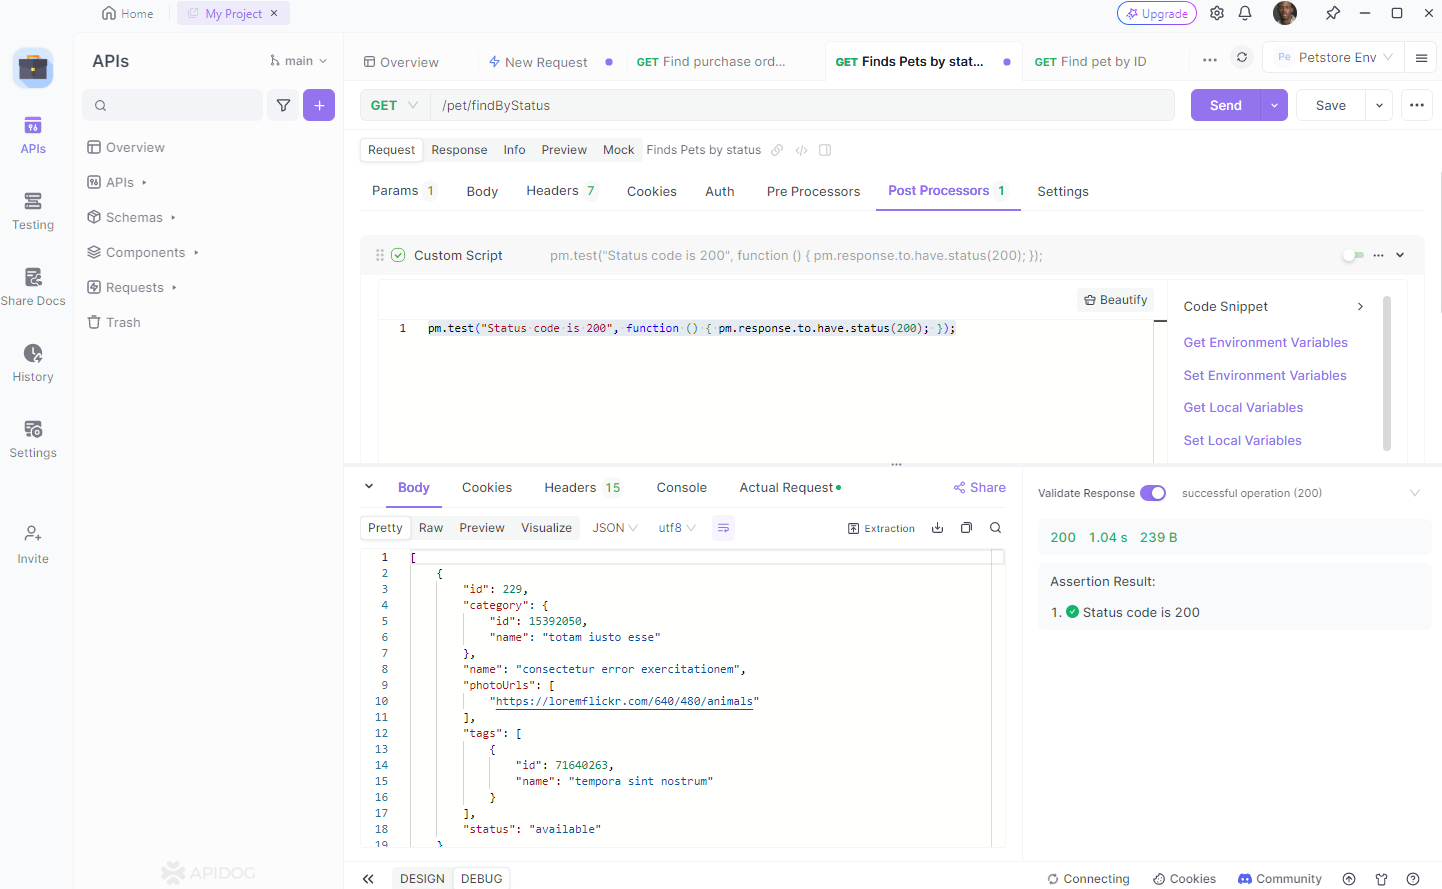
Step Four: To output values to the test results, you can employ the pm.test() function. For instance, executing pm.test(“Status code is 200”, function () { pm.response.to.have.status(200); }); will verify if the response’s status code is 200 and output the result.
Conclusion
Understanding how to print values to the test results and console in Postman can significantly enhance your API testing and debugging process. It provides real-time feedback, aids in data validation, and helps in performance monitoring and error handling.
Moreover, integrating tools like Apidog into your workflow can further streamline your API testing experience. Apidog offers an intuitive, user-friendly platform that makes API testing a breeze.
Remember, the key to effective API testing lies in understanding the tools at your disposal and using them to their full potential. So, don’t hesitate to explore Apidog’s features.


