
There are a lot of advantages to using a visual editor for APIs (Application Programming Interface), with a visual representation that promotes intuitive designing, and faster prototyping and iterations on your API designs. A visual editor can boost your work efficiency!
Let's explore an API design platform called Stoplight Studio!
Moreover, Apidog is completely free for personal use, you can click the button below to try Apidog for free👇👇👇
What is Stoplight Studio?
Stoplight Studio is a collaborative API design platform that allows users to design, document, and test APIs. Stoplight Studio has been used for creating and managing APIs throughout their lifecycle, from design to deployment.
Nice Features Offered by Stoplight Studio
1. Team Collaboration: Stoplight Studio supports collaboration features, enabling multiple team members to work on the API design concurrently. This promotes better communication and coordination among team members.
2. Automated Documentation: Stoplight Studio can automatically generate API documentation based on the visual design. This ensures the documentation stays in sync with the actual API implementation, saving lots of time and reducing manual errors.
3. Enforced Standards: Stoplight Studio has built-in support for industry standards and best practices. This helps enforce consistency and adherence to standards across API designs within a team or organization.
4. Gentle Learning Curve: Stoplight Studio can be more accessible to new developers who may not be familiar with writing raw code but still need to contribute to the API design process. This can bridge the gap between technical and non-technical team members.
5. Built-in Testing Tools: Stolight Studio includes testing features, allowing developers to test API endpoints directly within the editor. This facilitates the early identification of issues and supports a more iterative development process.
Guide On How to Use Stoplight Studio Web

Firstly, visit the Stoplight Studio website https://stoplight.io/ , and click the Get Started for Free button, as pointed out in the picture above.

Input your email so that you can sign up for Stoplight Studio.

If you're trying to download Stoplight Studio to learn, input any company name and workspace URL you like.

They will send a verification code to your email to ensure that it is you making an account. Enter the code that you have just received.

Enter your Stoplight Studio account with your details. (Note: You are fully responsible for any harm or damage done by the release of your credentials.)

Ensure that you select the small link below, as shown in the picture above. The other options are all paid and will not be necessary.

If you have followed the steps above correctly, the next page should be like the "Main Menu" to Stoplight Studio Web.
Downloading Stoplight Studio Desktop Version

Depending on what operating system your device uses, you can download it from this website: https://github.com/stoplightio/studio/releases. Make sure that you download the correct version, else it may not be able to load.
Top Alternatives for Stoplight Studio
If you feel that Stoplight Studio is not the right API design tool for you, there are a lot of other applications you can download.
Apidog
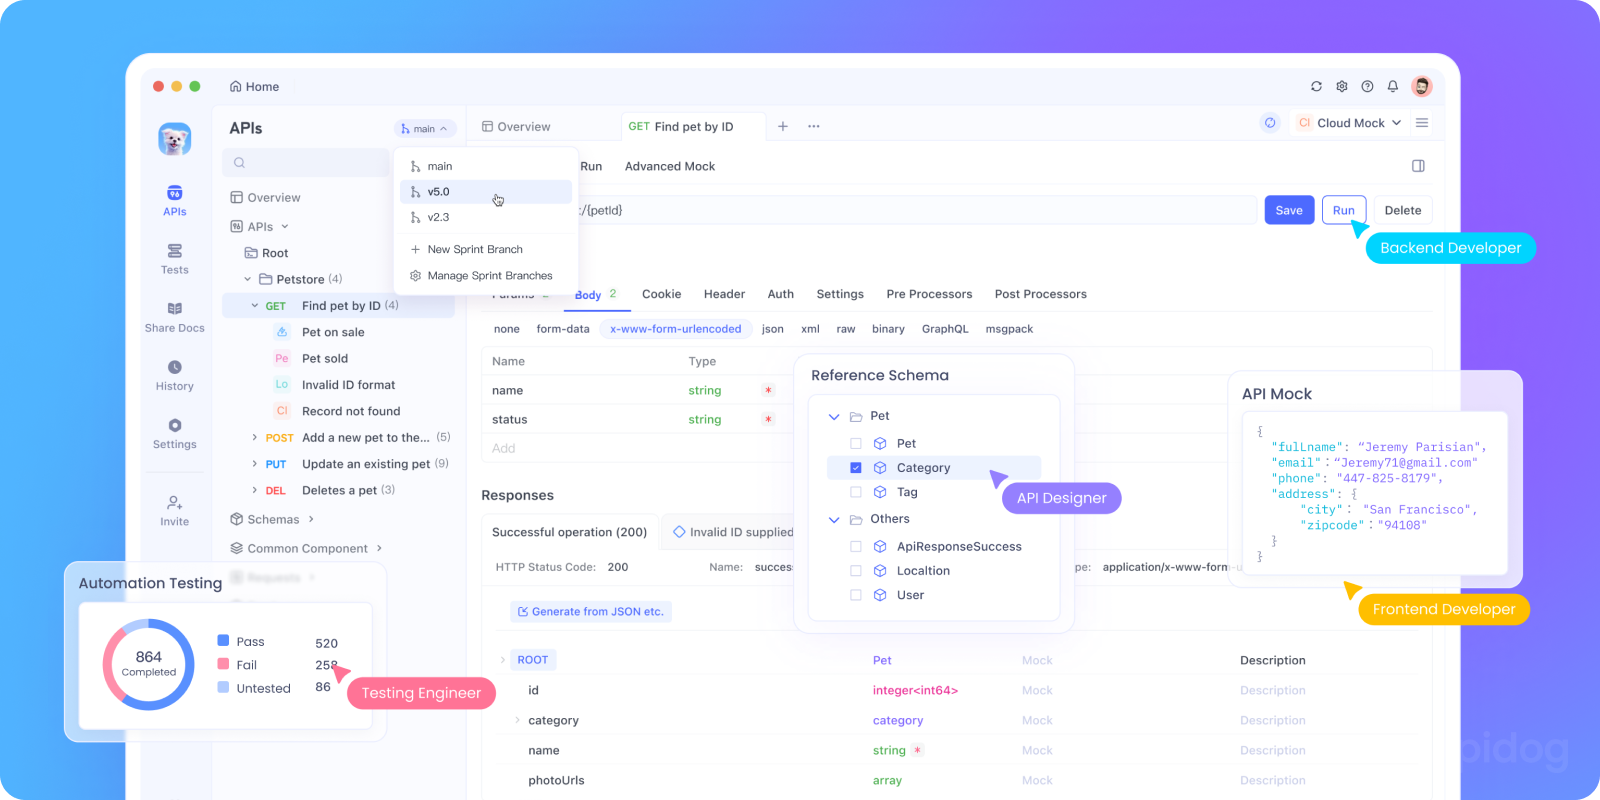
Apidog stands out as the ultimate alternative to Stoplight Studio, offering a comprehensive all-in-one platform for API design, mocking, testing, debugging and documentation.
Unlike Stoplight Studio, Apidog provides a design-first workflow with advanced governance features, including endpoint modeling, schema management, and security scheme integration. Its built-in request client ensures faster debugging with features like status-code hover details and SSE stream debugging.
Apidog's AI-powered capabilities, such as automated test case generation and endpoint compliance checks, set it apart as a forward-thinking solution.
Additionally, its robust collaboration tools, including sprint branches and branch admins, make it ideal for teams aiming for seamless API development. For those seeking a cohesive, efficient, and innovative API platform, Apidog is the top choice.
Postman

Postman is a popular collaboration platform for API development, known for providing a user-friendly interface. Developers can design, test, and document APIs with Postman.
SwaggerHub

SwaggerHub is particularly known for its adherence to the OpenAPI Specification, a widely adopted standard for defining RESTful APIs. It caters to teams of varying sizes, from small development groups to large enterprises, and provides a centralized platform for API development and collaboration.
Using Apidog to Create Better API Documentation
Before getting started, make sure to download Apidog by clicking the button below👇.
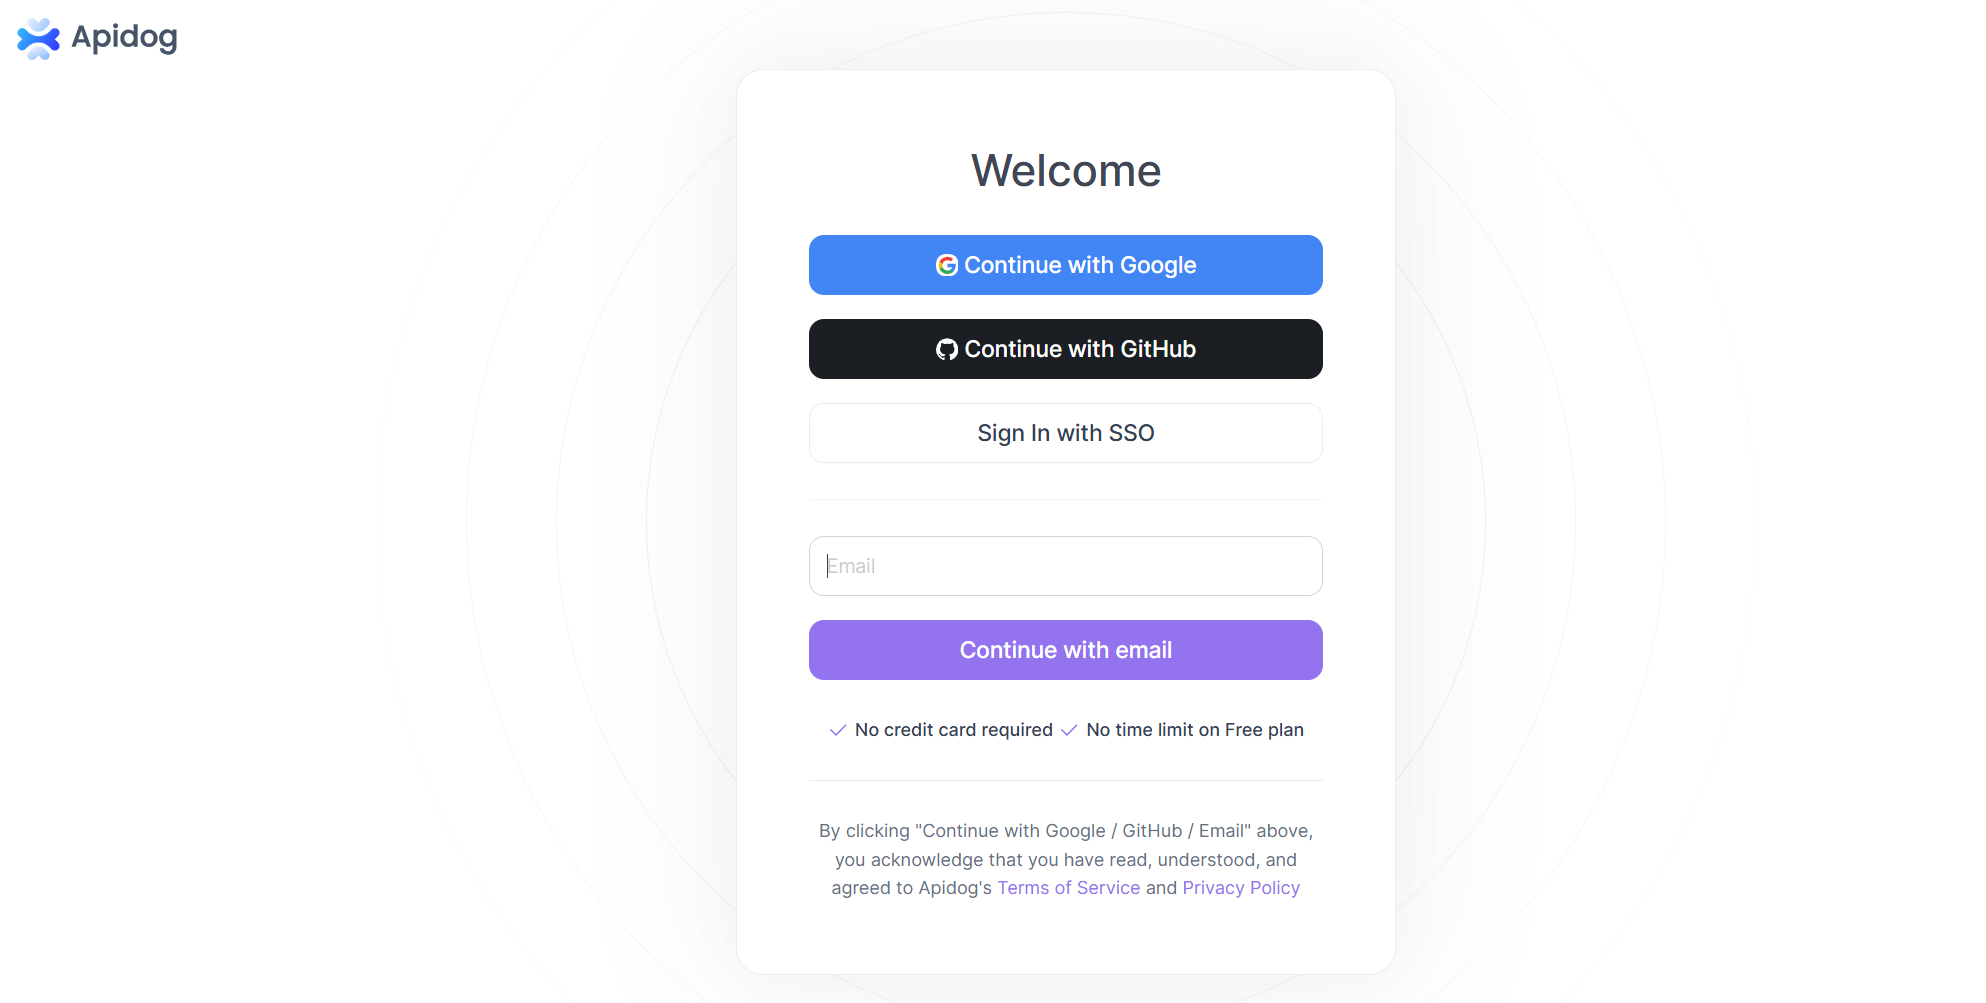
Step 1: Sign Up
Create an Apidog account using your preferred method.
You can sign up with your Gmail, any other email address, or even your GitHub account — whichever works best for you.
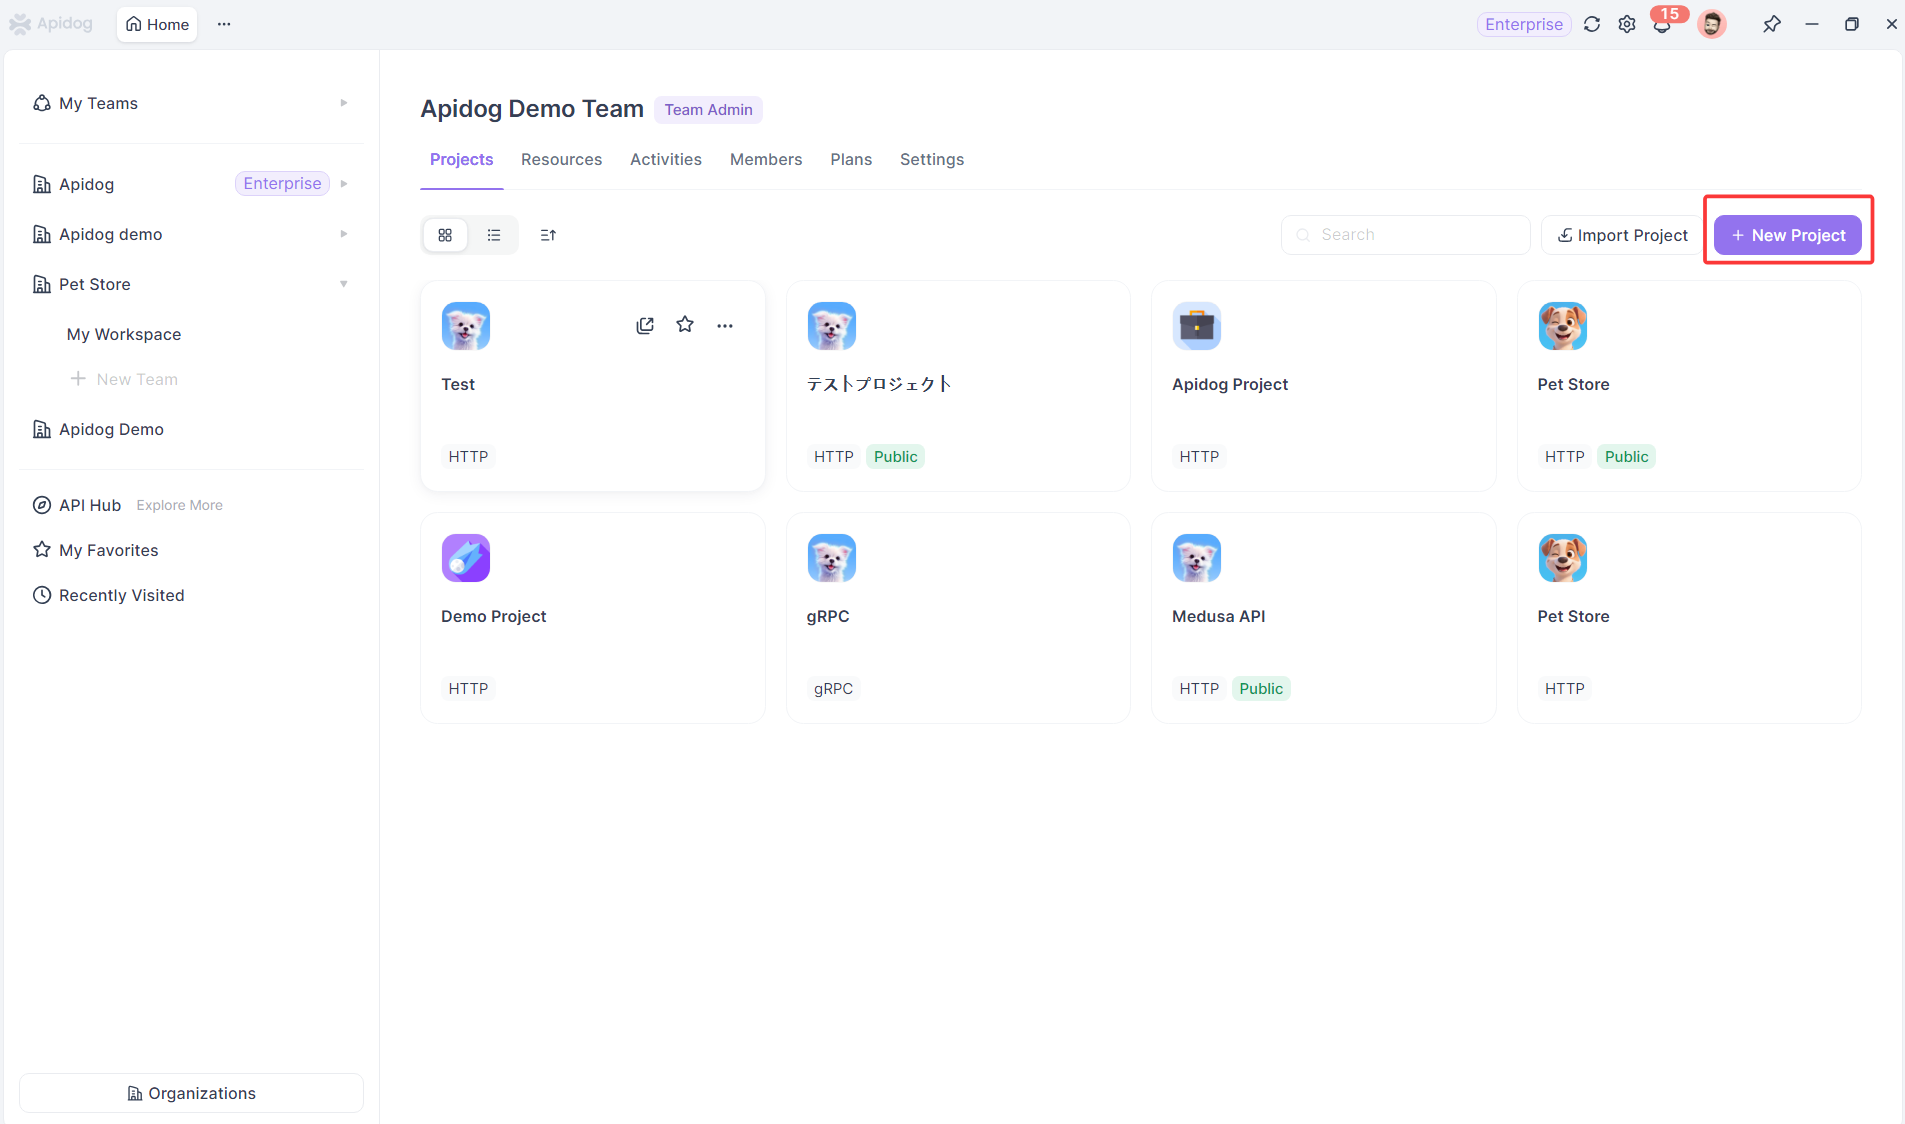
Step 2: Create a New Project
After logging in, you'll see the "My Workspace" screen with a sample project.
To start designing your own API and documentation, click "+ New Project" in the upper-left corner of the window.
Give your project a clear and meaningful name so it's easy to identify later.
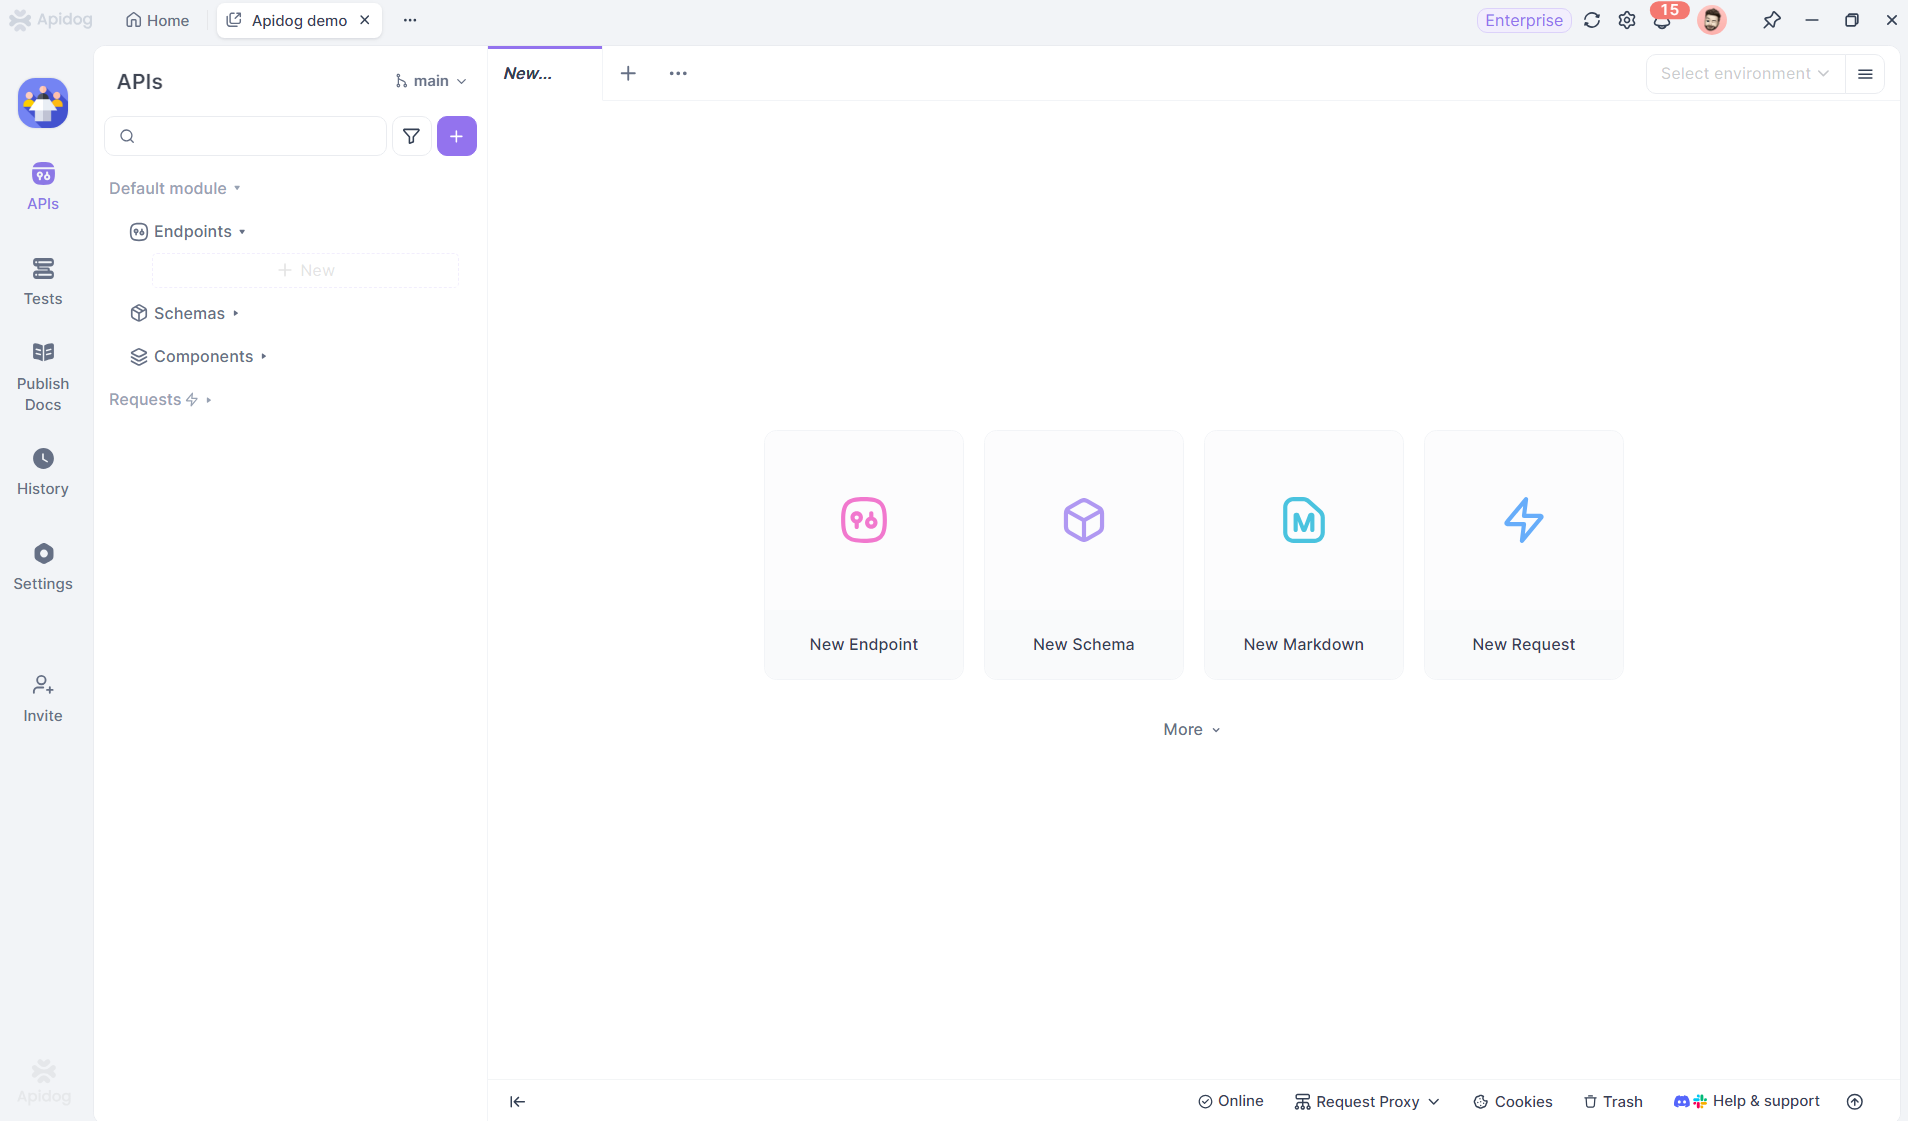
Step 3: Create a New API
Since this is a new project, start by selecting "New Endpoint". Fill in the available fields to create your first API in Apidog. It's recommended to complete as many fields as possible — this helps keep your documentation organized, consistent, and professional-looking.
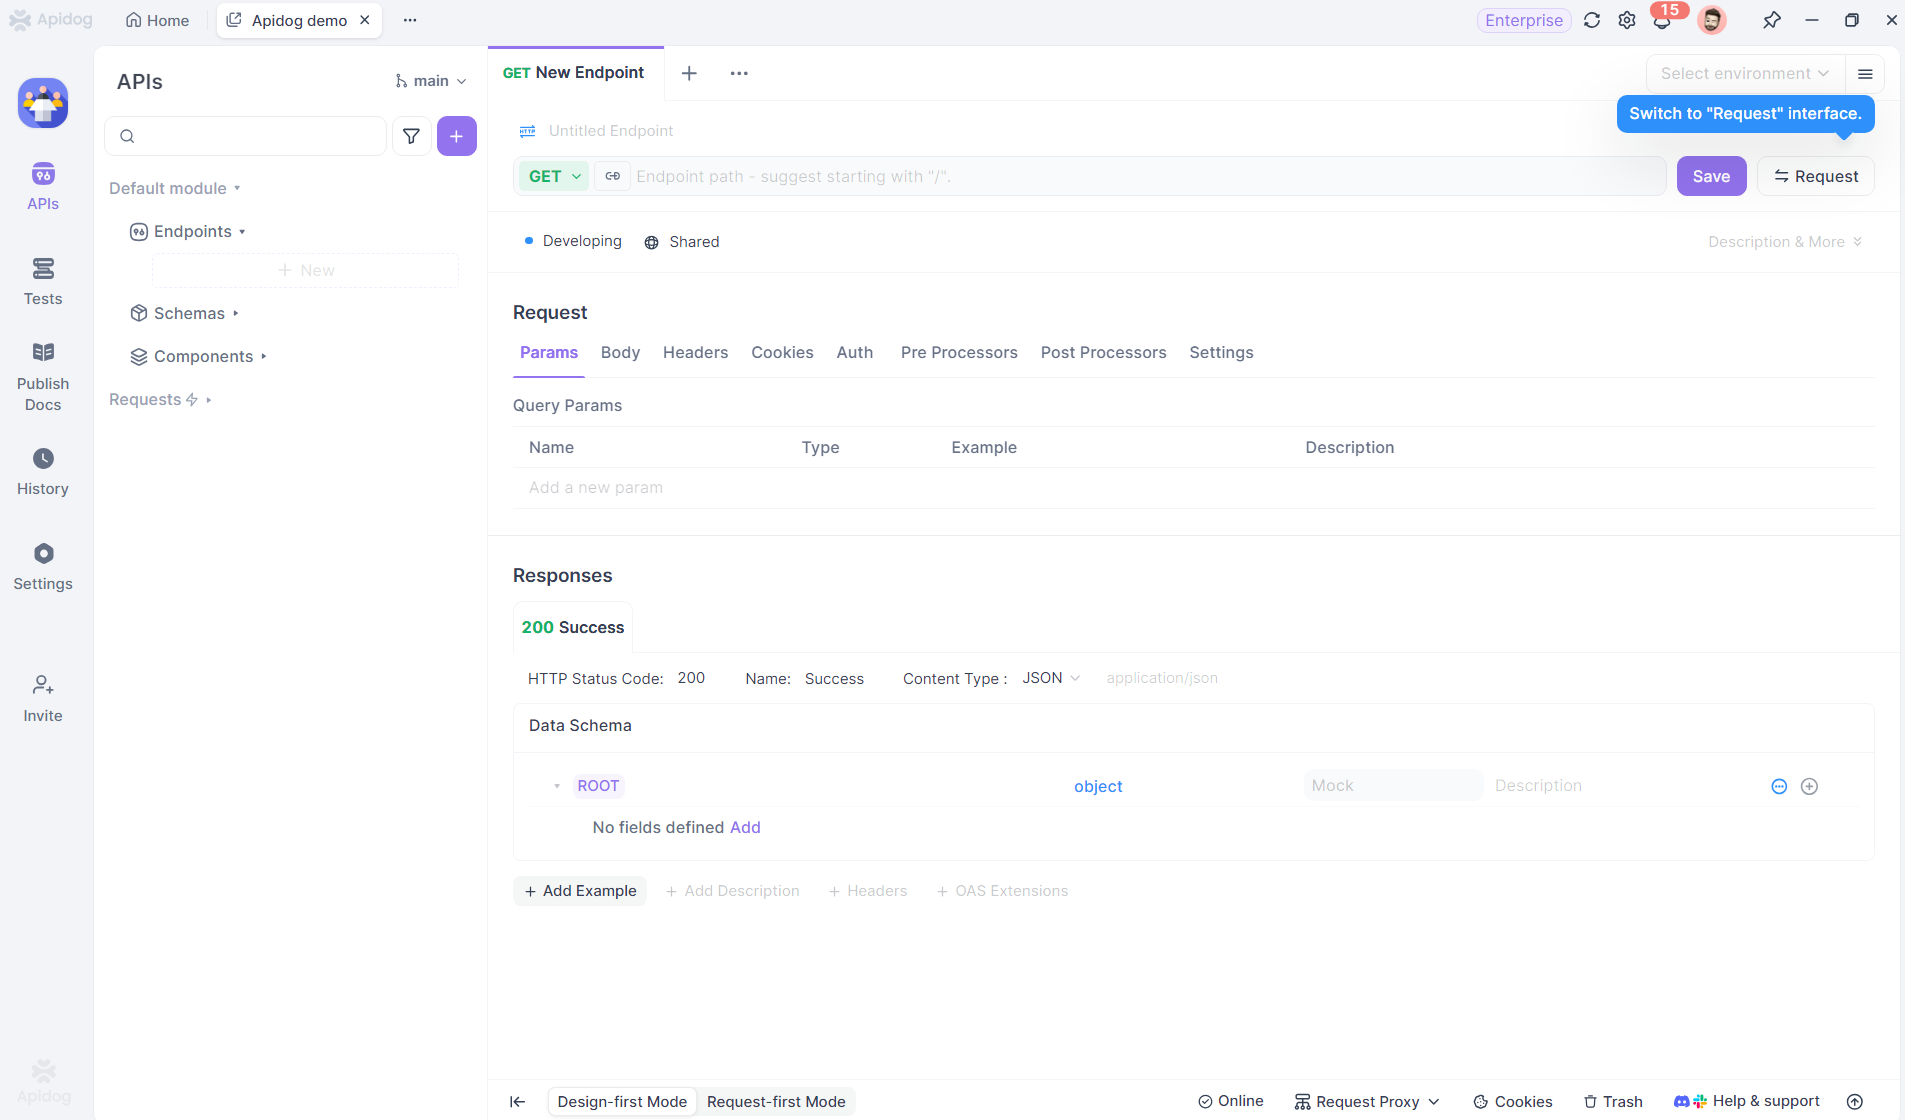
Step 4: Save Your API
Finally, don't forget to save your progress once you're done designing the API.
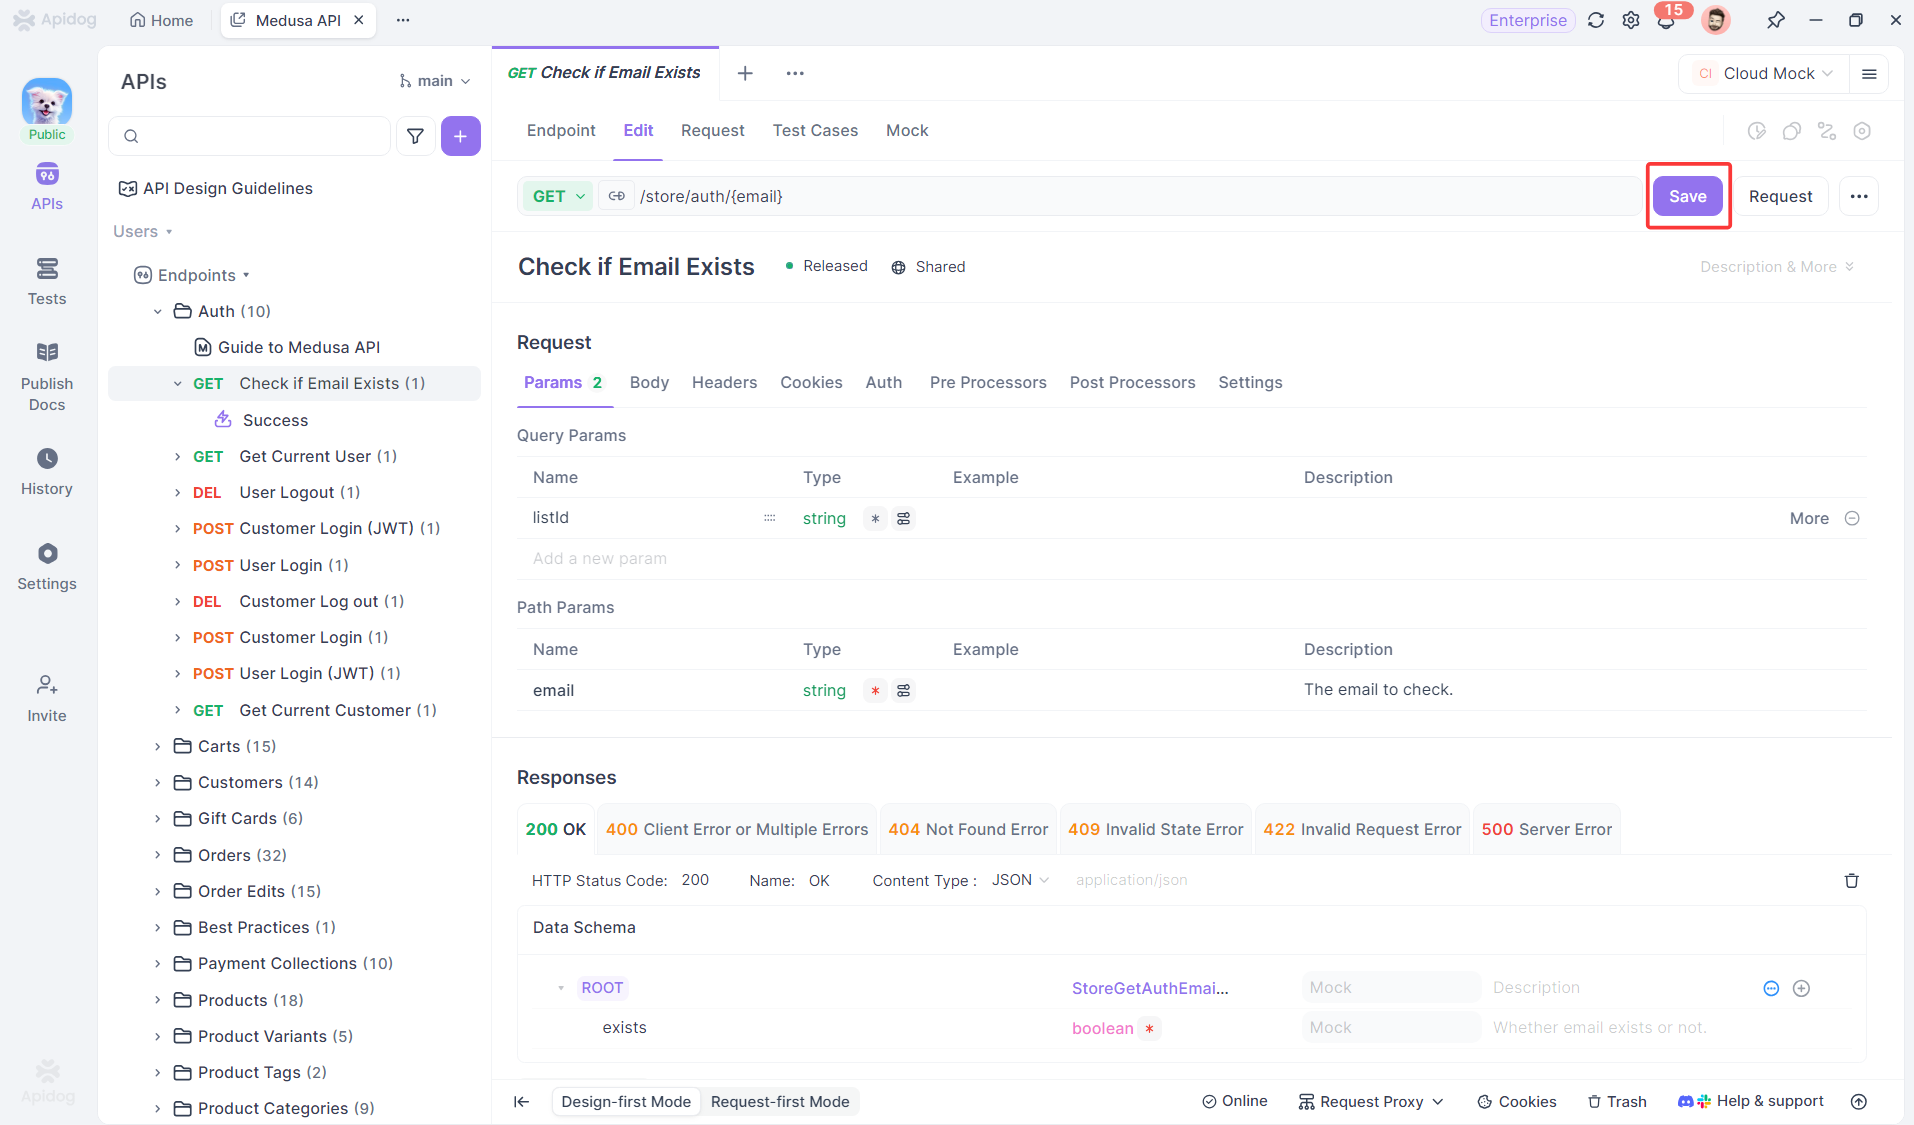
The best part? Apidog automatically turns your design into API documentation.
Once you save, you'll instantly see:
- API descriptions
- Response examples
- Code samples
- API paths and query parameters
- and more
To dive deeper, check out the full guide on how to generate API documentation using Apidog.
Conclusion
Choosing the right API design tool can greatly influence your development workflow, collaboration, and overall productivity. While Stoplight Studio offers a user-friendly visual interface and strong collaboration features, some teams may find it limited in terms of flexibility and integration with modern development practices.
If you're looking for a more comprehensive, all-in-one alternative, Apidog is worth exploring. It combines API design, documentation, testing, mocking, and debugging into a single seamless platform. With features like AI-powered test case generation, real-time collaboration, and built-in request debugging, Apidog empowers teams to design and deliver high-quality APIs faster.
Whether you are new to API design or a seasoned developer, tools like Stoplight Studio and Apidog can simplify complex workflows and make API development more efficient, consistent, and enjoyable.
Ready to take your API documentation to the next level?
👉 Try Apidog today and experience a smarter way to design and manage your APIs.


