Creating a well-documented API is a crucial part of any software development process. In this blog post, we’re diving into the world of Spring Boot API documentation. We’ll explore why it’s important, how you can do it efficiently, and introduce a fantastic tool called Apidog. So, buckle up and let’s get started on this journey to mastering Spring Boot API documentation!
Why Spring Boot API Documentation Matters
First and foremost, let’s address the elephant in the room: why bother with API documentation? If you’ve ever worked with an API—whether building or consuming it—you know how frustrating it can be to navigate an under-documented interface. Documentation acts as the roadmap for developers. It clarifies what the API does, how it can be used, and what to expect in return. In short, good documentation is the backbone of a robust API.
In the context of Spring Boot, proper API documentation ensures that developers can easily understand and utilize the services you provide. This is particularly critical in agile environments where speed and clarity are paramount. With clear documentation, you minimize the back-and-forth between developers, saving time and reducing errors.
Getting Started with Spring Boot API Documentation
Now that we’ve established the importance of API documentation, let’s talk about how you can get started with documenting your Spring Boot APIs. One of the most popular tools for this purpose is Swagger, which is now known as OpenAPI. Swagger provides a comprehensive way to describe your APIs in a standard format. However, we’re going to focus on a tool called Apidog, which offers some unique advantages.
What is Apidog?
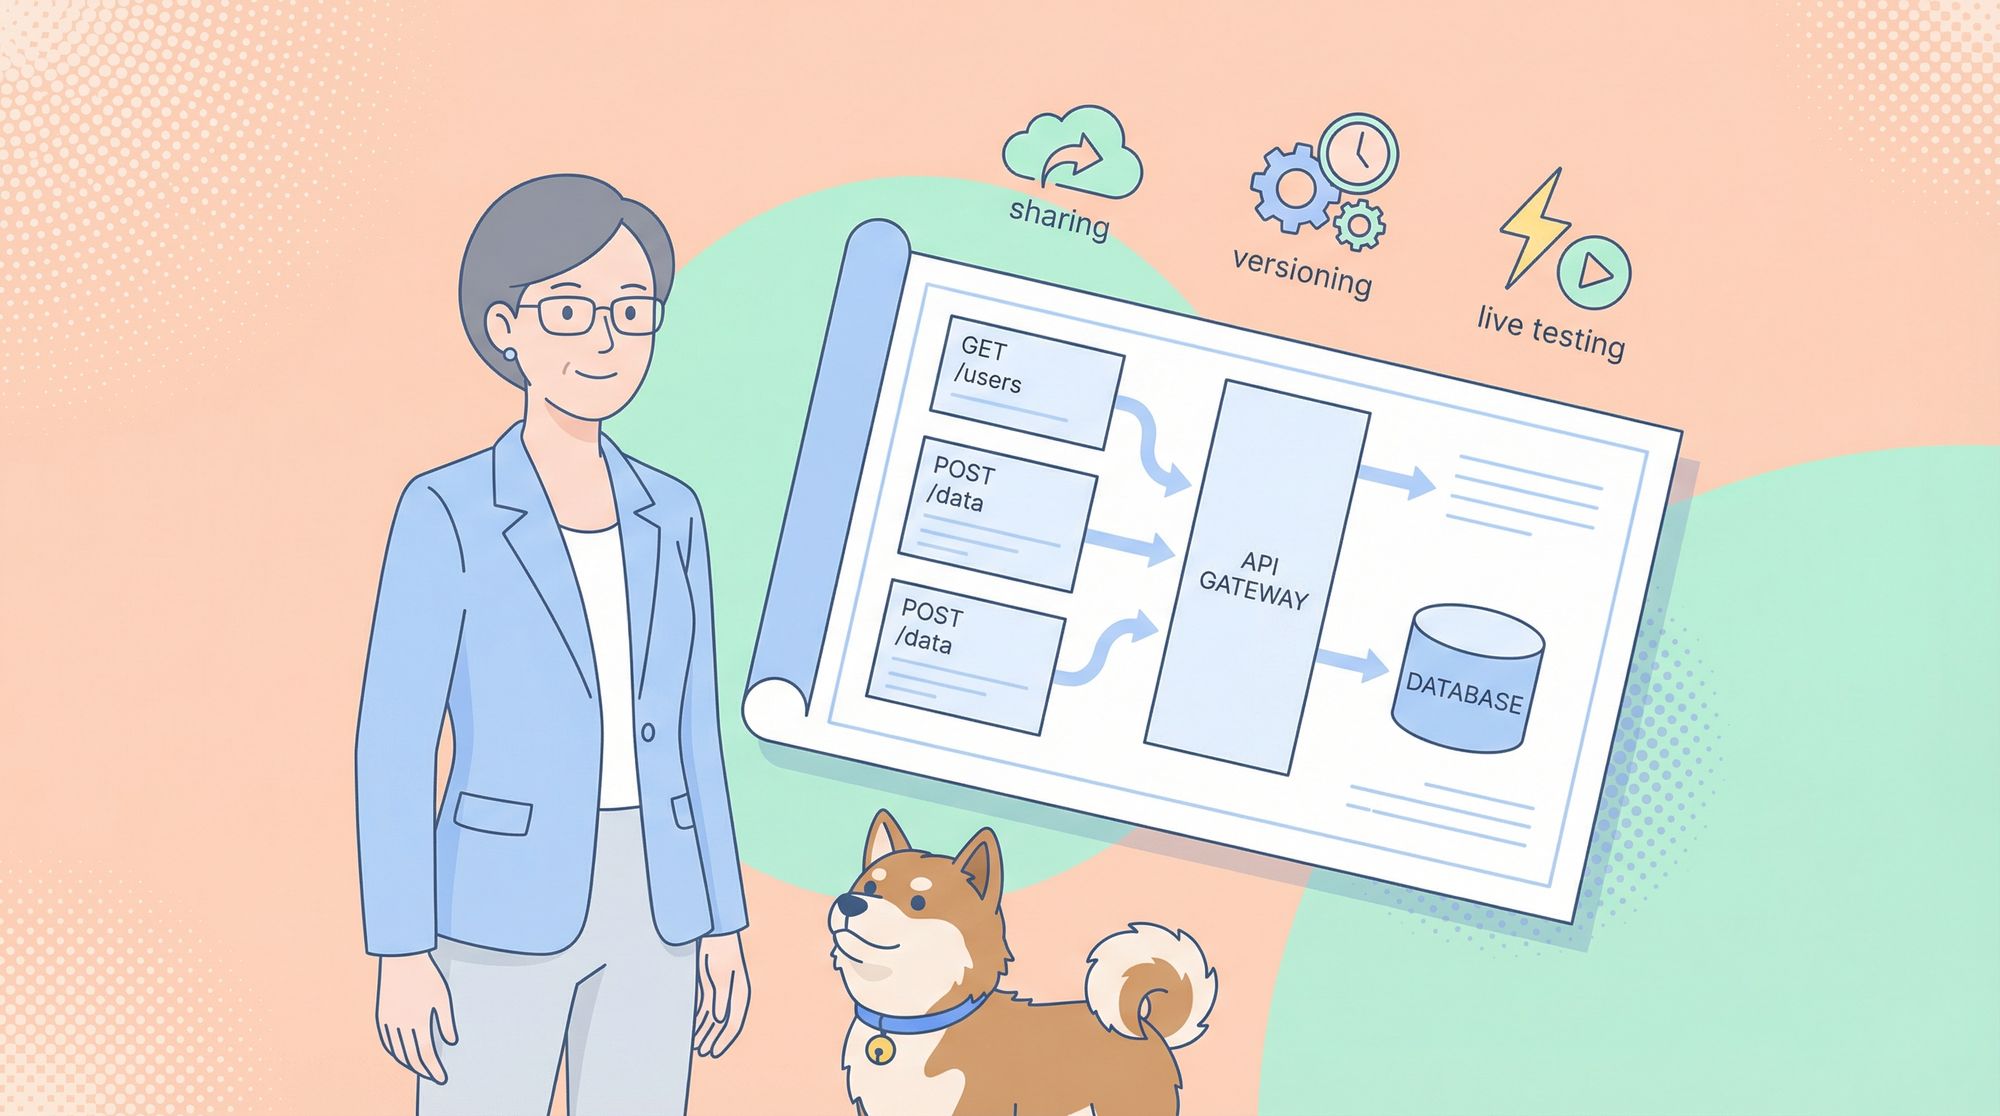
Apidog, is an innovative tool designed to streamline the process of API documentation. It provides an intuitive interface and powerful features that make documenting and testing your APIs a breeze. Whether you’re a solo developer or part of a large team, Apidog can help you create, manage, and share API documentation with ease.

Setting Up Apidog with Spring Boot
To start using Apidog with your Spring Boot project, you need to follow a few simple steps. Let’s walk through the process together.
Step 1: Create an Apidog Account
First, go to apidog and create an account if you haven’t already. Once you’re logged in, you can start creating and managing your API documentation projects.

Step 2: Creating Your API Request
An API documentation project is composed of various endpoints, each representing a specific API route or functionality. To add an endpoint, click on the "+" button or "New API" within your project.

Step 3: Configure Request Parameters
You'll need to provide details such as the endpoint's URL, description, and request/response details. Now comes the critical part – documenting your endpoints. Apidog makes this process incredibly straightforward. For each endpoint, you can:
- Specify the HTTP method (GET, POST, PUT, DELETE, etc.).
- Define request parameters, including their names, types, and descriptions.
- Describe the expected response, including status codes, response formats (JSON, XML, etc.), and example responses.


Step 4: Generate Your APIs
With Apidog set up, the next step is to generate your Spring Boot APIs.

Step 5: Sharing API specifications
Once you have defined your API you can use Apidog's sharing feature to generate a very clear API specification and share it with others. Click "Share docs" from the left menu and select "New " to display the following sharing settings. Here, select the API to share, finish setting the security settings and language if necessary, and click "Save".

A new shared item will then appear. Click "Open" and the API specification will appear in your browser.

Exploring Advanced Features of Apidog
Once you have the basics down, you can start exploring some of the more advanced features of Apidog. These features can help you create more comprehensive and useful documentation.

Interactive API Documentation
One of the standout features of Apidog is its interactive documentation capabilities. With Apidog, you can generate interactive API docs that allow developers to test endpoints directly from the documentation page. This makes it incredibly easy for developers to understand how your API works and see real-time responses.
Mocking API Responses
Another powerful feature of Apidog is its ability to mock API responses. This is particularly useful during the development phase when the actual backend might not be fully implemented. By mocking responses, you can simulate the behavior of your APIs and test your frontend against these mock responses.
Versioning and Documentation Management
Apidog also offers robust versioning and documentation management features. You can maintain multiple versions of your API documentation, making it easy to manage changes and updates over time. This is crucial for maintaining compatibility and providing clear guidance to developers using different versions of your API.

Best Practices for Spring Boot API Documentation
To ensure your API documentation is top-notch, here are some best practices you should follow:
Keep It Up-to-Date
Your API documentation should always reflect the current state of your API. This means updating the documentation whenever you make changes to the API. Using tools like Apidog can help automate some of this process, but it’s still important to review and update the documentation regularly.
Be Clear and Concise
Good documentation is clear and concise. Avoid jargon and overly complex language. Your goal is to make it as easy as possible for developers to understand how to use your API.
Provide Examples
Examples are incredibly helpful for understanding how to use an API. Provide examples of requests and responses for each endpoint. This gives developers a concrete reference to work with.
Use Consistent Naming Conventions
Consistency is key in API design and documentation. Use consistent naming conventions for your endpoints, parameters, and responses. This makes your API easier to learn and use.
Include Error Information
Don’t forget to document potential errors and how to handle them. This includes listing error codes, messages, and possible causes. Providing this information helps developers build more robust applications.
Wrapping Up
In conclusion, Spring Boot API documentation is an essential part of developing and maintaining a successful API. Using a tool like Apidog can greatly simplify this process and provide you with powerful features to enhance your documentation. By following best practices and keeping your documentation up-to-date, you’ll ensure that developers can easily understand and use your API.
Remember, good documentation is more than just a nice-to-have; it’s a vital component of your API’s success. So take the time to document your APIs properly and reap the benefits of a well-documented interface.


