
When we think about Selenium WebDriver, we typically associate it with browser automation and UI testing. However, Selenium can also be a powerful tool for API testing when used correctly. This tutorial will guide you through the process of leveraging Selenium WebDriver's capabilities to perform API testing, providing you with practical examples and best practices.
API (Application Programming Interface) testing involves testing the application's APIs directly, verifying their functionality, reliability, performance, and security. While there are dedicated tools for API testing like Postman, REST Assured, or SoapUI, Selenium WebDriver can be a valuable addition to your API testing toolkit, especially when you want to combine UI and API testing in the same framework.
Prerequisites
Before diving into API testing with Selenium WebDriver, make sure you have:
- Basic knowledge of Selenium WebDriver
- A programming language of your choice (Java, Python, C#, JavaScript)
- Selenium WebDriver set up in your development environment
- Understanding of REST/SOAP APIs
- Basic knowledge of HTTP methods (GET, POST, PUT, DELETE)
Understanding the Architecture
Selenium WebDriver's architecture makes it suitable for API testing through its ability to:
- Send HTTP requests directly using built-in or external libraries
- Handle responses and verify data
- Integrate with existing test frameworks
- Manage test data and environments
Setting Up Your Environment
Let's set up a basic environment for API testing with Selenium WebDriver:
Java Example
import org.openqa.selenium.WebDriver;
import org.openqa.selenium.chrome.ChromeDriver;
import org.openqa.selenium.chrome.ChromeOptions;

import java.io.BufferedReader;
import java.io.IOException;
import java.io.InputStreamReader;
import java.net.HttpURLConnection;
import java.net.URL;

public class SeleniumApiTesting {
    private WebDriver driver;

    public void setUp() {
        System.setProperty("webdriver.chrome.driver", "path/to/chromedriver");
        ChromeOptions options = new ChromeOptions();
        options.addArguments("--headless"); // Headless mode for API testing
        driver = new ChromeDriver(options);
    }

    public void tearDown() {
        if (driver != null) {
            driver.quit();
        }
    }
}
Python Example
from selenium import webdriver
from selenium.webdriver.chrome.options import Options
import requests
import json

def setup_driver():
    chrome_options = Options()
    chrome_options.add_argument("--headless")  # Headless mode for API testing
    driver = webdriver.Chrome(options=chrome_options)
    return driver

def teardown_driver(driver):
    if driver is not None:
        driver.quit()
API Testing Approaches with Selenium WebDriver
1. Using Native HTTP Libraries
The most straightforward approach is to use your programming language's native HTTP libraries alongside Selenium WebDriver.
Java Example - GET Request
public String performGetRequest(String endpoint) throws IOException {
    URL url = new URL(endpoint);
    HttpURLConnection connection = (HttpURLConnection) url.openConnection();
    connection.setRequestMethod("GET");

    int responseCode = connection.getResponseCode();
    System.out.println("GET Response Code: " + responseCode);

    if (responseCode == HttpURLConnection.HTTP_OK) {
        BufferedReader in = new BufferedReader(new InputStreamReader(connection.getInputStream()));
        String inputLine;
        StringBuilder response = new StringBuilder();

        while ((inputLine = in.readLine()) != null) {
            response.append(inputLine);
        }
        in.close();

        return response.toString();
    } else {
        return "GET request failed with response code: " + responseCode;
    }
}
Python Example - POST Request
def perform_post_request(endpoint, payload):
    headers = {'Content-Type': 'application/json'}
    response = requests.post(endpoint, data=json.dumps(payload), headers=headers)

    print(f"POST Response Code: {response.status_code}")

    if response.status_code == 200:
        return response.json()
    else:
        return f"POST request failed with response code: {response.status_code}"
2. Using JavaScriptExecutor for AJAX Calls
Another approach is to use Selenium's JavaScriptExecutor to make AJAX calls directly from the browser.
Java Example
import org.openqa.selenium.JavascriptExecutor;

public String performApiCallWithJsExecutor(String endpoint, String method, String payload) {
    String script = String.format(
        "var xhr = new XMLHttpRequest();" +
        "xhr.open('%s', '%s', false);" +
        "xhr.setRequestHeader('Content-Type', 'application/json');" +
        "xhr.send('%s');" +
        "return xhr.responseText;",
        method, endpoint, payload
    );

    return (String) ((JavascriptExecutor) driver).executeScript(script);
}
Python Example
def perform_api_call_with_js_executor(driver, endpoint, method, payload):
    script = f"""
        var xhr = new XMLHttpRequest();
        xhr.open('{method}', '{endpoint}', false);
        xhr.setRequestHeader('Content-Type', 'application/json');
        xhr.send('{payload}');
        return xhr.responseText;
    """

    return driver.execute_script(script)
3. Intercepting and Modifying API Calls
Selenium WebDriver can be used to intercept and modify API calls made by the application, especially when combined with proxy tools like BrowserMob Proxy.
Java Example with BrowserMob Proxy
import net.lightbody.bmp.BrowserMobProxy;
import net.lightbody.bmp.BrowserMobProxyServer;
import net.lightbody.bmp.client.ClientUtil;
import org.openqa.selenium.Proxy;

public void setupProxyForApiInterception() {
    // Start the proxy
    BrowserMobProxy proxy = new BrowserMobProxyServer();
    proxy.start(0);

    // Get the Selenium proxy object
    Proxy seleniumProxy = ClientUtil.createSeleniumProxy(proxy);

    // Configure Chrome to use the proxy
    ChromeOptions options = new ChromeOptions();
    options.setCapability("proxy", seleniumProxy);

    // Create the WebDriver instance
    driver = new ChromeDriver(options);

    // Add a request filter to intercept API calls
    proxy.addRequestFilter((request, contents, messageInfo) -> {
        if (request.getUri().contains("/api/")) {
            System.out.println("Intercepted API call: " + request.getUri());
            // Modify headers, parameters, or the request body if needed
        }
        return null;
    });

    // Add a response filter to inspect and modify API responses
    proxy.addResponseFilter((response, contents, messageInfo) -> {
        if (messageInfo.getOriginalRequest().getUri().contains("/api/")) {
            String responseBody = contents.getTextContents();
            System.out.println("API Response: " + responseBody);
            // Modify the response if needed
        }
    });
}
Building a Complete API Test Framework
Let's create a more structured API testing framework using Selenium WebDriver:
Java Example
import org.json.JSONObject;
import org.testng.Assert;
import org.testng.annotations.AfterClass;
import org.testng.annotations.BeforeClass;
import org.testng.annotations.Test;

import java.io.IOException;

public class ApiTestFramework {
    private WebDriver driver;
    private final String BASE_URL = "<https://api.example.com>";

    @BeforeClass
    public void setUp() {
        System.setProperty("webdriver.chrome.driver", "path/to/chromedriver");
        ChromeOptions options = new ChromeOptions();
        options.addArguments("--headless");
        driver = new ChromeDriver(options);
    }

    @Test
    public void testGetUserEndpoint() throws IOException {
        String endpoint = BASE_URL + "/api/users/1";
        String response = performGetRequest(endpoint);

        JSONObject jsonResponse = new JSONObject(response);

        Assert.assertEquals(jsonResponse.getString("name"), "John Doe");
        Assert.assertEquals(jsonResponse.getInt("id"), 1);
        Assert.assertTrue(jsonResponse.has("email"));
    }

    @Test
    public void testCreateUserEndpoint() throws IOException {
        String endpoint = BASE_URL + "/api/users";
        JSONObject payload = new JSONObject();
        payload.put("name", "Jane Smith");
        payload.put("email", "jane.smith@example.com");

        String response = performPostRequest(endpoint, payload.toString());
        JSONObject jsonResponse = new JSONObject(response);

        Assert.assertTrue(jsonResponse.has("id"));
        Assert.assertEquals(jsonResponse.getString("name"), "Jane Smith");
    }

    private String performGetRequest(String endpoint) throws IOException {
        // Implementation from previous example
    }

    private String performPostRequest(String endpoint, String payload) throws IOException {
        URL url = new URL(endpoint);
        HttpURLConnection connection = (HttpURLConnection) url.openConnection();
        connection.setRequestMethod("POST");
        connection.setRequestProperty("Content-Type", "application/json");
        connection.setDoOutput(true);

        // Write payload to connection
        try (java.io.OutputStream os = connection.getOutputStream()) {
            byte[] input = payload.getBytes("utf-8");
            os.write(input, 0, input.length);
        }

        int responseCode = connection.getResponseCode();
        System.out.println("POST Response Code: " + responseCode);

        try (BufferedReader br = new BufferedReader(
                new InputStreamReader(connection.getInputStream(), "utf-8"))) {
            StringBuilder response = new StringBuilder();
            String responseLine;
            while ((responseLine = br.readLine()) != null) {
                response.append(responseLine.trim());
            }
            return response.toString();
        }
    }

    @AfterClass
    public void tearDown() {
        if (driver != null) {
            driver.quit();
        }
    }
}
Python Example
import unittest
import json
from selenium import webdriver
from selenium.webdriver.chrome.options import Options
import requests

class ApiTestFramework(unittest.TestCase):
    BASE_URL = "<https://api.example.com>"

    def setUp(self):
        chrome_options = Options()
        chrome_options.add_argument("--headless")
        self.driver = webdriver.Chrome(options=chrome_options)

    def test_get_user_endpoint(self):
        endpoint = self.BASE_URL + "/api/users/1"
        response = self.perform_get_request(endpoint)

        self.assertEqual(response['name'], "John Doe")
        self.assertEqual(response['id'], 1)
        self.assertIn('email', response)

    def test_create_user_endpoint(self):
        endpoint = self.BASE_URL + "/api/users"
        payload = {
            "name": "Jane Smith",
            "email": "jane.smith@example.com"
        }

        response = self.perform_post_request(endpoint, payload)

        self.assertIn('id', response)
        self.assertEqual(response['name'], "Jane Smith")

    def perform_get_request(self, endpoint):
        response = requests.get(endpoint)
        return response.json() if response.status_code == 200 else None

    def perform_post_request(self, endpoint, payload):
        headers = {'Content-Type': 'application/json'}
        response = requests.post(endpoint, data=json.dumps(payload), headers=headers)
        return response.json() if response.status_code in [200, 201] else None

    def tearDown(self):
        if self.driver:
            self.driver.quit()

if __name__ == '__main__':
    unittest.main()
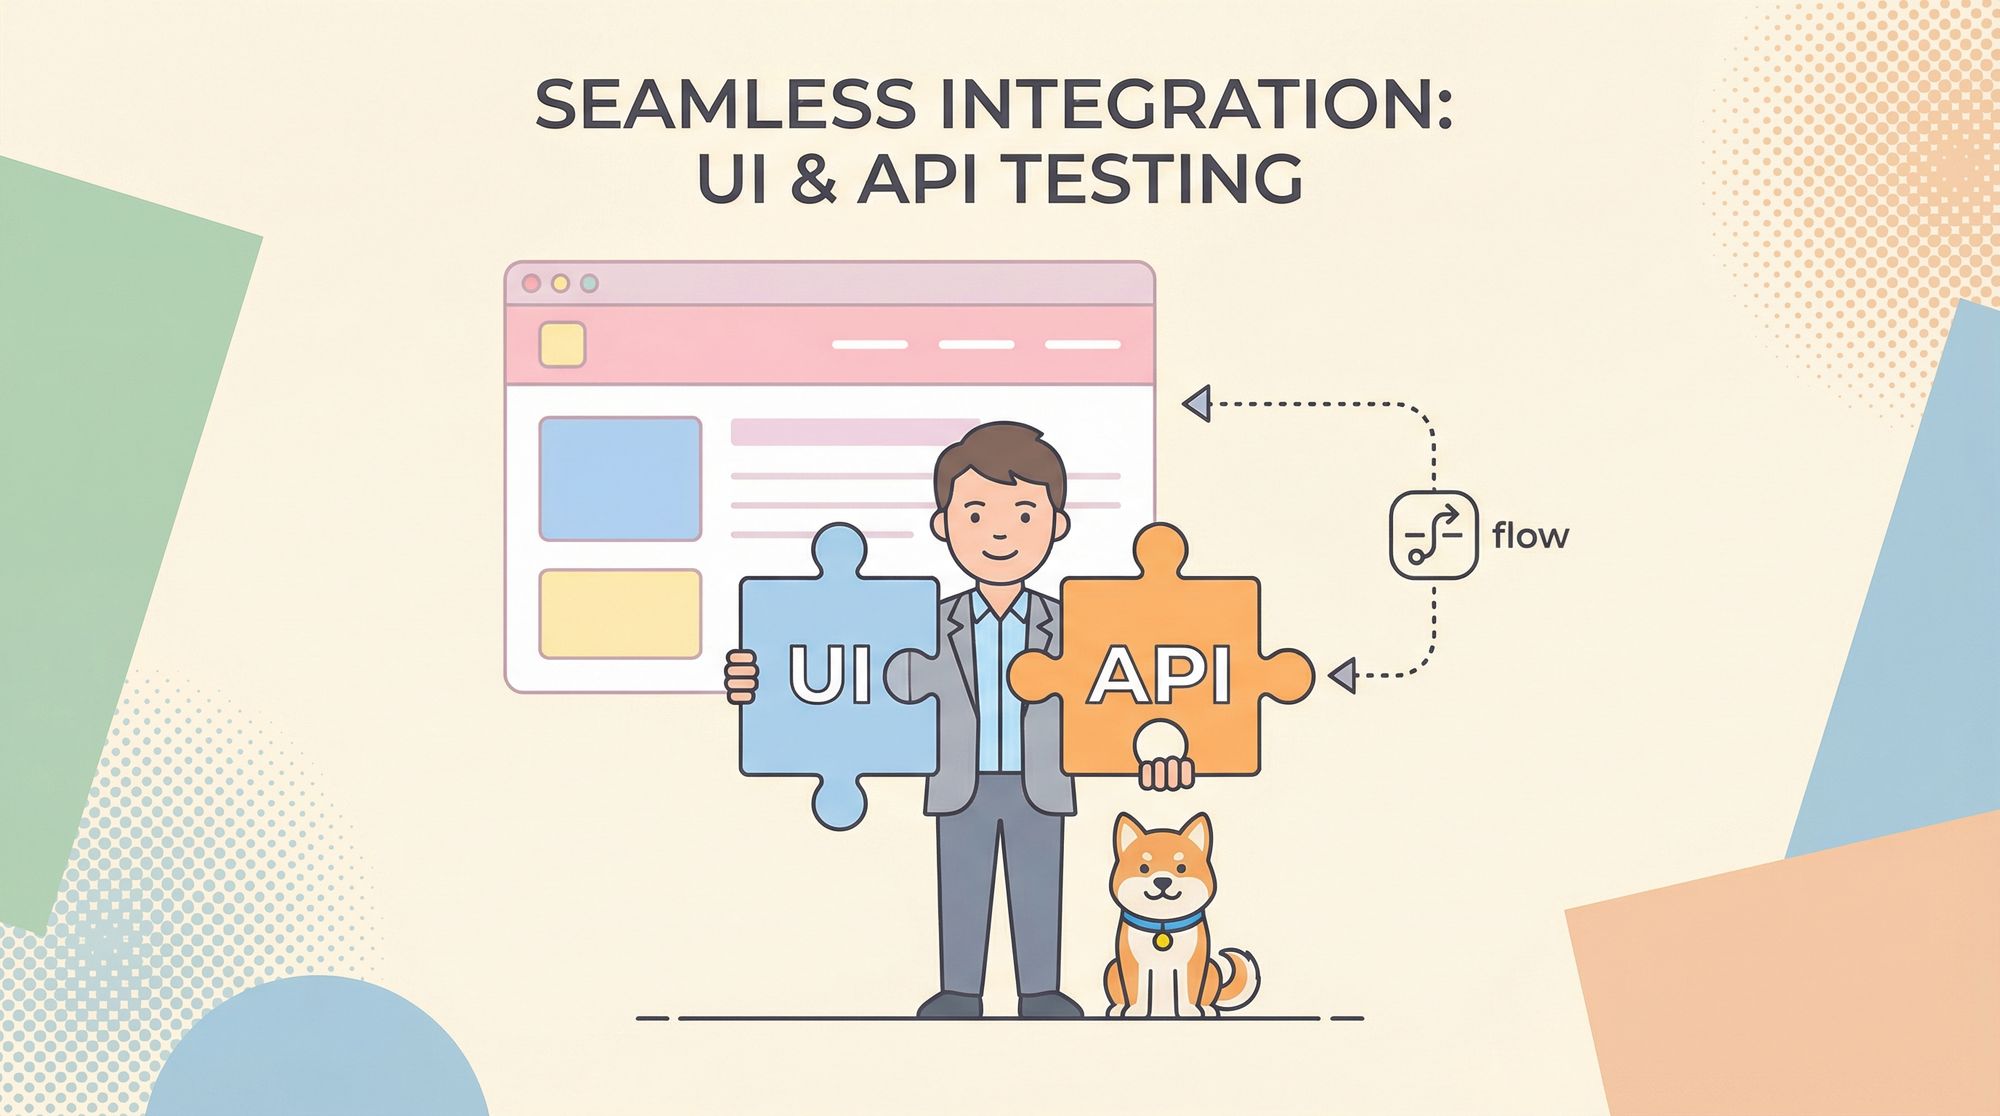
Combining UI and API Testing
One of the biggest advantages of using Selenium WebDriver for API testing is the ability to combine UI and API tests in the same framework:
@Test
public void testLoginAndVerifyUserDataAPI() throws IOException {
    // UI part: Login through the UI
    driver.get("<https://example.com/login>");
    driver.findElement(By.id("username")).sendKeys("testuser");
    driver.findElement(By.id("password")).sendKeys("password");
    driver.findElement(By.id("loginButton")).click();

    // Wait for login to complete
    WebDriverWait wait = new WebDriverWait(driver, Duration.ofSeconds(10));
    wait.until(ExpectedConditions.urlContains("/dashboard"));

    // Extract authentication token from cookies or local storage
    String authToken = (String) ((JavascriptExecutor) driver)
        .executeScript("return localStorage.getItem('authToken');");

    // API part: Use the token to make an authenticated API call
    String endpoint = BASE_URL + "/api/user/profile";
    URL url = new URL(endpoint);
    HttpURLConnection connection = (HttpURLConnection) url.openConnection();
    connection.setRequestMethod("GET");
    connection.setRequestProperty("Authorization", "Bearer " + authToken);

    // Process and verify the API response
    int responseCode = connection.getResponseCode();
    Assert.assertEquals(responseCode, 200);

    // Read and parse the response
    BufferedReader in = new BufferedReader(new InputStreamReader(connection.getInputStream()));
    String response = in.lines().collect(Collectors.joining());
    in.close();

    JSONObject jsonResponse = new JSONObject(response);

    // Verify that the API data matches what's displayed in the UI
    String uiUsername = driver.findElement(By.id("profileUsername")).getText();
    Assert.assertEquals(jsonResponse.getString("username"), uiUsername);
}
Best Practices for API Testing with Selenium WebDriver
- Use Headless Mode: When performing pure API tests, run Selenium in headless mode to save resources.
- Separate API and UI Tests: While you can combine them, keep API and UI tests logically separated.
- Leverage Assertions Libraries: Use comprehensive assertion libraries to validate API responses.
- Implement Error Handling: Add proper error handling for API failures.
- Log API Requests and Responses: For debugging purposes, log all API interactions.
- Parameterize Tests: Use data providers or parameterized tests to test various scenarios.
- Implement Authentication Handling: Create reusable methods to handle authentication.
- Consider Performance: Be aware that Selenium might add overhead compared to dedicated API testing tools.
Limitations of Using Selenium WebDriver for API Testing
- Performance Overhead: Selenium is primarily designed for browser automation, so it adds overhead for pure API testing.
- Limited API-specific Features: Dedicated API testing tools offer more specific features for API testing.
- Browser Dependency: Even in headless mode, Selenium requires a browser, which might be unnecessary for API testing.
- Complexity: Setting up Selenium for API testing might be more complex than using dedicated API testing tools.
When to Use Selenium WebDriver for API Testing
Selenium WebDriver is most suitable for API testing in the following scenarios:
- When you already have a Selenium-based UI testing framework and want to extend it.
- When you need to test scenarios that involve both UI and API interactions.
- When you need to test APIs in the context of a browser (like testing JavaScript API calls).
- When you want to intercept and modify API calls made by the application.
Conclusion
Selenium WebDriver can be a versatile tool for API testing, especially when integrated with existing UI testing frameworks. While it may not replace dedicated API testing tools for complex API testing needs, it provides a flexible way to combine UI and API testing in a single framework.
By leveraging the approaches and examples provided in this tutorial, you can effectively use Selenium WebDriver for your API testing requirements. Remember to consider the trade-offs and choose the right tool for your specific testing needs.
Whether you're testing REST APIs, SOAP services, or GraphQL endpoints, Selenium WebDriver can help you create comprehensive tests that validate both your application's UI and its underlying API functionality.
For more advanced API testing needs, you might want to consider combining Selenium WebDriver with dedicated API testing libraries or frameworks like REST Assured (for Java) or Requests (for Python) to get the best of both worlds.
Happy testing!


