
For those who are vibe coding with Cursor, they would know that Cursor can be expensive. As a developer who heavily relies on AI assistance, I quickly discovered that Cursor's built-in AI pricing comes with a catch: a 20% markup on API costs. For occasional use, this might not seem significant. But when you're deep in development, making hundreds of AI requests daily, that markup adds up fast. Here's what you need to know:
Understanding Cursor's AI Pricing Structure
Built-in AI Usage:
- Standard API pricing + 20% markup
- Even with Cursor Pro, you'll quickly exceed the 500 "fast" requests
- Additional requests still incur the markup
Direct API Integration:
- Pay provider rates directly (e.g., Anthropic for Claude)
- No middleman markup
- Complete control over your AI costs
How to Slash Your Cursor AI Costs with Claude Code Integration
Here's a step-by-step guide to cutting your Cursor AI costs while maintaining all the functionality you love:
Step 1: Set Up Your Direct API Access
- Create an account with Anthropic (for Claude)
- Set up billing directly with Anthropic
- Note your API key - you'll need this for Cursor
Step 2: Configure Cursor for Direct API Usage
- Open Cursor's settings
- Navigate to the AI or Models section
- Look for API configuration options
- Enter your Anthropic API key

Step 3: Start Saving
- Use Cursor's chat feature or inline suggestions as normal
- Select Claude Sonnet 4 from the model dropdown
- Monitor your actual usage through Anthropic's dashboard
Pro Tip: Set up billing alerts in your Anthropic console to track usage during heavy development periods.
Understanding the Cost Savings:
Let's break down the actual savings with direct Claude integration:
| Usage Scenario | Via Cursor | Direct API |
|---|---|---|
| Input tokens | $3.60/M | $3.00/M |
| Output tokens | $18.00/M | $15.00/M |
| Monthly markup | 20% | 0% |
*M = Million tokens
Save Token Cost Using Apidog's Free MCP Server
While you're optimizing your AI costs, consider using Apidog's free MCP Server to help reduce token usage.
What is Apidog MCP Server?
Apidog MCP Server is a powerful feature of Apidog that bridges your API specifications directly to AI-powered IDEs like Cursor. The best part? It's completely FREE! This integration enables:
- Direct API Spec Access: Your AI assistant can read and understand your API structure
- Automated Code Generation: Generate accurate code based on your API specs
- Seamless Documentation: Keep your API docs and code in perfect sync
How Apidog MCP Server Helps You Save Tokens (and Money)
When you use AI coding assistants like Claude in Cursor, every prompt and context you send to the model counts toward your token usage—and your bill. If you’re working with large API specifications, sending the full spec to the AI every time can quickly rack up costs.
Apidog MCP Server solves this problem:
- It caches your API specification locally on your machine.
- The AI can reference this local cache, so you don’t need to send the full API spec with every request.
- This dramatically reduces the number of tokens used per prompt, especially for repeated or complex API-related tasks.
Benefits:
- Lower token usage: Only the relevant parts of your API spec are sent to the AI as needed.
- Faster responses: Local caching means less data transfer and quicker access.
- Direct cost savings: Fewer tokens used = less money spent, especially with pay-as-you-go LLM APIs.
How to Integrate Apidog MCP Server with IDE
Integrating the Apidog MCP Server with IDE allows your AI assistant to tap directly into your API specifications. Here’s how to set it up:
Prerequisites:
Before you begin, ensure the following:
✅ Node.js is installed (version 18+; latest LTS recommended)
✅ You're using an IDE that supports MCP, such as: Cursor
Step 1: Prepare Your OpenAPI File
You'll need access to your API definition:
- A URL (e.g.,
https://petstore.swagger.io/v2/swagger.json) - Or a local file path (e.g.,
~/projects/api-docs/openapi.yaml) - Supported formats:
.jsonor.yaml(OpenAPI 3.x recommended)
Step 2: Add MCP Configuration to Cursor
You'll now add the configuration to Cursor's mcp.json file.
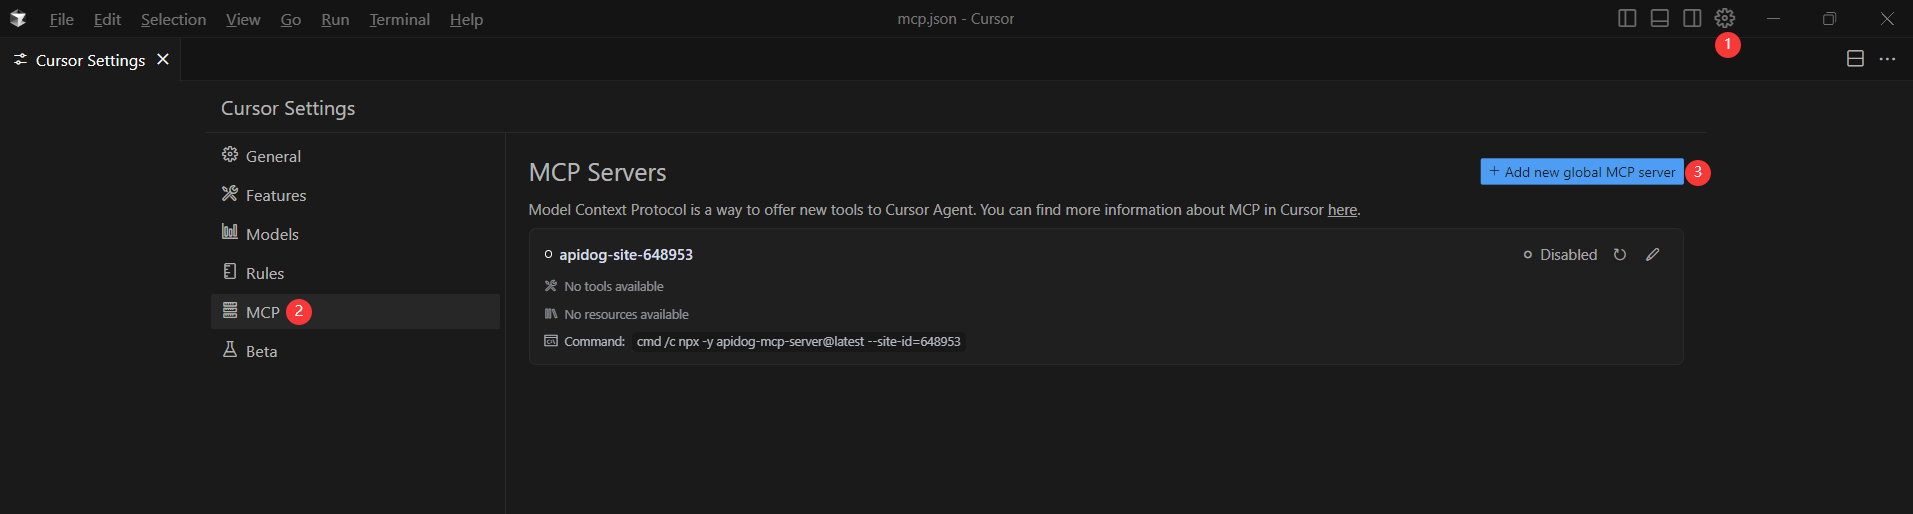
Remember to Replace <oas-url-or-path> with your actual OpenAPI URL or local path.
- For MacOS/Linux:
{
  "mcpServers": {
    "API specification": {
      "command": "npx",
      "args": [
        "-y",
        "apidog-mcp-server@latest",
        "--oas=https://petstore.swagger.io/v2/swagger.json"
      ]
    }
  }
}
For Windows:
{
  "mcpServers": {
    "API specification": {
      "command": "cmd",
      "args": [
        "/c",
        "npx",
        "-y",
        "apidog-mcp-server@latest",
        "--oas=https://petstore.swagger.io/v2/swagger.json"
      ]
    }
  }
}
Step 3: Verify the Connection
After saving the config, test it in the IDE by typing the following command in Agent mode:
Please fetch API documentation via MCP and tell me how many endpoints exist in the project.If it works, you’ll see a structured response that lists endpoints and their details. If it doesn’t, double-check the path to your OpenAPI file and ensure Node.js is installed properly.
Conclusion: Maximize Value While Minimizing Costs
By combining direct Claude integration with Apidog's free MCP Server, you're not just saving money - you're building a more efficient development workflow. The 20% savings from direct API integration means more budget for other tools and resources, while Apidog's MCP Server adds powerful API development capabilities at no extra cost.
This combination gives you:
- Reduced AI costs through direct API integration
- Enhanced API development capabilities with Apidog
- Seamless integration between your tools
- Complete control over your development environment
Don't let unnecessary markups eat into your budget. Take control of your AI costs with direct Claude integration, and supercharge your workflow with Apidog's free MCP Server. The future of efficient, cost-effective development is here - and it's more accessible than you might think.


