Running Gemma 3 locally with Ollama gives you full control over your AI environment without relying on cloud services. This guide walks you through setting up Ollama, downloading Gemma 3, and getting it running on your machine.
Let’s get started.
Why Run Gemma 3 Locally with Ollama?
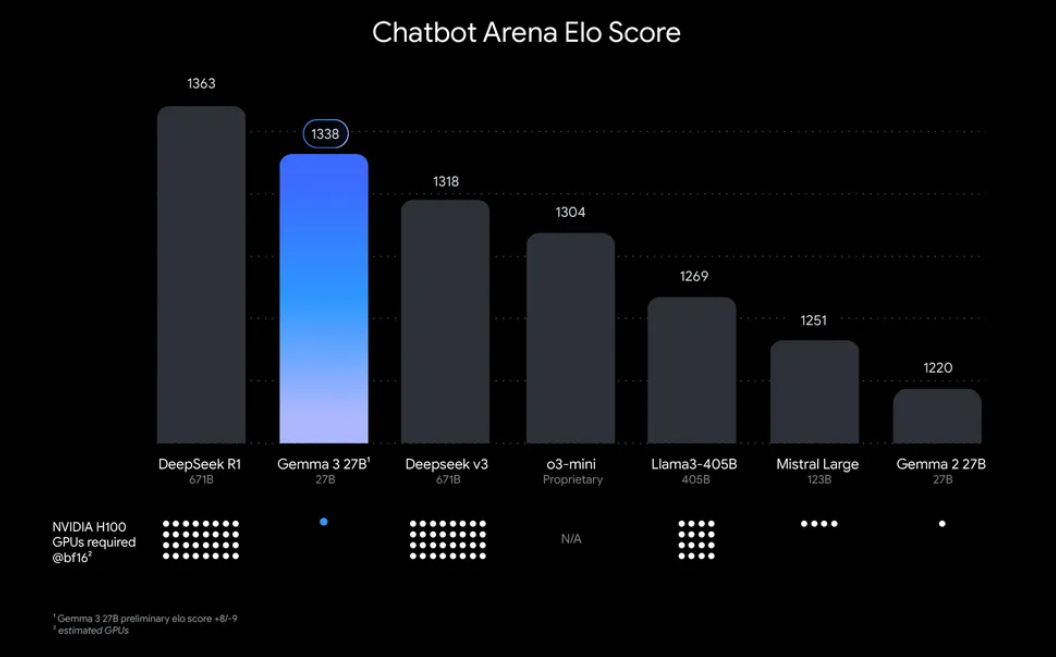
“Why bother running Gemma 3 locally?” Well, there are some compelling reasons. For one, local deployment gives you full control over your data and privacy no need to send sensitive information to the cloud. Additionally, it’s cost-effective, as you avoid ongoing API usage fees. Plus, Gemma 3’s efficiency means even the 27B model can run on a single GPU, making it accessible for developers with modest hardware.
Ollama, a lightweight platform for running large language models (LLMs) locally, simplifies this process. It packages everything you need model weights, configurations, and dependencies into an easy-to-use format. This combination of Gemma 3 and Ollama is perfect for tinkering, building applications, or testing AI workflows on your machine. So, let’s roll up our sleeves and get started!
What You’ll Need to Run Gemma 3 with Ollama
Before we jump into the setup, ensure you have the following prerequisites:
- A Compatible Machine: You’ll need a computer with a GPU (preferably NVIDIA for optimal performance) or a powerful CPU. The 27B model requires significant resources, but smaller versions like 1B or 4B can run on less powerful hardware.
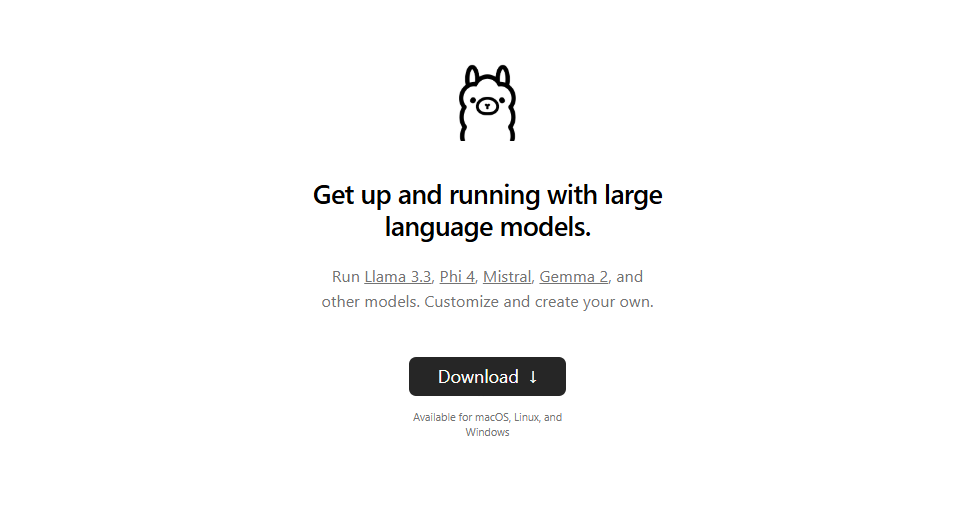
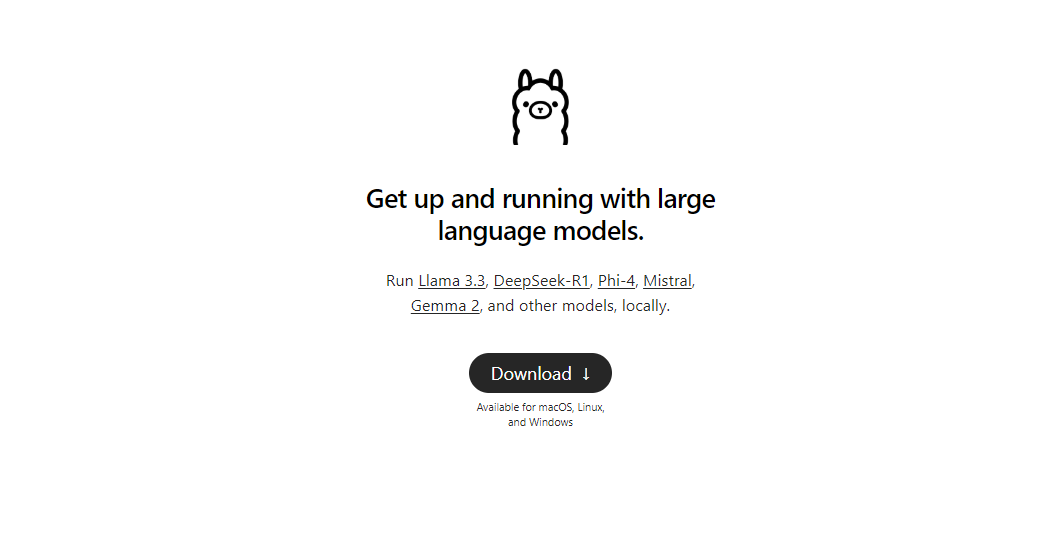
- Ollama Installed: Download and install Ollama, available for MacOS, Windows, and Linux. You can grab it from ollama.com.
- Basic Command-Line Skills: You’ll interact with Ollama via the terminal or command prompt.
- Internet Connection: Initially, you’ll need to download Gemma 3 models, but once downloaded, you can run them offline.
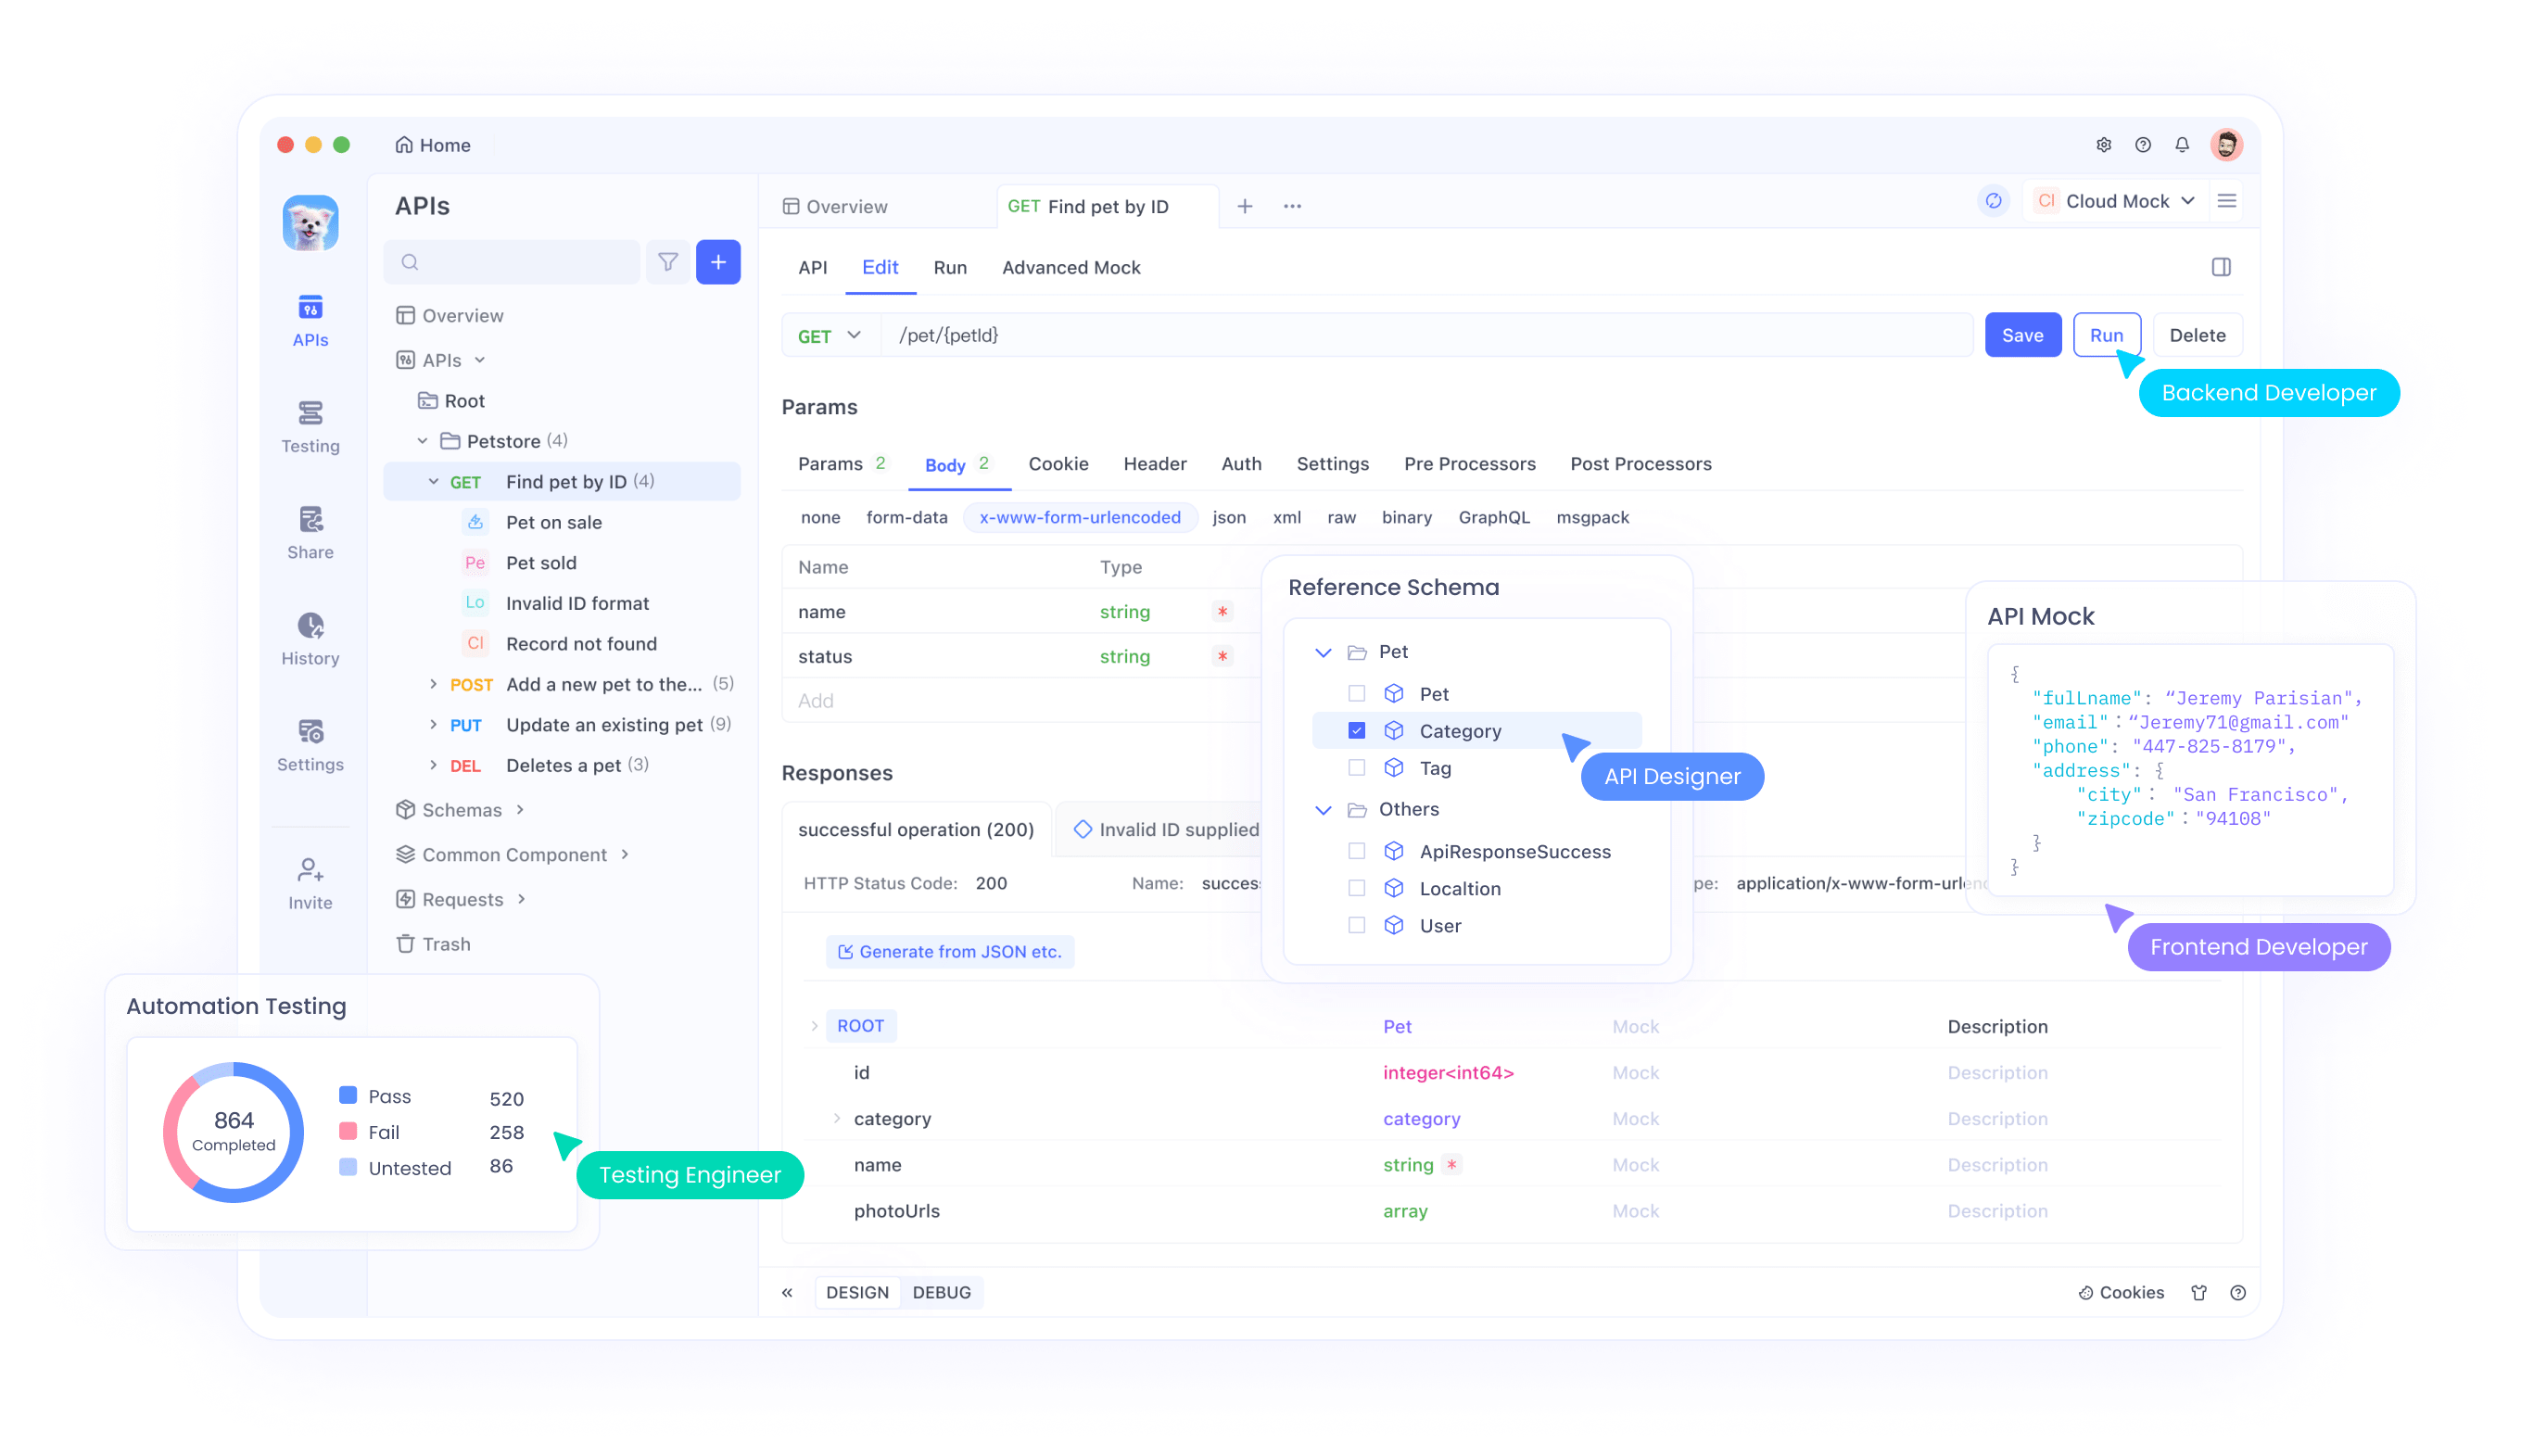
- Optional: Apidog for API Testing: If you plan to integrate Gemma 3 with an API or test its responses programmatically, Apidog’s intuitive interface can save you time and effort.
Now that you’re equipped, let’s dive into the installation and setup process.
Step-by-Step Guide: Installing Ollama and Downloading Gemma 3
1. Install Ollama on Your Machine
Ollama makes local LLM deployment a breeze, and installing it is straightforward. Here’s how:
- For MacOS/Windows: Visit ollama.com and download the installer for your operating system. Follow the on-screen instructions to complete the installation.
- For Linux (e.g., Ubuntu): Open your terminal and run the following command:
curl -fsSL https://ollama.com/install.sh | sh
This script automatically detects your hardware (including GPUs) and installs Ollama.
Once installed, verify the installation by running:
ollama --version

You should see the current version number, confirming Ollama is ready to go.
2. Pull Gemma 3 Models Using Ollama
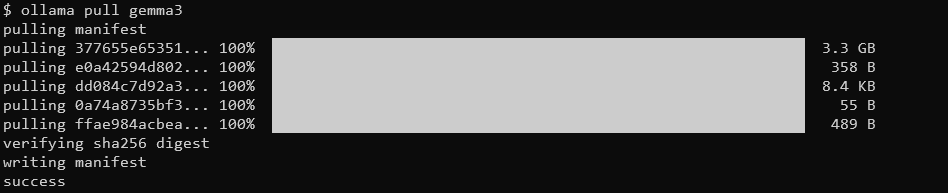
Ollama’s model library includes Gemma 3, thanks to its integration with platforms like Hugging Face and Google’s AI offerings. To download Gemma 3, use the ollama pull command.
ollama pull gemma3
For smaller models, you can use:
ollama pull gemma3:12bollama pull gemma3:4bollama pull gemma3:1b
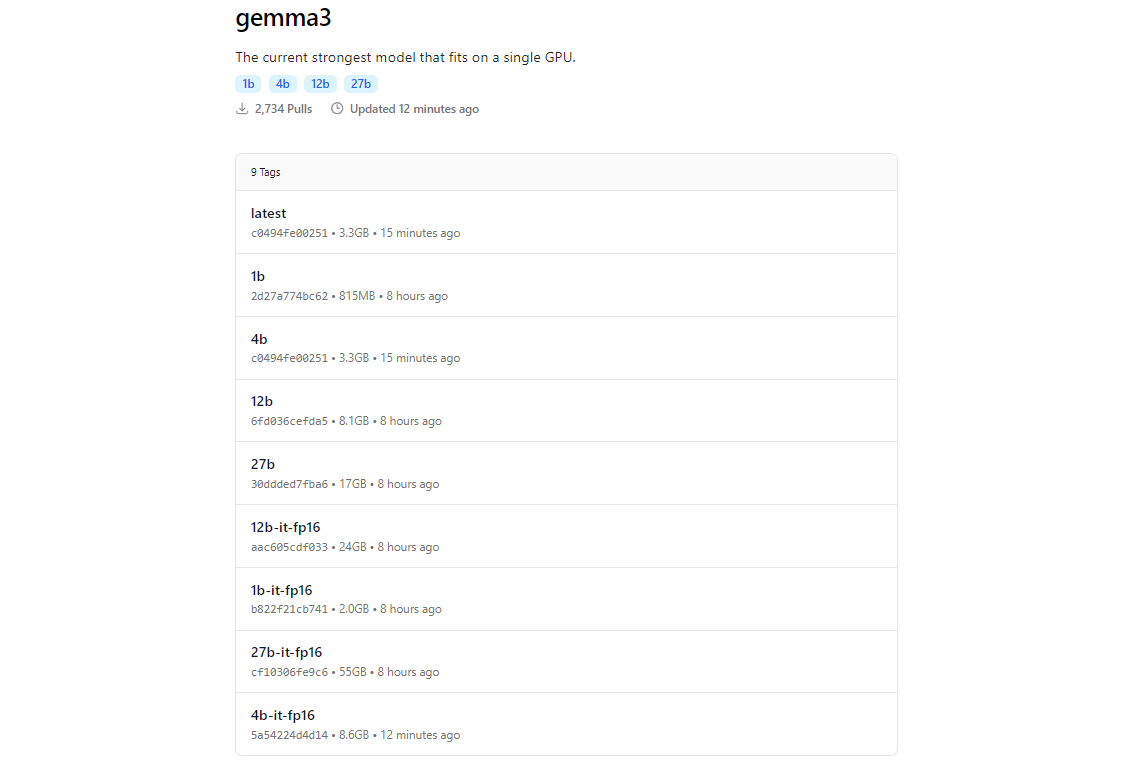
The download size varies by model expect the 27B model to be several gigabytes, so ensure you have sufficient storage. Gemma 3 models are optimized for efficiency, but they still require decent hardware for the larger variants.
3. Verify the Installation
Once downloaded, check that the model is available by listing all models:
ollama list

You should see gemma3 (or your chosen size) in the list. If it’s there, you’re ready to run Gemma 3 locally!
Running Gemma 3 with Ollama: Interactive Mode and API Integration
Interactive Mode: Chatting with Gemma 3
Ollama’s interactive mode lets you chat with Gemma 3 directly from the terminal. To start, run:
ollama run gemma3
You’ll see a prompt where you can type queries. For instance, try:
What are the key features of Gemma 3?
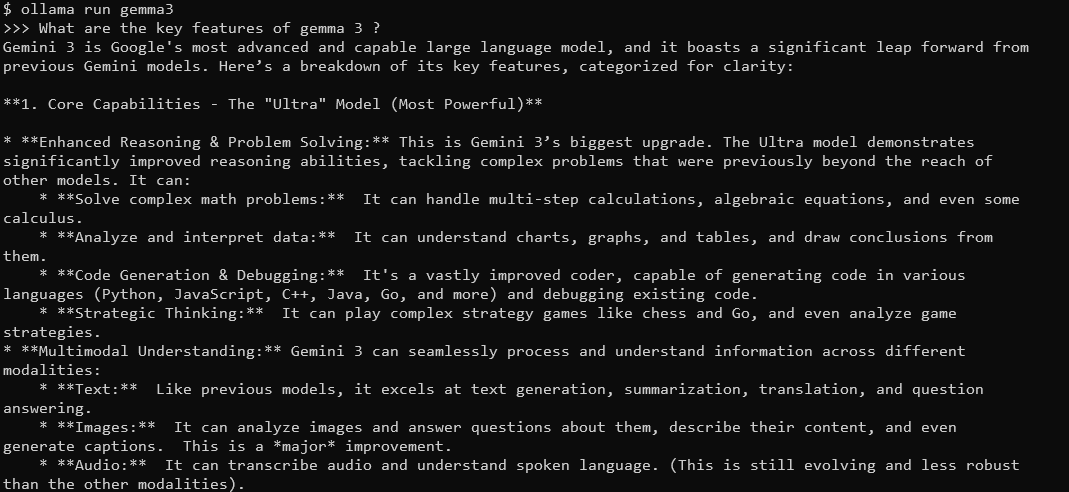
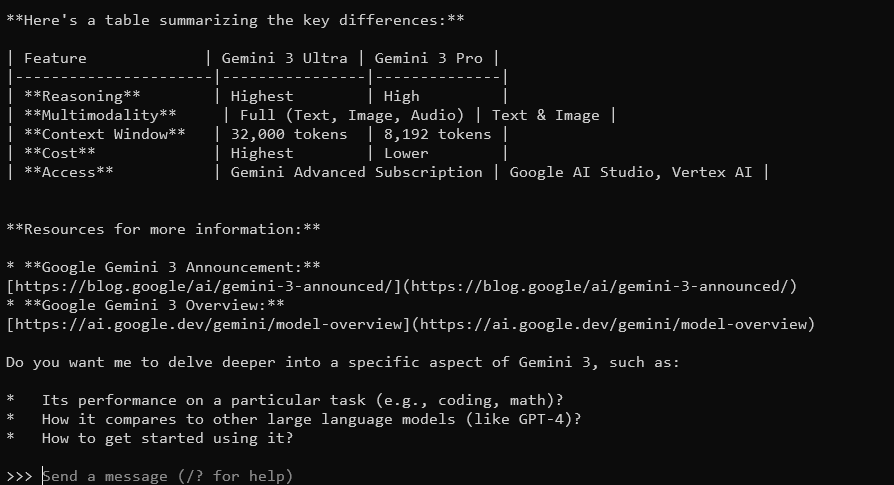
Gemma 3, with its 128K context window and multimodal capabilities, will respond with detailed, context-aware answers. It supports over 140 languages and can process text, images, and even video inputs (for certain sizes).
To exit, type Ctrl+D or /bye.
Integrating Gemma 3 with the Ollama API
If you want to build applications or automate interactions, Ollama provides an API you can use. This is where Apidog shines its user-friendly interface helps you test and manage API requests efficiently. Here’s how to get started:
Start the Ollama Server: Run the following command to launch Ollama’s API server:
ollama serve
This starts the server on localhost:11434 by default.
Make API Requests: You can interact with Gemma 3 via HTTP requests. For example, use curl to send a prompt:
curl http://localhost:11434/api/generate -d '{"model": "gemma3", "prompt": "What is the capital of France?"}'
The response will include Gemma 3’s output, formatted as JSON.
Use Apidog for Testing: Download Apidog for free and create an API request to test Gemma 3’s responses. Apidog’s visual interface lets you input the endpoint (http://localhost:11434/api/generate), set the JSON payload, and analyze responses without writing complex code. This is especially useful for debugging and optimizing your integration.
Step-by-Step Guide to Using SSE Testing on Apidog
Let’s walk through the process of using the optimized SSE testing feature on Apidog, complete with the new Auto-Merge enhancements. Follow these steps to set up and maximize your real-time debugging experience.
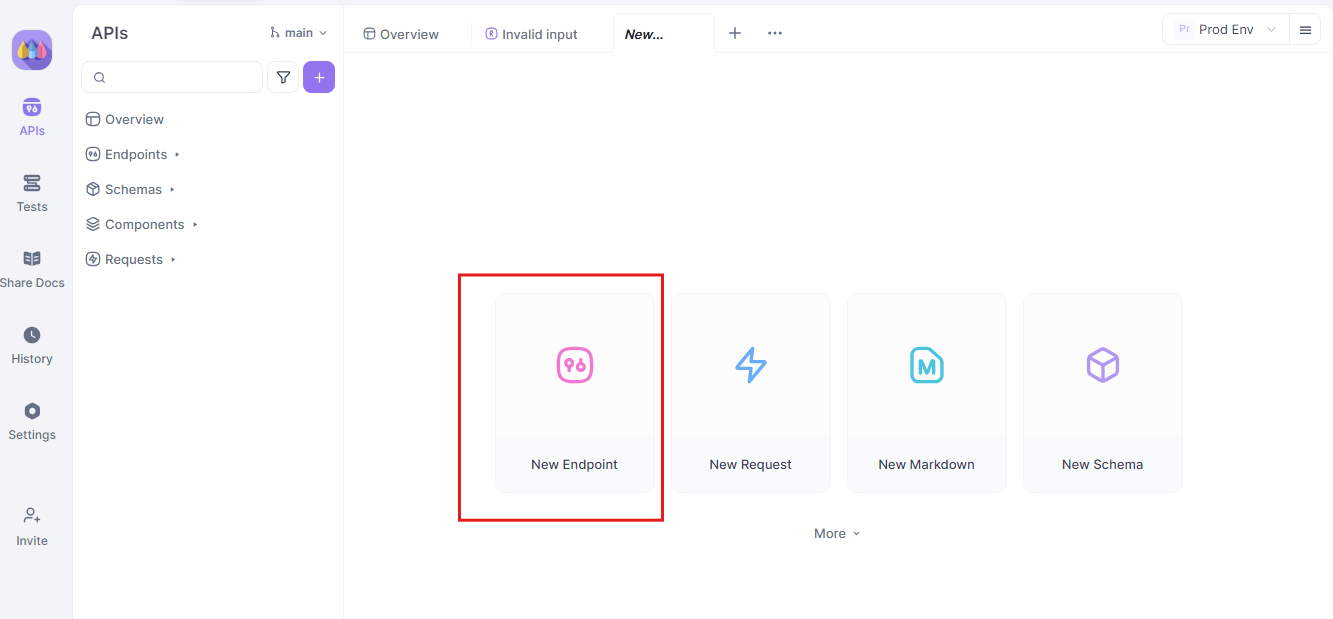
Step 1: Create a New API Request
Begin by launching a new HTTP project on Apidog. Add a new endpoint and input the URL for your API or AI model’s endpoint. This is your starting point for testing and debugging your real-time data streams.
Step 2: Send the Request
Once your endpoint is set up, send the API request. Carefully observe the response headers. If the header includes Content-Type: text/event-stream, Apidog will automatically recognize and interpret the response as an SSE stream. This detection is crucial for the subsequent auto-merging process.

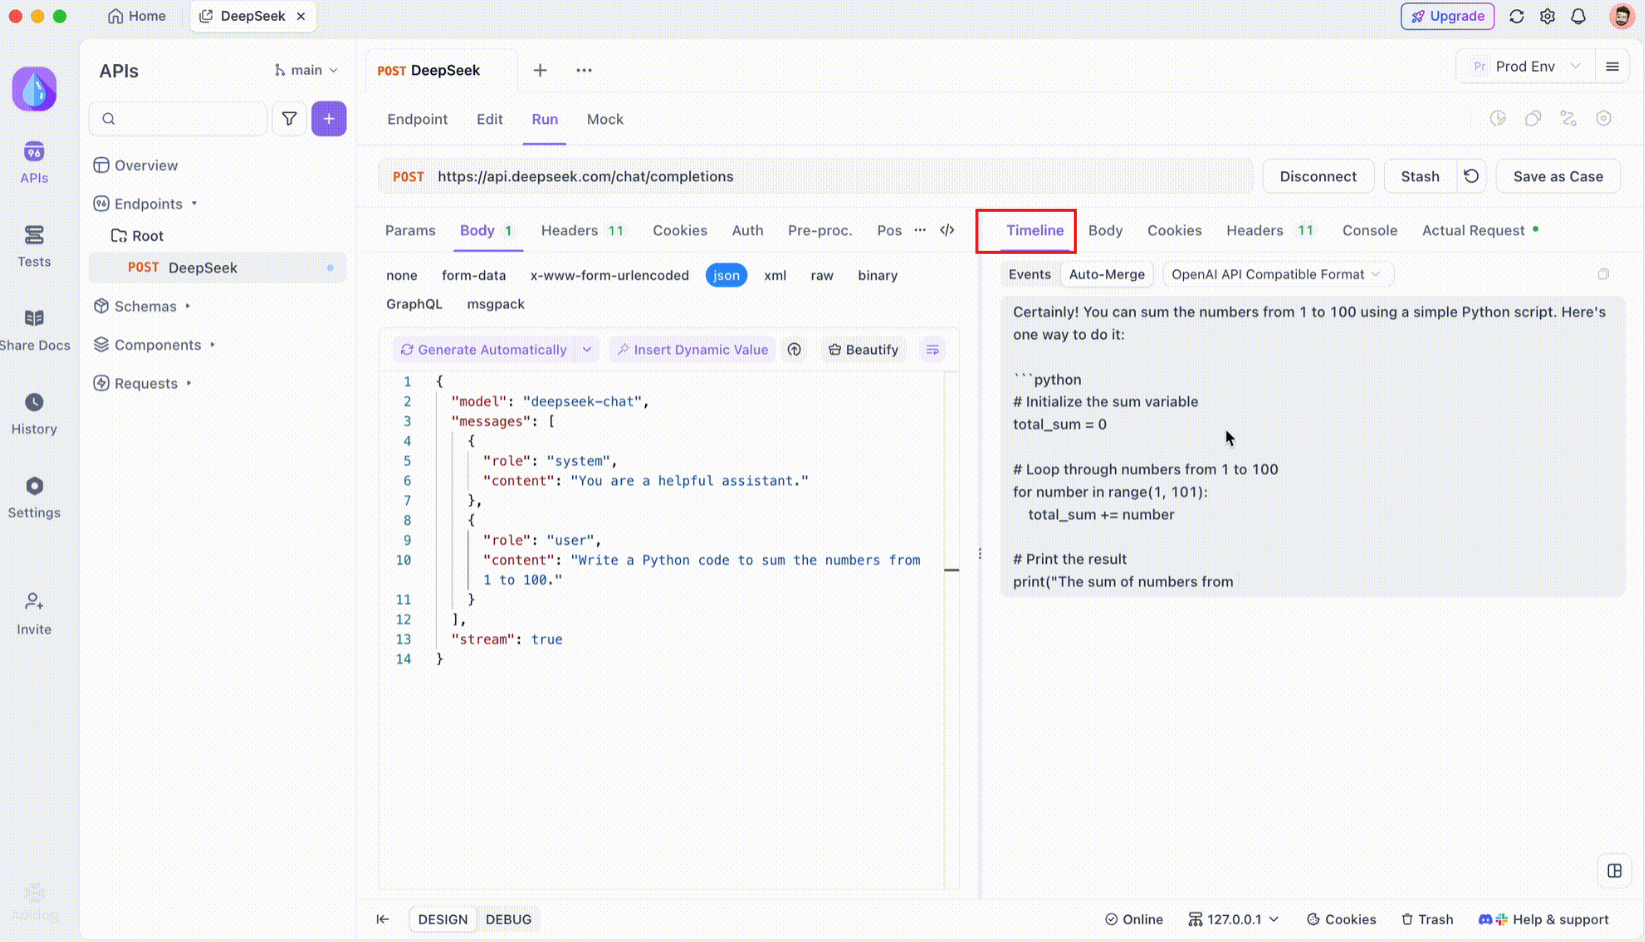
Step 3: Monitor the Real-Time Timeline
After the SSE connection is established, Apidog will open a dedicated timeline view where all incoming SSE events are displayed in real time. This timeline continuously updates as new data arrives, allowing you to monitor the flow of data with pinpoint precision. The timeline is not just a raw dump of data it is a carefully structured visualization that helps you see exactly when and how data is transmitted.
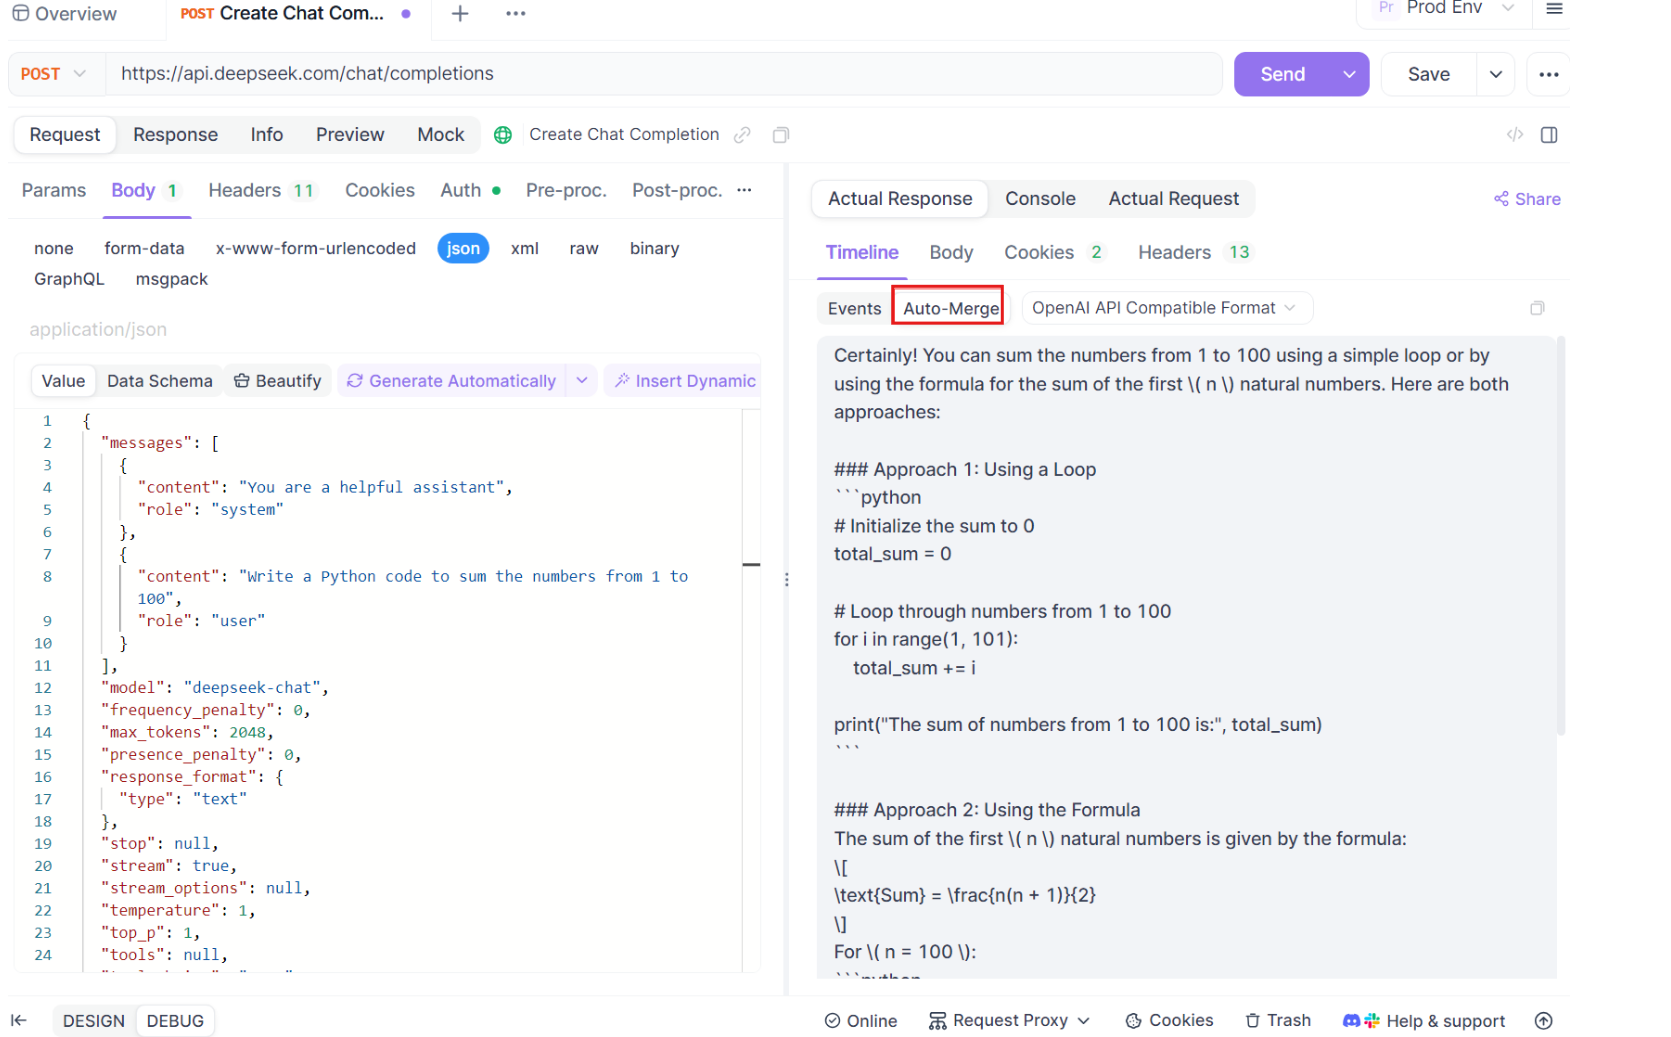
Step 4: Auto-Merge Message
Here’s where the magic happens. With the Auto-Merge enhancements, Apidog automatically recognizes popular AI model formats and merges fragmented SSE responses into a complete reply. This step includes:
- Automatic Recognition: Apidog checks if the response is in a supported format (OpenAI, Gemini, or Claude).
- Message Merging: If the format is recognized, the platform automatically combines all SSE fragments, delivering a seamless, complete response.
- Enhanced Visualization: For certain AI models, such as DeepSeek R1, the timeline also displays the model's thought process, offering an extra layer of insight into the reasoning behind the generated response.
This feature is particularly useful when dealing with AI-driven applications, ensuring that every part of the response is captured and presented in its entirety without manual intervention.
Step 5: Configure JSONPath Extraction Rules
Not all SSE responses will automatically conform to built-in formats. When dealing with JSON responses that require custom extraction, Apidog allows you to configure JSONPath rules. For example, if your raw SSE response contains a JSON object and you need to extract the content field, you can set up a JSONPath configuration as follows:
- JSONPath:
$.choices[0].message.content - Explanation:
$refers to the root of the JSON object.choices[0]selects the first element of thechoicesarray.message.contentspecifies the content field within the message object.
This configuration instructs Apidog on how to extract the desired data from your SSE response, ensuring that even non-standard responses are handled effectively.
Conclusion
Running Gemma 3 locally with Ollama is an exciting way to tap into Google’s advanced AI capabilities without leaving your machine. From installing Ollama and downloading the model to interacting via the terminal or API, this guide has walked you through every step. With its multimodal features, multilingual support, and impressive performance, Gemma 3 is a game-changer for developers and AI enthusiasts alike. Don’t forget to leverage tools like Apidog for seamless API testing and integration download it for free today to enhance your Gemma 3 projects!
Whether you’re tinkering with the 1B model on a laptop or pushing the 27B model’s limits on a GPU rig, you’re now ready to explore the possibilities. Happy coding, and let’s see what incredible things you build with Gemma 3!