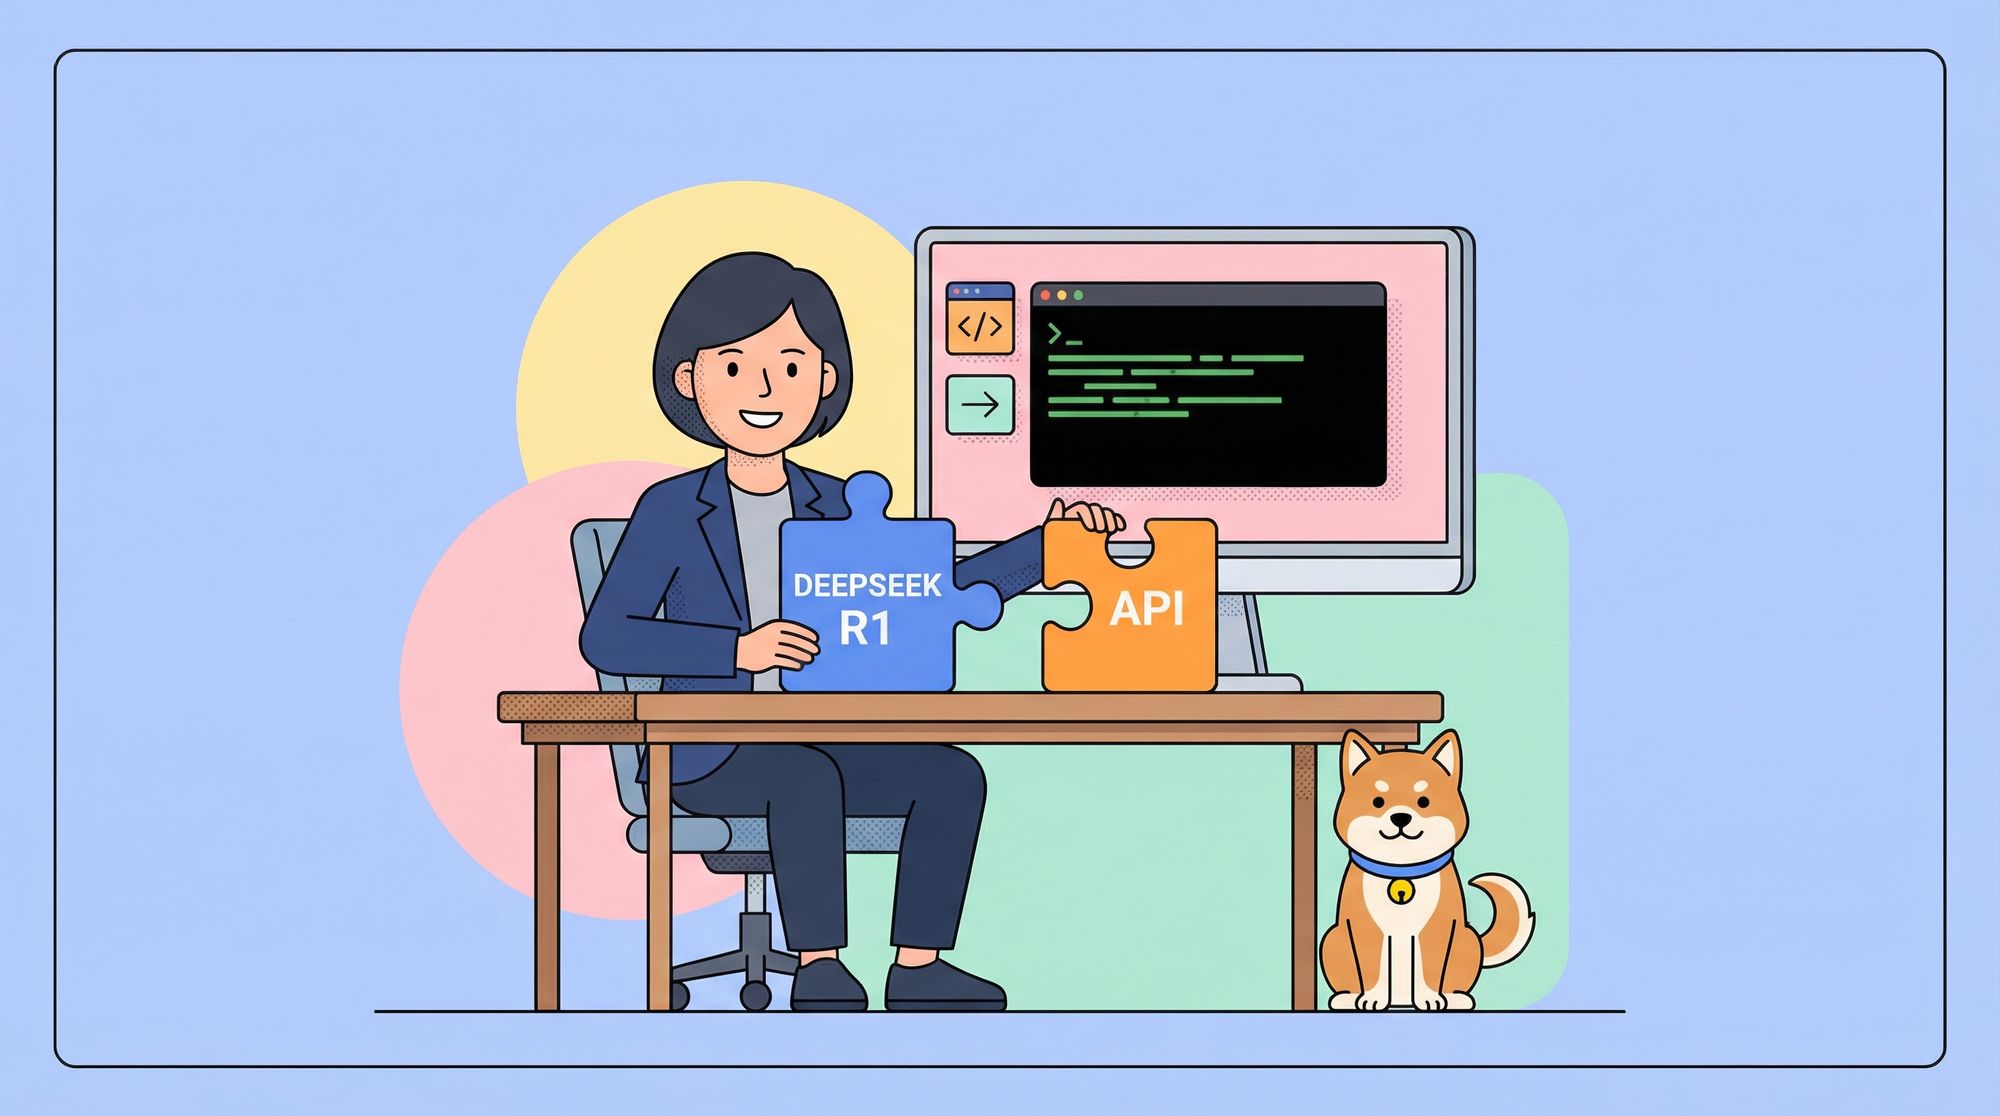
Are you looking to leverage the power of Deepseek R1, an advanced reasoning large language model, directly on your machine? Running Deepseek R1 locally not only enhances data privacy and reduces latency, but also gives you full control over AI-driven workflows—especially when integrating with your API stack. In this guide, you'll learn how to set up Deepseek R1 using Ollama and test its API endpoints efficiently with Apidog. Whether you’re an API developer, backend engineer, or technical lead, this walkthrough is tailored for hands-on professionals building with AI.
What is Deepseek R1?
Deepseek R1 is a highly capable open-source reasoning model developed by DeepSeek AI, designed to excel at tasks such as mathematical problem-solving, code generation, and logical reasoning. Unlike cloud-based LLM APIs, running Deepseek R1 locally gives you:
- Lower latency: No network round-trips.
- Enhanced security: Data stays on your infrastructure.
- Greater flexibility: Full control over model usage and customization.
Ollama is a lightweight tool that makes deploying and managing local language models like Deepseek R1 fast and developer-friendly.
Prerequisites: What You Need Before You Start
Before installing Deepseek R1, ensure you have:
- A computer with a modern CPU and a compatible GPU (for optimal performance)
- Ollama installed (see instructions below)
- Basic command-line familiarity
- A genuine interest in AI-powered development
Step 1: Install and Verify Ollama
Ollama simplifies running large AI models locally. Here’s how to set it up:
-
Download Ollama
- Visit the Ollama website and get the appropriate installer for your operating system.

-
Install Ollama
- Follow the on-screen installation instructions.
-
Verify Installation
- Open your terminal and run:
ollama --version - You should see the installed version number, confirming a successful setup.

- Open your terminal and run:
Step 2: Download and Run Deepseek R1 with Ollama
Download the Model
To pull the Deepseek R1 model (8 billion parameters) onto your machine, run:
ollama run deepseek-r1
Ollama will handle the download and first-time setup. This may take a few minutes depending on your internet speed.

Verify Model Installation
Check that the model is available by running:
ollama list
Look for deepseek-r1:8b in the output. If present, installation is successful.

Start a Deepseek R1 Session
To interact with Deepseek R1, simply run:
ollama run deepseek-r1
You now have a live AI reasoning model ready to process your questions or data—locally.
Step 3: Interact with Deepseek R1 Locally
Once Deepseek R1 is running, you’ll see a prompt where you can enter queries. Example prompts:
- Explain quantum computing in simple terms.
- Write a short story about a time-traveling cat.
- What are the ethical implications of artificial general intelligence?
Get creative—Deepseek R1 is capable of a wide range of reasoning tasks.

Advanced: Integrating Deepseek R1 with Python Projects
To embed Deepseek R1 into your Python applications, use Ollama’s Python bindings:
import ollama

response = ollama.chat(model='deepseek-r1', messages=[
    {
        'role': 'user',
        'content': 'Explain the concept of recursion in programming.',
    },
])

print(response['message']['content'])
This approach lets you build AI-powered features, automate code generation, or power backend services—securely on your own hardware.
Troubleshooting Common Issues
Encountering problems? Here are some quick solutions:
- Model not found: Make sure you’ve pulled the model with
ollama pull deepseek-r1. - Memory issues: Deepseek R1 is resource-intensive. Close other applications or use a smaller model variant if needed.
- Slow responses: Performance depends on your hardware (especially your GPU). Upgrading hardware can help, but patience is key on modest systems.
The Ollama community is active and helpful if you need more support.
Step 4: Test and Document Deepseek R1 APIs with Apidog
Once Deepseek R1 is running locally, you may want to expose it as an API for integration with your services or apps. Apidog is a unified platform for API development, testing, and documentation—ideal for validating your Deepseek R1 endpoints.
💡 Apidog streamlines every stage of your API lifecycle. Try it with DeepSeek API today!
How to Test Your Deepseek R1 API in Apidog
![]()
-
Create a New Project
- Open Apidog, click “New Project,” and give it a descriptive name.

-
Add Your API Endpoint
- Click “New request” to add an API endpoint.
- Enter the API URL exposed by your Deepseek R1 instance.
- Specify the HTTP method (usually POST) and include any necessary headers or authentication info.

0
-
Define the Request Body
- Switch to the “Body” tab.
- Select the appropriate format (e.g., JSON) and input the parameters needed by your Deepseek R1 API.
-
Send and Validate the Request
- Click “Send” to make the API call.
- Review the response status, headers, and body. Apidog provides easy validation tools to compare responses against expected outputs.
If you receive a valid response with Deepseek R1’s output, your local API integration is working as intended.
Conclusion: Empower Your AI and API Workflow
Deploying Deepseek R1 locally with Ollama gives you a robust, private AI reasoning engine at your fingertips. By integrating with tools like Apidog, you can efficiently develop, test, and document new API-powered features—accelerating your team’s AI development lifecycle.