Welcome to the world of Python! You’ve chosen to learn a language celebrated for its simplicity, power, and versatility. Python is the driving force behind web applications, data science, artificial intelligence, automation, and much more. For a beginner, its clean syntax and readable code make it an ideal first language.
However, before you can write your first line of code, you must set up your development environment correctly. A proper setup is the foundation upon which all your future projects will be built. It prevents common frustrations and ensures a smooth, productive learning experience. This comprehensive guide will walk you through every step of the process, from installing Python on your computer to managing project dependencies with virtual environments and running your very first script. We will cover every command you need, explained in detail, to give you a rock-solid start on your Python journey.
Want an integrated, All-in-One platform for your Developer Team to work together with maximum productivity?
Apidog delivers all your demands, and replaces Postman at a much more affordable price!
This tutorial is designed for the absolute beginner. We will assume no prior programming knowledge. Our focus will be on establishing best practices from day one, particularly the use of virtual environments, a critical skill for any serious Python developer.
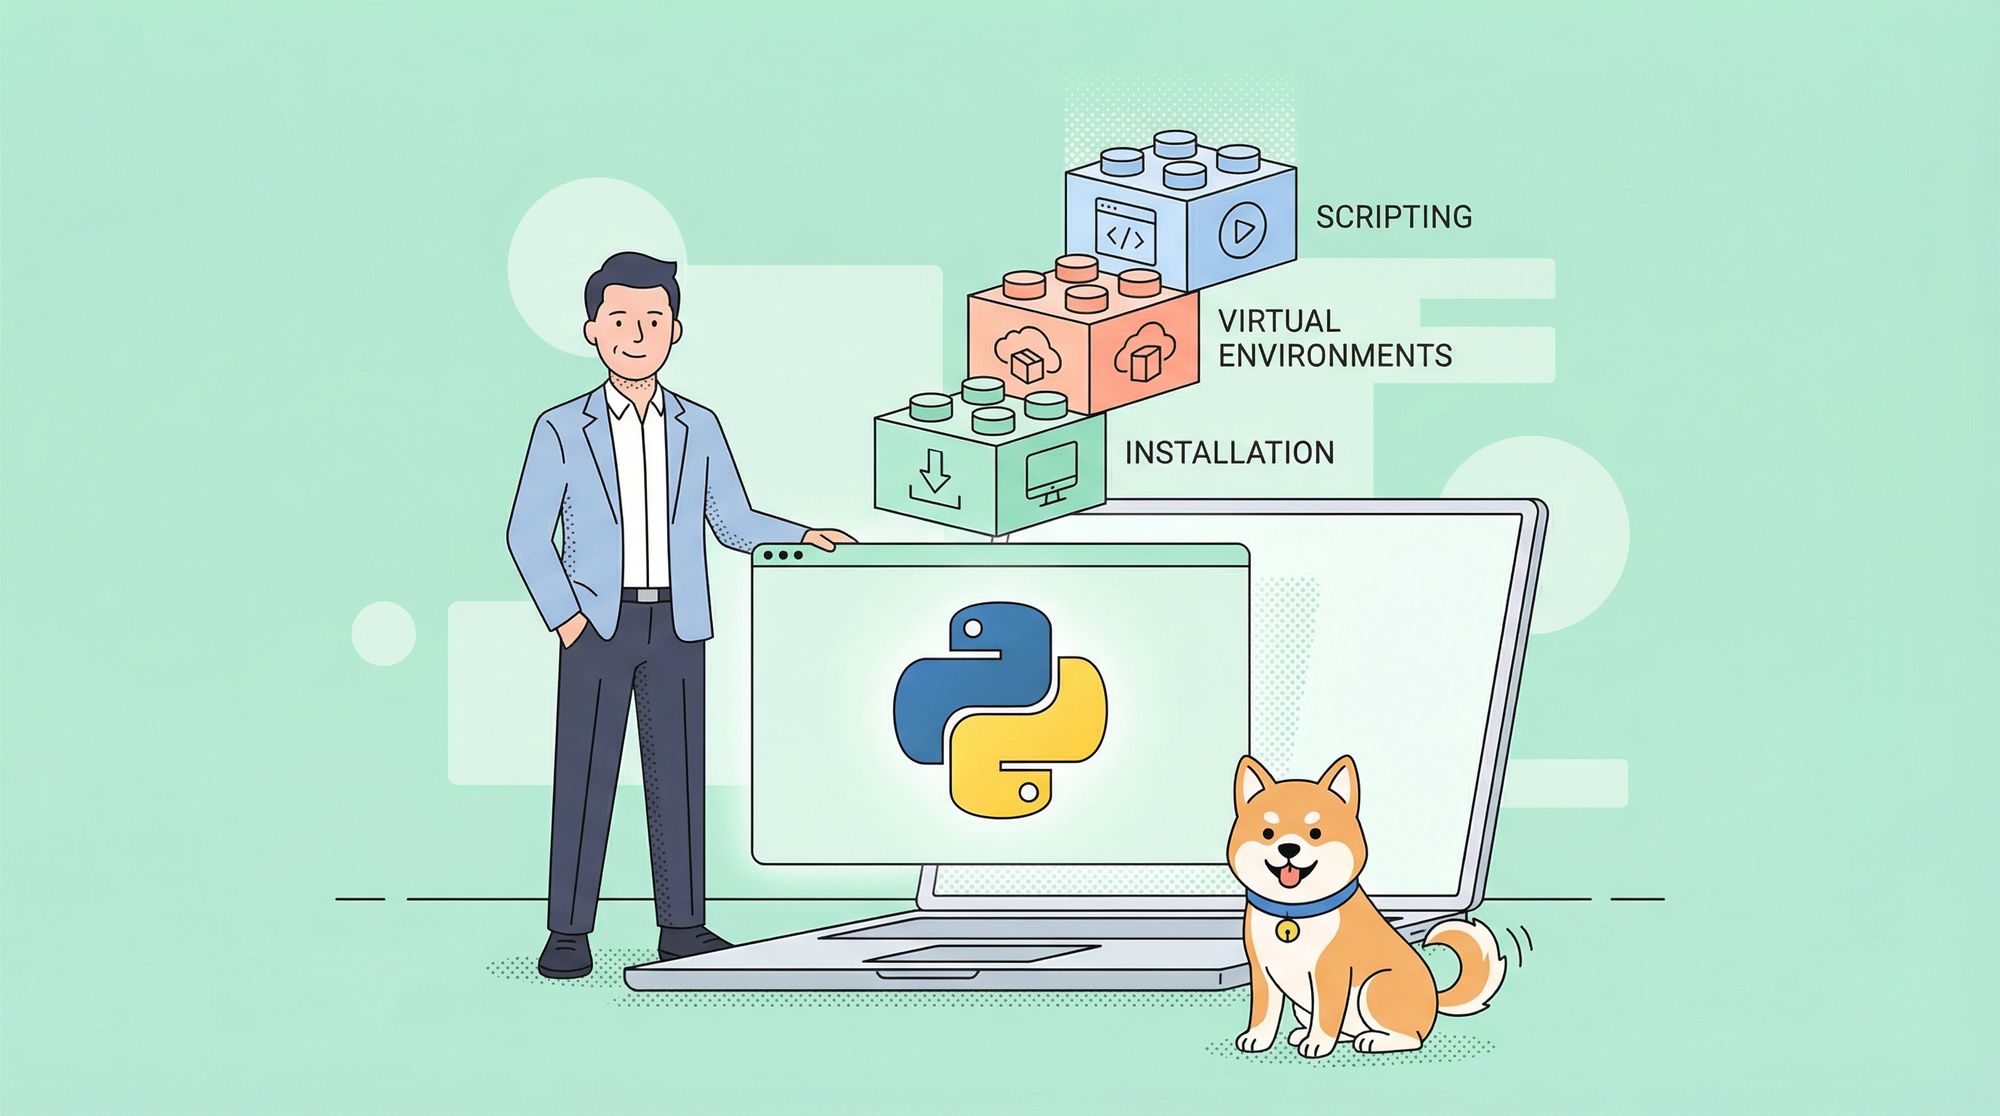
I. Installing Python: Your First Step
The very first step is to install the Python interpreter on your system. The interpreter is the program that reads your Python code and executes the instructions you’ve written. We will be using Python 3, as Python 2 is no longer supported.
It is crucial to install Python correctly and verify that it is accessible from your command-line interface (CLI)—the Command Prompt or PowerShell on Windows, and the Terminal on macOS and Linux.
A. Installing on Windows
Windows does not come with Python pre-installed. The recommended way to install it is by using the official installer.
Download the Installer: Open a web browser and navigate to the official Python website's download page for Windows. You should see buttons to download the latest stable version. Download the "Windows installer (64-bit)".
Run the Installer: Once the download is complete, run the installer executable file. You will be greeted with an installation window.
Crucial Step: Add Python to PATH: Before you click "Install Now," look at the bottom of the window. You will see a checkbox labeled "Add Python to PATH" or a similar variation. You must check this box. This step ensures that you can run Python from your command prompt from any directory. This is one of the most common pitfalls for beginners on Windows.
Install: Click "Install Now" to begin the installation with the recommended settings. A progress bar will show the installation process.
Verify the Installation: Once the installation is complete, you need to verify that it was successful. Open your Command Prompt or PowerShell. You can find these by searching for them in the Start Menu. In the window that appears, type the following command and press Enter:Bash
python --version
If the installation was successful, you will see the Python version number printed to the screen, for example, Python 3.12.3.
Verify pip Installation: Python's package manager, pip, is automatically installed alongside Python. It is the tool you will use to install third-party libraries. Verify its installation with the command:Bash
pip --version
You should see the version of pip printed, along with its location.
B. Installing on macOS
Modern versions of macOS often come with a pre-installed version of Python 2. However, this version is outdated and should not be used. You must install Python 3.
The recommended method is to use the official installer, similar to Windows.
Download the Installer: Navigate to the official Python website's download page for macOS. Download the "macOS 64-bit universal2 installer" for the latest stable version.
Run the Installer: Open the downloaded .pkg file. The installer will guide you through the steps. Agree to the license and proceed with the standard installation. It will install Python 3 in your /Applications folder and create the necessary links.
Verify the Installation: Open the Terminal application (you can find it in Applications/Utilities or by searching with Spotlight). To verify your new Python 3 installation, type:Bash
python3 --version
This should output the version you just installed. On macOS, the command python3 is used to specifically call the Python 3 interpreter, while python might still point to the old Python 2.
Verify pip: Similarly, verify the pip installation:Bash
pip3 --version
You will likely need to use pip3 to manage packages for your Python 3 installation.
C. Installing on Linux
Most Linux distributions come with Python 3 pre-installed. However, it's good practice to ensure you have the latest version from your distribution's package repository and that the necessary tools like pip and venv are also present.
Open your Terminal.
Update Your Package Manager: First, update your local package list.
- On Debian, Ubuntu, or derivatives: Bash
sudo apt update
- On Fedora, CentOS, or RHEL: Bash
sudo dnf check-update
Install Python: Now, install the Python 3 package, along with pip and the venv module, which is used for creating virtual environments.
- On Debian, Ubuntu, or derivatives: Bash
sudo apt install python3 python3-pip python3-venv
- On Fedora, CentOS, or RHEL: Bash
sudo dnf install python3 python3-pip
Verify the Installation: Check the installed version using the terminal. The command is typically python3.Bash
python3 --version
And verify pip:Bash
pip3 --version
II. Virtual Environments: Professional Project Isolation
Now that Python is installed, you might be tempted to start installing packages globally. Stop. The single most important best practice for a new Python developer is to use virtual environments for every project.
Why Use a Virtual Environment?
Imagine you are working on two different projects. Project A requires version 1.0 of a certain library, while Project B needs version 2.0 of the same library. If you install these libraries globally, you will constantly have to switch versions, and one project will always be broken.
A virtual environment is a self-contained, isolated directory that holds a specific version of Python plus all the specific packages and libraries your project needs. It doesn't affect your global Python installation or other virtual environments.
Benefits:
- Avoids Dependency Conflicts: Keeps each project's dependencies separate and independent.
- Keeps Your System Clean: Your global Python installation remains pristine, free from a clutter of project-specific packages.
- Ensures Reproducibility: You can easily recreate the exact environment for your project on another machine.
We will use the venv module, which is the standard, built-in way to create virtual environments in Python 3.
Creating and Using a Virtual Environment
Let's walk through the entire workflow.
Create a Project Directory: First, create a folder for your new project. Open your command-line interface and run these commands:Bash
mkdir my_first_project
cd my_first_project
This creates a new directory named my_first_project and navigates you into it.
Create the Virtual Environment: Now, inside your project folder, run the following command. This command tells Python to run the venv module and create a new virtual environment in a folder named venv.
- On macOS and Linux: Bash
python3 -m venv venv
- On Windows: Bash
python -m venv venv
After running this, you will see a new folder named venv inside my_first_project. This folder contains a copy of the Python interpreter and is where your project-specific packages will be installed. It's a common convention to name this folder venv or .venv.
Activate the Virtual Environment: Creating the environment is not enough; you must "activate" it. Activating the environment modifies your shell's prompt to point to the environment's specific Python and pip executables.
On Windows (using Command Prompt):Bash
venv\Scripts\activate.bat
On Windows (using PowerShell):PowerShell
.\venv\Scripts\Activate.ps1
(You may need to change your execution policy first by running Set-ExecutionPolicy -ExecutionPolicy RemoteSigned -Scope Process)
On macOS and Linux:Bash
source venv/bin/activate
Once activated, you will see the name of the environment in parentheses at the beginning of your command prompt, like this: (venv) C:\Users\YourUser\my_first_project>. This indicates that your virtual environment is active.
Deactivating the Virtual Environment: When you are finished working on your project, you can deactivate the environment and return to your normal shell. Simply type the following command:Bash
deactivate
The (venv) prefix will disappear from your prompt.
III. Managing Packages with pip
With your virtual environment active, you can now safely install packages for your project. The tool for this is pip. When an environment is active, the pip command is automatically linked to that environment.
Core pip Commands
Let's install a popular package called requests, which is used for making HTTP requests.
Install a Package: Make sure your venv is active, then run:Bash
pip install requests
pip will download the requests package and all of its dependencies from the Python Package Index (PyPI) and install them directly into your venv folder. Your global Python installation remains untouched.
List Installed Packages: To see what packages are installed in your current (active) environment, use:Bash
pip list
You will see requests and its dependencies listed, but none of the packages installed in your global Python or other environments.
Creating a requirements.txt File: How do you share your project with others so they can replicate your environment? You do this with a requirements file. The standard convention is to name this file requirements.txt.
You can automatically generate this file with the pip freeze command, which outputs a list of all installed packages and their exact versions.Bash
pip freeze > requirements.txt
The > symbol redirects the output of the command into the requirements.txt file. If you open this file, you will see a list of package versions.
Installing from a requirements.txt File: If someone else (or your future self) wants to set up your project, they can create and activate a new virtual environment, and then run the following command to install all the necessary packages in one go:Bash
pip install -r requirements.txt
This command tells pip to read the file and install all the packages listed within it.
Uninstall a Package: If you no longer need a package, you can remove it:Bash
pip uninstall requests
pip will ask you for confirmation before removing the package.
IV. Your First Python Script
You have a complete, isolated development environment. It's finally time to write some code!
Writing the Code
Create a Python File: Using your favorite text editor (like VS Code, Sublime Text, or even Notepad), create a new file named app.py inside your my_first_project directory. Make sure it is in the same folder as your venv directory, not inside it.
Add Python Code: Open app.py and type the following code into it. This script will ask for your name and then print a personalized greeting.Python
# A simple Python script to greet the user

def get_greeting(name):
    """Generates a personalized greeting."""
    if not name:
        return "Hello, mysterious stranger!"
    else:
        return f"Hello, {name}! Welcome to the world of Python."

def main():
    """Main function to run the program."""
    print("Welcome to your first Python application!")
    user_name = input("Please enter your name: ")
    message = get_greeting(user_name.strip())
    print(message)

if __name__ == "__main__":
    main()
defdefines a function.input()prompts the user for input and reads it as a string..strip()removes any leading or trailing whitespace from the input.f"..."is an f-string, a modern and convenient way to embed expressions inside string literals.- The
if __name__ == "__main__":block is a standard Python convention. It ensures that the code insidemain()only runs when the script is executed directly (not when it's imported as a module into another script).
Running Your Script
Ensure Your Environment is Active: Go back to your command-line interface. Make sure you are in the my_first_project directory and that your (venv) prefix is visible.
Execute the Script: To run your program, you invoke the Python interpreter and pass it the name of your script file.
- On macOS and Linux: Bash
python3 app.py
- On Windows: Bash
python app.py
Interact with Your Program: The script will run in your terminal. It will first print "Welcome to your first Python application!", then it will prompt you for your name. Type your name and press Enter. The script will then print your personalized greeting.
Congratulations! You have successfully set up a professional Python development environment, managed packages, and written and executed your first Python application. You have mastered a workflow that will serve you well on projects of any scale. From here, your journey is about learning the language itself—its syntax, data structures, and vast ecosystem of libraries. But with this solid foundation, you are perfectly equipped for the adventure ahead.
Want an integrated, All-in-One platform for your Developer Team to work together with maximum productivity?
Apidog delivers all your demands, and replaces Postman at a much more affordable price!


