![[Guide] Basics to Postman Callback URLs](https://assets.apidog.com/blog-next/2026/02/postman-callback-url.png)
In the realm of API development and testing, Postman stands as a powerful tool. Its ability to streamline workflows and simplify interactions with APIs is undeniable. However, certain functionalities, like OAuth 2.0 authorization, rely on a critical mechanism known as Callback URLs.
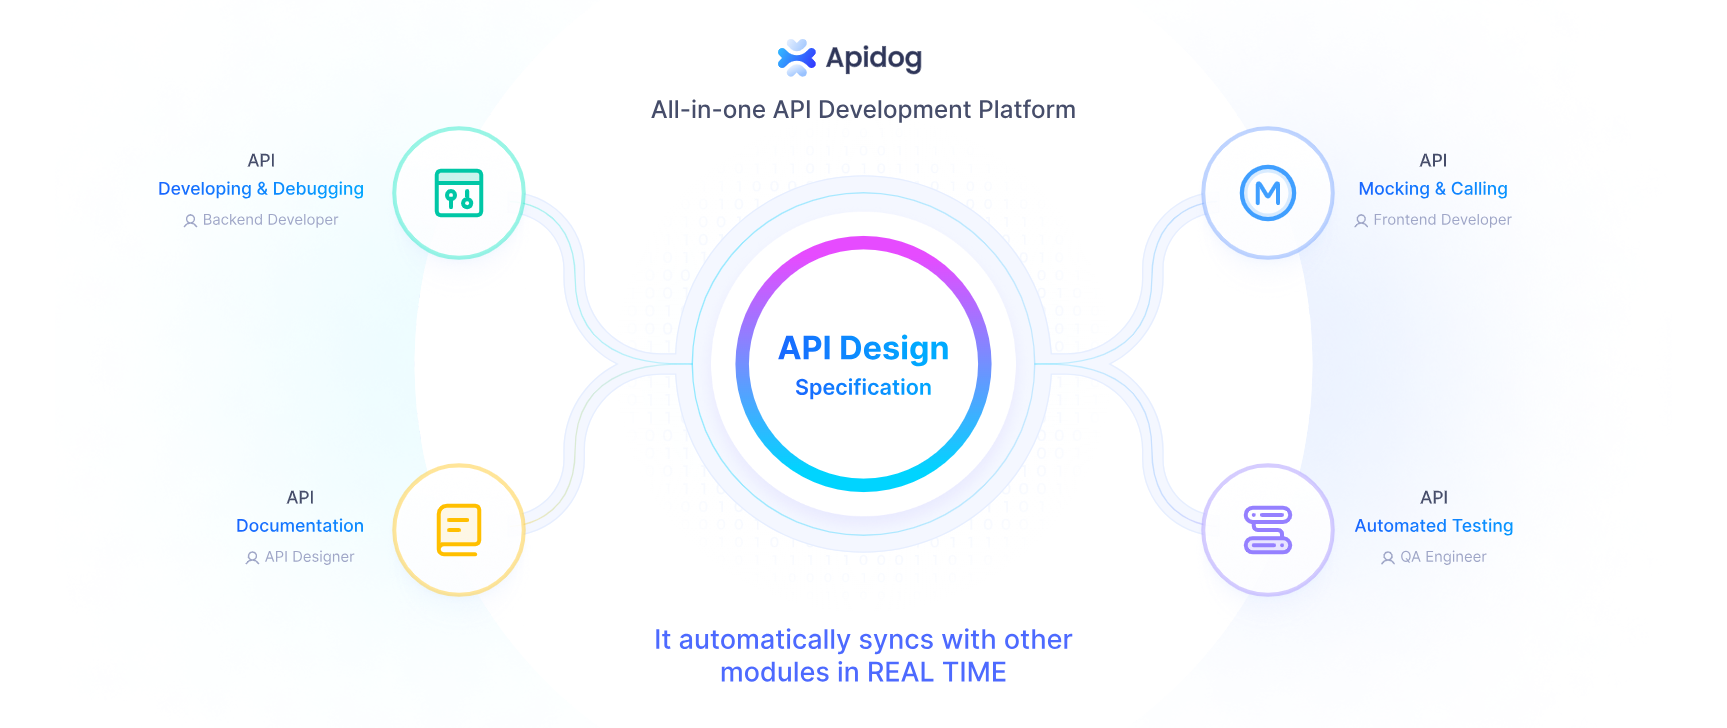
Equip yourself with state-of-the-art tools for the entire API lifecycle, so you can build, test, mock, and document APIs within just one application.
To learn more about Apidog, make sure to give the button below a click.
This article delves into the concept of Postman callback URLs, explaining their role in authentication processes and how they contribute to a seamless API development experience.
What are Callback URLs?
In the realm of web applications and APIs, communication does not always flow in a single direction. Often, an application or service needs to send information back after it completes a task or action initiated by another system.
This is where callback URLs come into play. They act as designated return addresses, specifying a specific web location where the response or update can be sent.
How do Callback URLs Work?
Step 1 - Initiating the Action
Imagine you are using a web application to upload a large video file for processing. The application sends a request to a server containing the video data and instructions.
Step 2 - Long Processing Time
Processing the video might take a significant amount of time. The server can't simply hold the connection open waiting for your application to check back for completion.
Step 3 - Specifying the Callback URL
Here is where the callback URL comes in. You, as the user, provide the server with a specific web address (the callback URL) within your application. This tells the server where to send a notification once the processing is finished.
Step 4 - Sending the Response
When the processing is complete, the server sends a response containing information about the results (e.g., success or failure, processing details) to the pre-defined callback URL in your application.
Step 5 - Receiving the Notification
Your application does not need to constantly check for updates. It receives the notification automatically at the designated callback URL, allowing you to be informed about the completion and any relevant details.
Postman and Callback URLs
Postman leverages callback URLs to streamline the process of OAuth 2.0 authorization, a widely used standard for granting access to APIs.
What is OAuth 2.0?
OAuth 2.0 is an authorization framework that allows users to grant access to their accounts on one platform (e.g., Google) to another application (e.g., a custom app) without sharing their passwords directly. This ensures a secure and controlled way for applications to access user data.
The Role of Callback URLs in OAuth 2.0
The OAuth 2.0 authorization flow typically involves several steps:
- User Authorization: The application redirects the user to the authorization server (e.g., Google login page).
- Granting Permission: The user logs in and grants the application permission to access specific data.
- Authorization Code: The authorization server returns an authorization code to the application's pre-configured callback URL.
Postman's Callback URL Process
Specifying the Callback URL
Within Postman, you configure the desired callback URL for your application. This URL can be a local address specific to Postman (provided by Postman itself) or a publicly accessible URL for your actual application.
Intercepting the Code
When the authorization server redirects the user back with the authorization code, Postman, instead of your actual application, receives the code at the defined callback URL (local or public depending on your setup).
Token Request (No Redirect Needed)
Since Postman intercepts the code, it does not need to redirect the user to a separate application. It directly uses this code to make a request to the authorization server for the final access token, which is used to interact with the API.
Benefits of Using Callback URLs in Postman
- Convenience: Postman handles the entire authorization flow internally, eliminating the need for complex redirects and user interaction outside of Postman.
- Efficiency: The process becomes faster and more streamlined, allowing you to quickly obtain access tokens for testing API calls.
- Testing Flexibility: You can easily test different authorization scenarios by modifying the callback URL or using different OAuth providers within Postman.
How to Set Up Callback URL in Postman for OAuth 2.0 Authorization?
Step 1 - Access Authorization Settings
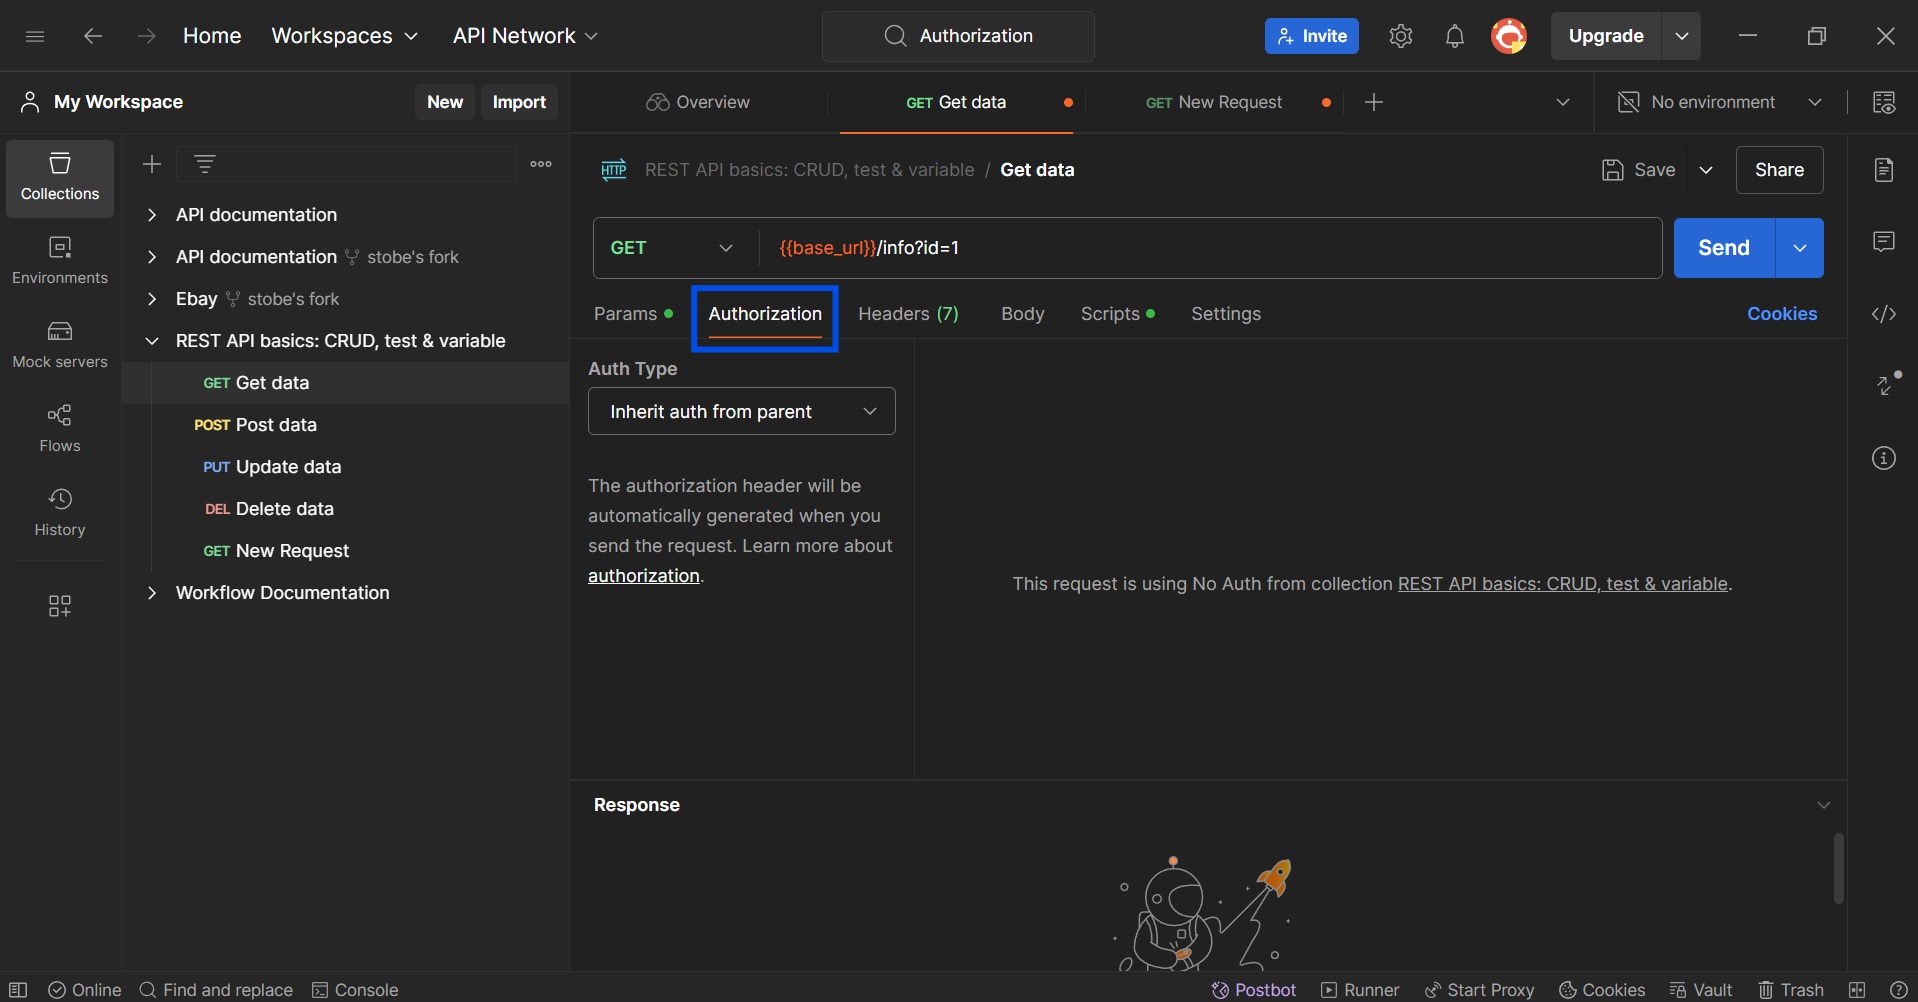
Once you have opened Postman, navigate to your desired collection or request, and click on the Authorization tab.
Step 2 - Select Auth Type to OAuth 2.0

Next, press the Auth Type box, and select OAuth 2.0. This will change the right-hand column, providing you with a lot more fields to modify.
Step 3 - Specify Callback URL
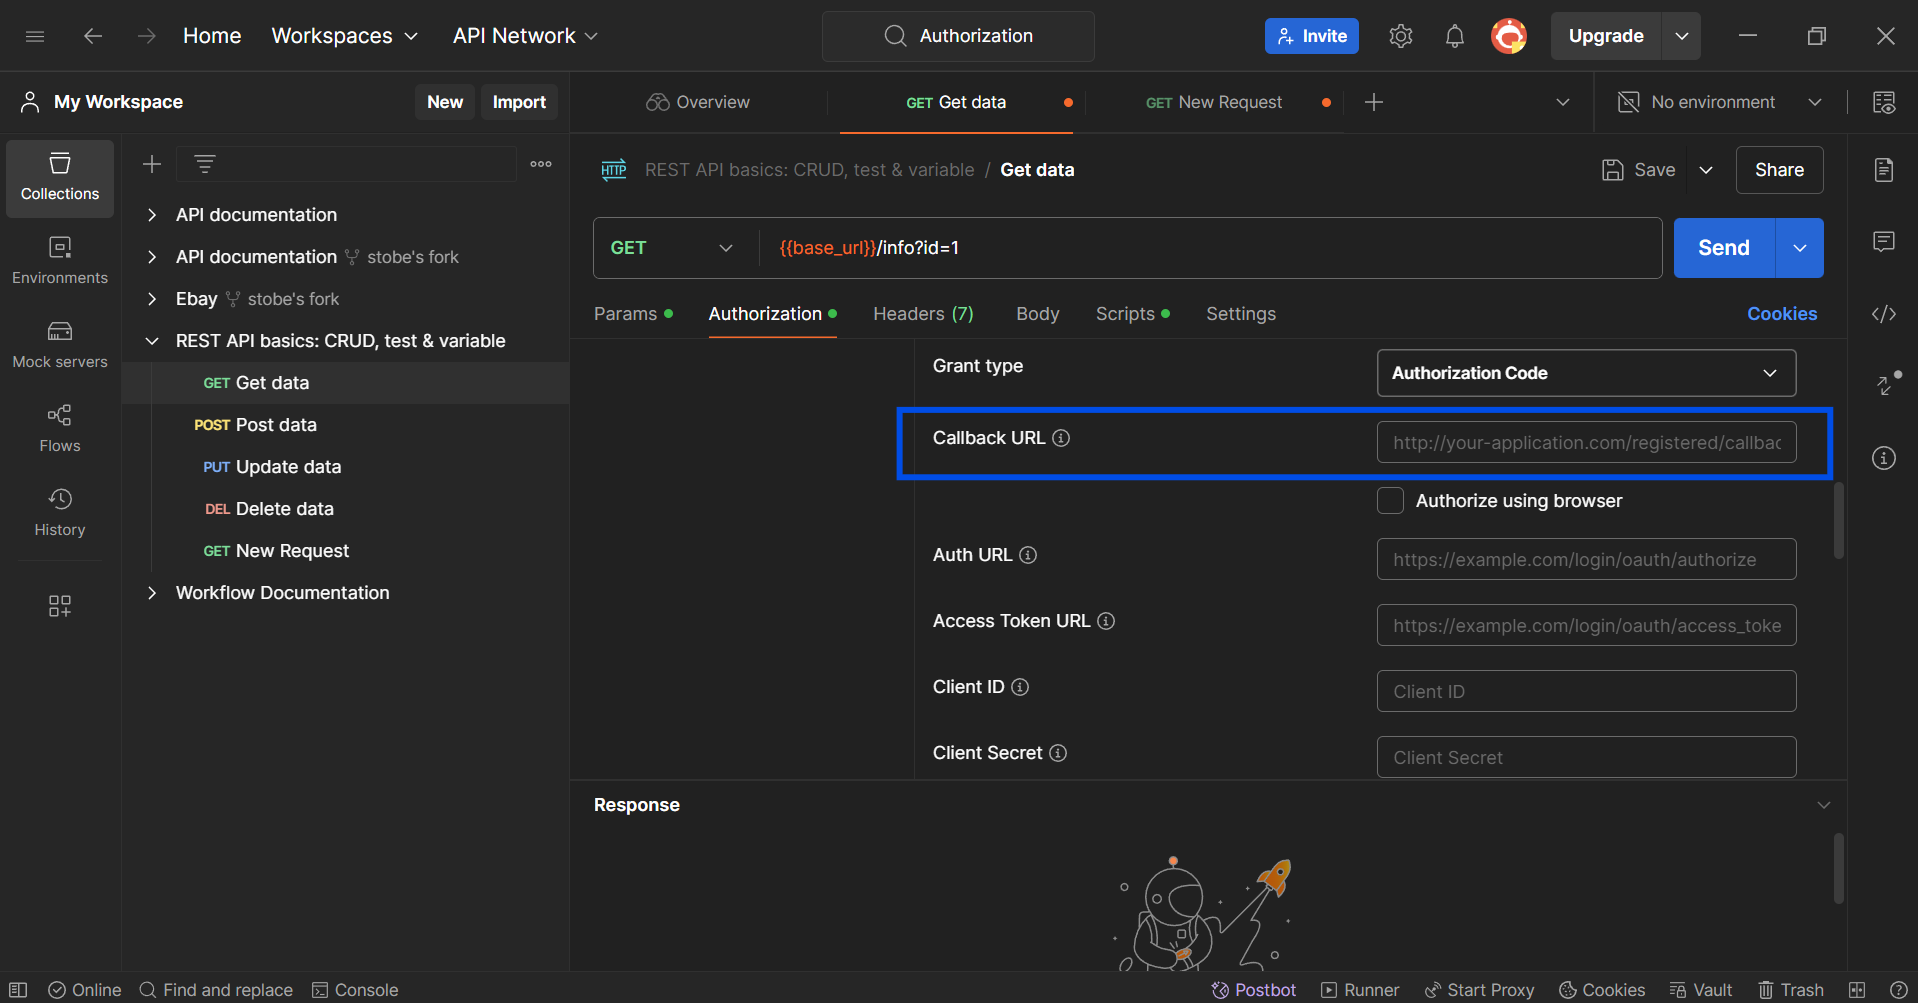
Scroll down until you find the Callback URL section, as shown in the image above. Here, make sure to include your callback URL. You have two options for the callback URL:
Choice 1 - Using Postman's Local URL (For Testing)
If you're solely testing within Postman, a convenient option is to use the local URL provided by Postman. This URL typically starts with https://app.getpostman.com/oauth2/callback.
This approach keeps everything within Postman, simplifying the testing process.
Choice 2 - Using Your Application's Public URL (For Production-like Testing)
If you want to simulate a more realistic scenario, you can configure your application's actual public callback URL. However, this URL needs to be registered with the authorization server you're using (e.g., Google, Facebook).
Step 4 - Save Changes to Your API
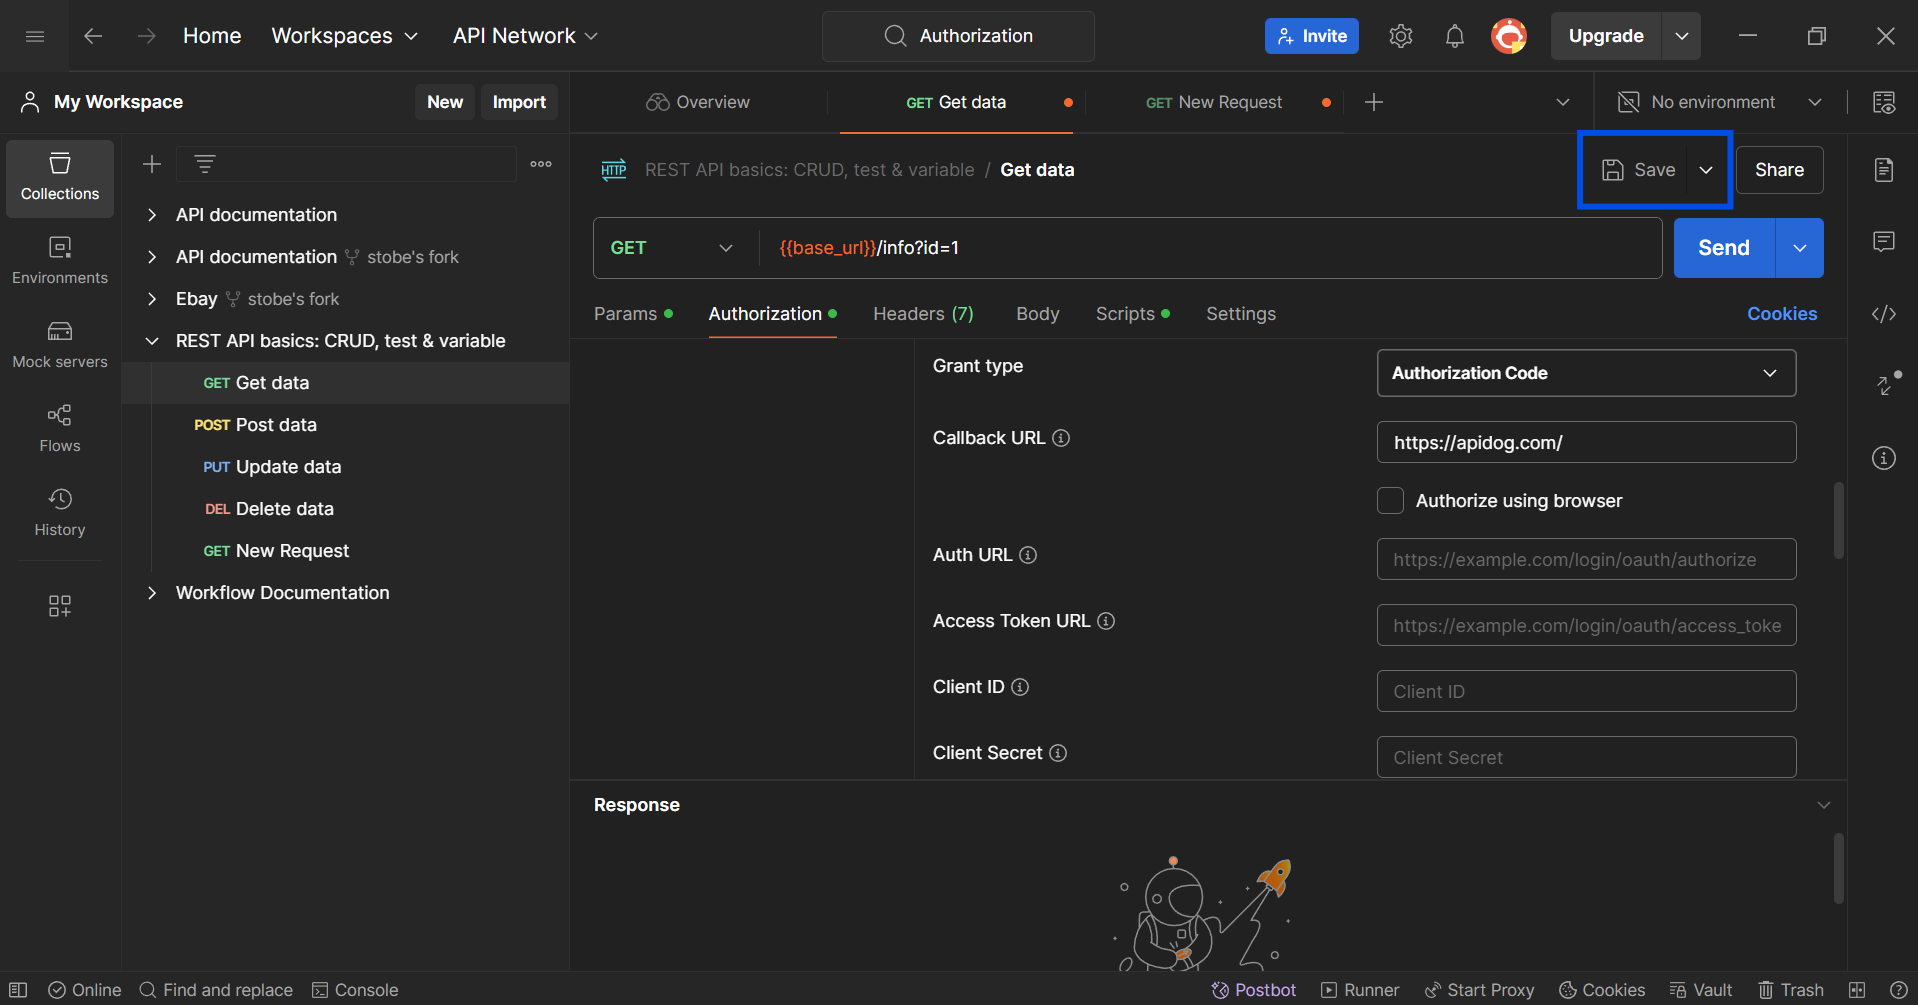
Lastly, once all the changes have been made, make sure to save them.
Apidog - Streamline API Development in a Clean and Sleek Environment
Developers, are you looking for a change in scenery for your API development? Well, look no further - introducing to you Apidog, a powerful Postman alternative that equips you with complete tools for the entire API lifecycle.
Selecting OAuth 2.0 Authentication for Your API Using Apidog
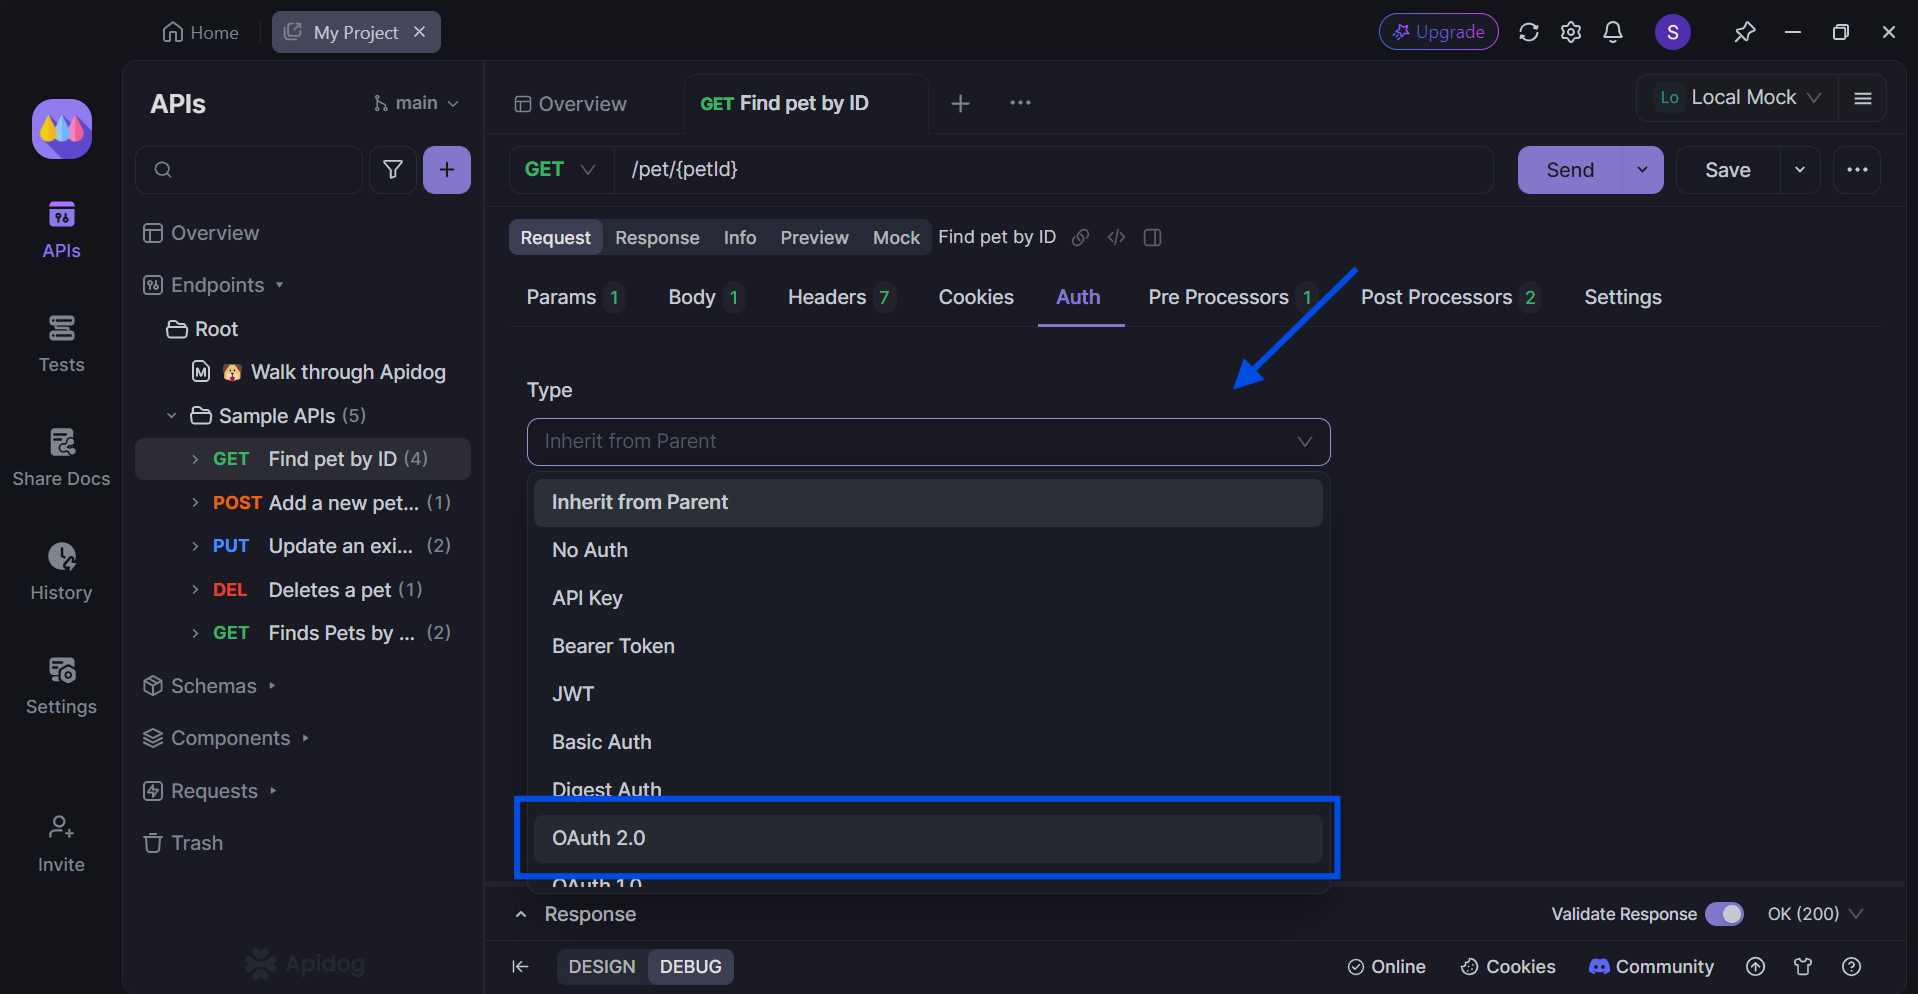
On Apidog, you can easily do the same, except with a simpler yet elegant user interface.
Navigate your way to an API or request that you would like to modify, and select the Auth header. The default Auth type selected would be Inherit from Parent, so select OAuth 2.0.
Specifying Callback URL in Apidog
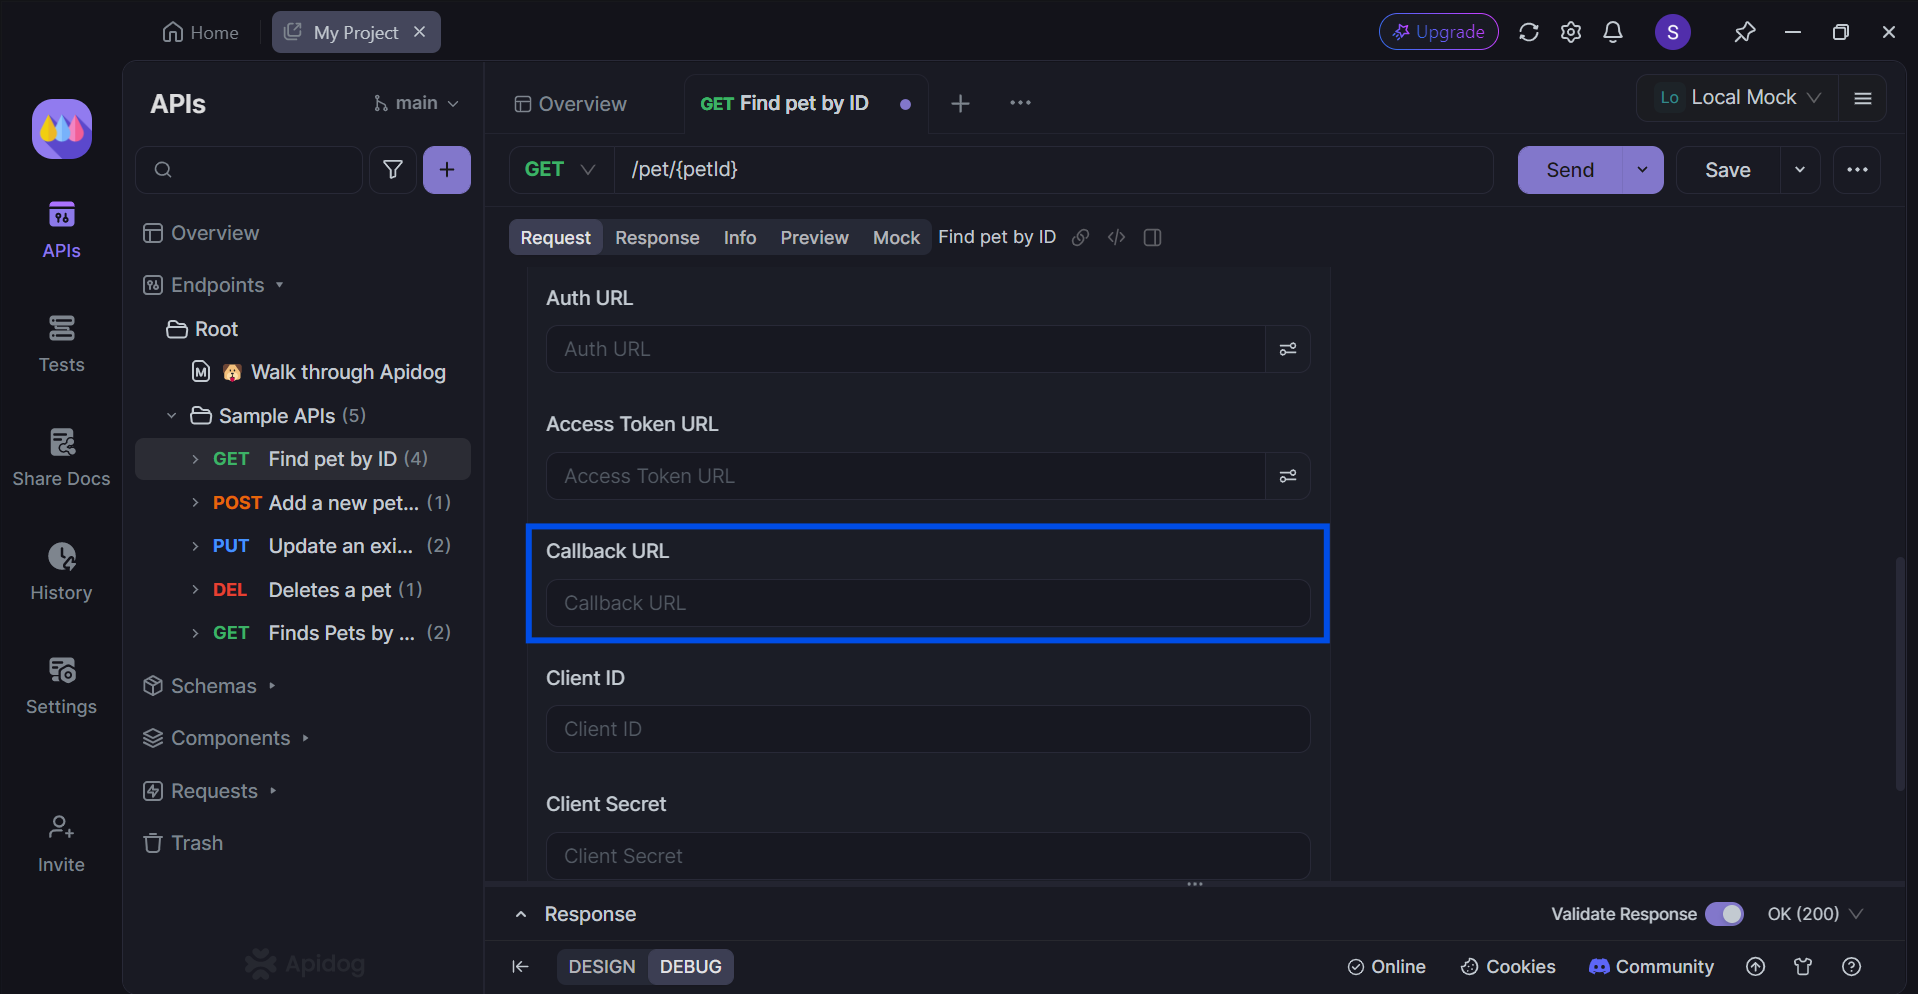
Once the OAuth 2.0 authentication type has been selected, you can scroll down and specify other details. Amongst these details is the callback URL. You are free to specify any URL you wish here, as shown in the image above.
Import APIs to Apidog for Modificiation
Take your first step to perfecting your API by importing them onto Apidog. Apidog supports various API file types, including OpenAPI (or Swagger), Postman, and Insomnia.
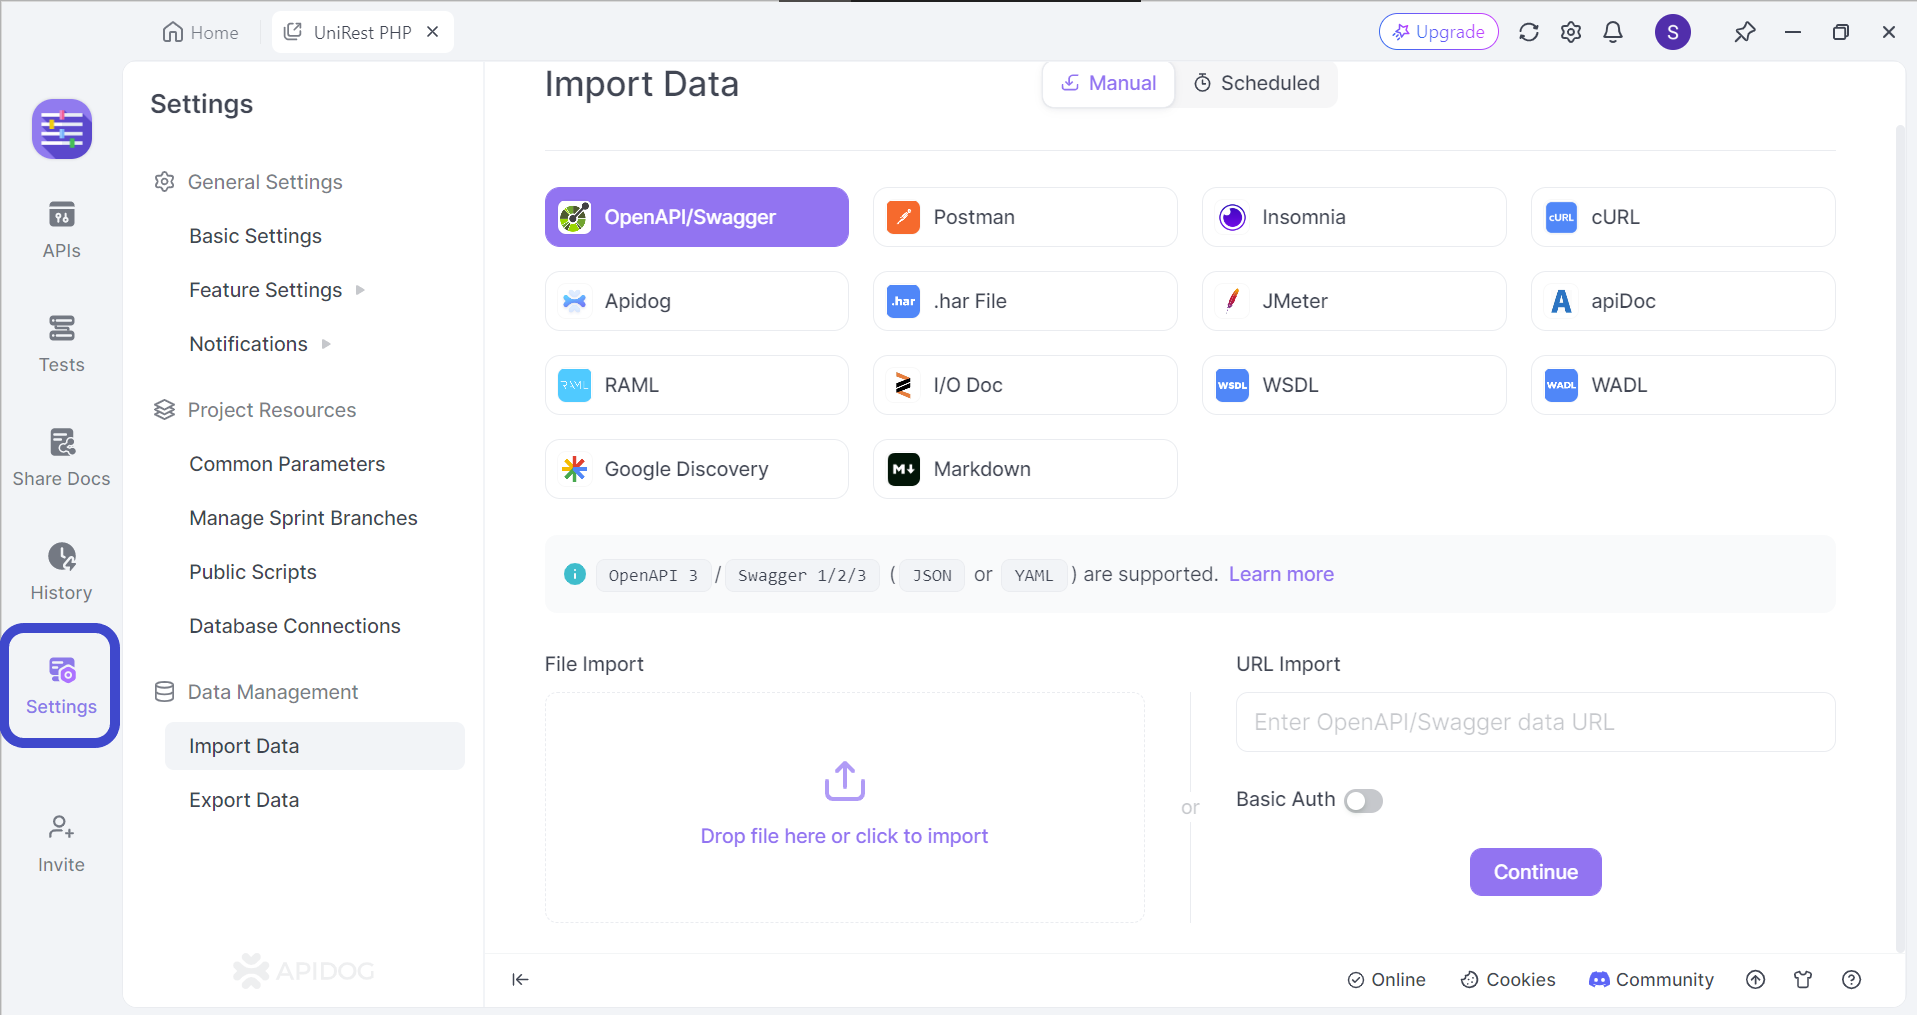
First, open the Settings section in your project, and locate the Import Data button found under Data Management. If you cannot find the file type you wish to import, do not worry! Simply drag and drop the file to the bottom portion of the screen.
Adding Testing Scripts in Apidog
Once you have finished importing your API or creating a new project on Apidog, you can proceed with adding testing scripts.
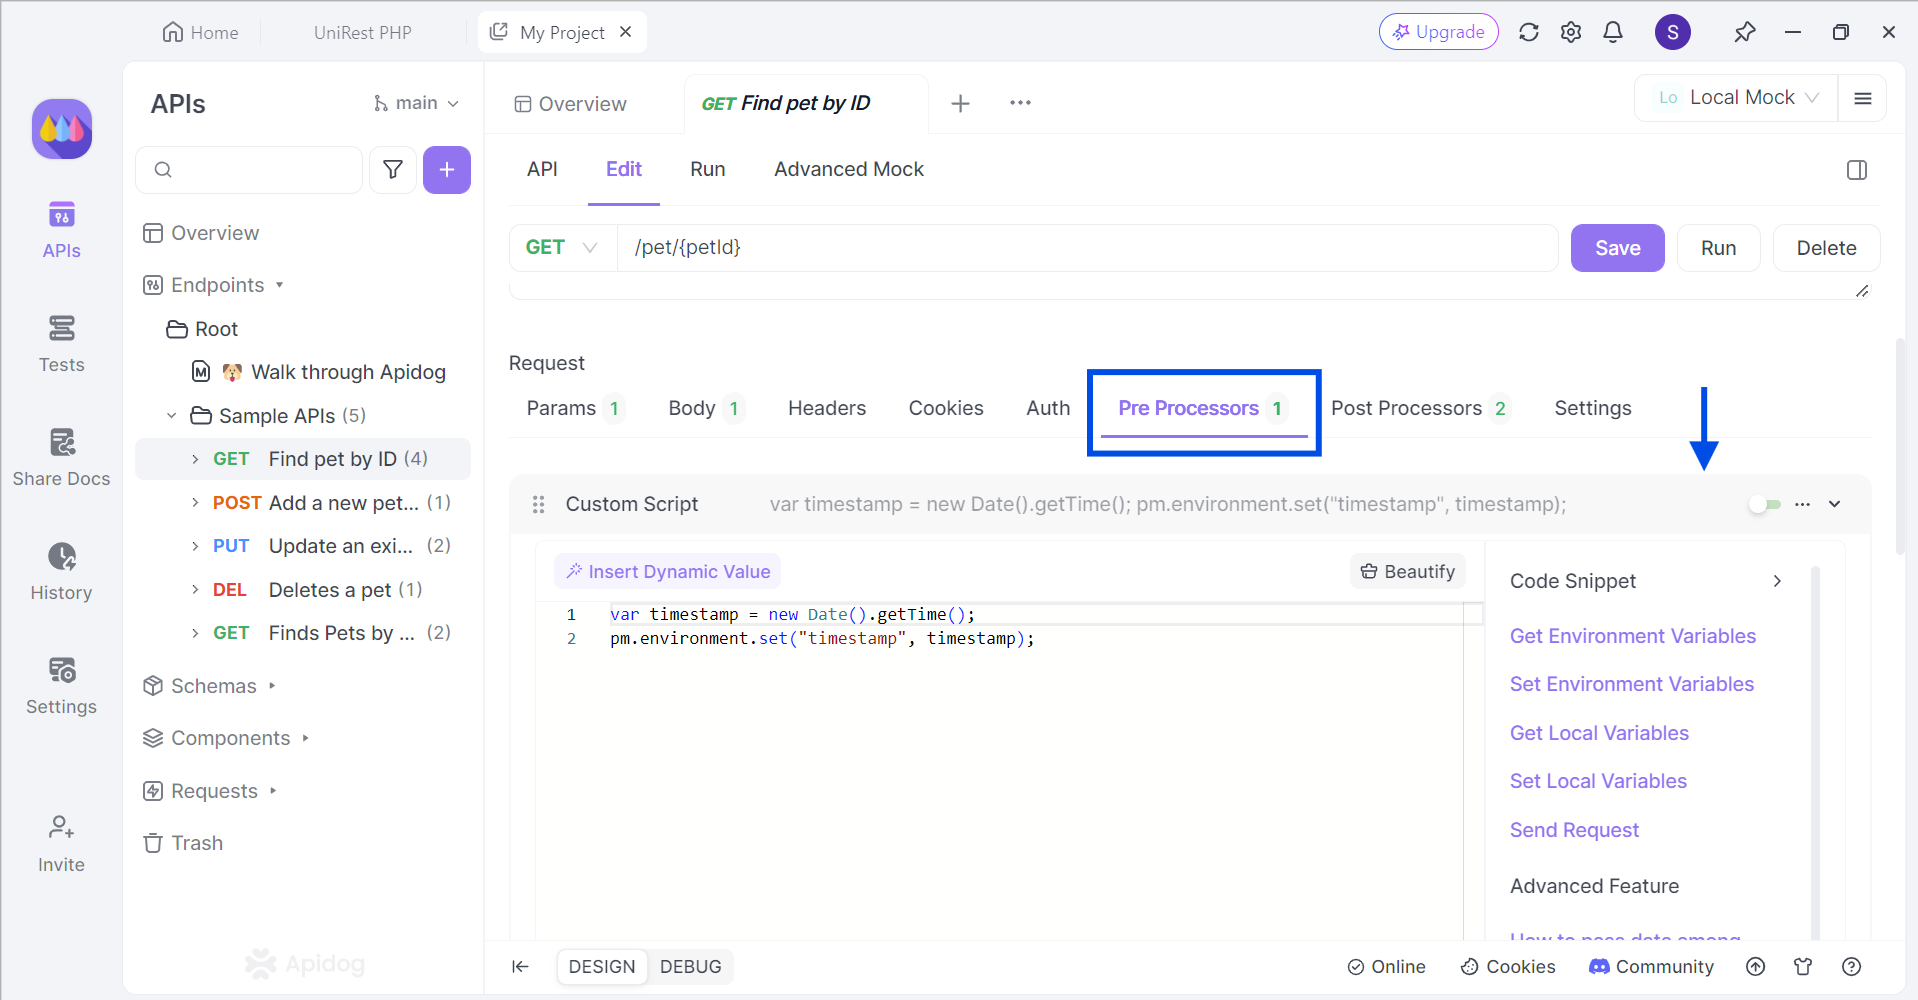
Under the Edit section of your API, locate the Pre Processors heading. You should find a bar that is labeled Custom Script. This is where you can implement custom scripts for your API requests. If you are struggling with figuring out what to write, you can also select the Code Snippet options found on the right of the codespace.
Conclusion
Postman Callback URLs play a vital role in streamlining OAuth 2.0 authorization workflows within the development and testing process. By specifying a callback URL, you eliminate the need for complex redirects and external application interactions. Postman seamlessly intercepts the authorization code and retrieves the access token, allowing you to focus on testing API calls with greater efficiency.
This functionality, along with Postman's overall user-friendly interface, makes it a powerful tool for developers working with APIs that utilize OAuth 2.0 for secure access control.


