
I spent two hours last Friday debugging why Roocode kept returning 402 errors. The culprit? My API provider bill hit its limit mid-session. That’s when I discovered Horizon Beta on OpenRouter—a model with generous free tiers and compatibility with Roocode’s agentic workflow. This guide shows you how to wire them together without entering a credit card, and how to avoid the rate-limit gotchas that break your flow.
What Is OpenRouter API and Why Use It?
OpenRouter is an LLM aggregation API that provides a single endpoint for hundreds of models—from Claude and GPT to open-source variants like Llama and Mistral. Instead of managing separate API keys for each provider, you use one key and pay consolidated rates. The real win for developers? Free tier access to premium models.
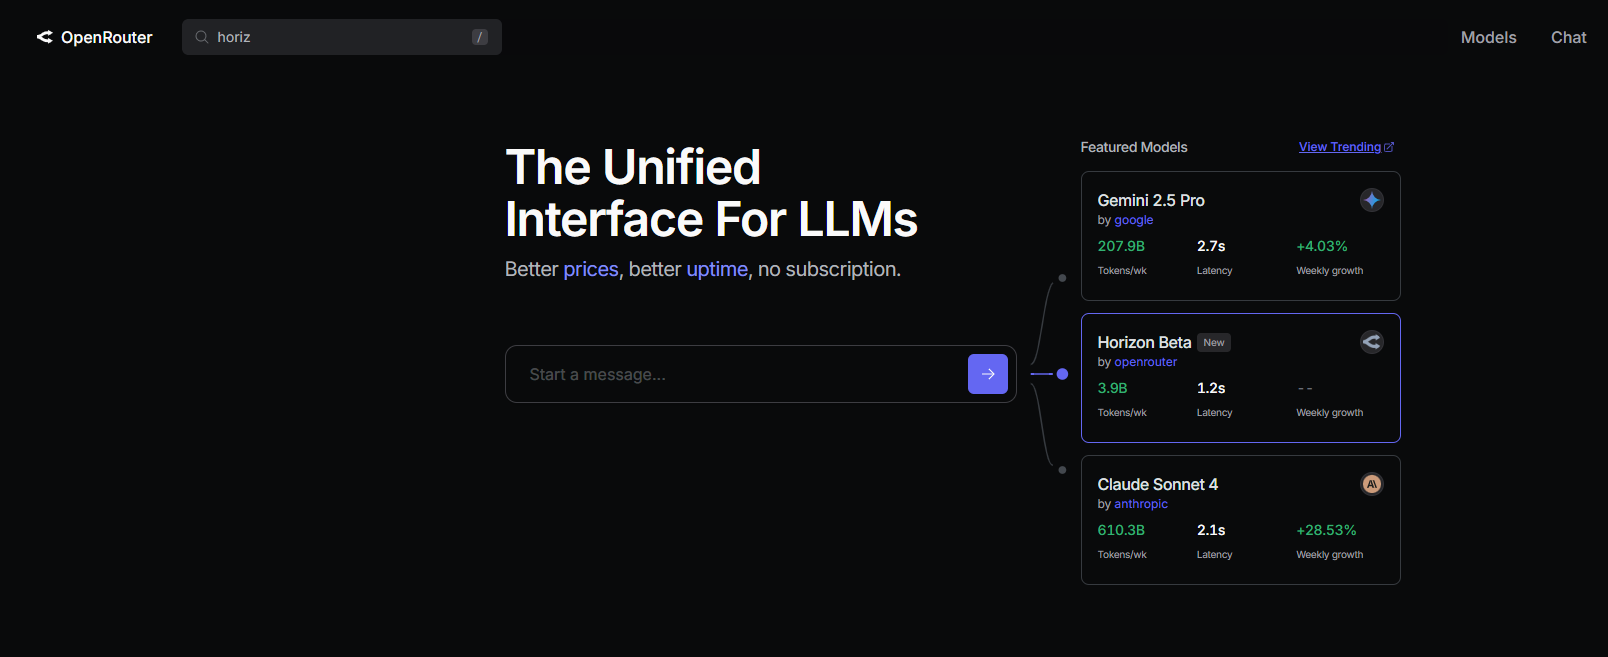
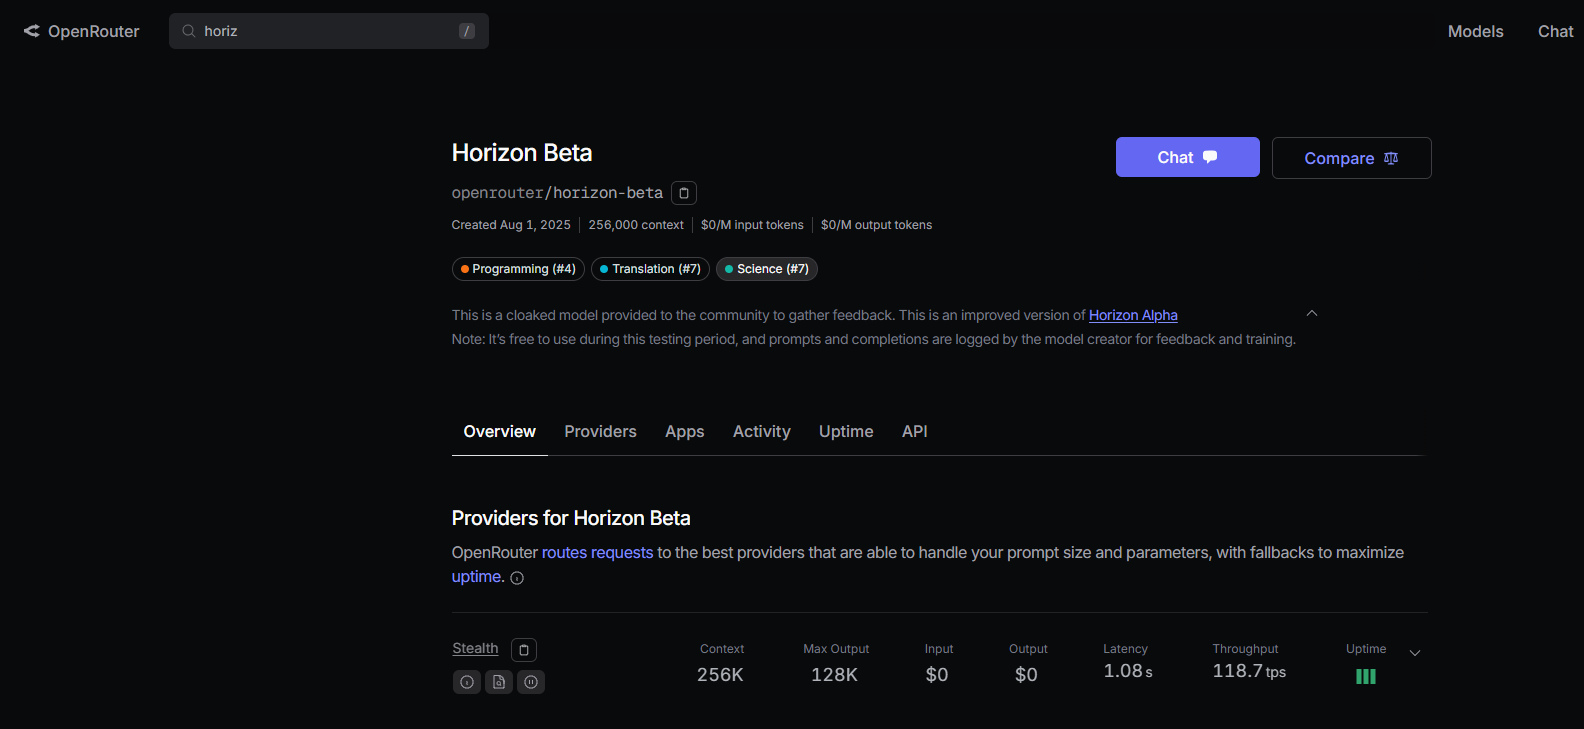
Horizon Beta is a high-context model (128K tokens) optimized for code generation and reasoning. Hosted on OpenRouter, it offers 5,000 free requests daily for personal projects. That’s enough to run Roocode for 8–10 hours without spending a cent.
Key advantages:
- Unified billing: One key, multiple providers
- Failover routing: If one model errors, OpenRouter auto-switches
- Free tier: No credit card required to start
- Model transparency: See exact pricing per token before you call
What Is Roocode?
Roocode is an open-source AI coding agent that integrates with VS Code. Unlike basic autocomplete, Roocode can:
- Plan multi-file refactors
- Run terminal commands
- Read your entire codebase context
- Execute test suites and parse results
It natively supports OpenAI-compatible APIs, which means you can point it at OpenRouter instead of OpenAI.
Prerequisites: What You Need Before Starting
- VS Code (v1.85+), get it from code.visualstudio.com
- Node.js (v18+) for CLI verification
No credit card. No phone verification. Just a working development environment.
Step-by-Step: Configure Roocode with Horizon Beta via OpenRouter
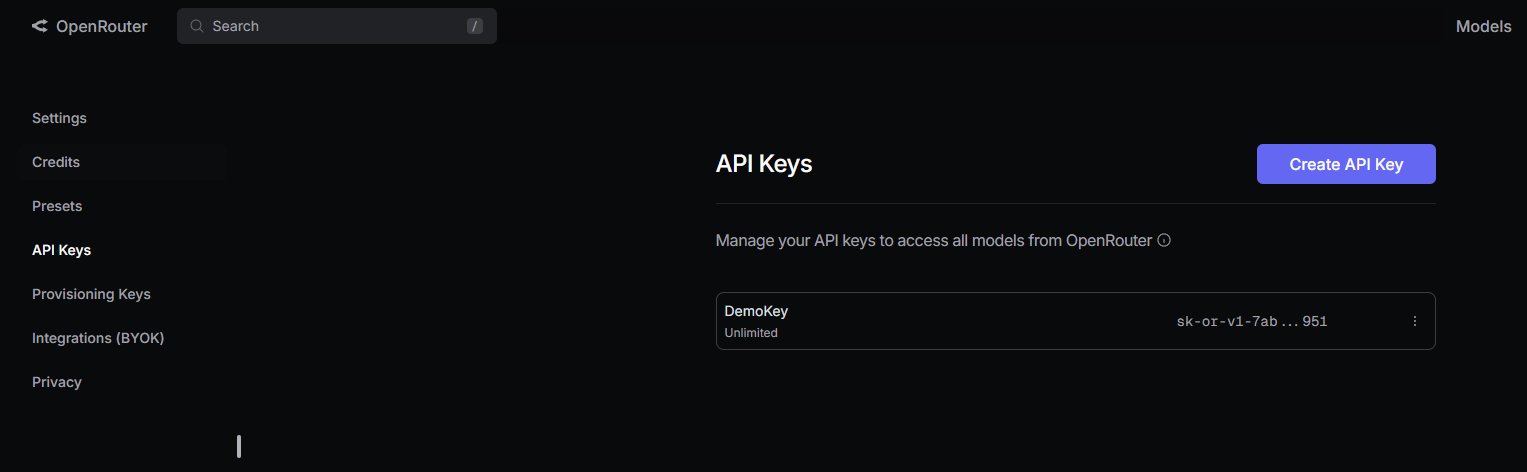
Step 1: Get Your OpenRouter API Key
- Go to openrouter.ai/keys
- Sign in with GitHub or Google
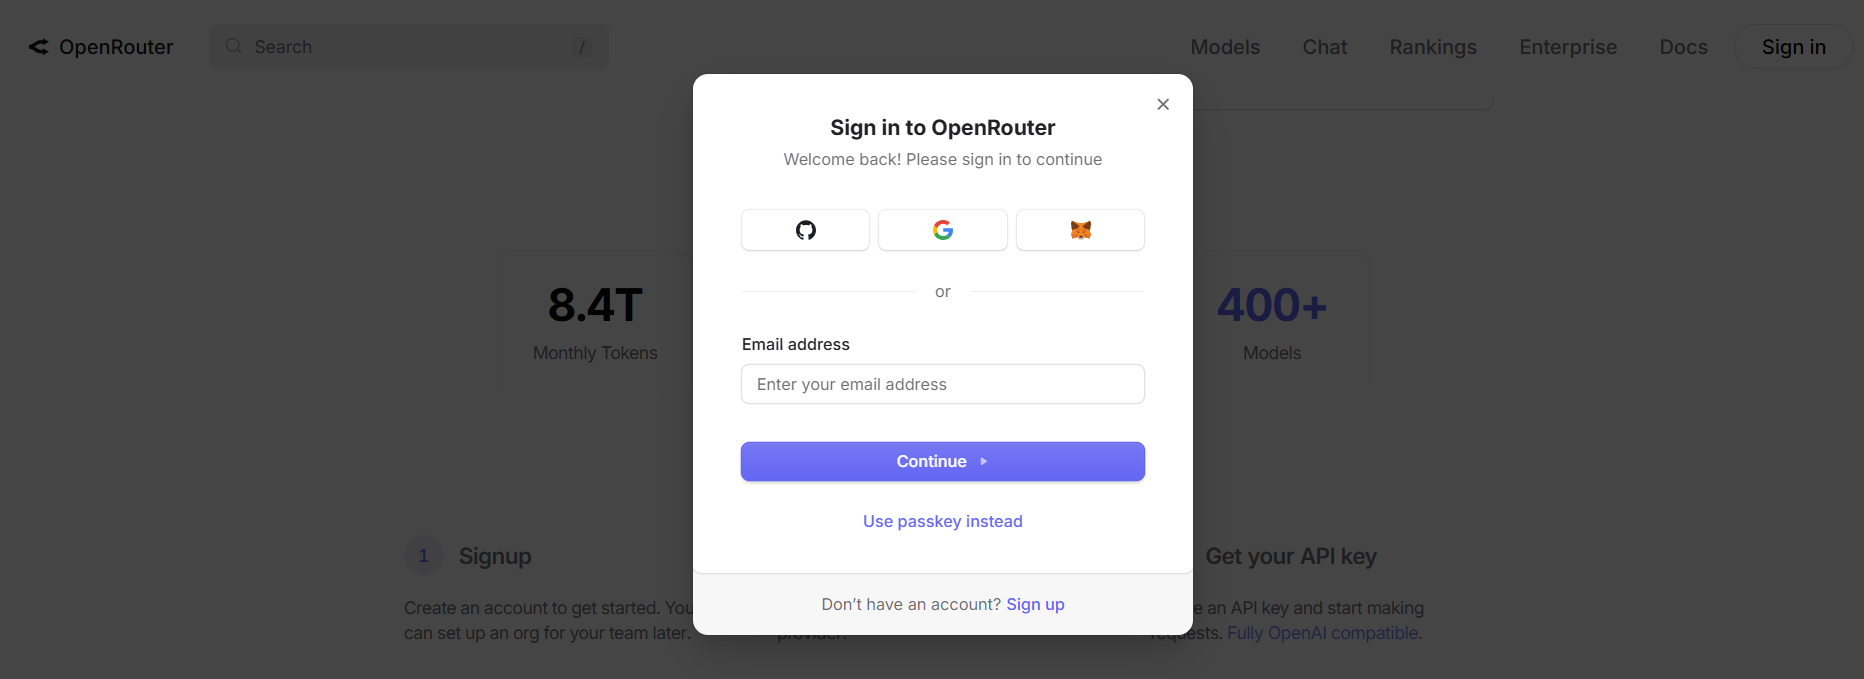
3. Click Create Key
4. Name it roocode-horizon-free
5. Copy the key (sk-or-...)
# Test your key immediately
curl https://openrouter.ai/api/v1/chat/completions \
  -H "Content-Type: application/json" \
  -H "Authorization: Bearer sk-or-your-key-here" \
  -d '{
    "model": "openai/horizon-beta",
    "messages": [{"role": "user", "content": "console.log(\"test\")"}]
  }'
You should see a JSON response with choices[0].message.content. If you get a 401, your key is wrong. If you get a 402, you’ve hit the free tier limit (rare on first try).
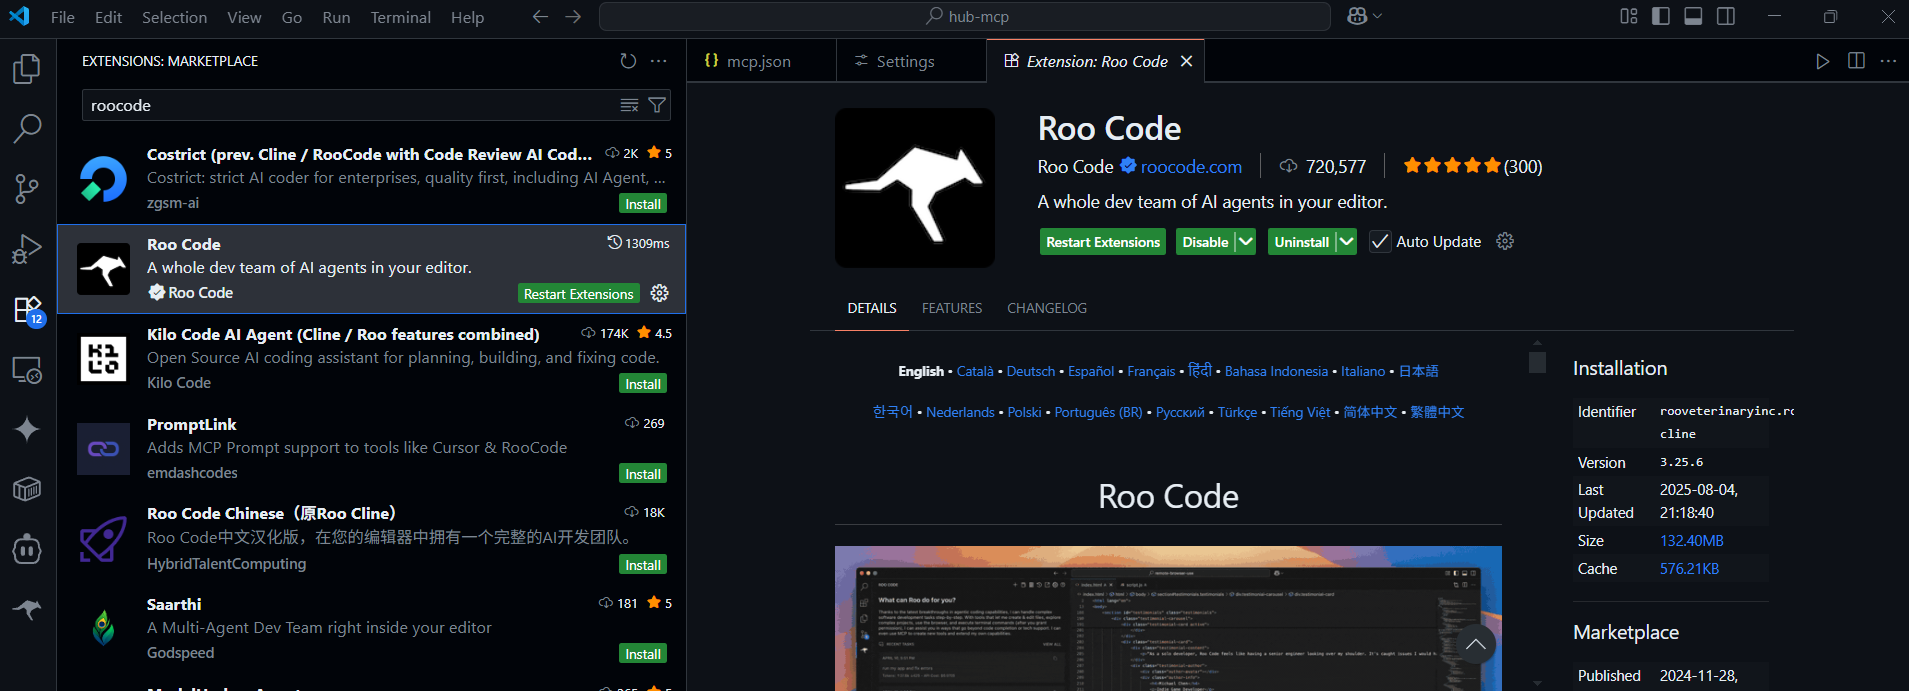
Step 2: Install Roocode
In VS Code:
- Open Extensions (
Cmd+Shift+X) - Search “Roocode” (by RooVetGit)
- Click Install
Or via CLI:
code --install-extension roovet.roo-cline
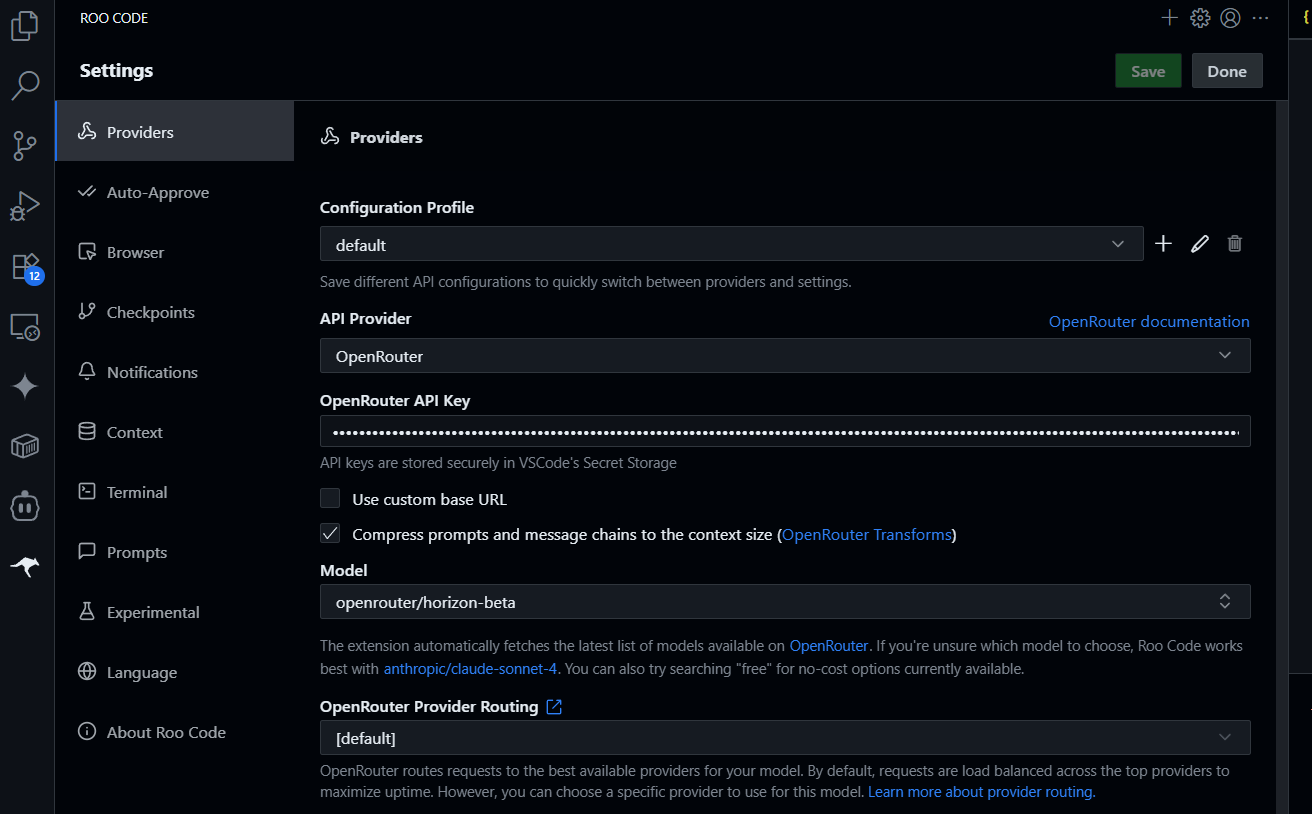
Step 3: Configure the OpenRouter Endpoint
Open Roocode settings (Cmd+, → search “Roocode”):
// settings.json
{
  "roocode.provider": "OpenAI Compatible",
  "roocode.baseUrl": "https://openrouter.ai/api/v1",
  "roocode.apiKey": "sk-or-your-key-here",
  "roocode.modelId": "openai/horizon-beta",
  "roocode.maxTokens": 128000,
  "roocode.temperature": 0.2
}
Critical: The modelId must be openai/horizon-beta. OpenRouter prefixes models with their provider.
Step 4: Override Headers for Free Tier
OpenRouter requires a HTTP-Referer header to track free tier usage. Roocode doesn’t expose this in UI, so use the settings JSON:
"roocode.openAiCustomHeaders": {
  "HTTP-Referer": "http://localhost",
  "X-Title": "Roocode Local Dev"
}
This tells OpenRouter the traffic is personal, not commercial, qualifying you for the free tier.
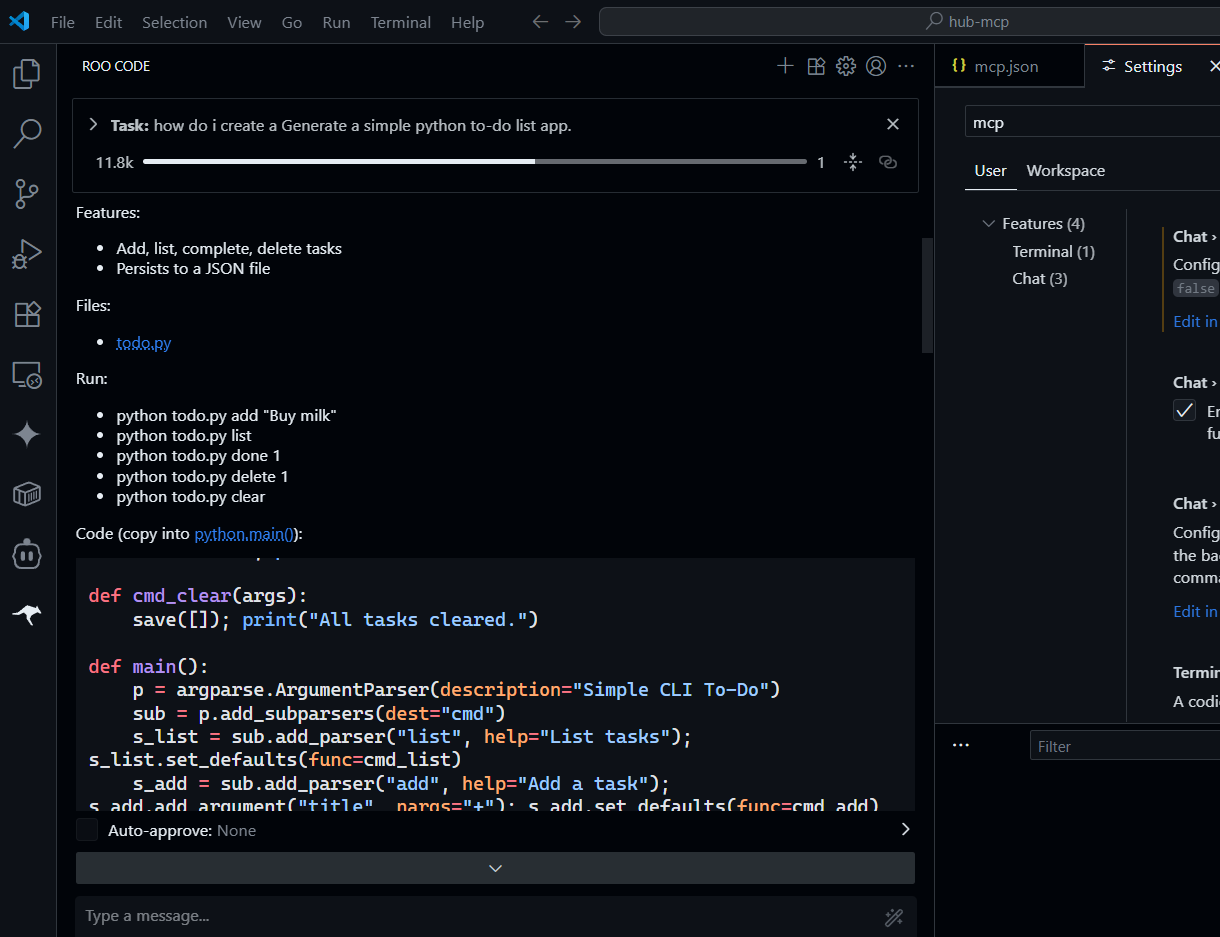
Step 5: Test the Integration
Open any project and trigger Roocode:
- Press
Cmd+Shift+P→ “Roocode: Start New Task” - Type: “Create a React component for a user card with avatar, name, and role”
Watch the output panel. You should see Horizon Beta generating code in real time. Check costs:
# Monitor OpenRouter usage
curl -H "Authorization: Bearer sk-or-your-key" \
  https://openrouter.ai/api/v1/usage
Look for dailyFreeRequestsUsed. Stay under 5,000 to avoid charges.

Configuration Examples for Common Workflows
Node.js Project with TypeScript
// .cursor/roocode.config.json
{
  "provider": "OpenAI Compatible",
  "baseUrl": "https://openrouter.ai/api/v1",
  "modelId": "openai/horizon-beta",
  "systemPrompt": "You are a senior TypeScript developer. Always include explicit return types. Prefer functional components.",
  "maxTokens": 64000,
  "temperature": 0.1,
  "customHeaders": {
    "HTTP-Referer": "https://github.com/myusername/myrepo"
  }
}
Place this in your project root to share config with teammates.
Python Django Project
{
  "provider": "OpenAI Compatible",
  "baseUrl": "https://openrouter.ai/api/v1",
  "modelId": "openai/horizon-beta",
  "systemPrompt": "You are a Django developer. Follow PEP 8. Use Django ORM methods, not raw SQL.",
  "maxTokens": 48000,
  "temperature": 0.2
}
Demo Python use case:
Monorepo with Multiple Languages
{
  "provider": "OpenAI Compatible",
  "baseUrl": "https://openrouter.ai/api/v1",
  "modelId": "openai/horizon-beta",
  "systemPrompt": "This is a monorepo with Node.js backend and React frontend. Suggest changes that maintain API contract compatibility.",
  "maxTokens": 128000,
  "temperature": 0.15
}
Higher token limit lets Roocode read multiple packages in one context.
Cost Optimization: Staying on the Free Tier
Horizon Beta’s 5,000 daily requests sound generous until you trigger Roocode on every file save. Here’s how to conserve tokens.
1. Batch Requests
Disable auto-run. Configure Roocode to wait for explicit confirmation:
"roocode.autoRun": false,
"roocode.approvalRequiredFor": ["command", "edit", "write"]
This prevents accidental loops where Roocode edits a file, watches the change, and triggers again.
2. Use Smaller Models for Simple Tasks
OpenRouter lets you route based on task complexity. For autocomplete, use a cheaper model:
// .roocode/strategy.js
export function getModel(taskType) {
  if (taskType === 'autocomplete') return 'anthropic/claude-sonnet-4-5-20251022';
  if (taskType === 'refactor') return 'openai/horizon-beta';
  return 'openai/horizon-beta';
}
Roocode doesn’t support dynamic models natively, but you can manually switch in settings before starting a task.
3. Track Usage in Real Time
# Create a usage monitor script
#!/bin/bash
while true; do
  curl -s -H "Authorization: Bearer sk-or-your-key" \
    https://openrouter.ai/api/v1/usage | \
    jq '.dailyFreeRequestsUsed // .totalRequestsUsed'
  sleep 300  # Check every 5 minutes
done
Run this in a terminal pane to avoid surprises.
4. Cache Common Responses
For repetitive scaffold tasks, save Roocode’s output to snippets:
# Save a Roocode session to a template
roocode generate crud-api > templates/crud-api.txt
Reuse the template instead of regenerating.
Troubleshooting Common Issues
Issue 1: 402 Payment Required
Cause: Hit free tier limit or missing HTTP-Referer header.
Fix: Add the header in settings. Wait 24 hours for reset.
Issue 2: Model Not Found
Cause: Wrong modelId format.
Fix: Use openai/horizon-beta, not horizon-beta.
Issue 3: Slow Responses
Cause: Horizon Beta is rate-limited on free tier.
Fix: Add delays between requests:
"roocode.delayBetweenRequests": 1000
Issue 4: Context Loss in Large Projects
Cause: Token limit exceeded, files dropped.
Fix: Use .roocodeignore to exclude build artifacts:
# .roocodeignore
node_modules/
dist/
*.log
.env
Validate Your AI-Generated APIs Using Apidog
Roocode excels at generating API endpoints, but generated code isn’t guaranteed to work. When Roocode spits out a new Express route or FastAPI handler, paste the OpenAPI spec into Apidog.
Generate contract tests, mock the database layer, and verify status codes before you commit. It’s free to start, and it catches the off-by-one errors that slip past review.

Frequently Asked Questions
Q1. Can I use Horizon Beta for commercial projects on the free tier?
No. OpenRouter’s free tier is for personal use only. Commercial use requires a paid plan. Check their terms before shipping to production.
Q2. What happens when I hit 5,000 requests?
OpenRouter returns a 402 error. Upgrade to a paid plan or wait for the daily reset at 00:00 UTC.
Q3. Is Roocode better than GitHub Copilot with OpenRouter?
Roocode is agentic; Copilot is autocomplete. Use Roocode for multi-file refactors, Copilot for inline suggestions. They complement each other.
Q4. Can I switch models mid-session in Roocode?
No. You must change modelId in settings and restart the Roocode extension. Use workspace-specific configs to simplify switching.
Q5. Does OpenRouter log my code?
OpenRouter retains prompts for 30 days for abuse detection but doesn’t train on your data. For sensitive code, use their zero-retention endpoint (requires paid tier).
Conclusion
Connecting Roocode to Horizon Beta via OpenRouter gives you agentic AI power without subscription fees. The setup takes 10 minutes, and the free tier covers most solo development. Monitor usage, batch requests, and switch models strategically to stay under the limit. When you’re ready to ship, validate your AI-generated APIs with Apidog. Free tools work best when they’re tested.


