
Looking to create smarter, more context-aware AI applications—without sacrificing data privacy or developer agility? Local-first memory systems like OpenMemory MCP, powered by the Mem0 framework, are changing how API developers manage persistent AI context. This detailed guide walks you through installing, configuring, and using a local OpenMemory MCP Server with Mem0, so your AI agents remember what matters—securely, right on your machine.
Whether you’re an API developer, backend engineer, or technical lead, this tutorial will help you master local AI memory infrastructure and integrate it seamlessly with your workflow.
💡 Want a high-performance API testing platform with beautiful API Documentation? Looking to supercharge team productivity with an all-in-one API platform? [Apidog combines collaboration, testing, and documentation—at a price that can replace Postman for less.
What Is OpenMemory MCP?
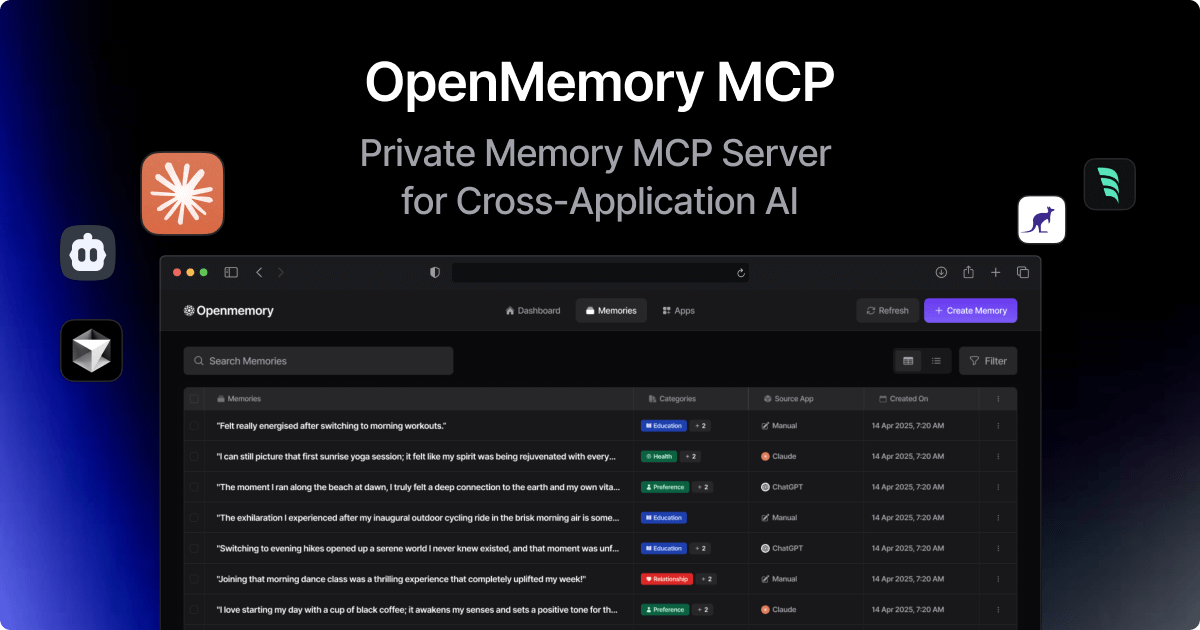
OpenMemory MCP is a local-first, private memory layer for AI applications. It's designed to work entirely on your machine, keeping all data under your control—no cloud sync, no external storage. It features a built-in UI and broad compatibility with MCP clients, making it ideal for secure, structured, and developer-friendly AI memory.
Mem0, the open-source framework behind this system, lets you run a powerful local memory server accessible via a standardized REST API. This approach enables you to:
- Persist AI context across apps, sessions, or users
- Ensure GDPR-friendly data privacy
- Integrate memory into chatbots, agents, and developer tools
- Manage memory through code or API—no vendor lock-in
Step 1: Prepare Your Development Environment
Before you begin, make sure you have:
- Python 3.8+ (download from python.org)
- pip (comes with Python; used for installing dependencies)
- Virtual environment tool (recommended:
venvorconda)
Why use a virtual environment?
It keeps your project dependencies isolated, avoiding conflicts with other Python projects—essential for professional development.
Step 2: Install Mem0 Framework
With your environment ready, install the core Mem0 package:
pip install mem0ai
This command installs:
- The main
mem0ailibrary (for Python memory management) - Support for major LLMs (OpenAI, Anthropic, Ollama, etc.)
- Vector database connectors (defaults to LanceDB, but can use Qdrant, etc.)
- FastAPI & Uvicorn (for running the REST API server)
Verify Installation:
import mem0
print(mem0.__version__)
Why Mem0?
It’s open-source, extensible, and designed for secure local AI memory—ideal for API-driven teams.
Step 3: Configure Your Local Memory Server
Before launching the server, configure Mem0’s backend via environment variables to control its:
- LLM Provider: (e.g., OpenAI, Anthropic, or local Ollama)
- Vector Store: (e.g., default LanceDB or external Qdrant)
- Embedding Model: (set via variables or inherit from LLM config)
Example configurations:
export OPENAI_API_KEY=your-key
export MEM0_LLM_PROVIDER=ollama    # For local models
export MEM0_VECTOR_STORE_PROVIDER=qdrant
If no variables are set, Mem0 uses sensible defaults, but may require an OpenAI key for LLM operations.
Pro Tip:
Start simple: Use Ollama (for local LLM) and default LanceDB. Scale to more advanced models as your needs grow.
Step 4: Run the OpenMemory MCP Server
To start the server and expose the REST API, run:
mem0-server
To customize the host and port:
mem0-server --host 127.0.0.1 --port 8000
You’ll see Uvicorn logs indicating the server is running, e.g.:
INFO: Uvicorn running on http://127.0.0.1:8000 (Press CTRL+C to quit)
- Default URL:
http://localhost:8000 - To stop: Press
CTRL+C
How it works:
mem0-server launches a FastAPI app via Uvicorn, exposing the OpenMemory MCP REST endpoints for local or team use.
Step 5: Explore the REST API (OpenMemory MCP)
Mem0’s API lets you programmatically manage AI memories. It follows the Model Context Protocol for standardized memory operations:
- POST
/add– Add new memory - POST
/search– Semantically search stored memories - GET
/get_all– List memories (with filters/pagination) - GET
/get– Fetch a specific memory by ID - PUT
/update– Update memory content or metadata - DELETE
/delete– Delete a specific memory - DELETE
/delete_all– Bulk delete by user or all
API details:
- Uses JSON for requests/responses
- No default authentication (local use)
- Swagger UI: Visit
http://localhost:8000/docsfor live interactive docs
Step 6: Add New Memories via API
The /add endpoint stores new memories, tagged by user and optional metadata.
Example with curl:
curl -X POST http://localhost:8000/add \
-H "Content-Type: application/json" \
-d '{
    "data": "Alice prefers Python for web development.",
    "user_id": "user_alice",
    "metadata": {"topic": "preferences", "language": "Python"}
}'
Example with Python requests:
import requests, json

url = "http://localhost:8000/add"
payload = {
    "data": "Alice prefers Python for web development.",
    "user_id": "user_alice",
    "metadata": {"topic": "preferences", "language": "Python"}
}
headers = {"Content-Type": "application/json"}
response = requests.post(url, data=json.dumps(payload), headers=headers)
print(response.json())
Response:
{"message": "Memory added successfully", "memory_id": "some-unique-id"}
user_idis vital for multi-user separation.- Metadata boosts organization and search.
Step 7: Search Stored Memories with Semantic Queries
The /search endpoint enables context-rich retrieval—find relevant memories even if queries don’t match stored text exactly.
Example with curl:
curl -X POST http://localhost:8000/search \
-H "Content-Type: application/json" \
-d '{
    "query": "What are Alices language preferences?",
    "user_id": "user_alice",
    "limit": 3
}'
Python example:
payload = {
    "query": "What are Alices language preferences?",
    "user_id": "user_alice",
    "limit": 3
}
response = requests.post(url, data=json.dumps(payload), headers=headers)
print(response.json())
Response:
A list of memory objects with relevance scores.
[{"id": "some-unique-id", "data": "Alice prefers Python for web development.", ..., "score": 0.85}]
Tip:
Always set user_id for privacy and scoped results.
Step 8: Retrieve and List Memories
- GET
/get_all– List memories (filter byuser_id, paginate withlimit/page) - GET
/get– Fetch a single memory bymemory_id
Example:
curl -X GET "http://localhost:8000/get_all?user_id=user_alice&limit=5"
Python:
params = {"user_id": "user_alice", "limit": 5}
response = requests.get("http://localhost:8000/get_all", params=params)
print(response.json())
- Use
/get_allfor browsing or admin tasks. - Use
/getwhen you have the memory’s unique ID.
Step 9: Update or Delete Memories
To update:
curl -X PUT "http://localhost:8000/update?memory_id=some-unique-id" \
-H "Content-Type: application/json" \
-d '{"data": "Alice now also enjoys Go for systems programming."}'
To delete a specific memory:
curl -X DELETE "http://localhost:8000/delete?memory_id=some-unique-id"
To bulk delete by user:
curl -X DELETE "http://localhost:8000/delete_all?user_id=user_alice"
Caution: Omitting
user_idin/delete_allmay erase all data—check documentation before using.
Tip:
Always build confirmation dialogs or checks in your app before calling deletion endpoints.
Why Local AI Memory Matters for API Developers
- Privacy: Keep sensitive context and user data on-premises.
- Performance: No cloud round-trips—fast, reliable, and scalable.
- Flexibility: Integrate with your own stack, customize storage and models.
- Control: Full access and auditability—no black box APIs.
Building context-aware features into your API products? Combining a robust local memory server (like Mem0/OpenMemory MCP) with an integrated API platform such as Apidog lets you manage, test, and document your API-driven AI stack in one place.
Conclusion
With this guide, you now have a step-by-step pathway to set up a secure, local AI memory server using Mem0 and OpenMemory MCP. You can install, configure, and interact with your own memory layer via REST API—empowering your AI applications to provide persistent, personalized, and private experiences.
Start experimenting with local AI memory, and unlock new potential for context-rich chatbots, developer tools, and intelligent assistants.


