Welcome to this in-depth technical guide on using openapi-generator to enhance your API development process. Whether you're a seasoned developer or just starting out, this article will walk you through the essentials of openapi-generator, a powerful tool that automates code generation and documentation from OpenAPI Specifications.
Introduction to OpenAPI Generator
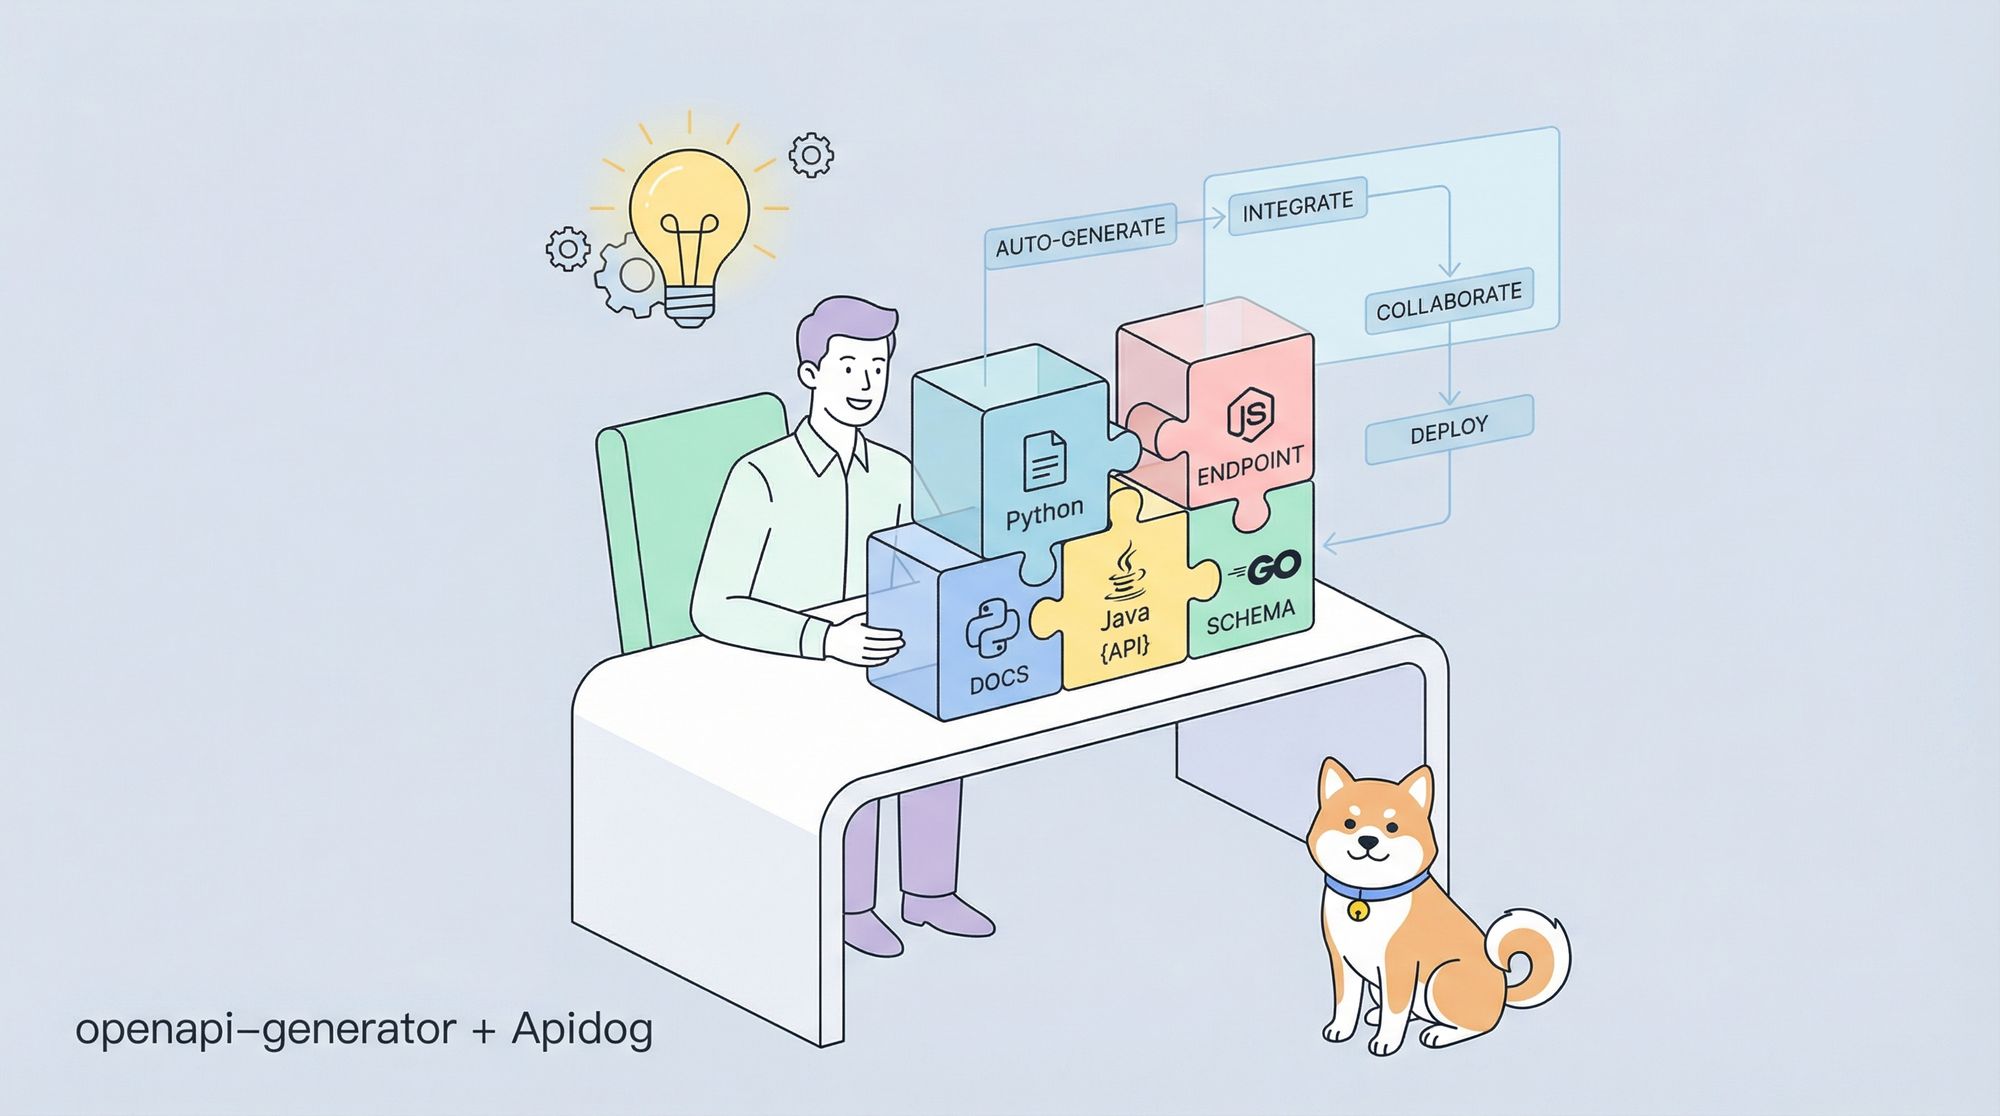
OpenAPI Generator is an open-source tool that transforms your OpenAPI Specification (OAS) files into usable code and documentation. Previously known as Swagger Codegen, it has evolved into a standalone project . It supports generating client libraries, server stubs, and API documentation across over 50 programming languages, including Java, Python, Go, and TypeScript.
Why does this matter? In API development, manually writing boilerplate code for clients or servers is time-consuming and error-prone. OpenAPI Generator automates this, ensuring consistency and speeding up your workflow. Moreover, it aligns with the OpenAPI Specification, a widely adopted standard for defining RESTful APIs.
In this guide, we’ll cover how to set up openapi-generator, use it for API development, and integrate Apidog to enhance your process. Let’s begin by exploring its benefits.
Benefits of Using OpenAPI Generator
Using openapi-generator offers several technical advantages that improve efficiency and quality in API development. Here’s why you should adopt it:
Automated Code Generation: OpenAPI Generator reads your OAS file and produces client libraries or server stubs instantly. This eliminates repetitive coding tasks and reduces human error.
Language Flexibility: With support for dozens of languages and frameworks (e.g., Spring for Java, Flask for Python), it adapts to your tech stack seamlessly.
Consistency Across Teams: A standardized OAS file ensures all generated code adheres to the same API contract, fostering collaboration.
Time Savings: By automating boilerplate code, openapi-generator lets you focus on business logic rather than infrastructure.
Built-in Documentation: It generates interactive API documentation, making your APIs accessible to developers and stakeholders.
Transitioning from benefits, let’s move to the practical steps of getting started with openapi-generator.
Getting Started with OpenAPI Generator
To use openapi-generator, you need an OpenAPI Specification file and the tool itself installed. Follow these steps to set it up.

Prerequisites
- A valid OpenAPI Specification file (YAML or JSON). This defines your API’s endpoints, parameters, and responses.
- Node.js or Java installed (depending on your installation method).
- Basic command-line knowledge.
Installation
OpenAPI Generator offers multiple installation options. The simplest is the CLI via npm:
npm install @openapitools/openapi-generator-cli -g
Alternatively, you can use Docker or download the JAR file from the GitHub repository. For this guide, we’ll stick with the CLI.
Generating Code
Assume you have an OAS file named api.yaml. To generate a Python client, run:
openapi-generator-cli generate -i api.yaml -g python -o ./python-client
Here’s what each flag does:
-i api.yaml: Specifies the input OAS file.-g python: Selects the Python generator.-o ./python-client: Sets the output directory.
After execution, the ./python-client folder contains a fully functional Python client library. Similarly, to generate a Java Spring server stub:
openapi-generator-cli generate -i api.yaml -g spring -o ./spring-server
This flexibility makes openapi-generator a go-to tool for multi-language projects. Next, let’s explore how it fits into API development.
Using OpenAPI Generator for API Development
OpenAPI Generator shines across the API development lifecycle. Here’s how to leverage it effectively.
1. Designing Your API
Start by creating an OAS file. Below is a simple example:
openapi: 3.0.0
info:
  title: Sample API
  version: 1.0.0
paths:
  /users:
    get:
      summary: List all users
      responses:
        '200':
          description: Successful response
          content:
            application/json:
              schema:
                type: array
                items:
                  type: string
Save this as api.yaml. This file acts as your API’s blueprint.
2. Generating Server Stubs
Use openapi-generator to create a server stub. For a Node.js Express server:
openapi-generator-cli generate -i api.yaml -g nodejs-express-server -o ./node-server
Navigate to ./node-server, install dependencies (npm install), and start the server (npm start). You now have a working server skeleton to implement your logic.
3. Building Client Libraries
Generate a client for testing or integration. For a Python client:
openapi-generator-cli generate -i api.yaml -g python -o ./python-client
Install it with pip install ./python-client and use it in your code:
from python_client.api import default_api
from python_client import Configuration, ApiClient

config = Configuration(host="http://localhost:8080")
client = ApiClient(config)
api = default_api.DefaultApi(client)
response = api.users_get()
print(response)
4. Creating Documentation
OpenAPI Generator also produces interactive docs. Use the html generator:
openapi-generator-cli generate -i api.yaml -g html -o ./docs
Open index.html in the ./docs folder to view your API documentation.
This workflow demonstrates openapi-generator’s versatility. Now, let’s enhance it with Apidog.
Integrating Apidog into Your Workflow
Apidog is an all-in-one API tool available. It complements openapi-generator by offering design, documentation, and testing features. Here’s how to integrate it.
1. Importing Your OAS File
Download Apidog and import your api.yaml file. Apidog parses it into a user-friendly interface, displaying endpoints and schemas visually.
2. Enhancing Documentation
Apidog generates interactive documentation automatically. Unlike static HTML from openapi-generator, Apidog lets you test endpoints directly within the UI. Add descriptions or examples to enrich it further.

3. Testing APIs
Create test cases in Apidog. For the /users endpoint, set up a GET request and validate the response. Apidog’s testing suite ensures your API behaves as expected.

4. Collaboration
Share your project with team members via Apidog’s cloud features. This keeps everyone aligned, especially when using openapi-generator’s generated code.
By combining Apidog’s capabilities with openapi-generator, you streamline design, development, and validation. Next, let’s cover best practices.
Best Practices for Using OpenAPI Generator
Maximize openapi-generator’s potential with these technical tips:
Maintain Your OAS File: Keep it updated with API changes. Use tools like Apidog to edit and validate it.
Leverage Version Control: Store your OAS file and generated code in Git. This tracks changes and aids collaboration.
Customize Templates: OpenAPI Generator supports custom templates. Modify them (e.g., via -t /path/to/templates) to match your coding standards.
Automate Generation: Integrate openapi-generator into your CI/CD pipeline. For example, add a script to your package.json:
"scripts": {
  "generate": "openapi-generator-cli generate -i api.yaml -g typescript-axios -o ./client"
}
Validate Output: Test generated code thoroughly. Use unit tests or Apidog to verify functionality.
These practices ensure efficiency and reliability. Let’s wrap up with a conclusion.
Conclusion
OpenAPI Generator revolutionizes API development by automating code generation and documentation from OpenAPI Specifications. This guide has walked you through its setup, usage, and integration with Apidog—an invaluable tool for API design and testing. By adopting openapi-generator, you save time, enforce consistency, and improve collaboration.
Ready to elevate your workflow? Download Apidog for free and pair it with openapi-generator for a seamless API development experience. Start building smarter APIs today!


