Hey there, API enthusiasts! Have you ever found yourself tangled in the web of API development, thinking there must be a better way to handle this? Well, you’re in luck because today we’re diving into the world of OpenAPI Generator.
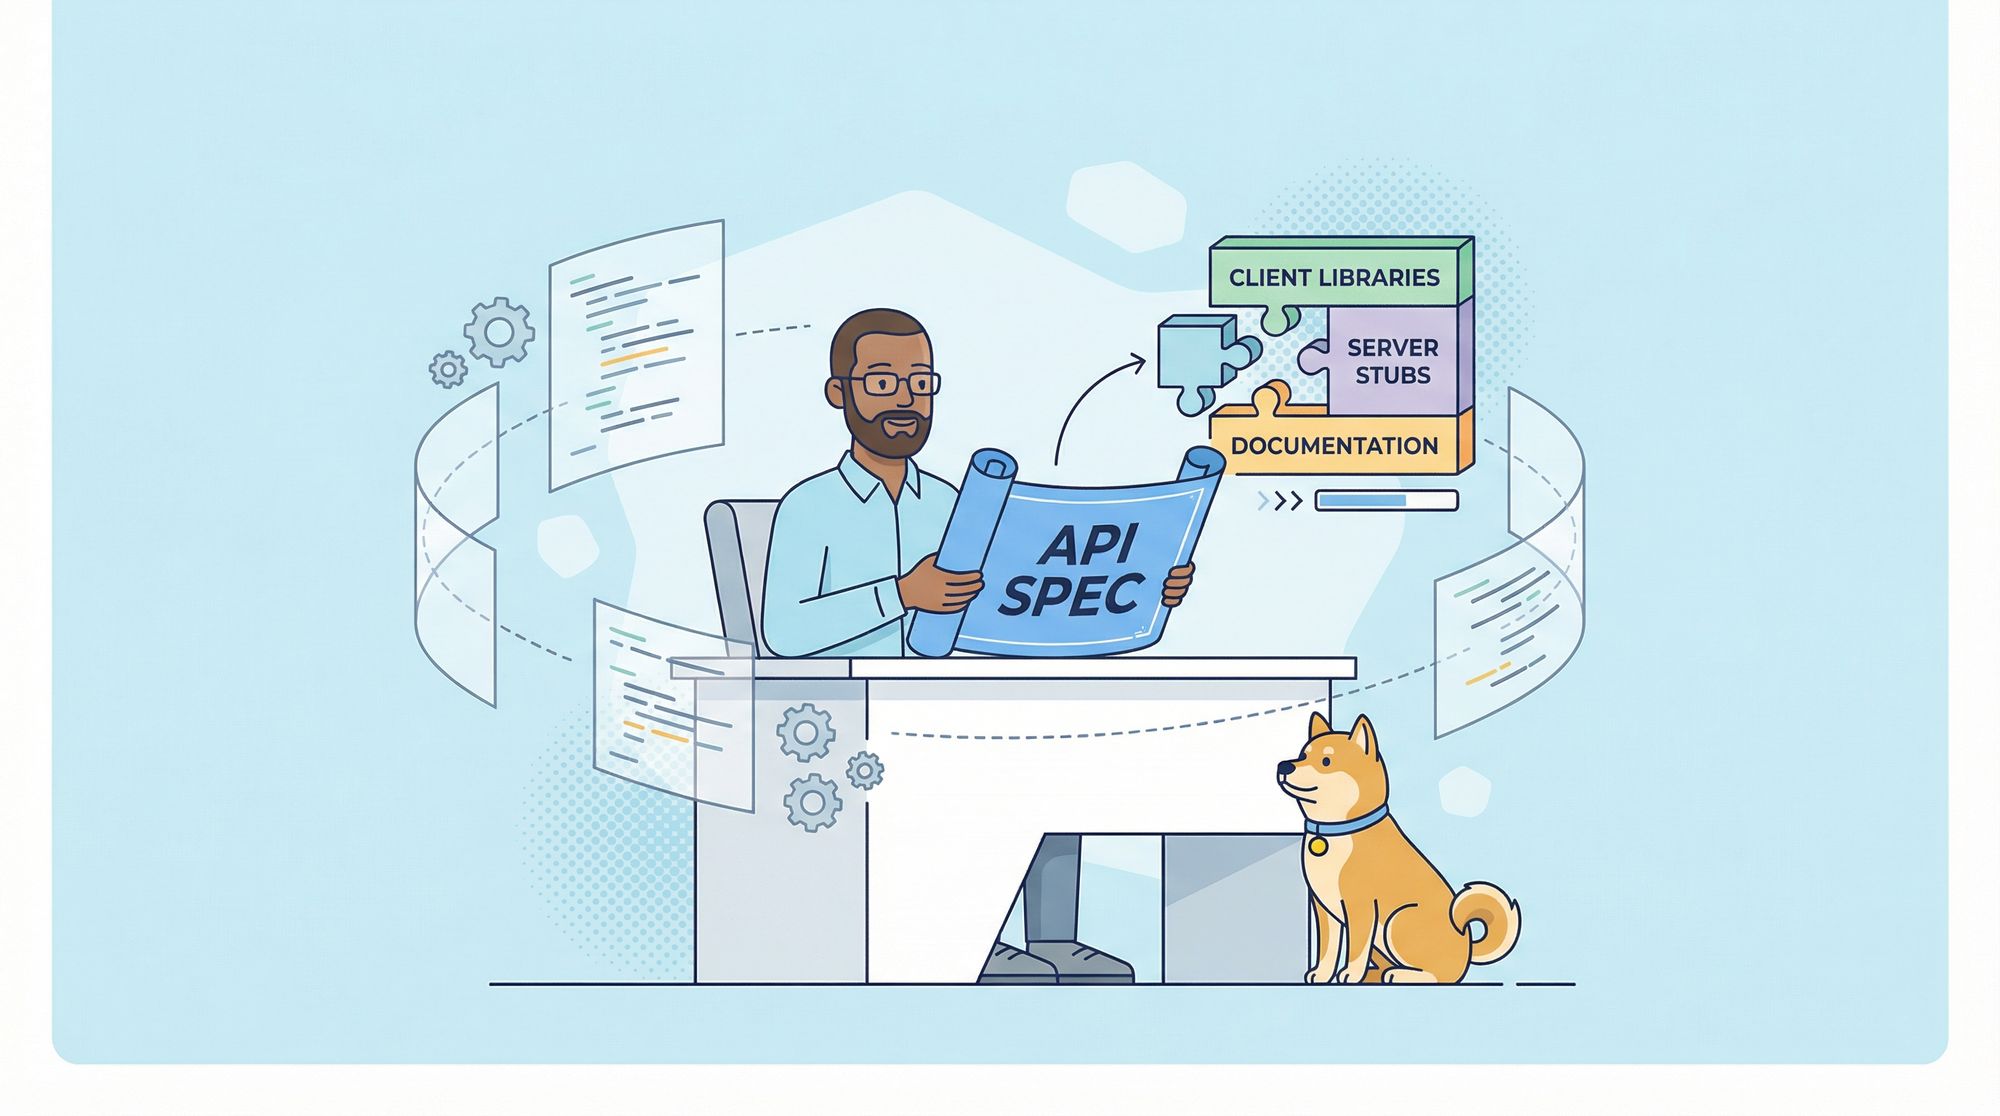
The OpenAPI Generator is an essential tool for developers working with APIs. It automates the generation of client libraries, server stubs, and API documentation from OpenAPI (formerly Swagger) specifications. This not only saves time but also ensures consistency and reliability in API integrations.
By using the OpenAPI Generator, developers can focus on creating robust APIs without worrying about the repetitive tasks of writing boilerplate code for different languages and frameworks. The tool supports a wide range of programming languages and offers extensive customization options to fit the specific needs of any project.
What is the OpenAPI Generator?
The OpenAPI Generator is an open-source tool that automatically generates server stubs and client libraries from an OpenAPI Specification (formerly known as Swagger Specification). By leveraging this tool, developers can significantly reduce the time and effort required to create and maintain API clients and servers.
The OpenAPI Generator is an open-source project that enables developers to generate clients, servers, and documentation from OpenAPI specifications. It supports both OpenAPI 2.0 and 3.x versions and offers a variety of features.
Benefits of Using the OpenAPI Generator
The OpenAPI Generator offers several benefits for API development, which include:
Code Generation: It can generate client and server code from an OpenAPI specification, supporting over 50 programming languages. This saves time and reduces errors compared to writing code manually.
Documentation: It can produce comprehensive documentation for your API, which is essential for both internal developers and external consumers to understand how to use the API.
Standardization: Using OpenAPI specifications helps maintain consistency across services, making it easier for developers to understand and work with different APIs.
Efficiency: It streamlines the API development process, allowing developers to focus on designing APIs rather than writing boilerplate code.
Customization: Offers flexibility through customizable templates and options, allowing you to tailor the output to your specific needs.
Integration: Supports various integrations with tools like Maven, Gradle, and Docker, which can fit into existing development workflows.
These benefits contribute to a more efficient, consistent, and scalable API development process.

Getting Started with the OpenAPI Generator
To begin using the OpenAPI Generator, developers first need to define their API in the OpenAPI Specification format. This human-readable format describes the API's endpoints, parameters, and data models, facilitating clear communication and documentation.
Once the API is defined, developers can install the OpenAPI Generator on their local machines and use it to generate code for their desired programming language.
Installation: You can install the OpenAPI Generator using various methods such as Homebrew, Docker, or npm. For example, to install via npm, you would use the following commands:
npm install @openapitools/openapi-generator-cli -g
Generating Code: Once installed, you can generate client libraries, server stubs, configurations, or documentation. The generate command is used for this purpose, and you can specify the generator you want to use along with the input OpenAPI document. Here’s an example command:
openapi-generator-cli generate -i your-api-spec.yaml -g java -o /path/to/output/dir
Customization: If you need to customize the generation process, you can use custom templates or pass additional options to the generator. This allows you to tailor the output to your project’s needs.
Integration: The OpenAPI Generator can be integrated into your project using plugins for build tools like Maven or Gradle, which can automate the generation process as part of your build lifecycle.
Integrating the OpenAPI Generator into Your Workflow
To fully unlock the power of the OpenAPI Generator, it is essential to integrate it into your development workflow. One popular approach is to incorporate the OpenAPI Generator into your continuous integration and deployment pipeline. Whenever the API definition is updated, the pipeline can automatically regenerate the client and server code, ensuring seamless integration into your builds.
Integrating the OpenAPI Generator into your workflow can significantly streamline your API development process. Here’s how you can do it:
Choose Your Integration Method: Depending on your development environment, you can integrate the OpenAPI Generator with Gradle, Maven, GitHub, CI/CD pipelines, and more. For instance, the openapi-generator-gradle-plugin and openapi-generator-maven-plugin are popular choices for Java developers.
Set Up the Generator: Configure the generator by specifying your OpenAPI spec file and selecting the desired output language and options. This can be done through configuration files or command-line arguments.
Automate Code Generation: You can automate the generation of client libraries, server stubs, or documentation as part of your build process. This ensures that your generated code is always up-to-date with your API spec.
Customize as Needed: If the default templates don’t meet your needs, you can create custom templates or modify the existing ones to tailor the generated code to your project’s standards.
Version Control Integration: For GitHub integration, you can use scripts like git_push.sh to automatically push generated SDKs to your repositories, making it easier to distribute and version your API clients.
CI/CD Integration: Some generators also produce CI/CD configuration files, so you can immediately set up testing and deployment for your generated code.
Remember, the key to successful integration is to ensure that the OpenAPI Generator fits seamlessly into your existing development practices, enhancing productivity without disrupting your workflow.
Apidog: The Ultimate OpenAPI Generator Companion
While the OpenAPI Generator is a powerful tool on its own, its capabilities are further enhanced when combined with Apidog, a platform designed to work seamlessly with the OpenAPI Generator.
Apidog allows developers to manage their OpenAPI Specifications, generate code for multiple languages simultaneously, and host and document their APIs – all within a unified platform. One of the standout features of APIdog is its ability to automatically keep generated code up-to-date with changes made to the OpenAPI Specification, ensuring client and server code remains in sync at all times.
By integrating Apidog into their workflow, developers can unlock a streamlined and efficient API development experience, enabling them to focus on delivering high-quality, well-documented APIs with minimal effort.
Step 1. Open Apidog
Open your Apidog project and select Setting in the left panel

Step 2. Import OpenAPI File
Import an OpenAPI specification file on the project creation page. Click the "Import" button to proceed.

Step 3. Upload Your OpenAPI File
On the import page, you'll see a field where you can enter the URL of your OpenAPI file. If you don't have a URL, you can upload the file from your local machine.

Step 4. Wait for the Import to Complete
Depending on the size and complexity of your OpenAPI file, the import process may take a few minutes.

Apidog will automatically parses the file and generate a new API in your account.

Step 4. Start Building Your API
Once you configure your API settings, you can add endpoints and documentation to your API using 's intuitive interface.

By following the simple steps of importing an OpenAPI specification file into Apidog, you can manage and document your API projects more efficiently. The specification file typically includes essential details such as the POST endpoint, path, parameters, and response codes.
Conclusion
The OpenAPI Generator is a powerful tool that can significantly enhance your API development workflow. It automates the creation of client libraries, server stubs, and documentation, ensuring consistency and saving time. Integrating it into your workflow can streamline processes, reduce errors, and allow for greater focus on API design and business logic.
Apidog complements the OpenAPI Generator by providing an interactive platform for code generation and API documentation, fostering collaboration, and simplifying the API development process. Together, they offer a robust solution for developers looking to optimize their API development and management practices. Happy coding! 🚀


