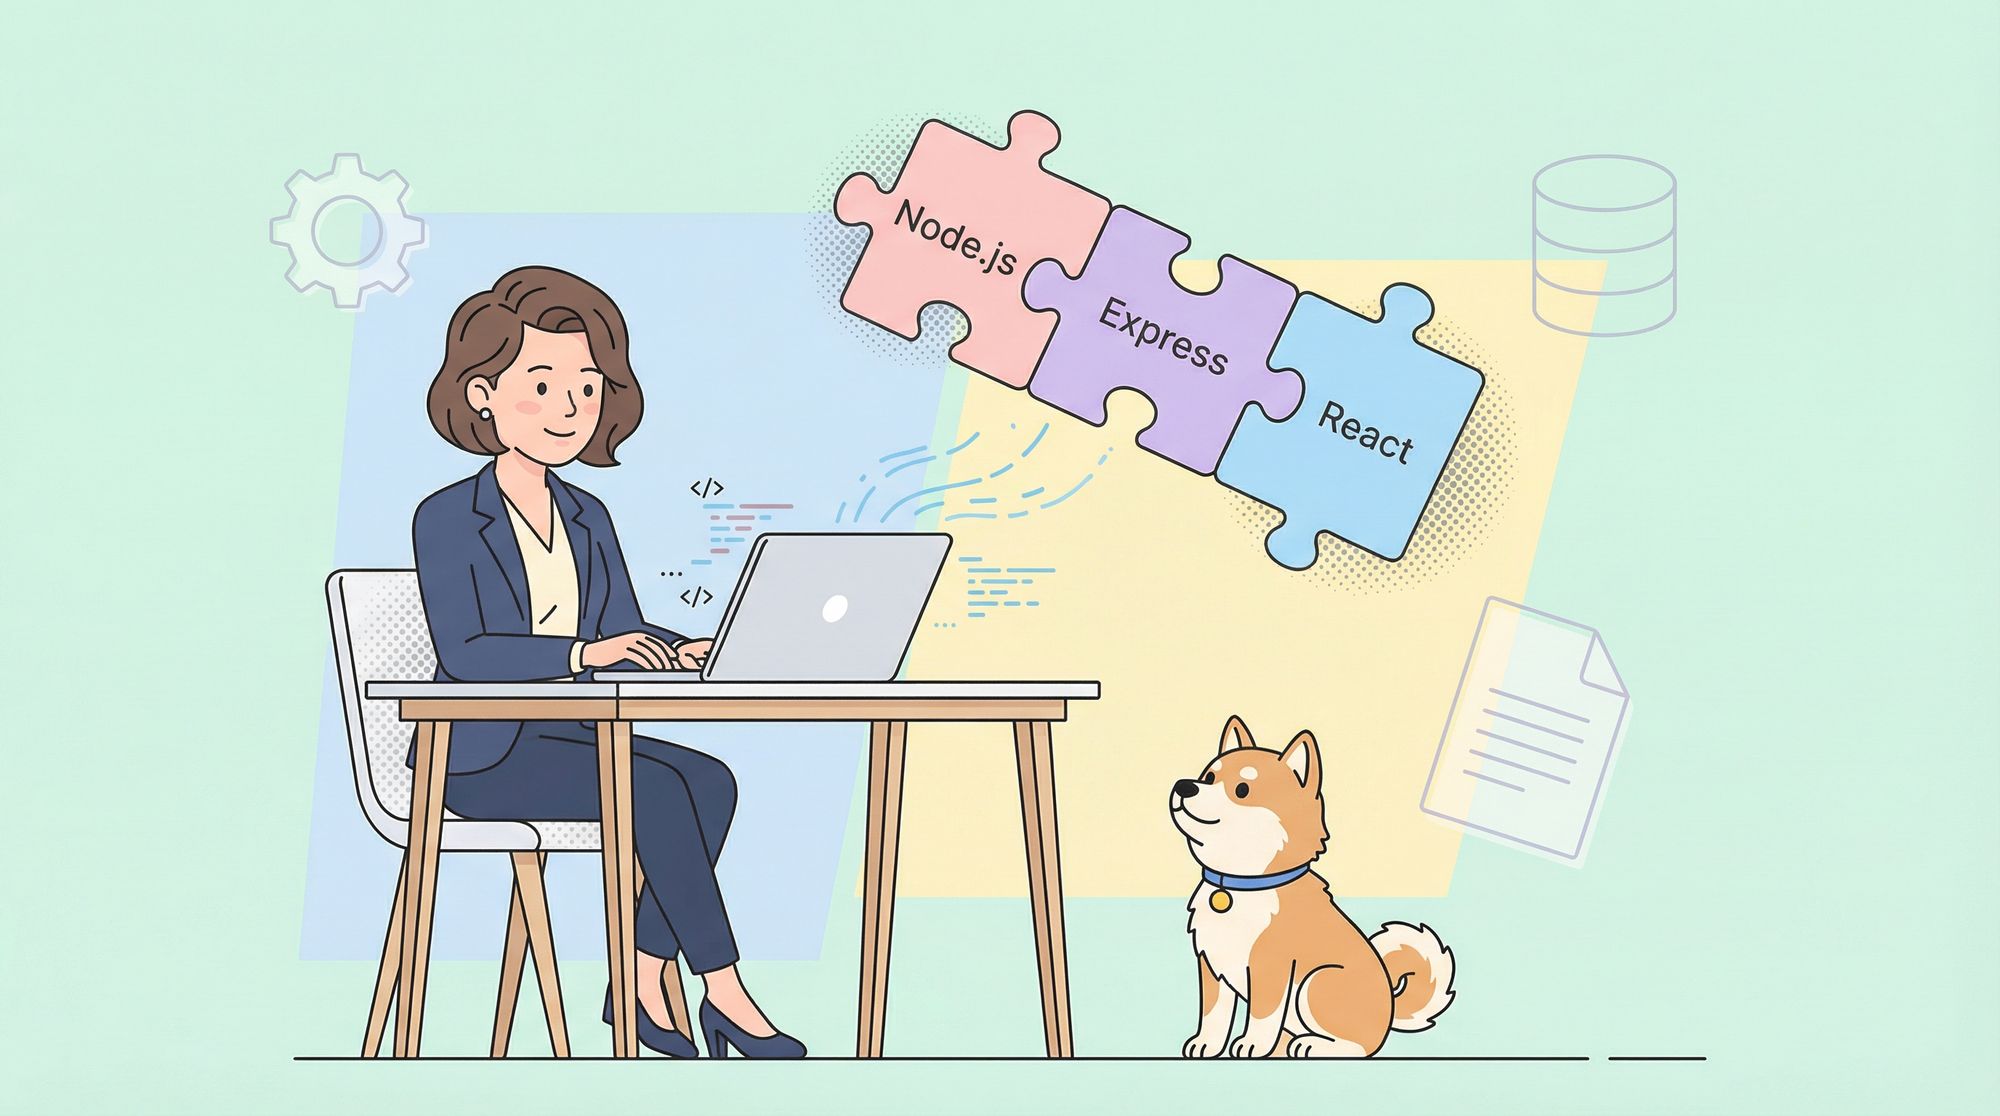
Today, we're diving into the exciting world of Node.js, Express, and React. Whether you're a seasoned programmer or just starting, this blog post will guide you through building a powerful API using these popular technologies. We'll cover the basics, walk through setting up your environment, and explore how these tools work together. Plus, we'll show you how Apidog can make your life easier. So, grab your favorite coding snack, and let's get started!
Why Node.js, Express, and React?
Before we jump into the nitty-gritty, let's talk about why you should care about Node.js, Express, and React.
Node.js
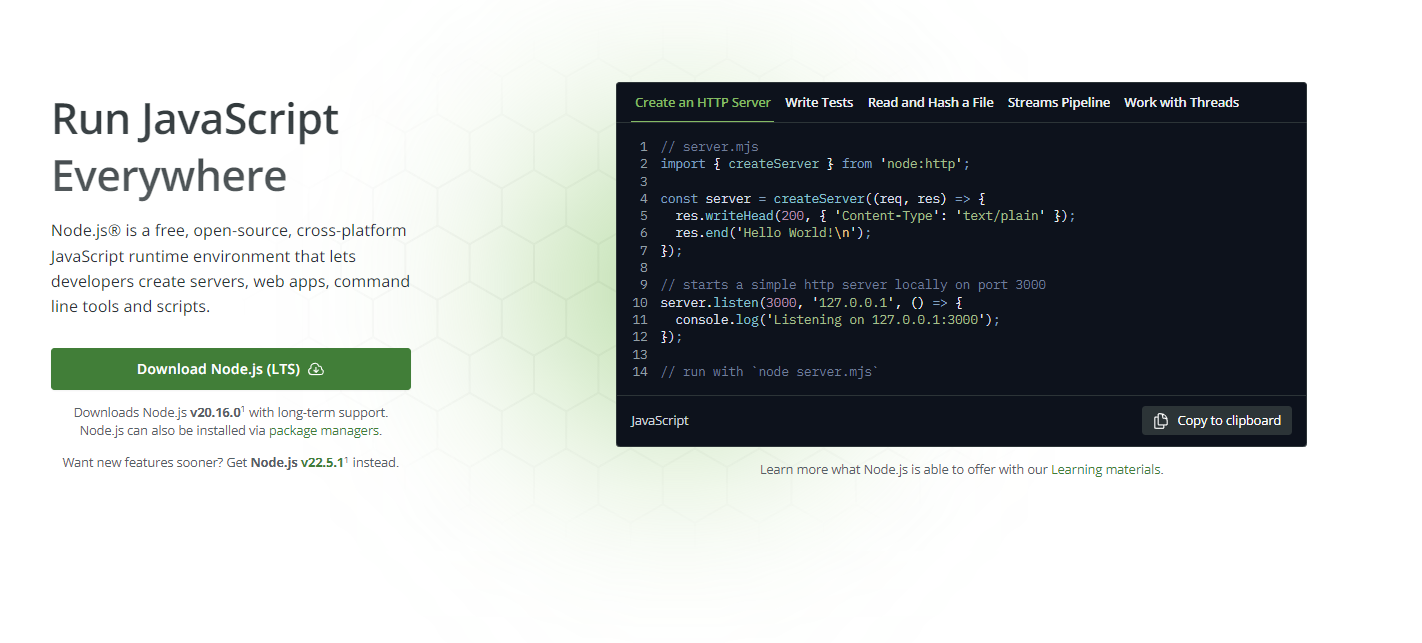
Node.js is a runtime environment that allows you to run JavaScript on the server side. It's built on Chrome's V8 JavaScript engine, making it fast and efficient. With Node.js, you can build scalable network applications, handle multiple requests simultaneously, and use a single programming language (JavaScript) for both client and server-side development..
Express
Express is a minimal and flexible Node.js web application framework. It provides a robust set of features for building web and mobile applications. With Express, you can easily set up a server, manage routes, and handle HTTP requests and responses. It's the backbone of many Node.js applications and pairs perfectly with React.

React
React is a JavaScript library for building user interfaces. It's maintained by Facebook and a community of individual developers and companies. React allows you to create reusable UI components and manage the state of your application efficiently. When combined with Node.js and Express, you can build dynamic, responsive web applications with ease.

Setting Up Your Development Environment
To get started, you'll need to set up your development environment. Here's a step-by-step guide:
Install Node.js: Head over to the Node.js website and download the latest version. Follow the installation instructions for your operating system.
Install npm: npm (Node Package Manager) comes bundled with Node.js. You can check if it's installed by running npm -v in your terminal.
Set Up a New Project: Create a new directory for your project and navigate to it in your terminal. Initialize a new Node.js project by running npm init. Follow the prompts to create a package.json file.
Install Express: Run npm install express to install Express.
Install React: You'll use Create React App to set up a new React project. Run npx create-react-app client to create a new React app in a client directory.
Install Apidog: To make API development and testing easier, we'll use Apidog. You can download it for free from the Apidog website.
Building Your API with Node.js and Express
Now that your environment is set up, let's build a simple API using Node.js and Express.
Step 1: Set Up Express Server
Create a new file called server.js in your project's root directory. Add the following code to set up a basic Express server:
const express = require('express');
const app = express();
const port = 3000;

app.get('/', (req, res) => {
  res.send('Hello World!');
});

app.listen(port, () => {
  console.log(`Server running at http://localhost:${port}`);
});
Run node server.js in your terminal. You should see "Server running at http://localhost:3000". Open your browser and navigate to http://localhost:3000 to see "Hello World!".
Step 2: Create API Routes
Next, let's create some API routes. In your server.js file, add the following code to create a simple API that returns a list of users:
const users = [
  { id: 1, name: 'John Doe' },
  { id: 2, name: 'Jane Doe' },
  { id: 3, name: 'Sam Smith' }
];

app.get('/api/users', (req, res) => {
  res.json(users);
});
Now, when you navigate to http://localhost:3000/api/users, you'll see a JSON response with the list of users.
Step 3: Connect to a Database
To make our API more dynamic, let's connect to a database. We'll use MongoDB for this example. First, you'll need to install mongoose by running npm install mongoose.
Create a new file called db.js and add the following code to connect to MongoDB:
const mongoose = require('mongoose');

mongoose.connect('mongodb://localhost:27017/mydatabase', {
  useNewUrlParser: true,
  useUnifiedTopology: true
});

const db = mongoose.connection;
db.on('error', console.error.bind(console, 'connection error:'));
db.once('open', () => {
  console.log('Connected to MongoDB');
});

module.exports = db;
In your server.js file, require the db.js file to connect to the database:
const db = require('./db');
Now, let's create a Mongoose model for our users. Create a new file called user.js and add the following code:
const mongoose = require('mongoose');

const userSchema = new mongoose.Schema({
  name: String
});

const User = mongoose.model('User', userSchema);

module.exports = User;
In your server.js file, update the /api/users route to fetch users from the database:
const User = require('./user');

app.get('/api/users', async (req, res) => {
  const users = await User.find();
  res.json(users);
});
You can now add, update, and delete users from your MongoDB database, and your API will dynamically reflect these changes.
Integrating React with Node.js and Express
Now that we have our API set up, let's integrate it with a React frontend.
Step 1: Set Up Proxy
To make requests to our API from the React frontend, we'll set up a proxy. Open the client/package.json file and add the following line:
"proxy": "http://localhost:3000"
Step 2: Fetch Data from API
In your React app, let's create a component that fetches data from the API and displays it. Open the client/src/App.js file and replace its contents with the following code:
import React, { useEffect, useState } from 'react';
import './App.css';

function App() {
  const [users, setUsers] = useState([]);

  useEffect(() => {
    fetch('/api/users')
      .then(response => response.json())
      .then(data => setUsers(data));
  }, []);

  return (
    <div className="App">
      <h1>Users</h1>
      <ul>
        {users.map(user => (
          <li key={user.id}>{user.name}</li>
        ))}
      </ul>
    </div>
  );
}

export default App;
Run npm start in the client directory to start the React development server. You should see a list of users fetched from your API displayed on the page.
Testing Your API with Apidog
Now that you have a working API and a React frontend, it's time to test your API. Apidog is a fantastic tool for this.
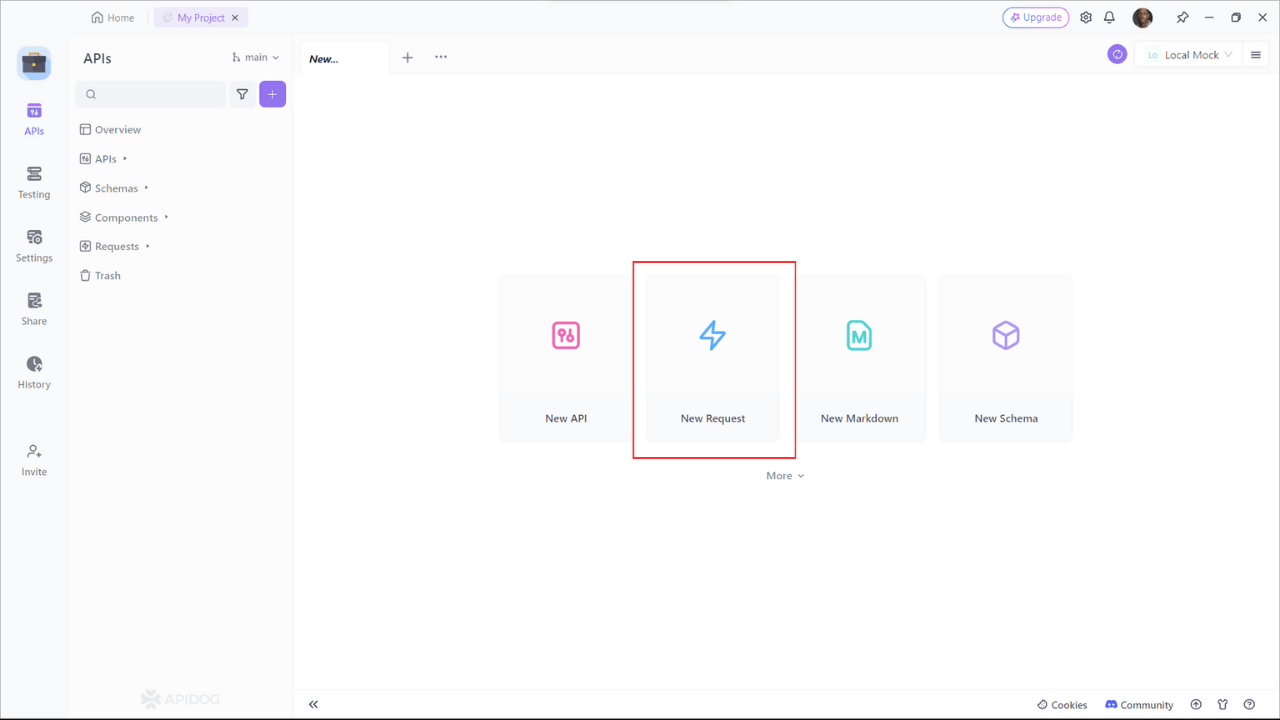
Step 1: Open Apidog and create a new request.
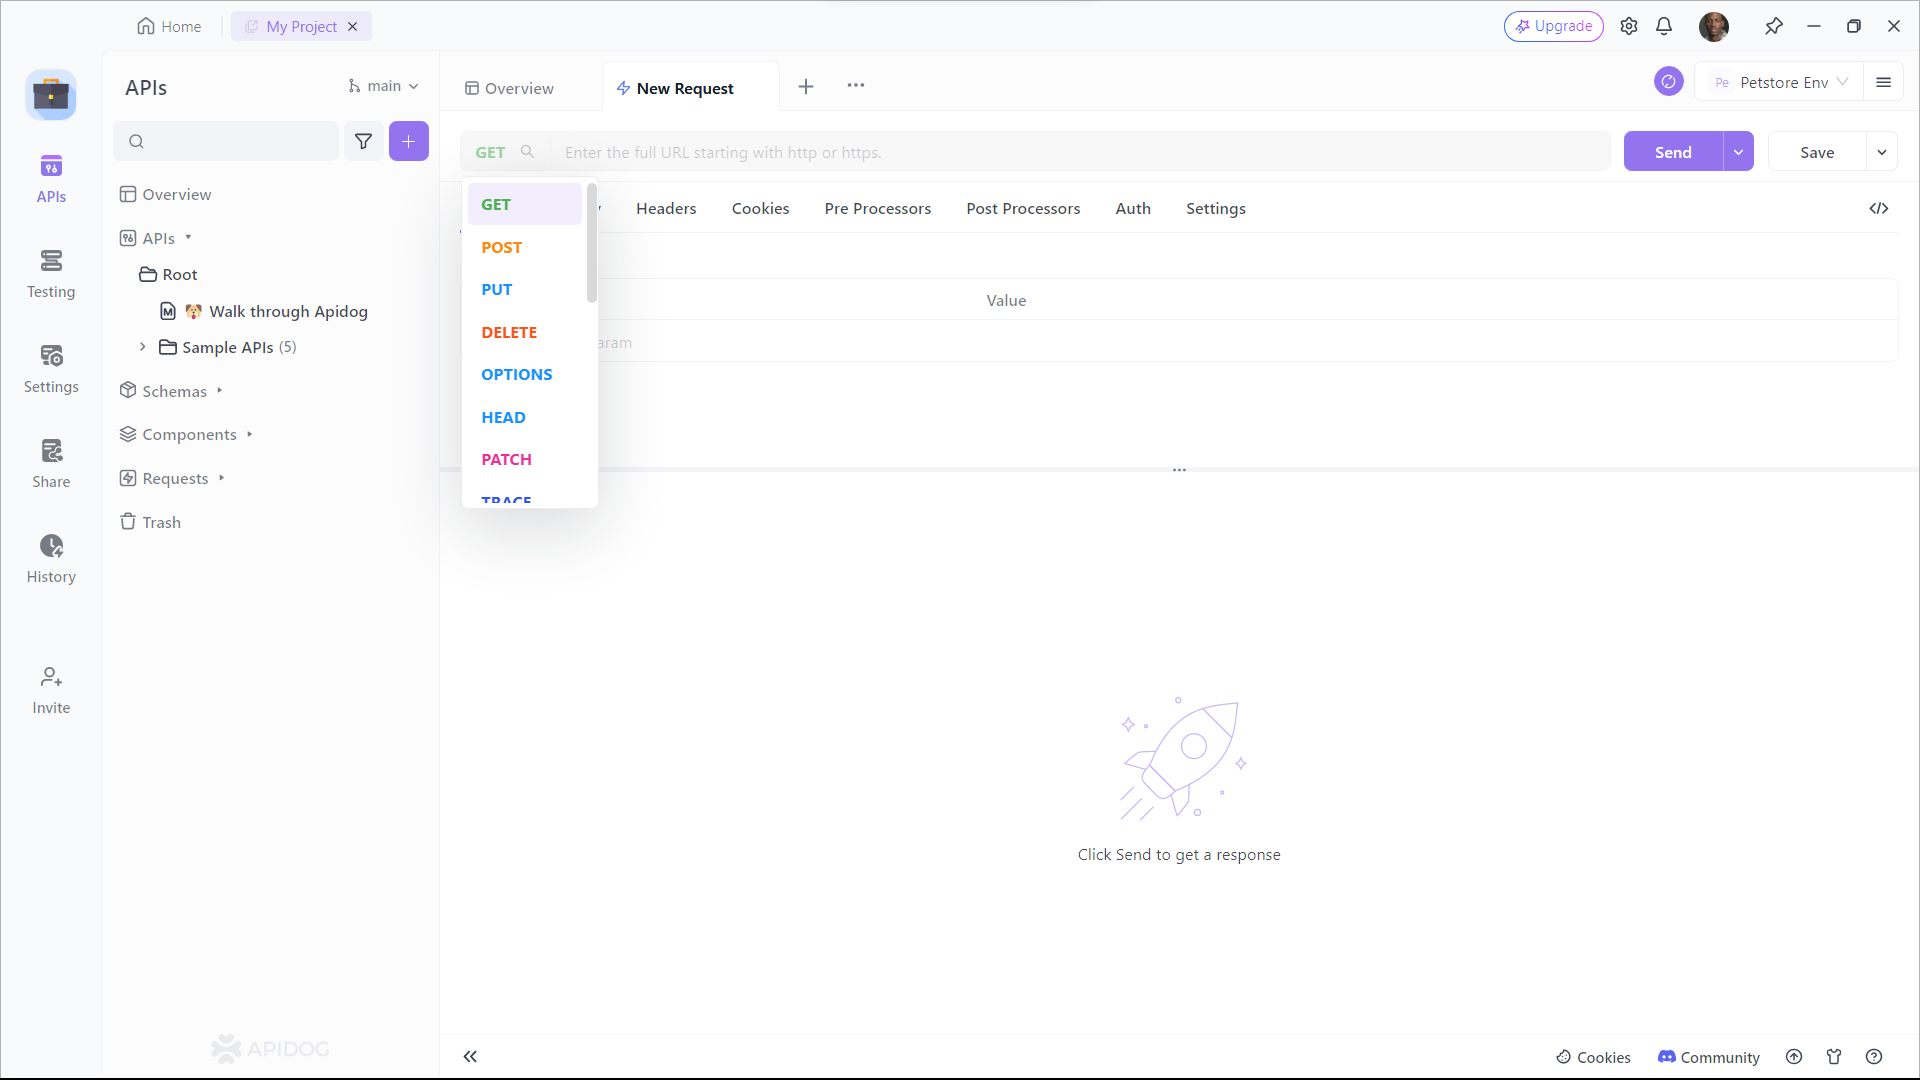
Step 2: In the test editor, enter the URL of your API endpoint, select the HTTP method, and add any headers, parameters, or body data that you need. For example, you can test the route that returns a simple message that we created earlier:
Step 3: Click on the Send button and see the result of your test. You should see the status code, the response time, and the response body of your API. For example, you should see something like this:
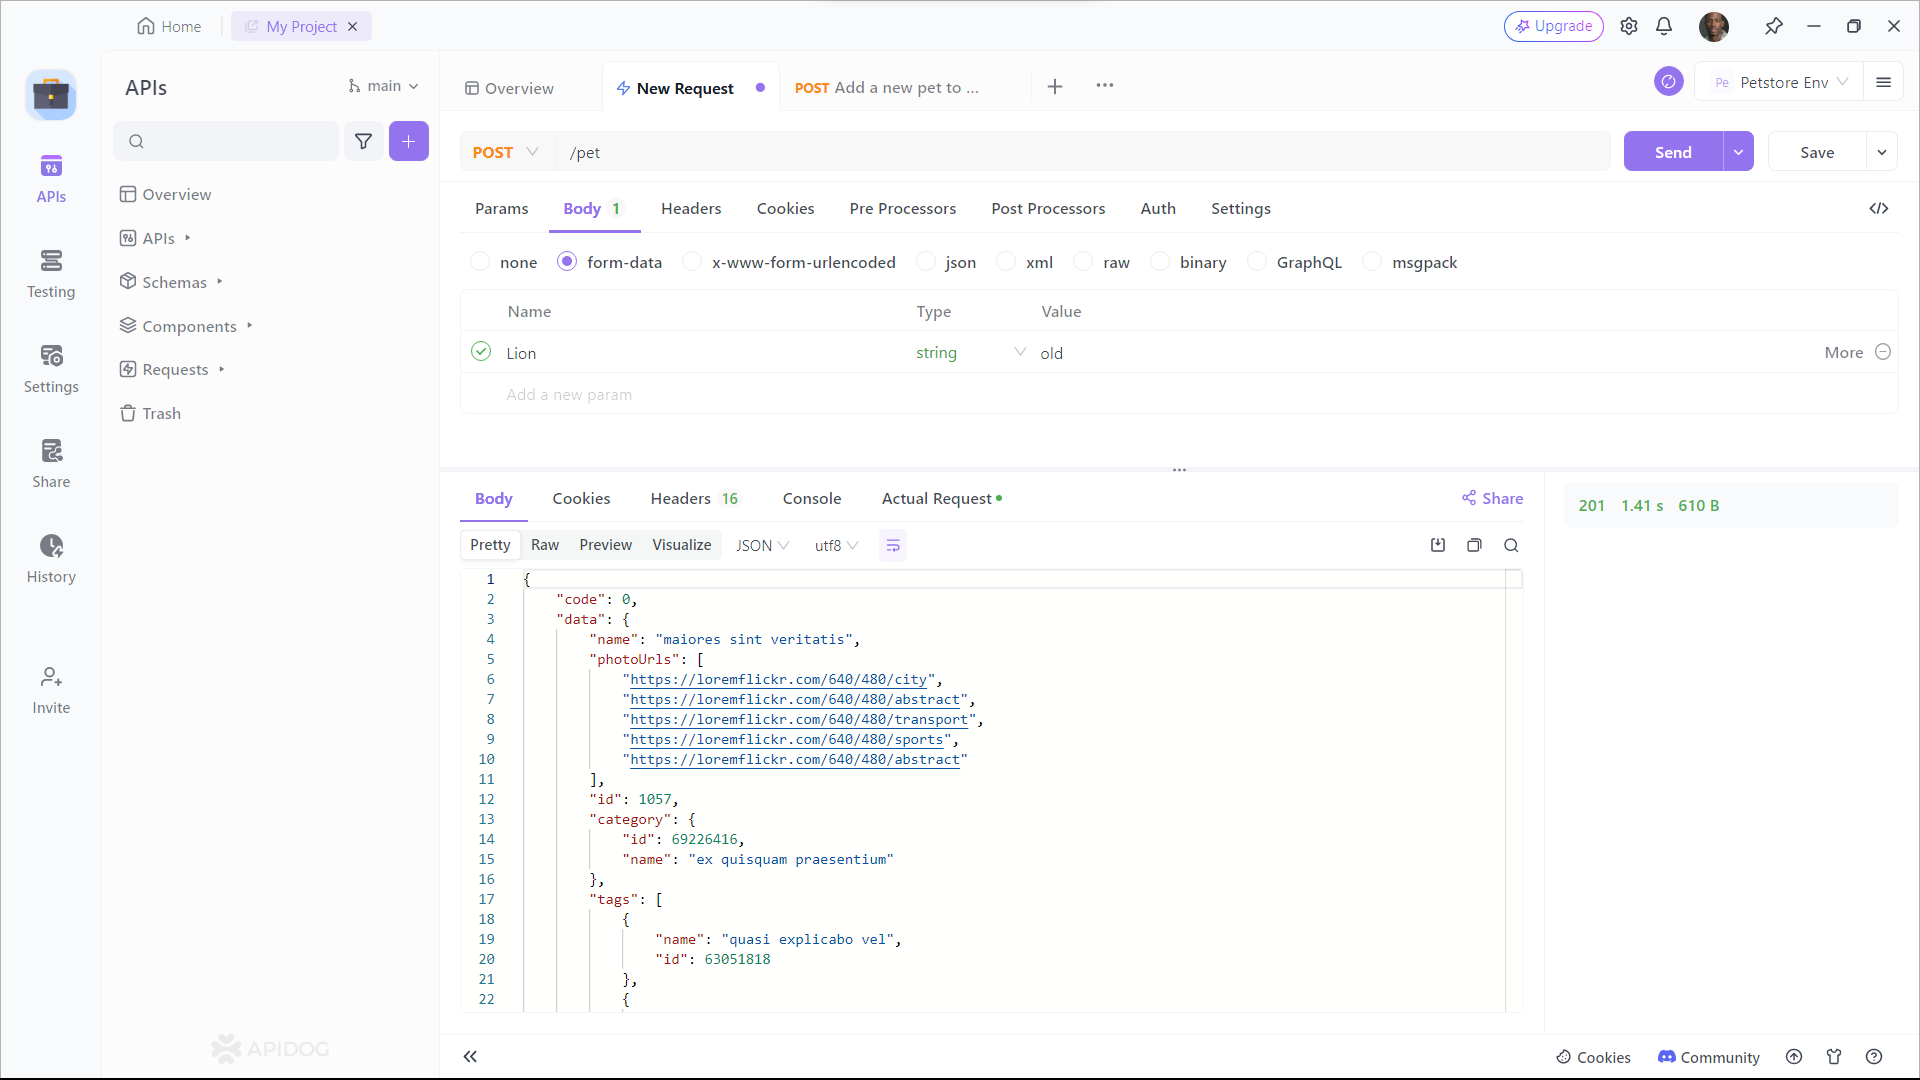
Apidog is a great tool for testing your APIs, as it helps you ensure the quality, reliability, and performance of your web services. It also saves you time and effort, as you don’t need to write any code or install any software to test your APIs. You can just use your browser and enjoy the user-friendly interface and features of Apidog.
Conclusion
Congratulations! You've successfully built a powerful API using Node.js, Express, and React. You've learned how to set up your development environment, create API routes, connect to a database, and integrate React with your backend. Plus, you've discovered how Apidog can simplify testing your API.
Remember, this is just the beginning. There are countless ways to extend and improve your application. You can add authentication, implement more complex routes, and enhance your frontend with additional features.


