Node.js Websockets, when put together, is a combination of two popular technologies web developers can use to build real-time web applications.
Also, if you require an API platform that can handle file imports of various kinds, consider downloading Apidog! 👇 👇 👇
It is crucial to understand that "Node.js WebSockets" refers to two different technologies being used collaboratively to create real-time web applications. They should not be considered a single entity. Without further ado, let us first understand what Node.js and WebSockets are at their core.
What is Node.js?
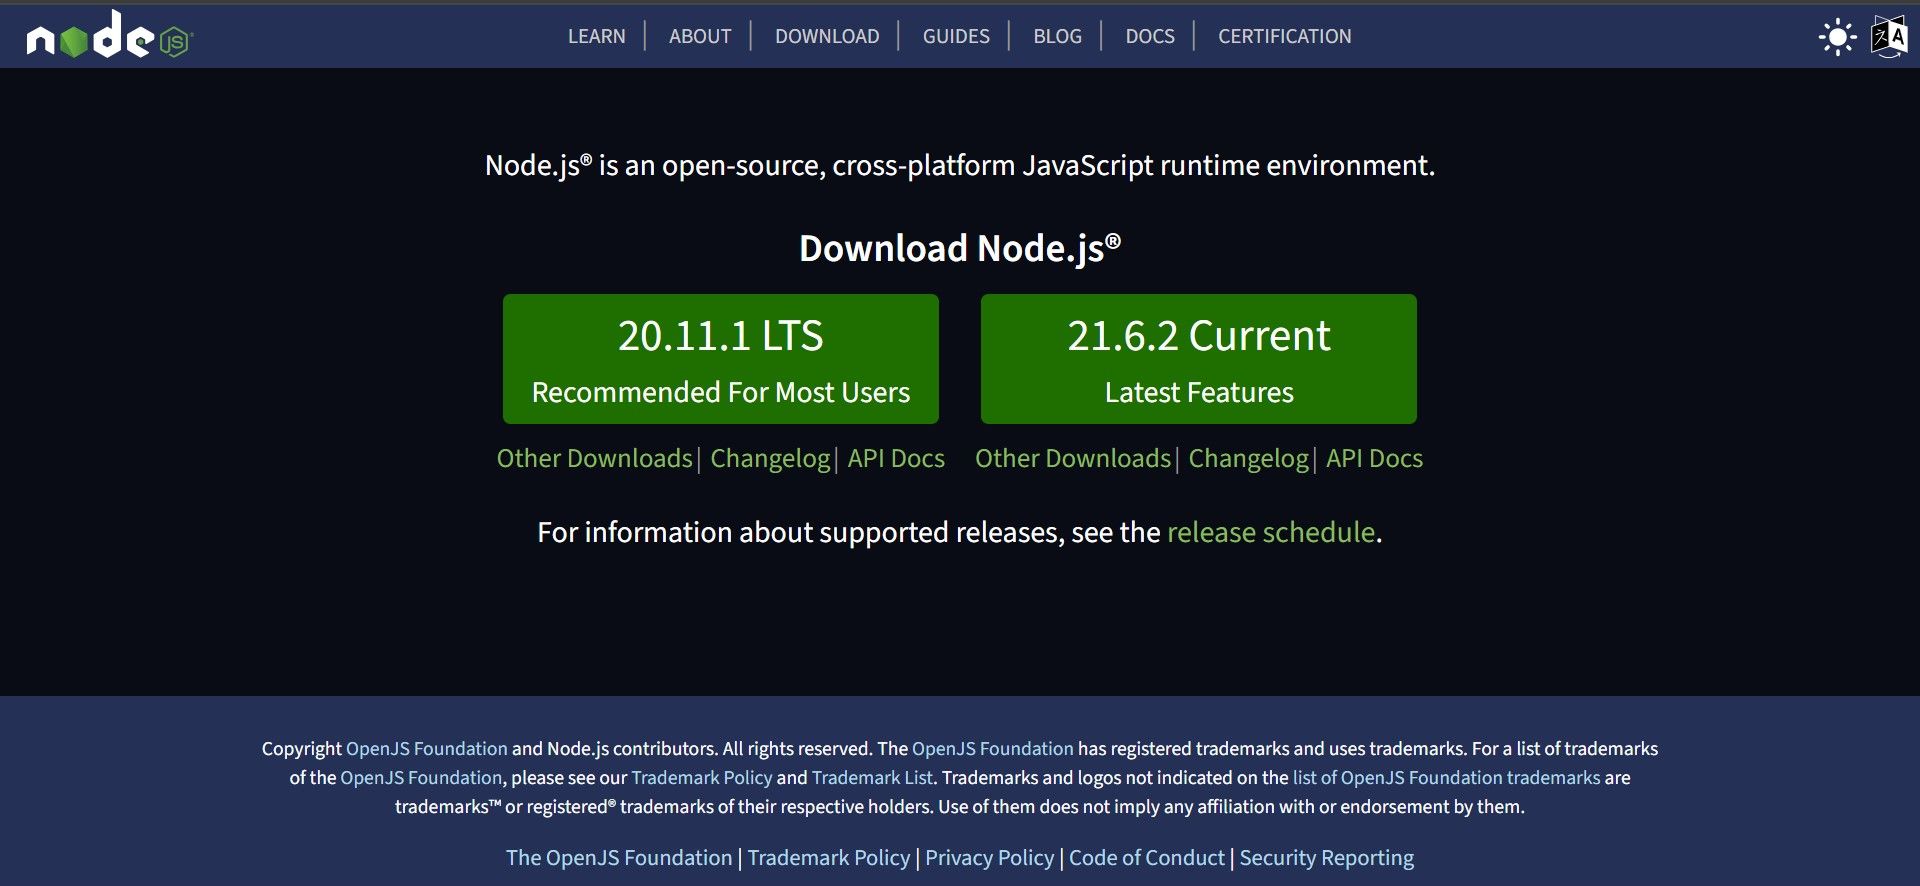
Node.js is an open-source, cross-platform JavaScript runtime environment that allows its users to run JavaScript code outside of a web browser. Node.js, therefore, does not limit the various software applications and systems that can make use of JavaScript coding!
Key Features That Make Node.js Attractive to Developers
- JavaScript everywhere: With Node.js, you can use the same language (JavaScript) for both front-end (client-side) and back-end (server-side) development, offering consistency and reducing switching costs.
- Event-driven architecture: Node.js handles multiple concurrent requests efficiently without blocking, making it ideal for building real-time and scalable applications.
- Rich ecosystem: Node.js benefits from a large and active community, as users provide thousands of available libraries and frameworks for various functionalities. You can also find many videos on YouTube for help regarding Node.js.
- Cross-platform compatibility: Node.js can run on various platforms seamlessly, such as Windows, macOS, Linux, and other major operating systems.
When Should You Consider Using Node.js for Your Projects
Node.js is primarily known for building software beyond traditional web pages. Therefore, you can strongly consider using Node.js in part of your software if you plan to have such use cases:
- Web development: Node.js excels at building server-side components for web applications, like APIs, dynamic content generation, and real-time features.
- Microservices: Node.js can help create small, independent services that can be easily deployed and scaled.
- Command-line tools: Node.js can help you automate tasks and create system utilities.
- Internet of Things (IoT): Develop applications for connected devices due to its real-time capabilities.
- Data streaming: Process and analyze data streams efficiently using Node.js.
Benefits of Using Node.js as Part of Your Software
- Easy to learn: If you already know JavaScript, learning Node.js becomes relatively straightforward.
- Large community and resources: Node.js has an abundance of libraries, frameworks, and tutorials that offer new and existing Node.js users useful support and best practices.
- Scalable and versatile: Node.js can adapt to various application types and scales well with growing user bases.
What are WebSockets?
WebSockets are a communication protocol that allows real-time, back-and-forth communication between a client (such as a web browser) and a server. They also enable both clients and servers to send and receive messages simultaneously, permitting a more interactive and responsive experience for software.
Do note that WebSockets are a protocol, meaning that they do not fall into any file type. However, you still have to pay attention to a WebSocket's security!
Key Features that Differentiate WebSockets from Other Protocols
- Full-duplex communication: With both the client and server sending and receiving messages simultaneously, WebSockets can provide smooth, real-time communication.
- Persistent connection: Instead of opening and closing connections for each message, WebSockets establish a single, persistent connection between the client and server. This reduces overhead and improves efficiency.
- Real-time data exchange: Data is sent and received instantly, creating a much faster and more responsive experience than traditional HTTP requests.
- Reduced server load: With a persistent connection and push-based communication, servers don't need to wait for client requests, reducing their workload and allowing them to handle more connections.
Potential Benefits You Can Gain from Using WebSockets
- Flexibility: WebSockets can be used with various programming languages and platforms like Python, JavaScript, Java, and more. This makes them versatile and adaptable to different development environments and applications.
- Lower latency: The open, persistent connection minimizes delays and ensures messages are delivered almost instantly. It becomes especially crucial for applications that rely on a consistent connection, such as live streaming, collaborative editing, and real-time financial data updates.
- Efficiency and scalability: WebSockets establish a persistent connection, reducing the need for repeated connection establishments and closures. This leads to increased efficiency and improved scalability, making WebSockets ideal for handling high volumes of concurrent connections and real-time data exchange.
How to Combine Node.js and WebSockets to Make Web Applications?
Here is a step-by-step guide on how to build real-time web applications with Node.js and WebSockets!
- Choose a library:
There are a few popular libraries that you can choose from to help you implement WebSockets in Node.js:
- ws: A lightweight library with an easy-to-use API. Ideal for simpler projects.
- socket.io: Provides additional features like rooms, namespaces, and broadcasting, making it good for complex applications.
- express-ws: An extension for the Express framework, offering integration with existing Express applications.
2. Set up your Node.js server:
Create a Node.js server using modules like http or express. This server will listen for incoming connections and handle routing and other server-side logic.
3. Implement WebSocket:
- Use your chosen library to create a WebSocket server, specifying the port to listen on.
In this step, you should also define event handlers for different scenarios:
- Connection: When a client connects, the WebSocket handles authentication, authorization, and initial data exchange.
- Message: When a client sends a message, process it, broadcast it to other clients (if needed), and send a response if necessary.
- Disconnection: WebSockets can gracefully handle disconnection and cleanup.
4. Client-side integration:
On the client side (usually in a web browser), you can use JavaScript libraries like ws or socket.io-client to connect to your WebSocket server.
- Establish a connection and handle server responses and received messages.
- Implement event handlers on the client side to react to incoming data and updates.
Code Snippet of Node.js and WebSockets (Basic Chat Application Example)
Most web applications you can find today have corresponding front and back-end portions. Here are the samples of both Node.js and WebSockets technologies working cohesively in a simple chat application sample.
Server-side (Back-end) Code [Node.js]
const WebSocket = require('ws');

const wss = new WebSocket.Server({ port: 8080 });

wss.on('connection', (ws) => {
  console.log('Client connected');

  ws.on('message', (message) => {
    console.log(`Client message: ${message}`);
    wss.clients.forEach((client) => {
      if (client.readyState === WebSocket.OPEN) {
        client.send(message);
      }
    });
  });

  ws.on('close', () => {
    console.log('Client disconnected');
  });
});

console.log('WebSocket server listening on port 8080');
Code Explanation:
ws: Imports thewslibrary.- The variable
wssCreates a WebSocket server usingWebSocket.Serveron port 8080. connectionevent: When a client connects, logs a message, and defines event handlers formessageandclose.- The
messageevent logs the received message, loops through all connected clients, and sends the message to each open client. - The
closeevent Logs a message when a client disconnects.
Client-side (Front-end) Code [Javascript]
<!DOCTYPE html>
<html lang="en">
<head>
  <meta charset="UTF-8">
  <meta name="viewport" content="width=device-width, initial-scale=1.0">
  <title>WebSocket Chat</title>
</head>
<body>
  <input type="text" id="message" placeholder="Type your message..." />
  <button id="send">Send</button>
  <div id="messages"></div>

  <script>
    const ws = new WebSocket('ws://localhost:8080');

    ws.onopen = () => {
      console.log('Connected to server');
    };

    ws.onmessage = (event) => {
      const message = event.data;
      console.log(`Received message: ${message}`);
      const messagesDiv = document.getElementById('messages');
      messagesDiv.innerHTML += `<p>${message}</p>`;
    };

    const sendButton = document.getElementById('send');
    sendButton.addEventListener('click', () => {
      const messageInput = document.getElementById('message');
      const message = messageInput.value;
      ws.send(message);
      messageInput.value = '';
    });
  </script>
</body>
</html>
Code Explanation:
- Creates a WebSocket connection to the server using
ws. openevent logs a message when the connection is established.messageevent logs the received message and displays it in the HTML element with the IDmessages.sendbutton click event gets the message from the input field, and sends it to the server usingws.send, and clears the input field.
Building APIs with Node.js and WebSockets (Shown with Code Snippets)
You can also create your own APIs to use within your recently created web application! (Please do note that the code provided in this article is only for demonstration purposes.)
1. Set up Node.js Environment:
- Install Node.js and npm (Node Package Manager)
- Create a project directory and initialize it:
npm init -y
2. Install Required Libraries:
You will need to install the ws library for WebSockets by running this line of code: npm install ws. You will also have to install a web framework for routing and handling HTTP requests, such as using Express via this line of code: npm install express.
3. Create the WebSocket Server (JavaScript):
const WebSocket = require('ws');
const express = require('express'); // If using Express

const app = express(); // If using Express
const wss = new WebSocket.Server({ port: 8080 });

// HTTP request handling (if using Express)
app.get('/', (req, res) => {
  res.send('Hello, world!');
});

// WebSocket connection handling
wss.on('connection', (ws) => {
  console.log('Client connected');

  ws.on('message', (message) => {
    console.log(`Received message: ${message}`);
    // Process the message and potentially send a response
  });

  ws.on('close', () => {
    console.log('Client disconnected');
  });
});

// Start the server
app.listen(8080, () => {
  console.log('Server listening on port 8080');
});
After this step, you can now access the WebSocket Server via the WebSocket URL, like ws://localhost:8080.
4. Define the API Endpoints (JavaScript):
ws.on('message', (message) => {
  const data = JSON.parse(message);
  const action = data.action;

  if (action === 'getData') {
    ws.send(JSON.stringify({ data: 'Some data' }));
  } else if (action === 'sendMessage') {
    // Handle message sending logic
  }
});
5. Craft Client-Side Interaction (JavaScript):
const ws = new WebSocket('ws://localhost:8080');

ws.onopen = () => {
  console.log('Connected to server');
  ws.send(JSON.stringify({ action: 'getData' }));
};

ws.onmessage = (event) => {
  const response = JSON.parse(event.data);
  console.log(response);
};
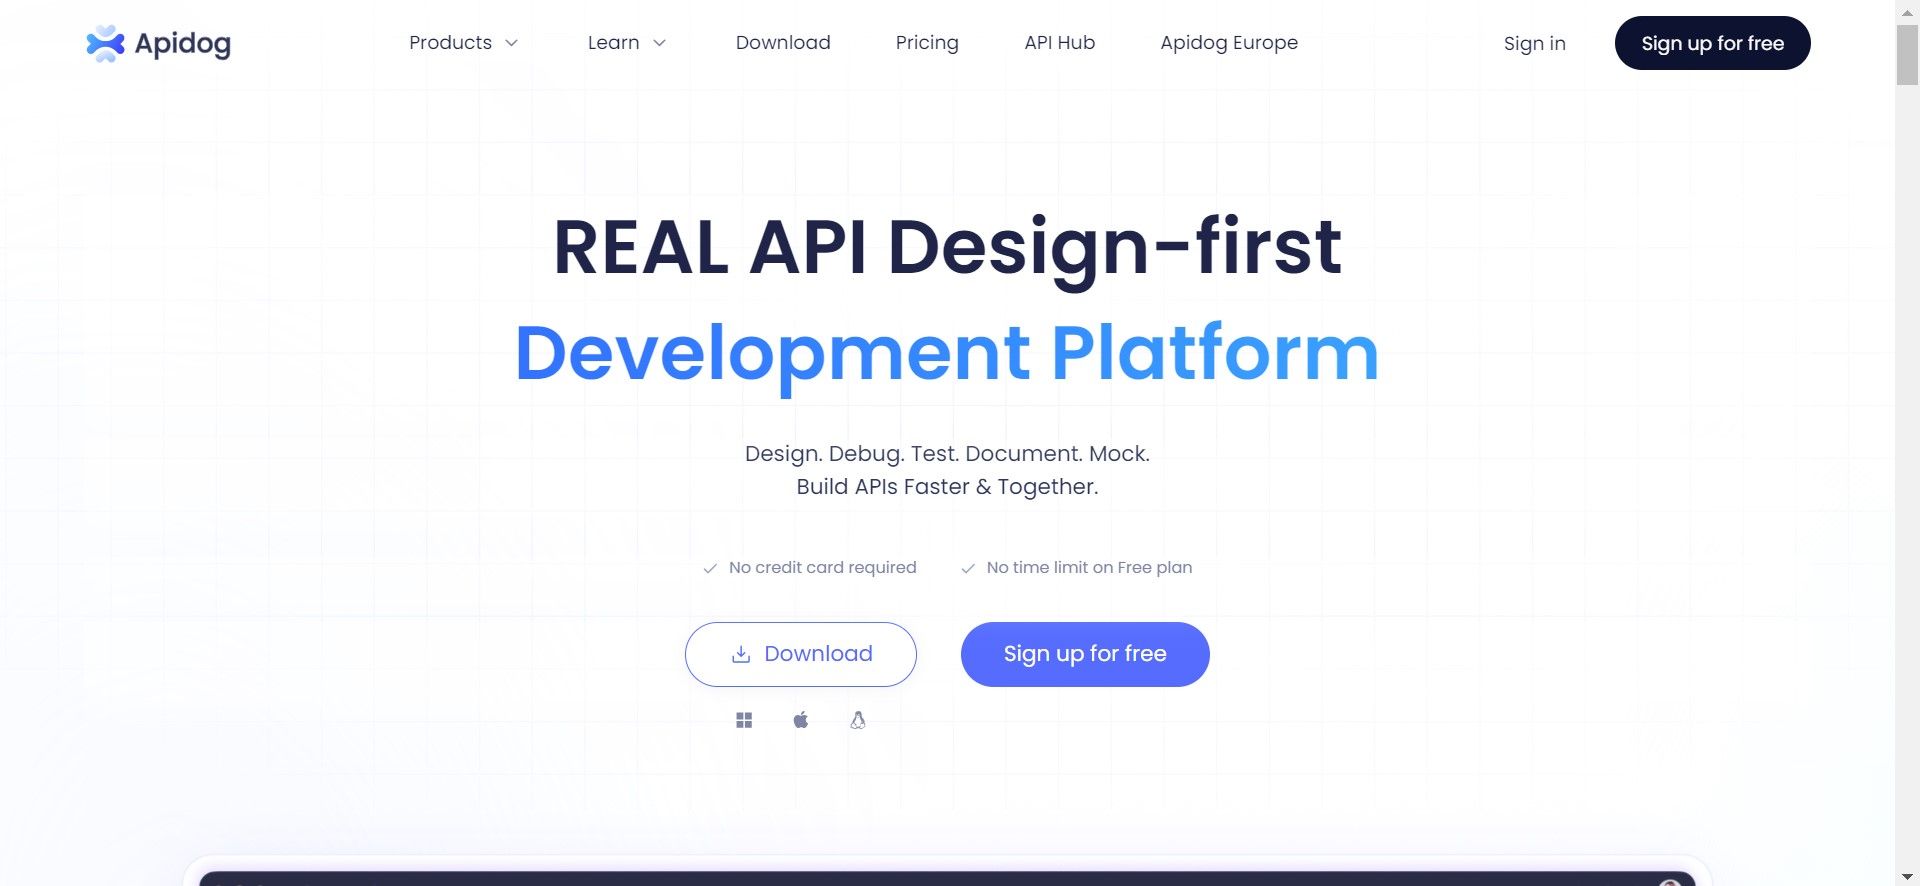
Apidog - Ideal Testing API Platform
Once you have created your Node.js WebSocket web application, you will need to test it to make sure it runs as intended.
Apidog is the perfect all-in-one solution to all your API problems. Not only can you test single endpoints of an API, but you can also create a multiple-step testing scenario to ensure that your API is ready for publication!
As you already have your WebSocket server running on the URL (as this article uses the ws://localhost:8080 URL), we can begin by creating a WebSocket request!
Creating a WebSocket Request Using Apidog
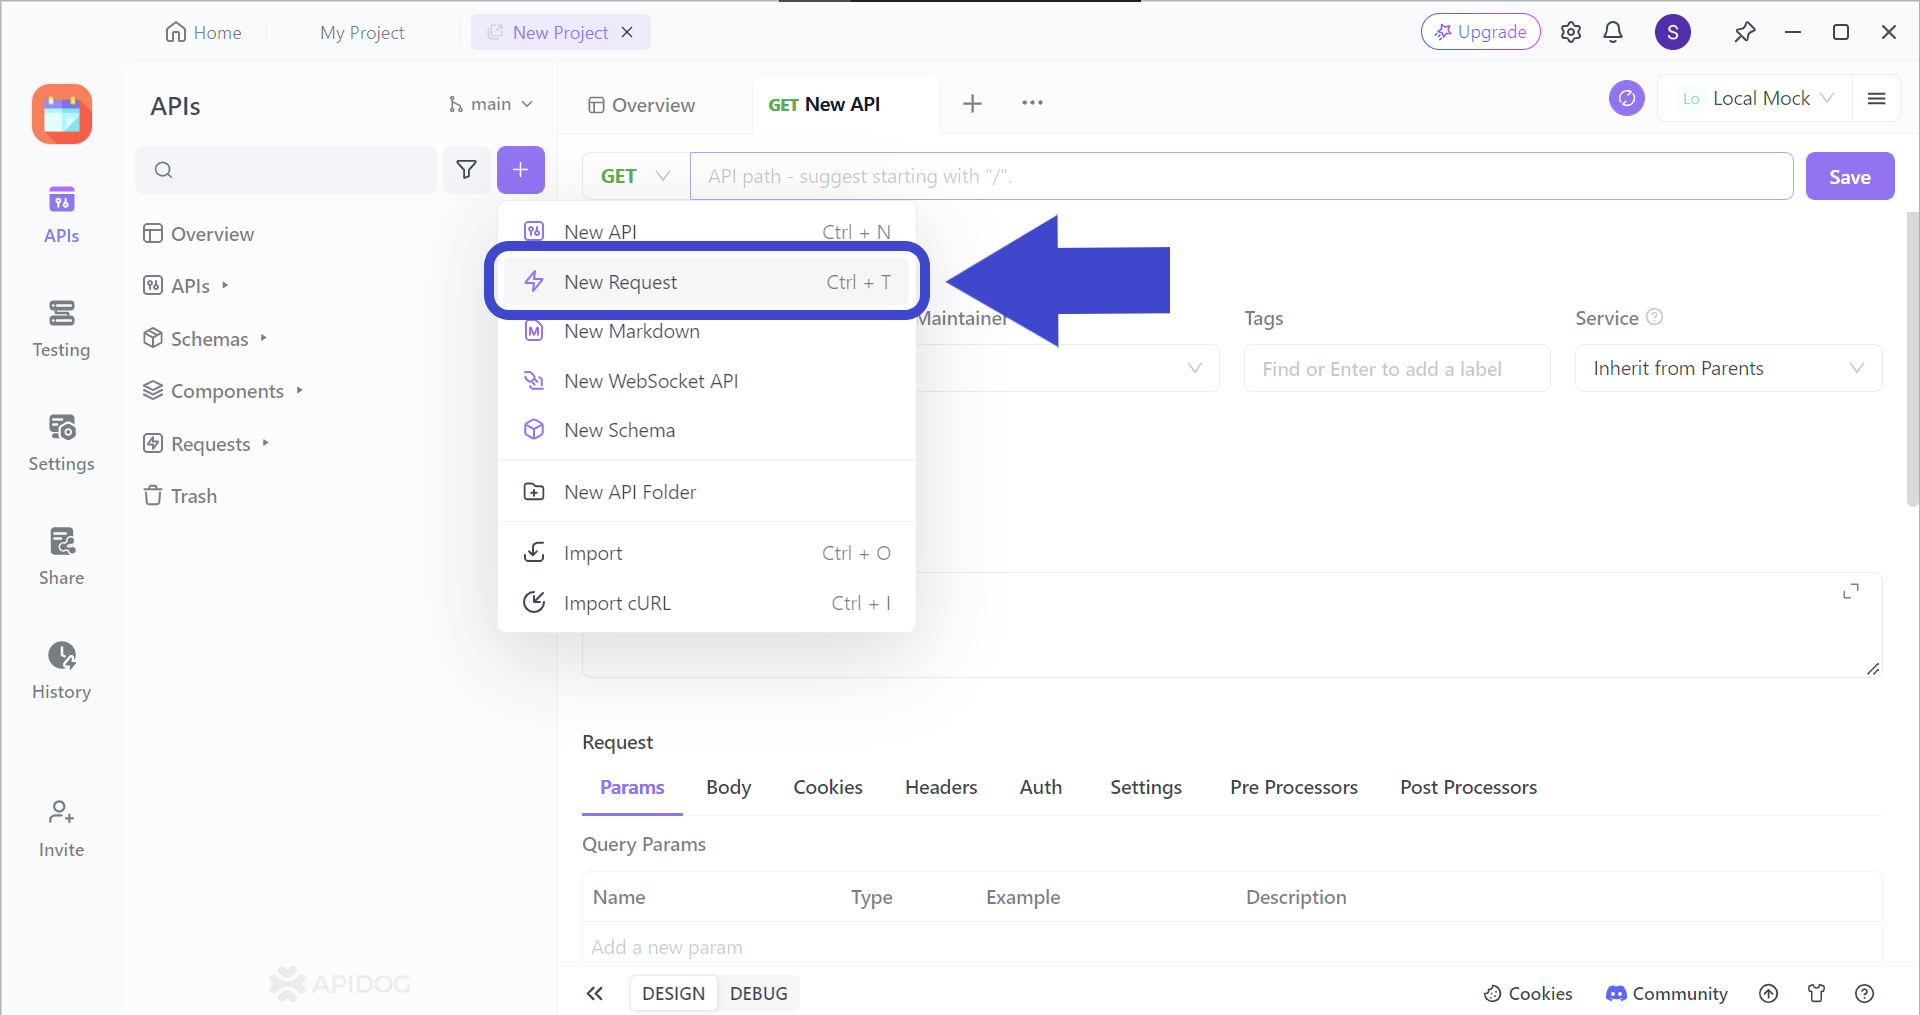
First, create a new API request solely for testing your Node.js WebSocket API or application. You can also use the shortcut Ctrl + T to instantly create a new request.
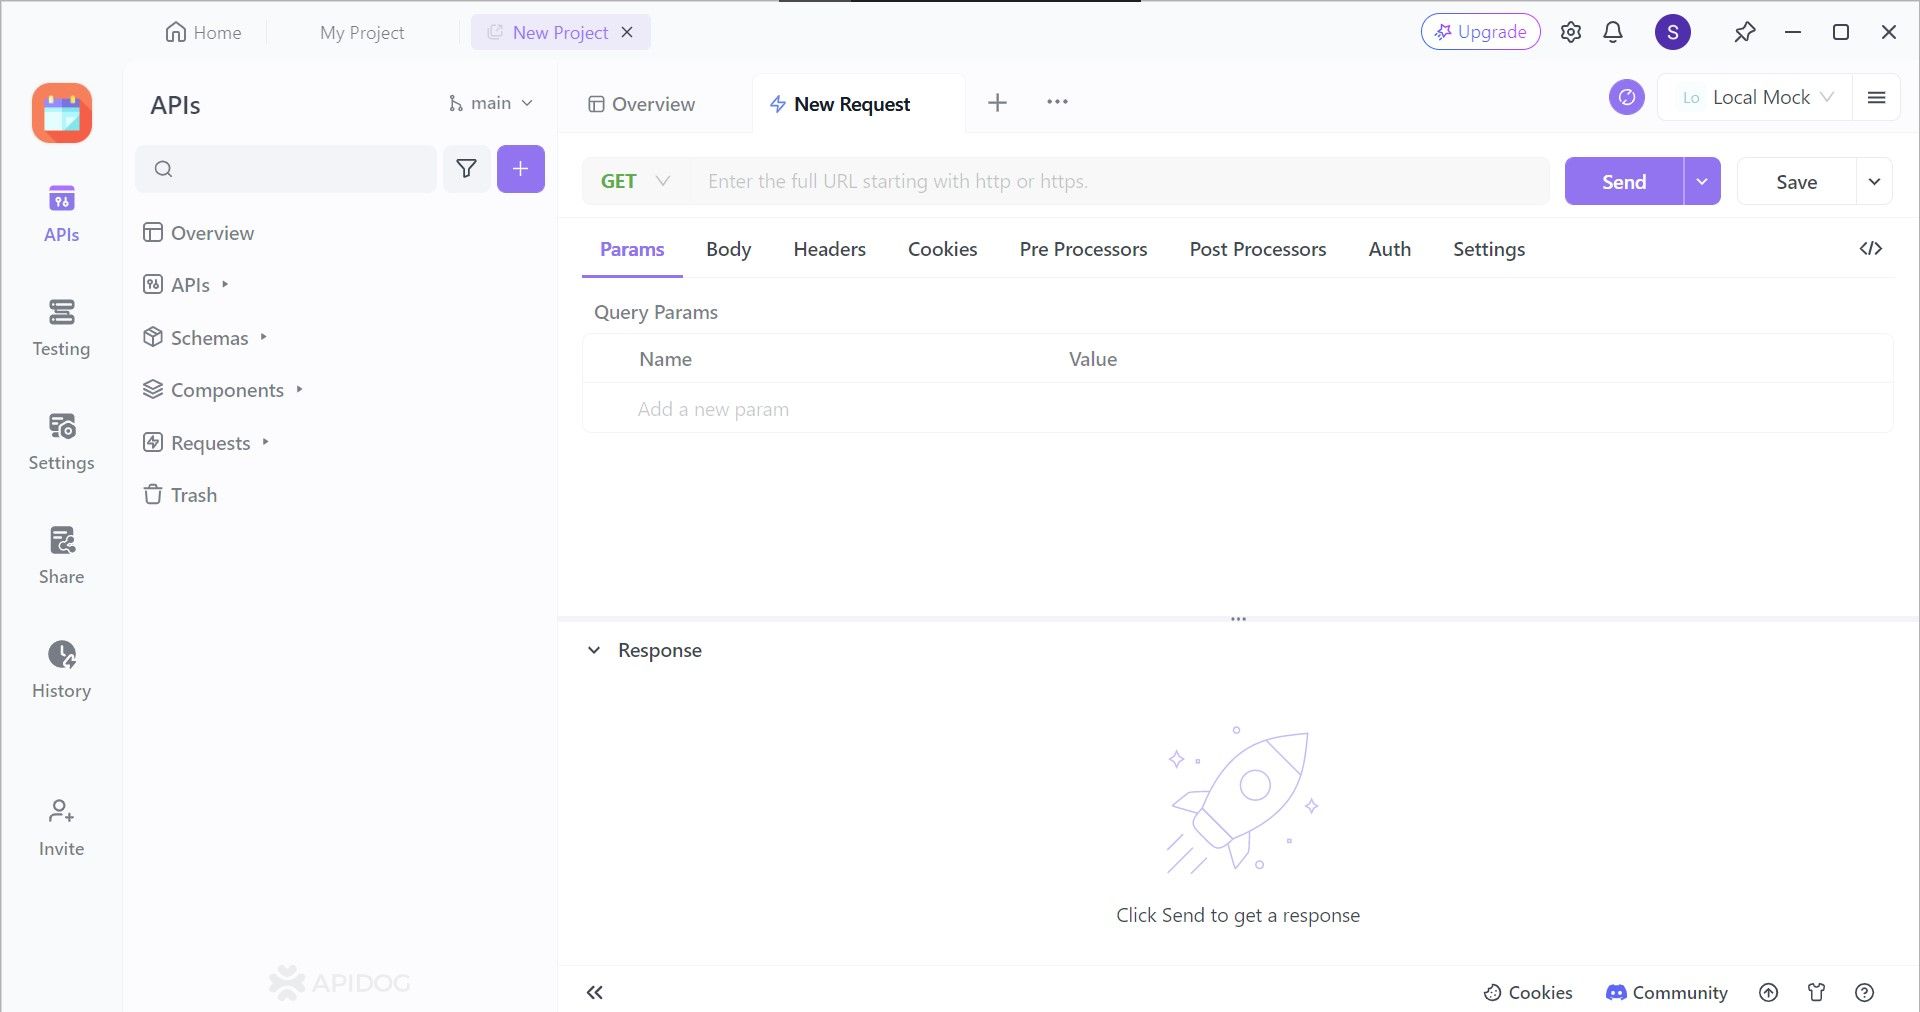
You should be able to see a blank, unnamed request. Here, you can craft a specific API URL, set the desired HTTP method, and include query parameters that you plan to test your Node.js WebSocket API or application with.
Conclusion
The combination of Node.js and WebSocket technologies can enable developers to create interesting and useful applications. They are especially powerful in enabling functionalities like real-time chatrooms and live streaming!
Apidog can also accommodate the creation and modification of WebSocket requests whenever necessary. Aside from requests, users can also build, test, debug, and mock APIs with Apidog.