
Hey there, fellow developer! Are you ready to dive into the world of Next.js and learn how to create powerful APIs? In this blog post, we'll explore a Next.js API example, discuss the importance of APIs, and introduce you to a fantastic tool called Apidog that will make your API development smoother than ever. So, grab your favorite beverage, and let's get started!
What is Next.js?
Before we dive into the nitty-gritty of API development, let's take a moment to understand what Next.js is. Next.js is a popular React framework that enables developers to build server-rendered React applications with ease. It offers features like static site generation, server-side rendering, and a powerful API route system. This makes it an excellent choice for building modern web applications..

Why Use Next.js for APIs?
You might be wondering, why should I use Next.js for APIs when there are so many other options out there? Great question! Here are a few compelling reasons:
Simplicity: Next.js provides a straightforward and intuitive way to create API routes. You don't need to set up a separate server or configure complex middleware. It's all built-in!
Performance: With Next.js, you can leverage server-side rendering and static site generation to optimize the performance of your APIs. This means faster response times and a better user experience.
Flexibility: Next.js allows you to use a variety of backend technologies, including Node.js, Express, and more. You can choose the tools that best suit your needs.
SEO-Friendly: Next.js is designed with SEO in mind, making it easier for your APIs to be discovered by search engines.
Setting Up Your Next.js Project
Let's get started with a simple Next.js project. If you haven't already, you'll need to install Node.js and npm (or yarn) on your machine. Once that's done, you can create a new Next.js project by running the following command:
npx create-next-app my-nextjs-api
Navigate to your project directory:
cd my-nextjs-api
Now, let's dive into creating our first API route!

Creating Your First Next.js API Route
In Next.js, API routes are stored in the pages/api directory. Let's create a simple API route that returns a list of users. Create a new file called users.js in the pages/api directory:
mkdir -p pages/api
touch pages/api/users.js
Open users.js and add the following code:
// pages/api/users.js

export default function handler(req, res) {
  const users = [
    { id: 1, name: 'John Doe' },
    { id: 2, name: 'Jane Doe' },
  ];

  res.status(200).json(users);
}
This code defines a basic API route that responds with a list of users. The handler function takes two arguments: req (the request object) and res (the response object). We use res.status(200).json(users) to send a JSON response with a status code of 200 (OK).
Testing Your API
To test your new API, start your Next.js development server:
npm run dev
Open your browser and navigate to http://localhost:3000/api/users. You should see a JSON response with the list of users:
[
  { "id": 1, "name": "John Doe" },
  { "id": 2, "name": "Jane Doe" }
]
Introducing Apidog: Your API Development Companion
Developing and testing APIs can be a daunting task, but with the right tools, it becomes a breeze. That's where Apidog comes in. Apidog is an all-in-one API development tool that allows you to design, test, and document your APIs effortlessly. It offers a user-friendly interface and powerful features to streamline your workflow.
Here's how you can use Apidog to enhance your workflow. Apidog allows you to test your API directly within the tool. You can make GET, POST, PUT, and DELETE requests, and see the responses in real-time.
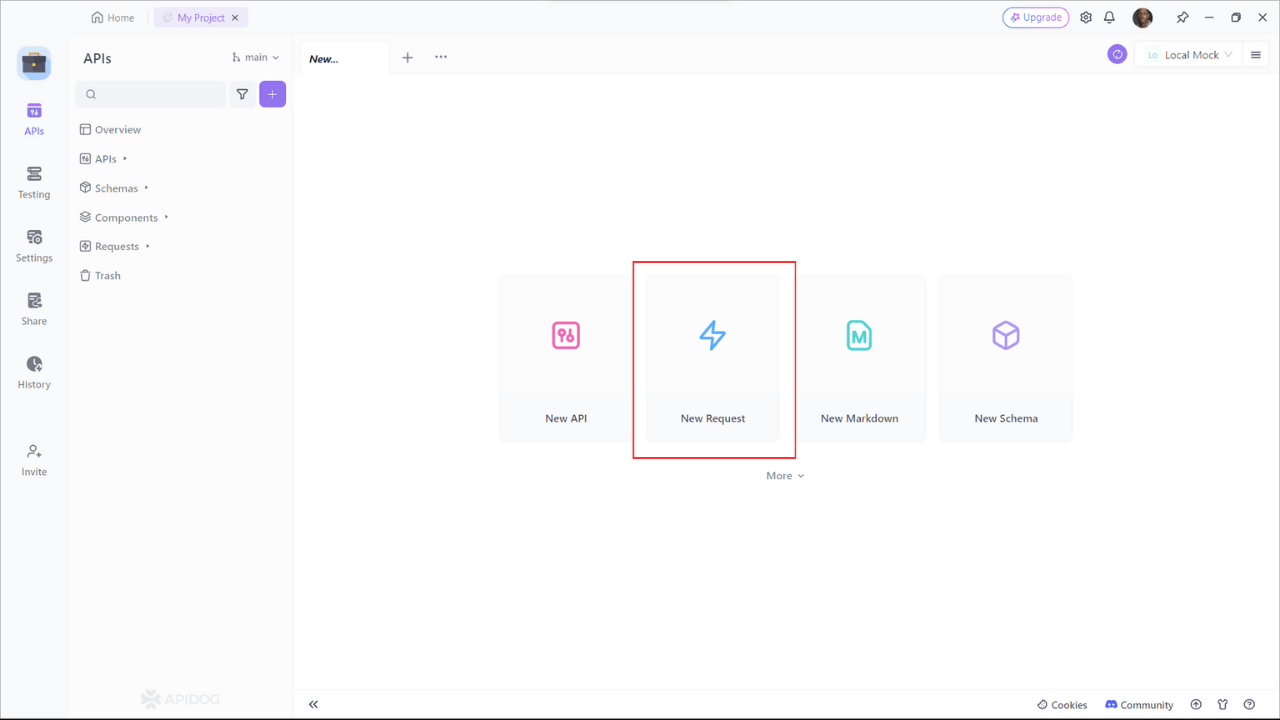
Step 1: Open Apidog and create a new request.
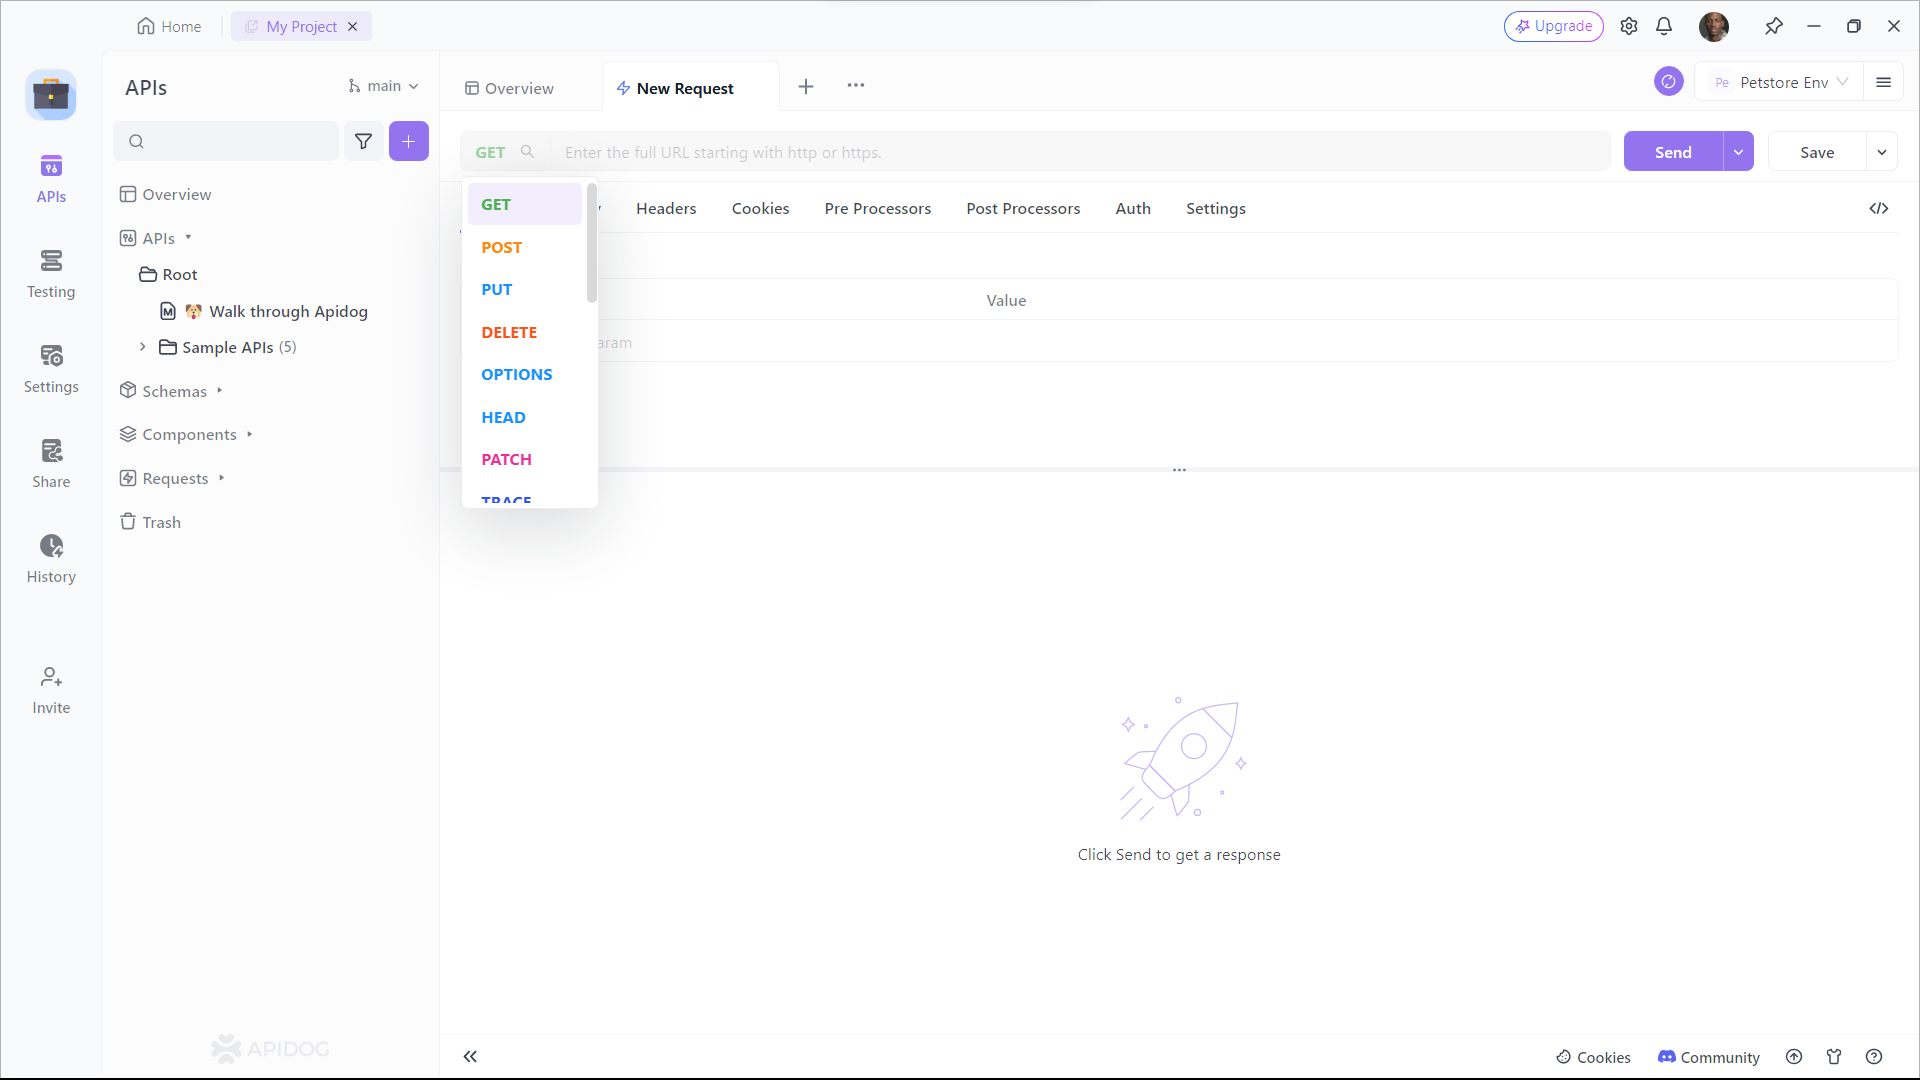
Step 2: Find or manually input the API details for the POST request you want to make.
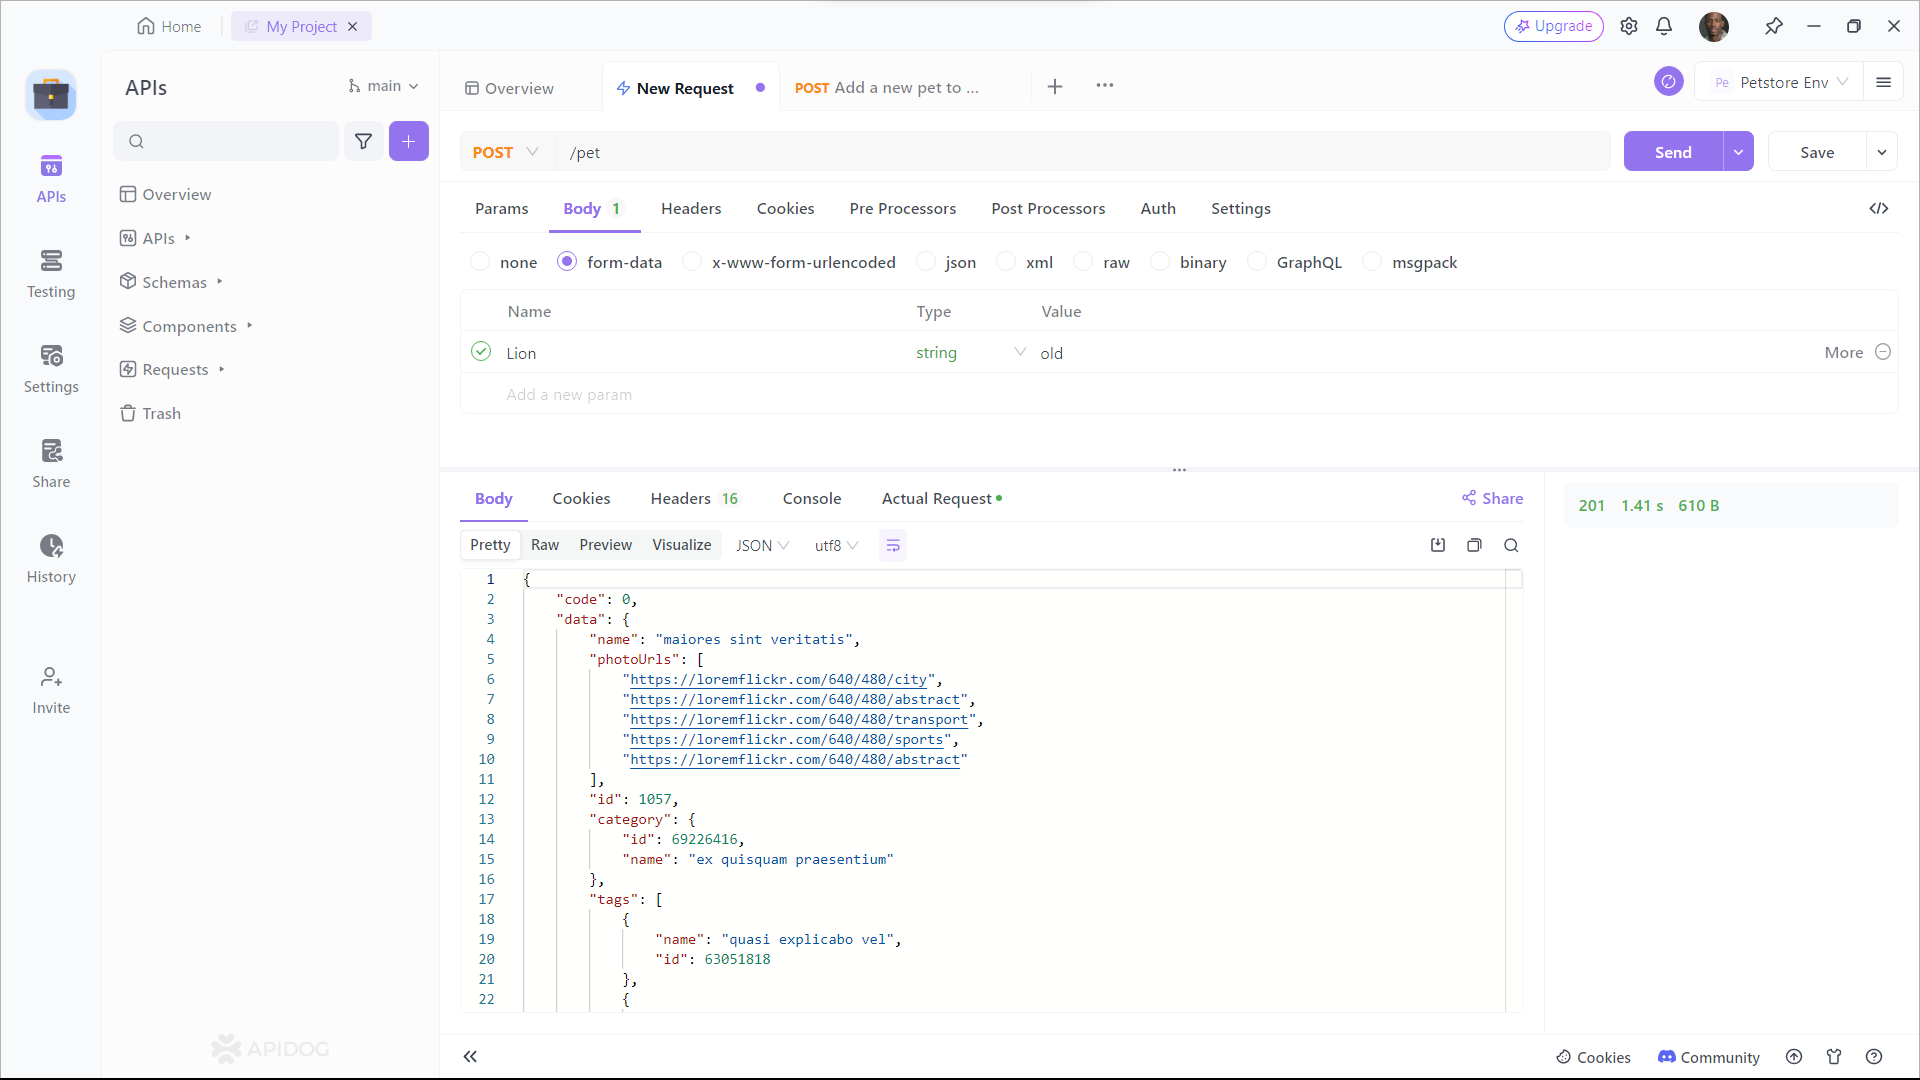
Step 3: Fill in the required parameters and any data you want to include in the request body.
By integrating Apidog into your workflow, you can save time and avoid common pitfalls in API development. Plus, it's free to download and use!
Don't take our word for it—download Apidog for free and experience the difference for yourself!
Adding More Complexity: Query Parameters
Now that we have a basic API route, let's add some complexity by handling query parameters. Suppose we want to filter the list of users based on their names. We can achieve this by modifying our users.js file:
// pages/api/users.js

export default function handler(req, res) {
  const { query } = req;
  const { name } = query;

  const users = [
    { id: 1, name: 'John Doe' },
    { id: 2, name: 'Jane Doe' },
  ];

  if (name) {
    const filteredUsers = users.filter(user => user.name.toLowerCase().includes(name.toLowerCase()));
    res.status(200).json(filteredUsers);
  } else {
    res.status(200).json(users);
  }
}
With this update, our API can now filter users based on the name query parameter. For example, navigating to http://localhost:3000/api/users?name=john will return:
[
  { "id": 1, "name": "John Doe" }
]
Handling Different HTTP Methods
APIs often need to handle different HTTP methods like GET, POST, PUT, and DELETE. Let's modify our users.js file to handle POST requests for adding new users:
// pages/api/users.js

let users = [
  { id: 1, name: 'John Doe' },
  { id: 2, name: 'Jane Doe' },
];

export default function handler(req, res) {
  const { method } = req;

  switch (method) {
    case 'GET':
      res.status(200).json(users);
      break;
    case 'POST':
      const { name } = req.body;
      const newUser = { id: users.length + 1, name };
      users.push(newUser);
      res.status(201).json(newUser);
      break;
    default:
      res.setHeader('Allow', ['GET', 'POST']);
      res.status(405).end(`Method ${method} Not Allowed`);
  }
}
Now, our API can handle both GET and POST requests. To test the POST request, you can use a tool like Postman or, better yet, Apidog. Make a POST request to http://localhost:3000/api/users with a JSON body:
{
  "name": "Alice Smith"
}
The response should be the newly created user:
{
  "id": 3,
  "name": "Alice Smith"
}
Error Handling in Next.js APIs
Robust error handling is crucial for any API. Let's enhance our users.js file to include error handling for invalid requests:
// pages/api/users.js

let users = [
  { id: 1, name: 'John Doe' },
  { id: 2, name: 'Jane Doe' },
];

export default function handler(req, res) {
  const { method } = req;

  switch (method) {
    case 'GET':
      res.status(200).json(users);
      break;
    case 'POST':
      const { name } = req.body;
      if (!name) {
        res.status(400).json({ error: 'Name is required' });
      } else {
        const newUser = { id: users.length + 1, name };
        users.push(newUser);
        res.status(201).json(newUser);
      }
      break;
    default:
      res.setHeader('Allow', ['GET', 'POST']);
      res.status(405).end(`Method ${method} Not Allowed`);
  }
}
Now, if you try to make a POST request without a name property in the body, you'll receive an error response:
{
  "error": "Name is required"
}
Securing Your Next.js API
Security is a top priority for any API. Let's implement basic authentication for our API routes. We'll use an API key to authenticate requests. First, let's create a new environment variable for our API key. Create a .env.local file in the root of your project:
API_KEY=mysecretapikey
Next, update your users.js file to include API key authentication:
// pages/api/users.js

let users = [
  { id: 1, name: 'John Doe' },
  { id: 2, name: 'Jane Doe' },
];

export default function handler(req, res) {
  const { method, headers } = req;
  const apiKey = headers['x-api-key'];

  if (apiKey !== process.env.API_KEY) {
    return res.status(401).json

({ error: 'Unauthorized' });
  }

  switch (method) {
    case 'GET':
      res.status(200).json(users);
      break;
    case 'POST':
      const { name } = req.body;
      if (!name) {
        res.status(400).json({ error: 'Name is required' });
      } else {
        const newUser = { id: users.length + 1, name };
        users.push(newUser);
        res.status(201).json(newUser);
      }
      break;
    default:
      res.setHeader('Allow', ['GET', 'POST']);
      res.status(405).end(`Method ${method} Not Allowed`);
  }
}
Now, your API routes require an API key for authentication. Include the x-api-key header in your requests to access the API:
{
  "x-api-key": "mysecretapikey"
}
Conclusion
Building APIs with Next.js is both fun and rewarding. We've covered the basics of creating API routes, handling different HTTP methods, error handling, and adding security. Additionally, we've introduced you to Apidog, a fantastic tool for designing, testing, and documenting your APIs.
Whether you're a seasoned developer or just getting started, Next.js and Apidog provide the tools you need to build powerful, scalable APIs. So, what are you waiting for? Start building your Next.js API today, and don't forget to download Apidog for free to streamline your development process.


