The Advanced REST client is a very well-known HTTP API client used by many developers. However, the Advanced REST client Chrome app has been discarded by Google and will be removed from the Chrome Web Store in the near future. Therefore, we need to migrate the data from the Advanced REST client Chrome app to the desktop app.
In this article, we will show you how to migrate from Advanced REST client Chrome apps to desktop apps.
What is an Advanced REST client?
Advanced REST Client (ARC) is a Google Chrome extension used for testing, debugging, and documentation of RESTful APIs. ARC provides a user-friendly interface for making HTTP requests, sending them to servers, and receiving responses.
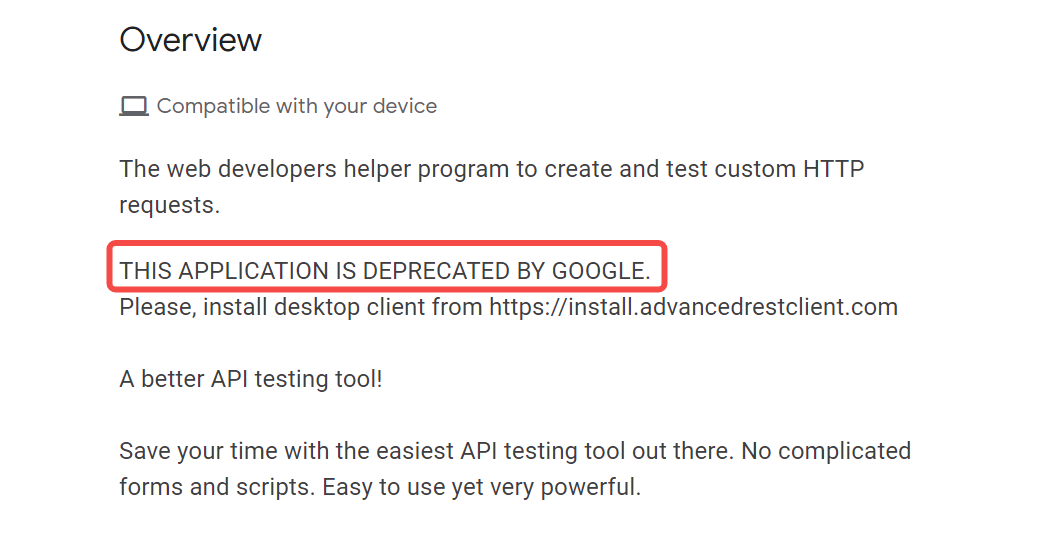
Advanced REST client was originally known to users as a Chrome extension, but now Google has discarded the Advanced REST client Chrome online, so you must use the desktop application instead.

Advanced REST client migration: from Chrome to desktop apps
In this part, we will detail how to migrate data from the Advanced REST client's Chrome app to the desktop app.
Step ⒈Install the desktop app
Go to https://github.com/advanced-rest-client/arc-electron/releases to download and install the latest version of Advanced REST client for desktop.
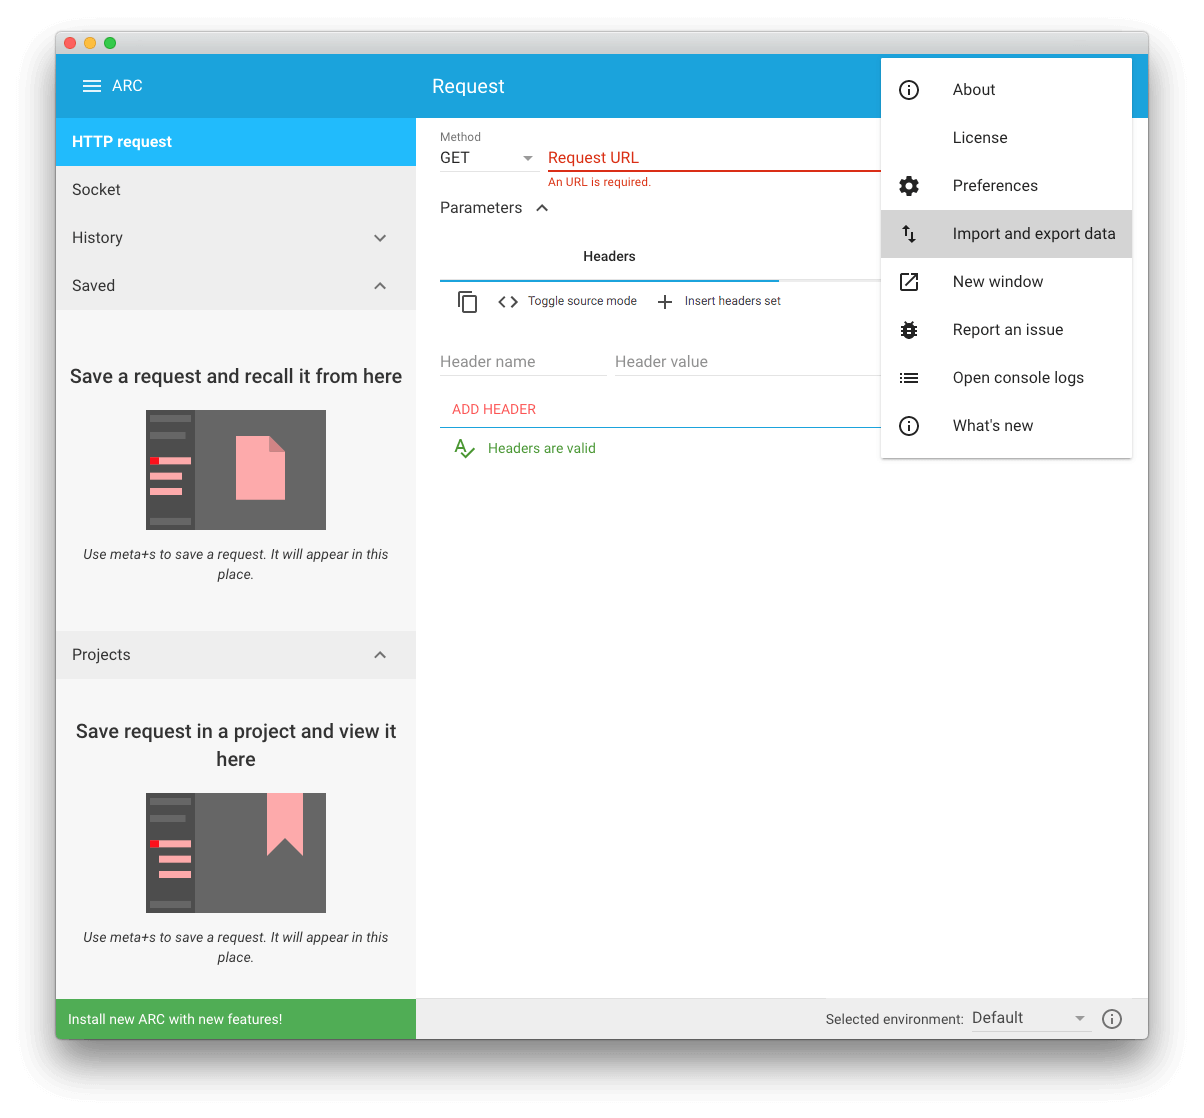
Step ⒉Export data from Advanced REST client's Chrome app
Open the Chrome app of the Advanced REST client, click on the upper right menu and select "Import and export data".
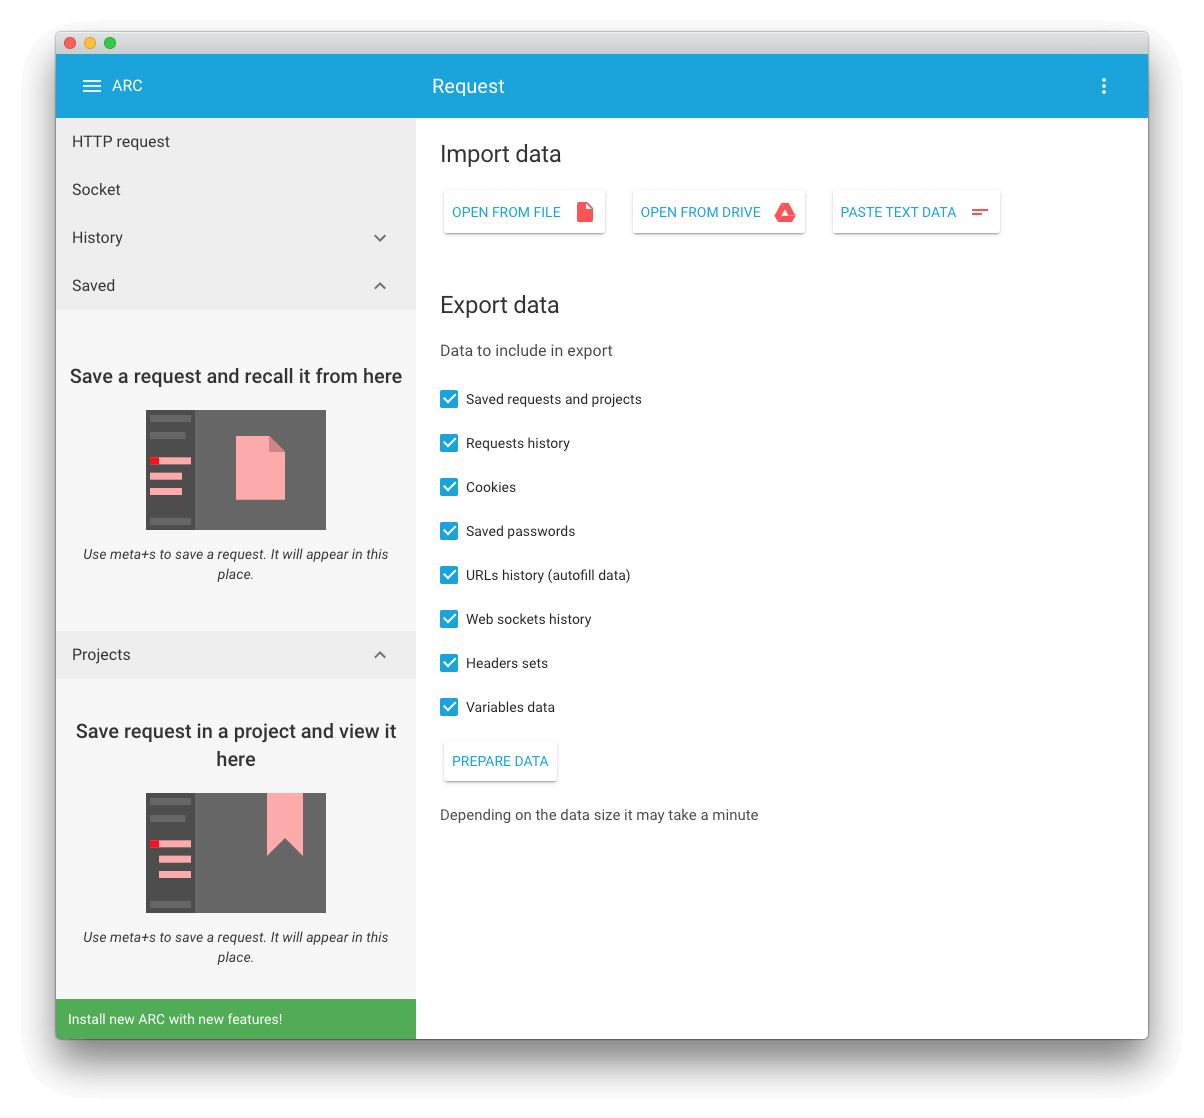
Step ⒊Prepare export data
Under "Export data," check the data you wish to export and click the PREPARE DATA button.
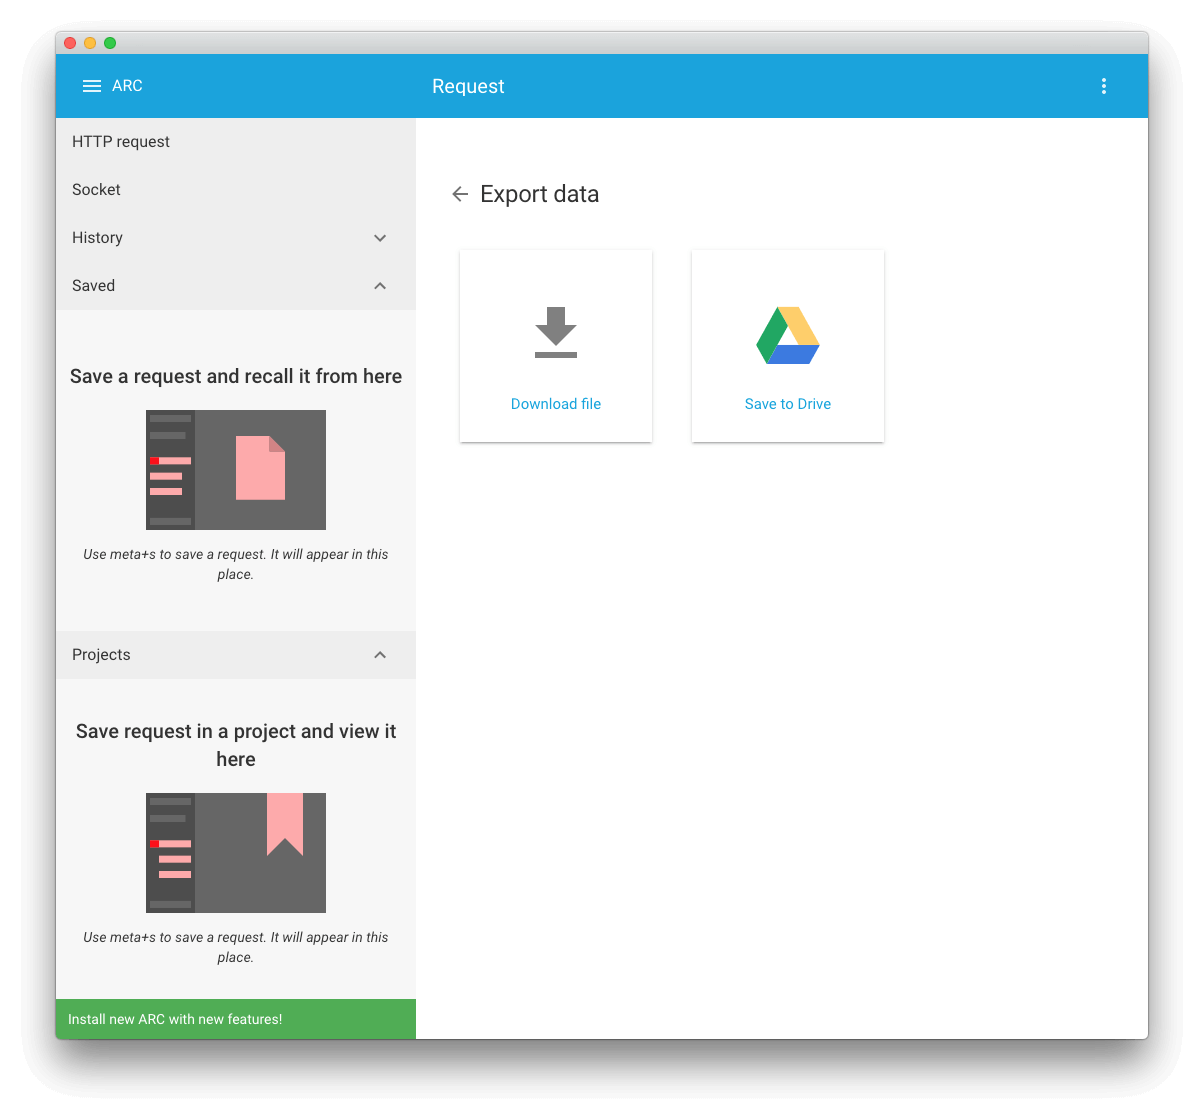
Step ⒋Download data
On the next screen, click "Download file" to download the file to a specific destination.
Step ⒌Import data into the desktop application
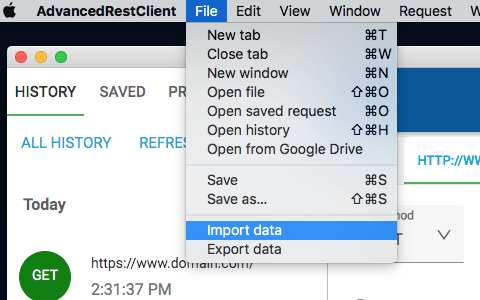
Open the Advanced REST Client desktop app and click on "File" then "Import data".
Step ⒍Select data for import
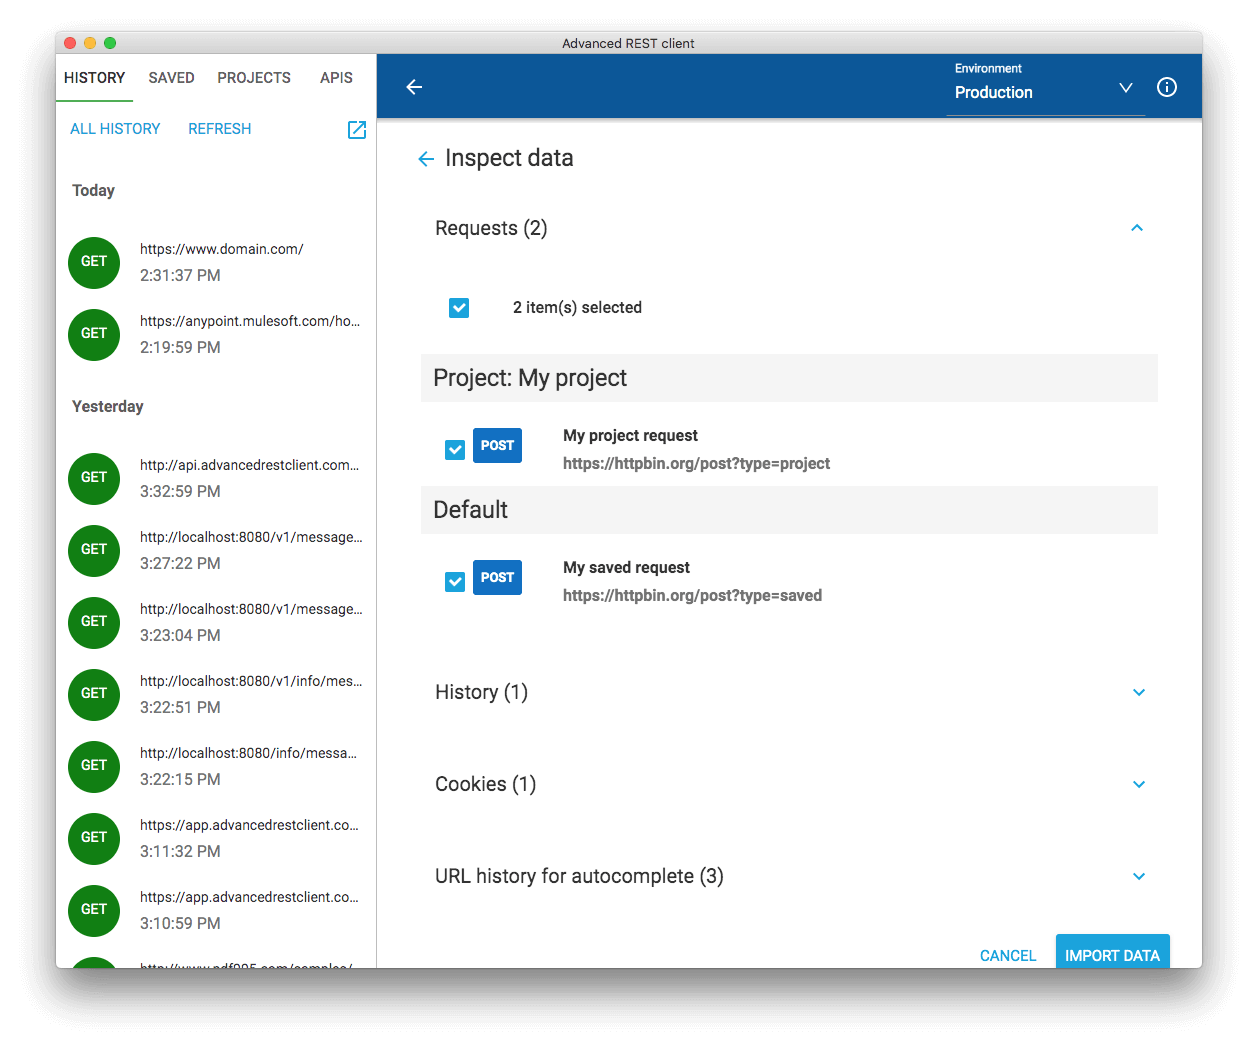
On the Data Import screen, click "Open from file" and select the file that was downloaded earlier. The contents of the file will be analyzed by the app and imported.
Step ⒎Uninstall the Chrome app
Enter "chrome://apps/" in the Chrome address bar to access the Chrome apps page. Here you can uninstall the Advanced REST client Chrome app that you have installed.
Apidog: Advanced REST client Alternative
Apidog is not only free to send HTTP requests but also provides API design, specification generation, test automation, CI/CD, API mocking, and other features that can be used at any stage of the API life cycle.
Refer to the following operating instructions to easily send HTTP or REST API requests and validate responses.
3 Steps to Send HTTP Requests with Apidog
Although Apidog can support APIs that employ protocols such as RESTful, SOAP, WebSocket, and GraphQL, the following is an example of a Restful (HTTP) API to send a request
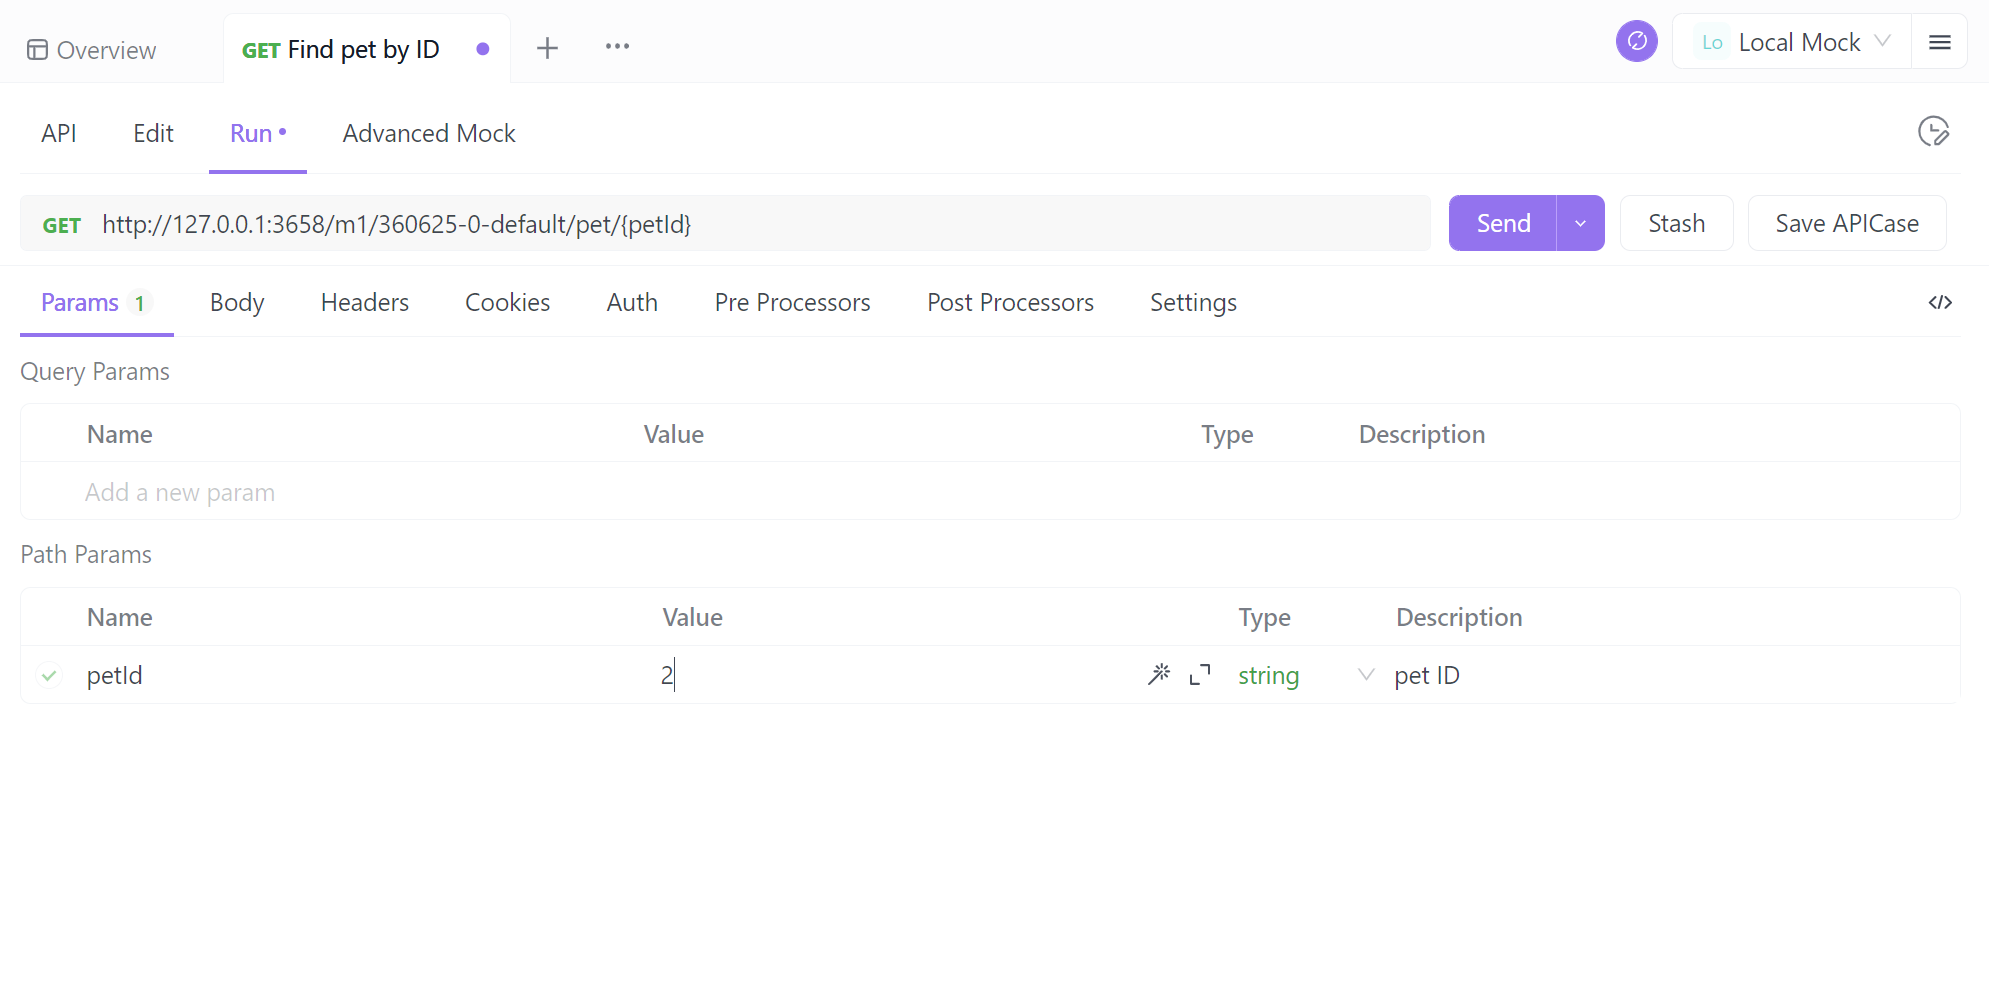
On the Step ⒈API execution page, simply enter the HTTP method, API endpoint and parameters, and click the "Send" button to send the HTTP request.
Step ⒉Get the response here. It automatically verifies that the response you get is accurate.
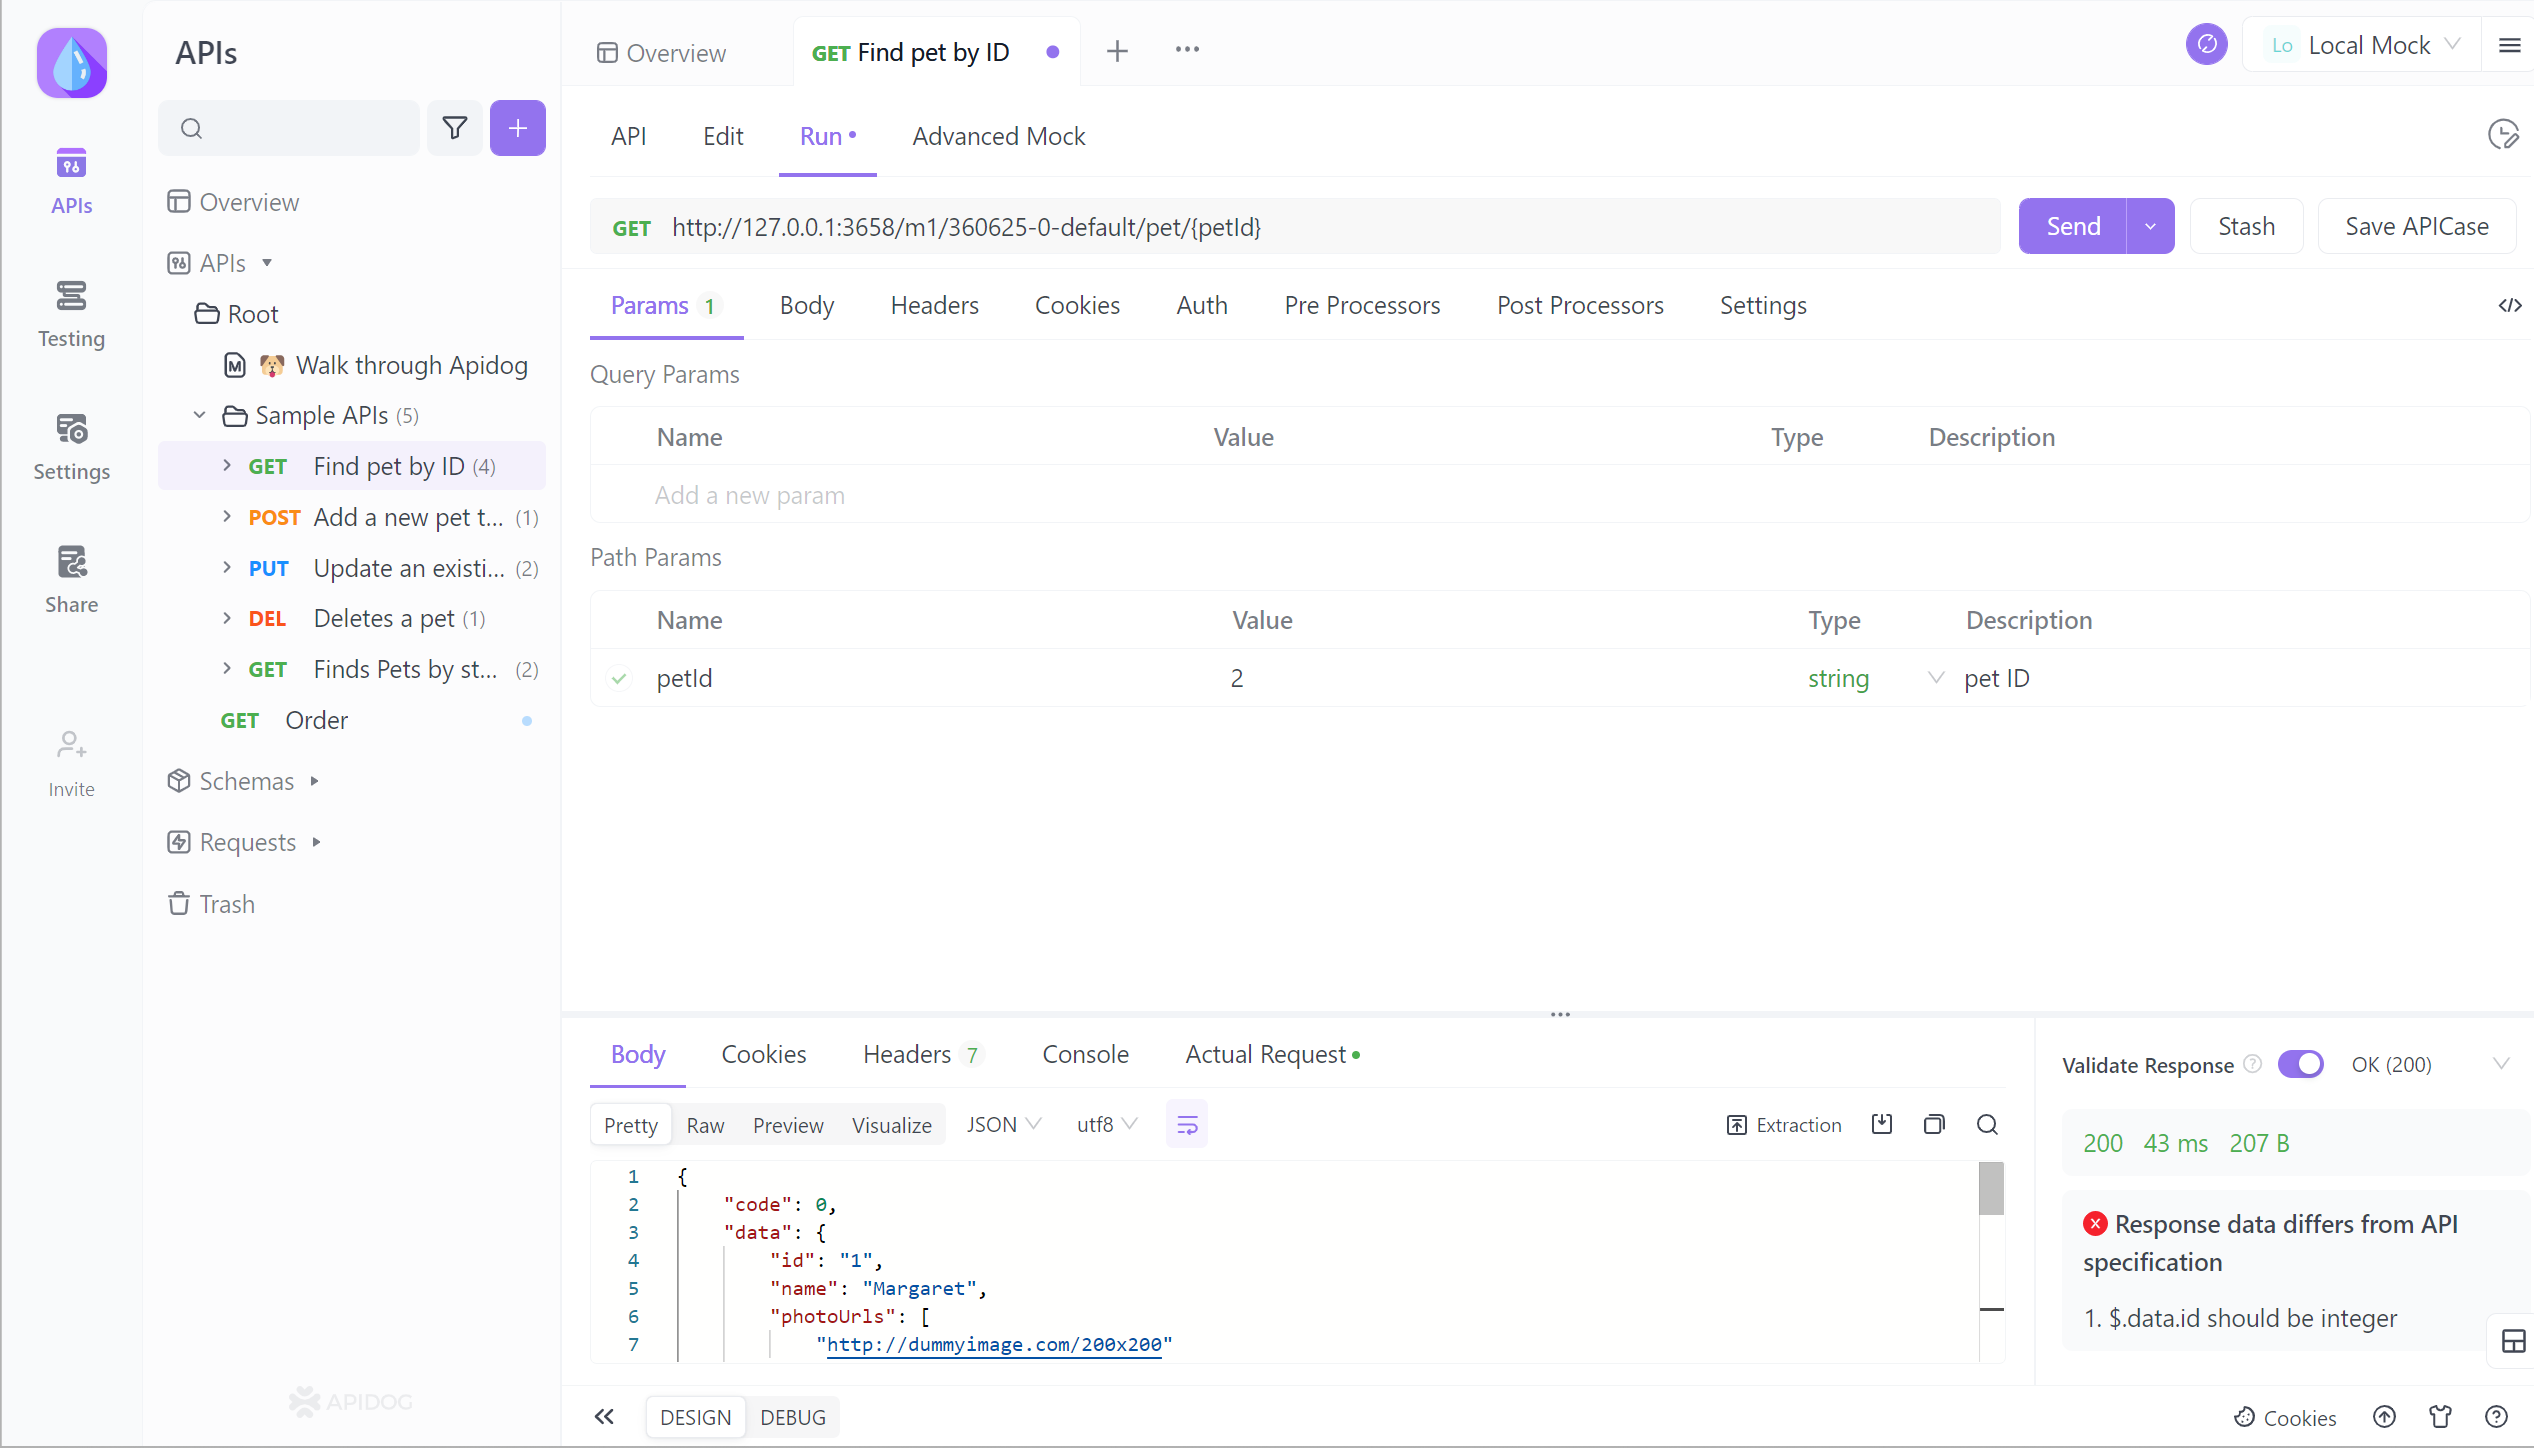
Step ⒊Click the Save APICase button to save the request. You can also save the request sent this time and its response and other information as an APICase. This is very useful as it will be directly available the next time you refer to this case.