
Mistral AI has made waves in the AI community with the release of Mistral Medium 3, a multimodal AI model that delivers state-of-the-art (SOTA) performance at an impressive 8X lower cost than its competitors. Launched on May 7, 2025, this model excels in coding, STEM reasoning, and enterprise-grade applications, making it a go-to choice for developers and businesses alike. Mistral Medium 3 outperforms models like Llama 4 Maverick, GPT-4o, and Claude Sonnet 3.7 across various benchmarks, particularly in coding and multimodal tasks. But how do you harness this powerful model for your projects? The answer lies in accessing the Mistral Medium 3 API.
In this guide, I’ll walk you through the process of accessing and integrating the Mistral Medium 3 API into your applications.
Why Use the Mistral Medium 3 API?
Mistral Medium 3 offers a unique balance of performance, cost, and deployability, making it ideal for both individual developers and enterprises. According to Mistral AI’s announcement, the model delivers frontier-class performance at a fraction of the cost—priced at $0.40 per million input tokens and $2 per million output tokens. This pricing structure makes it significantly more affordable than competitors like Claude Sonnet 3.7 or Cohere’s Command-A.
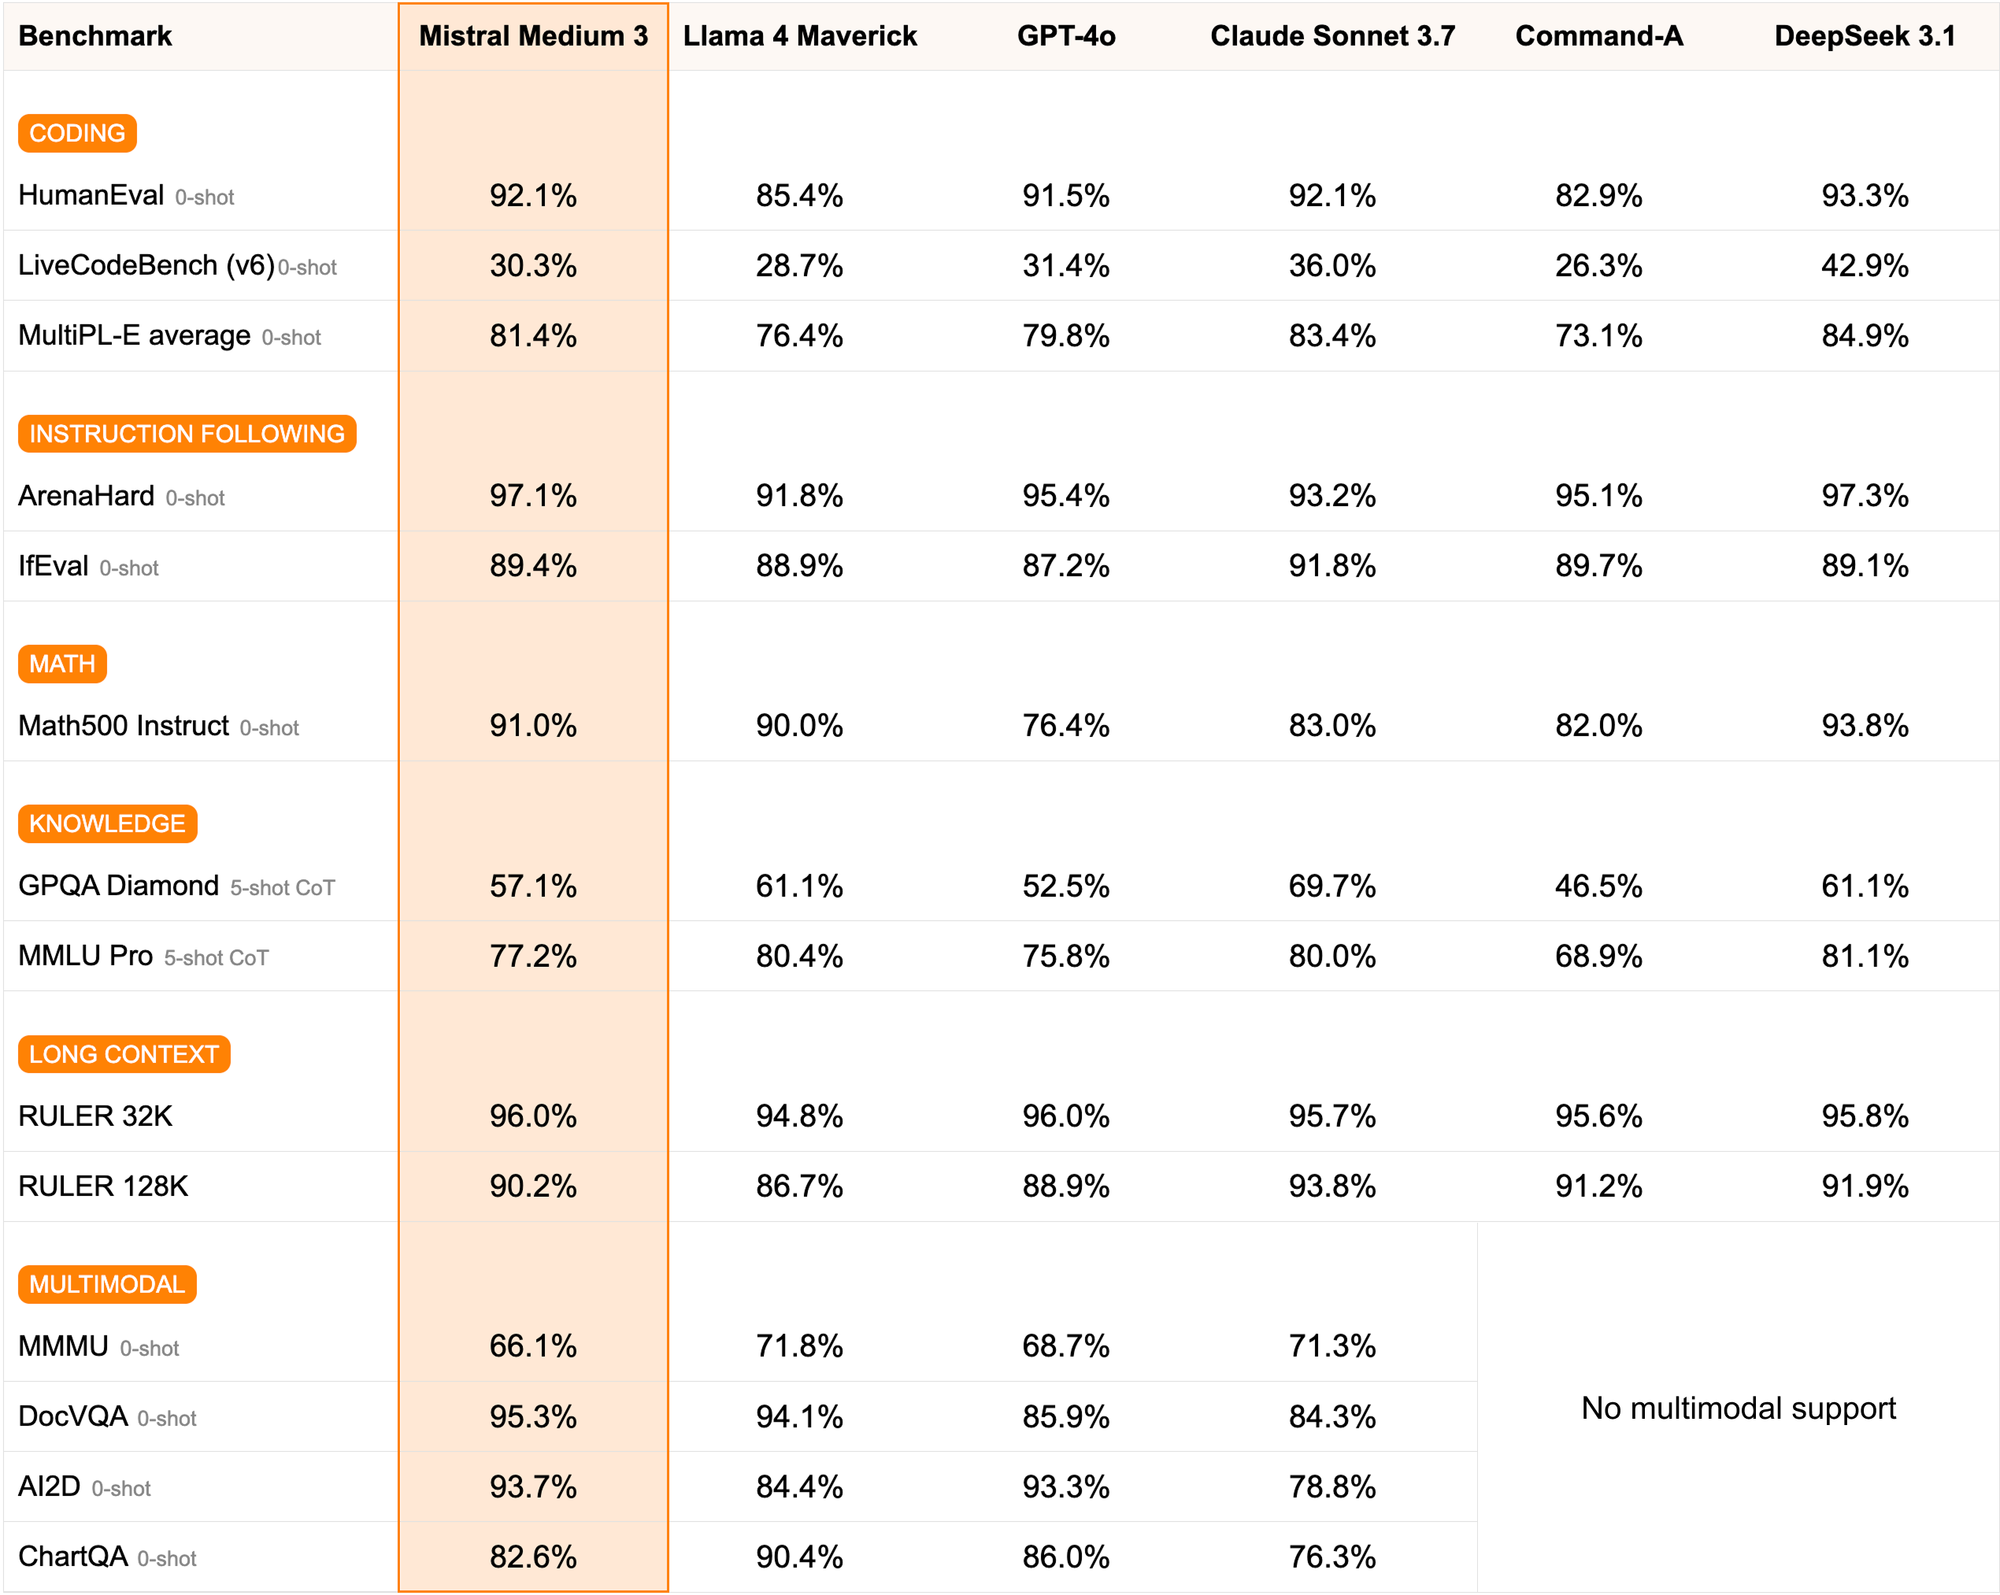
Moreover, the API supports hybrid and on-premises deployments, which is a game-changer for enterprises needing secure, in-VPC solutions. With strong capabilities in coding, instruction-following, and multimodal understanding, the Mistral Medium 3 API is designed for professional use cases, from financial services to healthcare. Now, let’s get into the nitty-gritty of accessing this API.
Prerequisites for Accessing the Mistral Medium 3 API
To access the Mistral Medium 3 API, you need to prepare a few things. First, ensure you have a basic understanding of APIs and how they work. Familiarity with HTTP requests, JSON payloads, and authentication mechanisms like API keys will be helpful.
Step 1: Sign Up for Mistral AI and Get Your API Key
To begin, head over to the Mistral AI platform at console.mistral.ai. Follow these steps to sign up and obtain your API key:
Create an Account: Click on the “Sign Up” button and provide your email, name, and password. Verify your email address to activate your account.
Log In: Once your account is active, log in to the Mistral AI console.
Navigate to API Section: In the dashboard, look for the “API” or “Developer” section. This is where you’ll find details about the Mistral Medium 3 API.
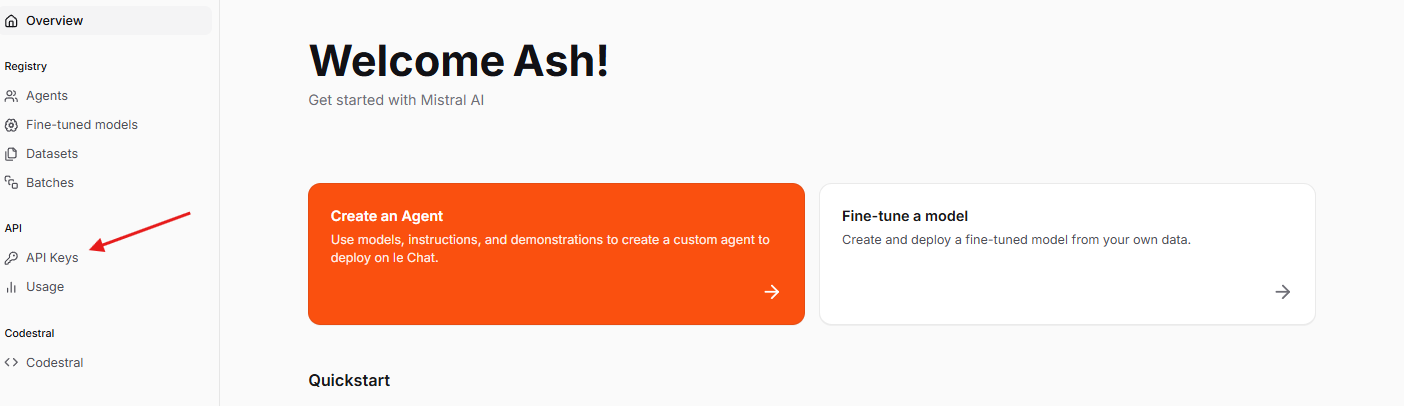
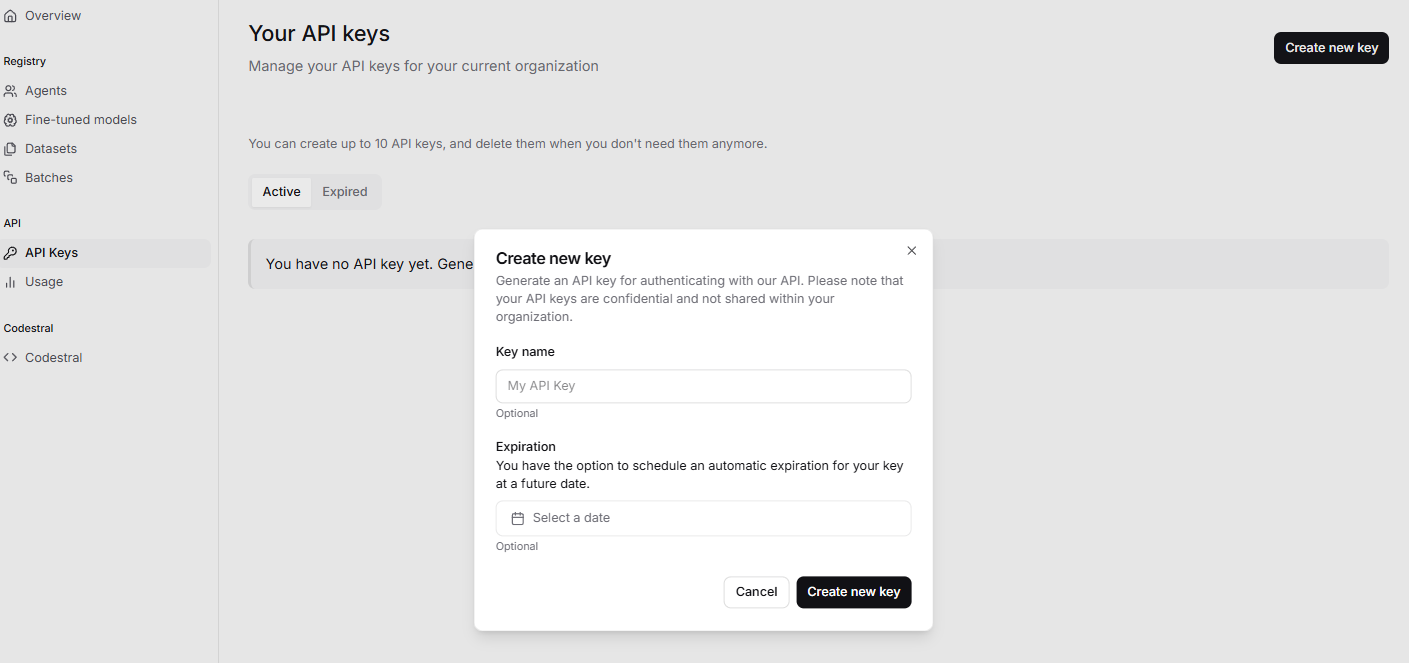
Generate API Key: Click on the option to generate a new API key.
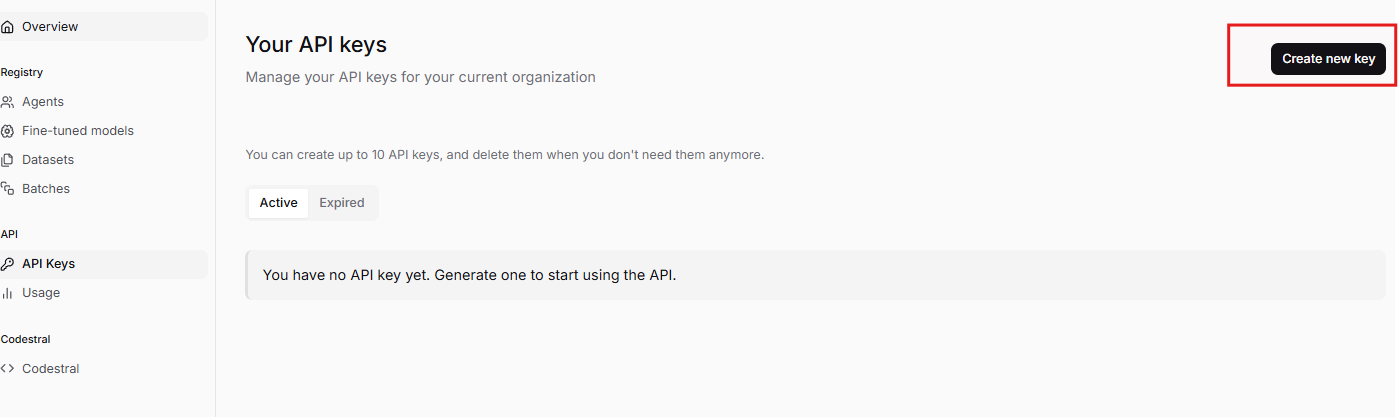
Copy this key and store it securely—never share it publicly, as it grants access to your account’s API usage.
Mistral AI also offers a pay-as-you-go pricing model, so you’ll need to add payment details to start using the API. As mentioned earlier, the Mistral Medium 3 API costs $0.40 per million input tokens and $2 per million output tokens, making it a cost-effective choice for developers.
Step 2: Understand the Mistral Medium 3 API Endpoints
Next, familiarize yourself with the Mistral Medium 3 API endpoints. An API endpoint is a specific URL where your application sends requests to interact with the model. The Mistral Medium 3 API is available through Mistral La Plateforme and Amazon Sagemaker, with upcoming support on platforms like IBM WatsonX and Google Cloud Vertex.
The primary endpoint for Mistral Medium 3 is likely a generative endpoint, similar to Mistral’s earlier models like mistral-tiny and mistral-small. For this guide, let’s assume the base URL for the API is:
https://api.mistral.ai/v1
The Mistral Medium 3 API supports various tasks, such as text generation, coding assistance, and multimodal understanding. Common endpoints might include:
- Text Generation:
/v1/generate– Use this to generate text or code based on a prompt. - Chat Completion:
/v1/chat/completions– Ideal for conversational tasks. - Multimodal Tasks:
/v1/multimodal– For handling image or text-based multimodal inputs.
Since Mistral Medium 3 is a multimodal model, it can process both text and images, making it versatile for applications like document analysis or code generation. Check Mistral AI’s official API documentation for the exact endpoints and parameters.
Step 3: Set Up Your Development Environment
Now, set up your development environment to make API requests. For this guide, I’ll use Python due to its simplicity and wide adoption. However, you can use any programming language that supports HTTP requests, such as JavaScript (Node.js), Java, or Go.
Install Required Libraries
First, install the requests library in Python to handle HTTP requests. Open your terminal and run:
pip install requests
Create a Basic Script
Create a new Python file, mistral_medium_3_api.py, and add the following code to set up the basic structure:
import requests
import json

# Define your API key
API_KEY = "your-api-key-here"

# Define the base URL for Mistral Medium 3 API
BASE_URL = "https://api.mistral.ai/v1"

# Set up headers for authentication
headers = {
    "Authorization": f"Bearer {API_KEY}",
    "Content-Type": "application/json"
}
Replace your-api-key-here with the API key you obtained from Mistral AI. The headers dictionary includes the Authorization header for authentication and the Content-Type header to specify that we’re sending JSON data.
Step 4: Make Your First API Request to Mistral Medium 3
With your environment set up, let’s make your first API request to the Mistral Medium 3 API. For this example, I’ll use the /v1/generate endpoint to generate a simple text response.
Construct the API Request
Add the following code to your Python script to send a request:
# Define the endpoint for text generation
endpoint = f"{BASE_URL}/generate"

# Define the payload (input data)
payload = {
    "prompt": "Write a Python function to calculate the factorial of a number.",
    "max_tokens": 200,
    "temperature": 0.7
}

# Send the API request
response = requests.post(endpoint, headers=headers, json=payload)

# Check the response
if response.status_code == 200:
    result = response.json()
    print("API Response:", result)
else:
    print(f"Error: {response.status_code} - {response.text}")
Explanation of the Code
- Endpoint: We append
/generateto the base URL to target the text generation endpoint. - Payload: The
payloaddictionary contains the input prompt,max_tokens(to limit the response length), andtemperature(to control the randomness of the output). - Request: The
requests.postmethod sends a POST request to the API with the headers and payload. - Response: We check the
status_codeto ensure the request was successful (200 means success). If successful, we print the response; otherwise, we print the error.
Expected Output
If successful, the API will return a JSON response containing the generated text, such as:
{
    "text": "Here's a Python function to calculate the factorial of a number:\n\n```python\ndef factorial(n):\n    if n == 0 or n == 1:\n        return 1\n    else:\n        return n * factorial(n-1)\n```\n\nThis function uses recursion to compute the factorial. For example, `factorial(5)` returns `120`."
}
Step 5: Test and Debug with Apidog
At this point, you’ve made your first API request, but what if you encounter issues? This is where Apidog comes in. Apidog is a powerful API management tool that simplifies testing, debugging, and documenting APIs. Let’s see how to use Apidog to test the Mistral Medium 3 API.
Install and Set Up Apidog
Create a New Project: Open Apidog and create a new project named “Mistral Medium 3 API Testing.”
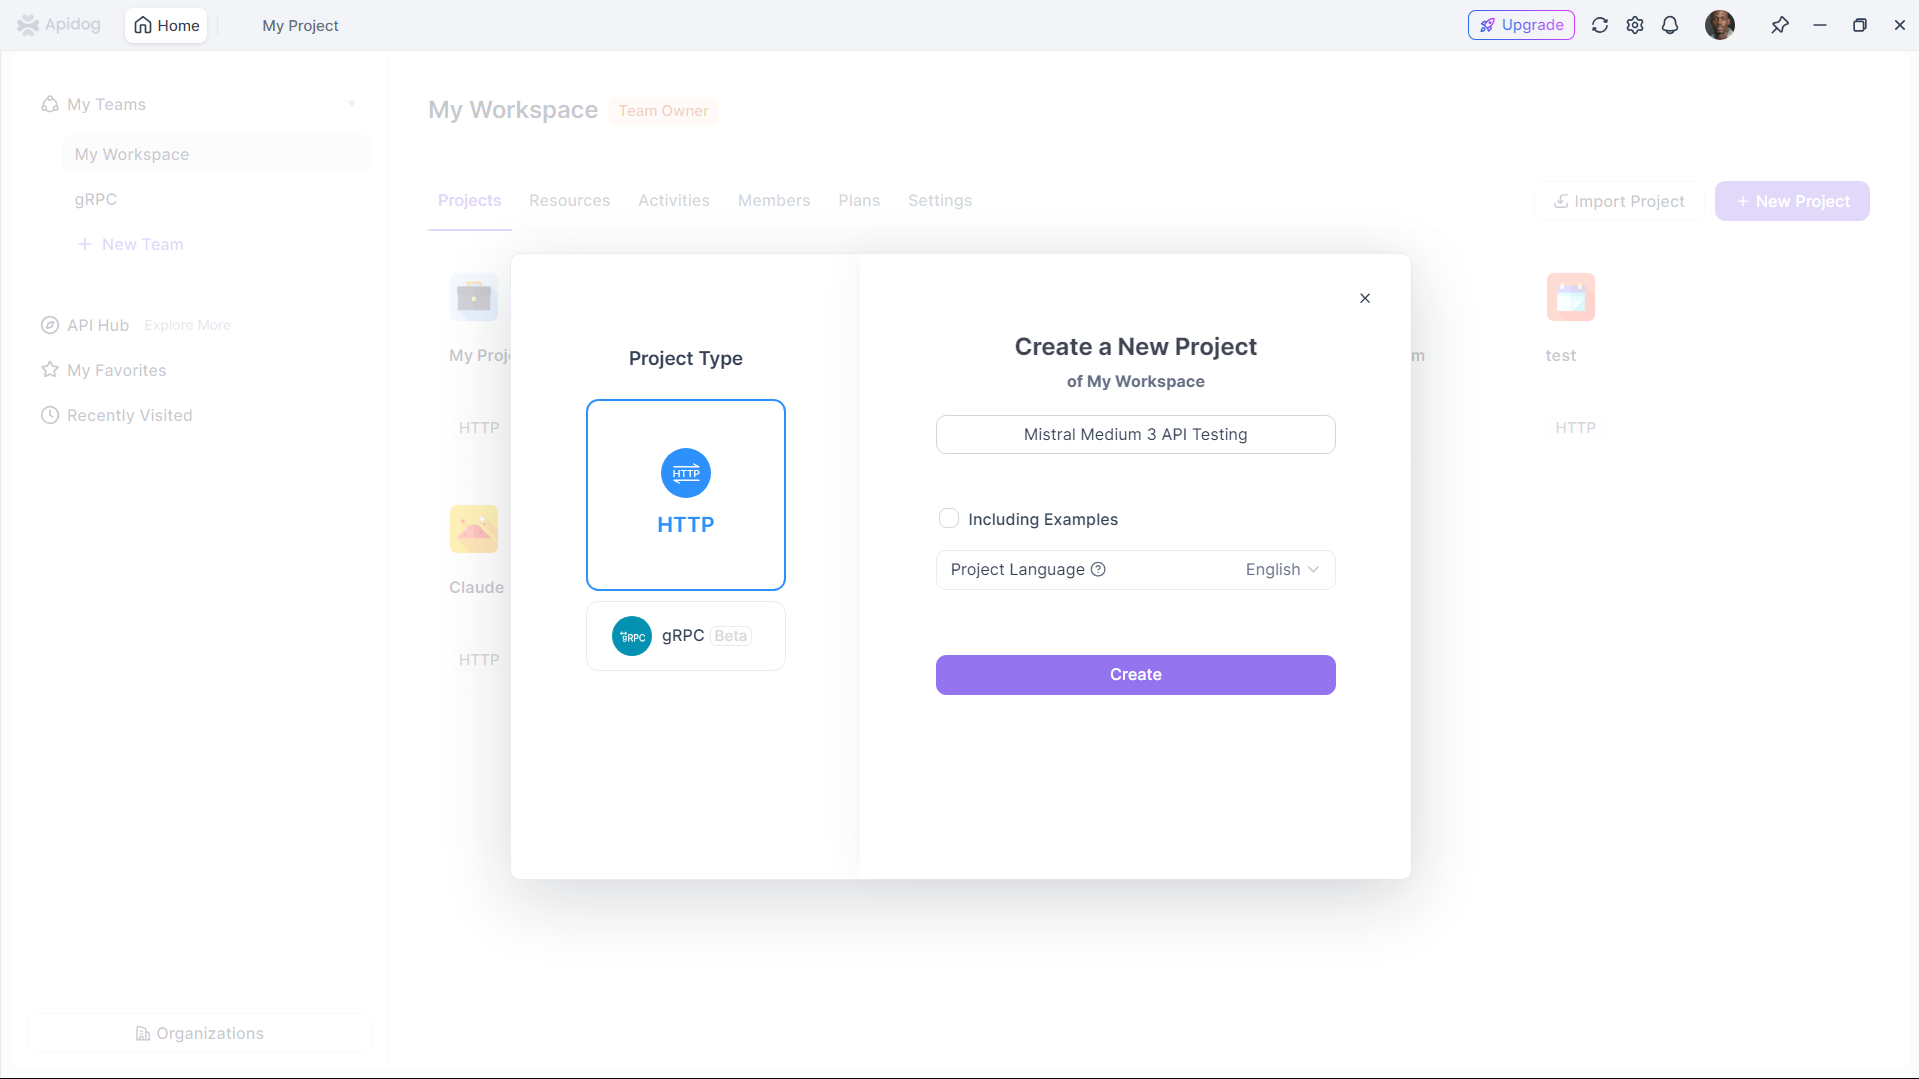
Add the API Endpoint: In Apidog, add a new API request with the following details:
- Method: POST
- URL:
https://api.mistral.ai/v1/generate - Headers:
Authorization:Bearer your-api-key-hereContent-Type:application/json- Body: Add the JSON payload
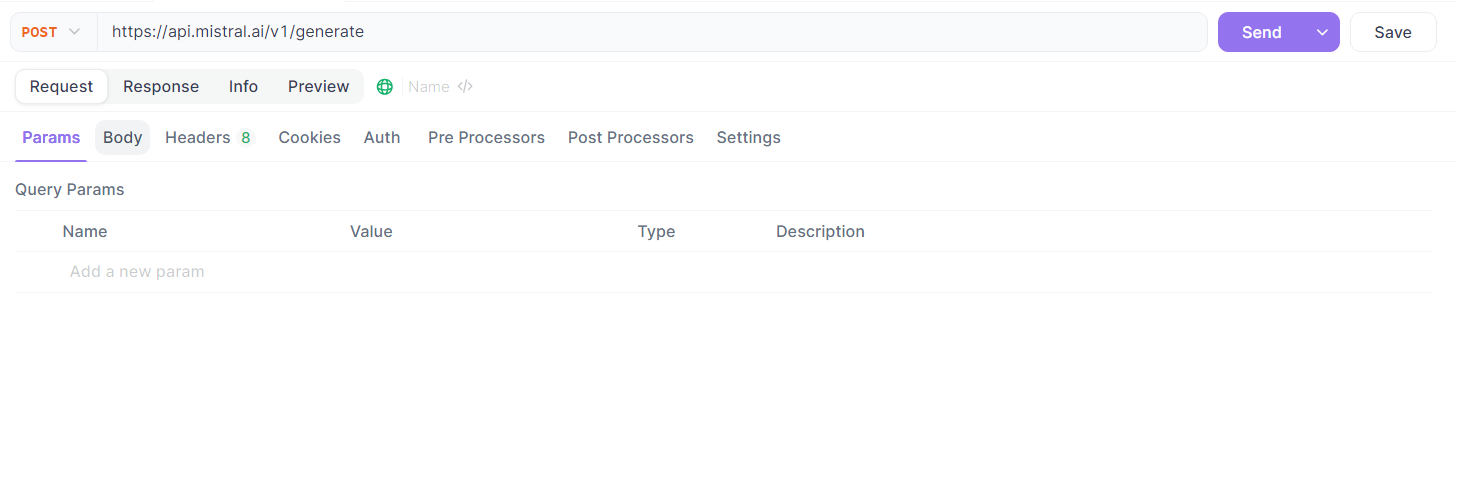
Send a Test Request
Click the “Send” button in Apidog to test the request. Apidog will display the response status, headers, and body, making it easy to debug any issues. For example, if you get a 401 Unauthorized error, double-check your API key in the Authorization header.
Benefits of Using Apidog
Apidog offers several advantages for working with the Mistral Medium 3 API:
- Visual Interface: Easily manage and test API requests without writing code.
- Response Validation: Quickly verify if the API response matches your expectations.
- Documentation: Automatically generate API documentation for your team.
- Collaboration: Share your API tests with teammates for collaborative debugging.
Using Apidog ensures that your integration with the Mistral Medium 3 API is smooth and error-free.
Step 6: Handle API Responses and Errors
When working with the Mistral Medium 3 API, you’ll need to handle both successful responses and errors. Let’s enhance our Python script to handle different scenarios.
Parse the API Response
Modify your script to extract the generated text from the response:
if response.status_code == 200:
    result = response.json()
    generated_text = result.get("text", "No text returned")
    print("Generated Text:", generated_text)
else:
    print(f"Error: {response.status_code} - {response.text}")
The result.get("text") method safely extracts the text field from the response, with a fallback message if the field is missing.
Handle Common Errors
The Mistral Medium 3 API may return errors in certain cases. Here are some common error codes and how to handle them:
- 401 Unauthorized: Invalid or missing API key. Double-check your
Authorizationheader. - 429 Rate Limit Exceeded: You’ve exceeded the API’s rate limit. Wait a few minutes before retrying, or check Mistral AI’s documentation for rate limit details.
- 500 Internal Server Error: An issue on Mistral AI’s server. Retry the request after some time, or contact support if the issue persists.
Add error handling to your script:
if response.status_code == 200:
    result = response.json()
    generated_text = result.get("text", "No text returned")
    print("Generated Text:", generated_text)
elif response.status_code == 401:
    print("Error: Invalid API key. Please check your API key and try again.")
elif response.status_code == 429:
    print("Error: Rate limit exceeded. Please wait and try again later.")
else:
    print(f"Error: {response.status_code} - {response.text}")
This ensures your application gracefully handles errors and provides meaningful feedback.
Step 7: Use Mistral Medium 3 API for Advanced Use Cases
Now that you’ve mastered the basics, let’s explore some advanced use cases for the Mistral Medium 3 API. Given its strengths in coding, STEM, and multimodal tasks, here are a few ideas:
Code Generation
Use the API to generate code snippets. For example, change the prompt in your payload to:
{
    "prompt": "Write a Python script to create a REST API using Flask.",
    "max_tokens": 300,
    "temperature": 0.7
}
The API will return a complete Flask API script, which you can integrate into your project.
Multimodal Tasks
Mistral Medium 3 supports multimodal inputs, such as text and images. If the API supports image inputs, you can send a base64-encoded image along with a prompt like:
{
    "prompt": "Describe the content of this image.",
    "image": "base64-encoded-image-data",
    "max_tokens": 200
}
Check Mistral AI’s documentation for the exact format of multimodal requests.
Enterprise Integration
For enterprise users, the Mistral Medium 3 API supports hybrid and on-premises deployments. You can deploy the model on four GPUs and integrate it with enterprise tools like Gmail, SharePoint, or custom knowledge bases. Use Apidog to test these integrations by simulating API calls with enterprise-specific payloads.
Conclusion
Accessing the Mistral Medium 3 API opens up a world of possibilities for developers and enterprises. From generating code to handling multimodal tasks, this API offers top-tier performance at a fraction of the cost of competitors. In this guide, I’ve walked you through the process of signing up for Mistral AI, obtaining your API key, setting up your development environment, making API requests, and testing with Apidog. By following these steps, you can seamlessly integrate Mistral Medium 3 into your applications and leverage its powerful capabilities.
Whether you’re a developer building a new app or an enterprise looking for cost-effective AI solutions, the Mistral Medium 3 API is a game-changer. Start experimenting today, and don’t forget to use Apidog to streamline your API testing process!


