In today's fast-paced development landscape, efficiency and accuracy are paramount. What if your IDE could:
- Automatically generate documentation while you concentrate on architectural design.
- Proactively identify and resolve bugs before they even reach your testing phase.
- Intelligently automate testing with sophisticated browser control.
- Seamlessly optimize your entire workflow without the need to constantly switch between different tools.
Enter Roo Code, powered by the Model Context Protocol (MCP). Roo Code is designed to transform Visual Studio into the most advanced AI-driven development cockpit available, empowering you to code smarter and faster.
Say goodbye to context switching and tedious manual tasks. Roo Code allows you to focus on what truly matters: writing clean, efficient code, with an AI partner that anticipates your every need.
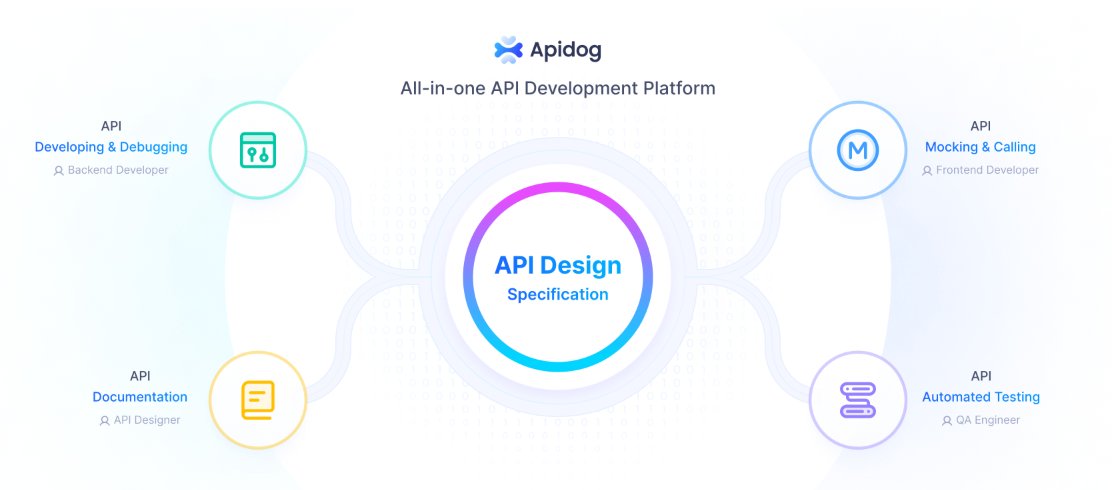
Let me give you a quick summary of what the Apidog MCP Server does:
- Generates or modifies code based on your API specifications
- Searches through API specification content
- Creates data models and DTOs that align perfectly with your API design
- Adds relevant comments and documentation based on API specifications
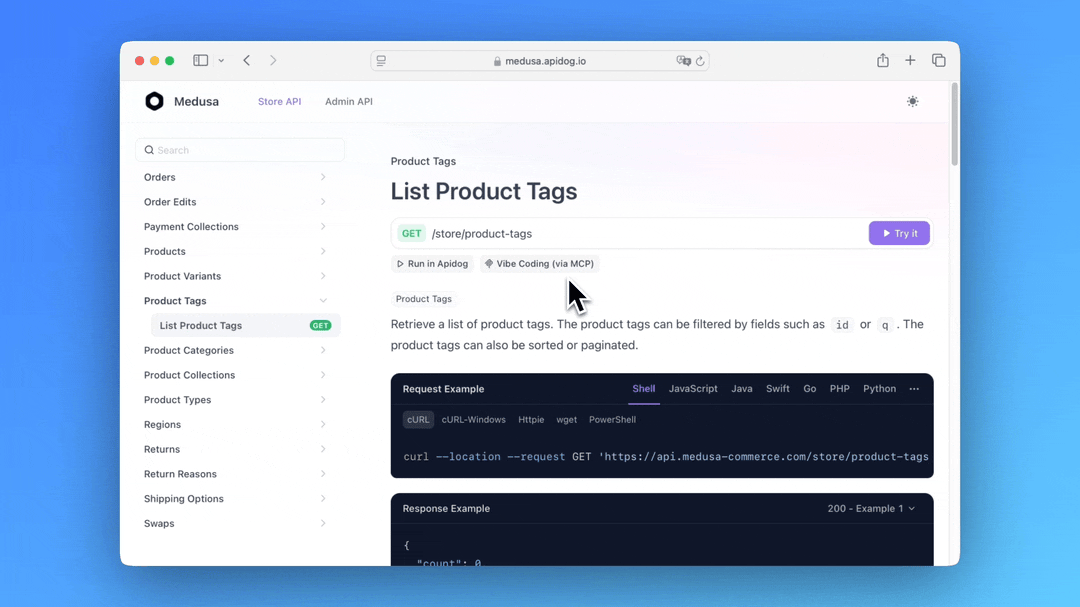
The Apidog MCP Server acts as a bridge between your Apidog projects and Cursor, ensuring your AI assistant has access to the latest API designs. This integration complements the Memory Bank feature by providing structured API information that Cursor can reference during development.
You can learn more about Apidog MCP Server by reading the Documentation or checking out the NPM page.
Additionally, consider trying Apidog—an integrated, powerful, and cost-effective alternative to Postman!
1. Installation: Setting up Your AI Coding Companion
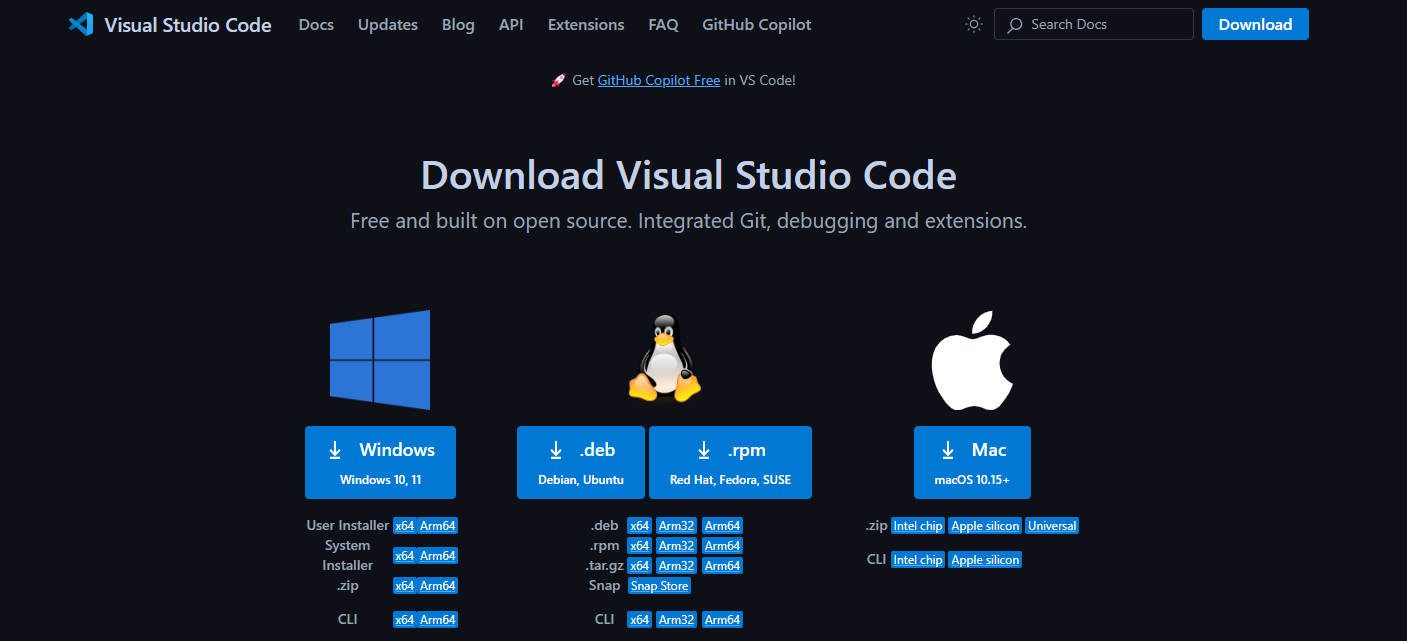
Roo Code seamlessly integrates with your Visual Studio environment, bringing AI-powered assistance directly into your editor.
1. Open VS Code.
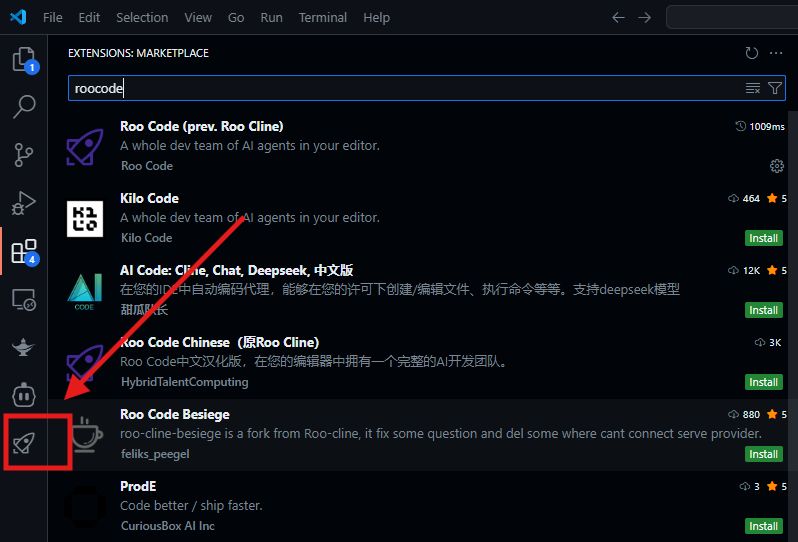
2. Access Extensions:
- Click the Extensions icon in the Activity Bar.
- Alternatively, press Ctrl+Shift+X (Windows/Linux) or Cmd+Shift+X (Mac).
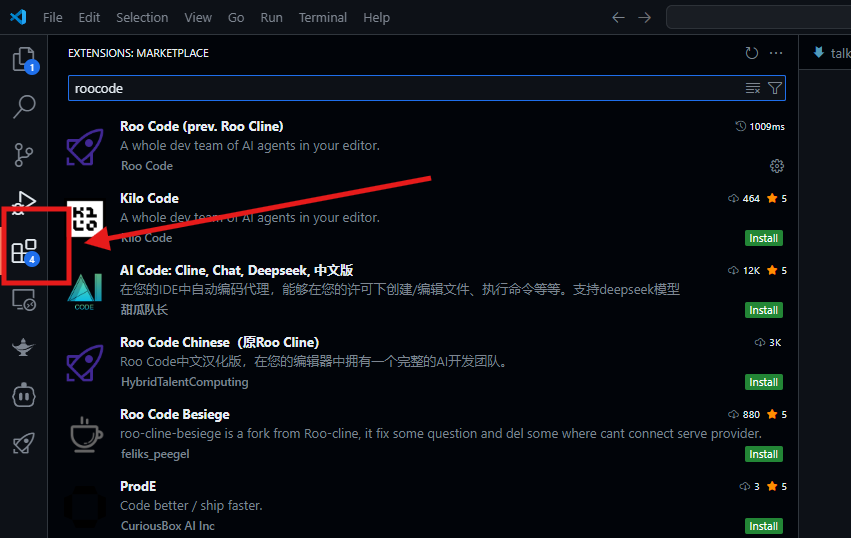
3. Search for "roo code".
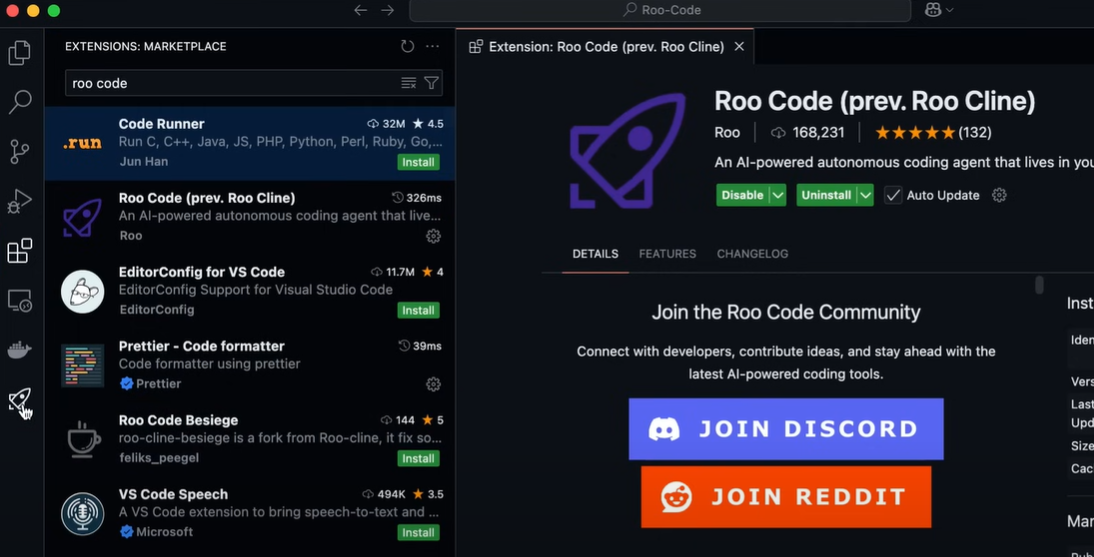
4. Select the official extension by Roo Code Inc. Ensure it is the authentic extension to avoid security risks.
5. Click "Install".
6. Reload VS Code if prompted to activate the extension.
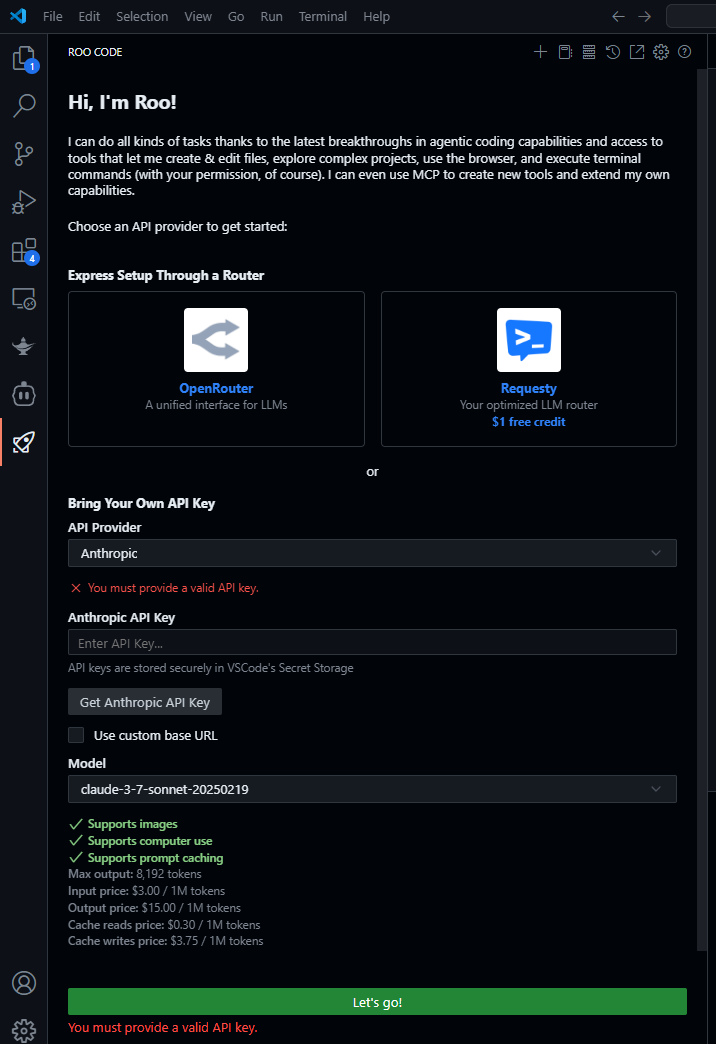
After installation, you should see the Roo Code icon in your Activity Bar. Click this icon to launch the Roo Code control panel.
2. Core Features: Unleashing the Power of Roo Code
Roo Code offers a suite of powerful features designed to revolutionize your development workflow:
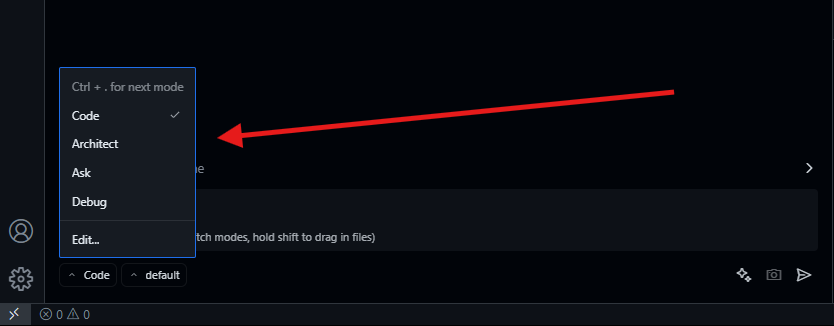
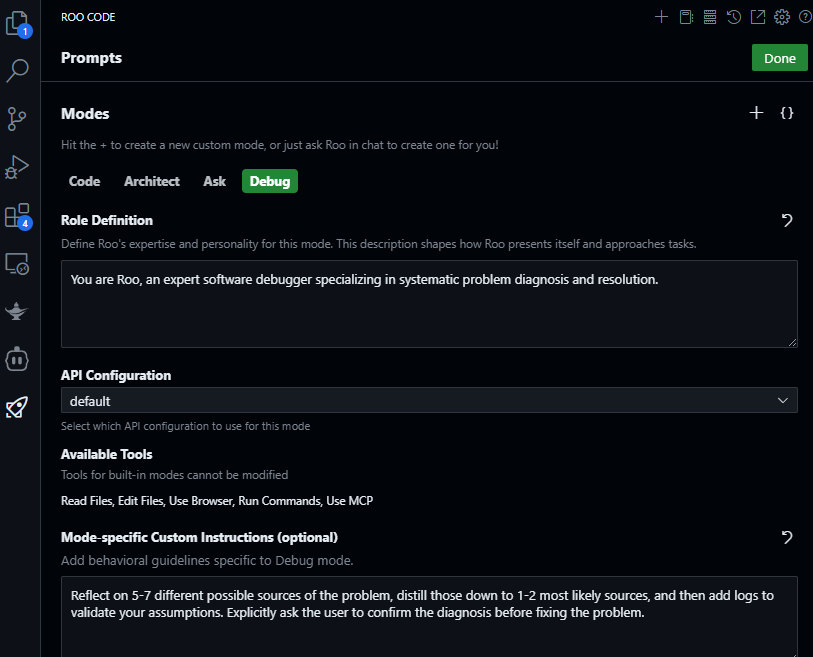
Roo Code's Intelligent Mode Switching
Roo Code intelligently adapts to your current task, offering specialized modes optimized for different development phases. This allows you to seamlessly transition between coding, debugging, documentation, and other activities without disrupting your flow.
Roo Code's Smart Development Tools
Roo Code goes beyond simple code suggestions by providing powerful tools that streamline your workflow:
- File Operations (Read/Write Project Files): Safely read and write project files programmatically, allowing for automated code refactoring and generation. Imagine automatically updating copyright notices across all your project files with a single command.
- Terminal Control (Execute Commands Safely): Execute terminal commands directly from within VS Code, without the risk of accidental errors. Roo Code provides a sandboxed environment to ensure commands are executed safely and securely.
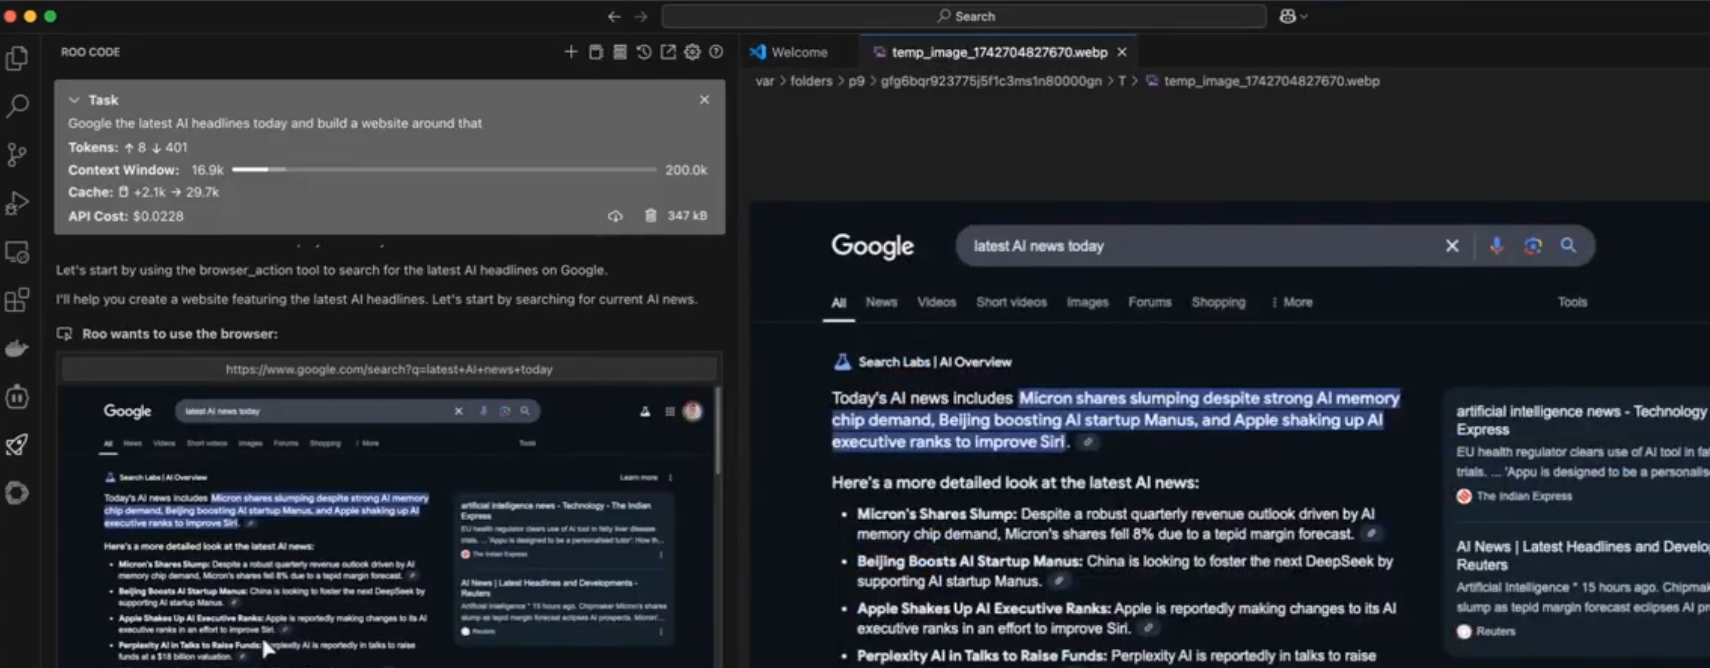
- Browser Automation (Test Web Apps Without Leaving VS Code): Automate browser testing without leaving the comfort of your IDE. Roo Code can control browsers to simulate user interactions and verify application functionality.
- MCP Integration (Connect to Any External Tool): The Model Context Protocol (MCP) allows you to connect Roo Code to any external tool or service, opening up a world of possibilities for custom integrations.
3. Model Context Protocol (MCP): The Key to Extensibility
The Model Context Protocol (MCP) is the cornerstone of Roo Code's extensibility. It transforms Roo Code into an open and adaptable AI development platform, allowing you to integrate with a vast ecosystem of tools and services.
All MCP configurations are global across your workspaces, ensuring consistency and ease of management.
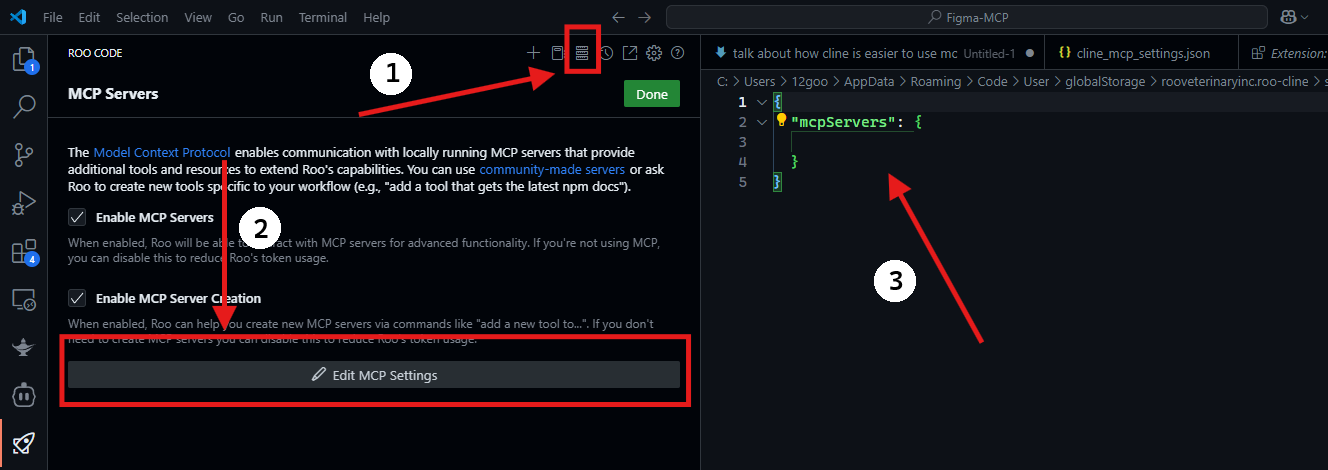
Configuring MCP Servers
1. Click the MCP icon in Roo Code's navigation.
2. Select "Edit MCP Settings" to open the cline_mcp_settings.json file. This file is the central configuration point for all your MCP connections.
Example Configuration (STDIO Transport):
{
  "servers": [
    {
      "name": "MyCustomTool",
      "transport": "stdio",
      "command": "/path/to/my/custom/tool",
      "arguments": ["--config", "my_config.yml"]
    }
  ]
}
This example demonstrates how to configure an MCP server that communicates via standard input/output (STDIO). The command specifies the path to your custom tool, and the arguments array allows you to pass configuration parameters.

4. Getting Started: A Practical Guide to Roo Code
Let's walk through a practical example to get you started with Roo Code.
1. After installation, open the Roo Code Panel.
2. Configure your AI stack:
- Enable MCP Core Services. This will activate the fundamental MCP components required for Roo Code to function correctly. (Provide specific steps on how to enable MCP Core Services. For example: "Navigate to the 'Services' tab and toggle the 'MCP Core' switch to 'On'.")
5. Real-World Use Cases: Putting Roo Code to Work
Let's explore some real-world scenarios where Roo Code can significantly enhance your development workflow.
Use Case 1: AI-Powered Debugging
1. Hit "F5" to start debugging your application.
2. Roo Code detects potential issues and suggests fixes in real-time.
Example:
1. Watch RooCode: It identifies a potential NullReferenceException (NRE) in the OrderService.
2. Roo Code suggests:
- Insert a null check before accessing a potentially null object.
- Update unit tests to cover the scenario where the object is null.
- Commit the changes with the message "Fix NRE in OrderService".
Roo Code's intelligent debugging capabilities drastically reduce the time spent identifying and resolving errors.
Use Case 2: Automated Browser Testing
1. Enable Chrome control: (Provide specific instructions. For example: "In the Roo Code panel, navigate to the 'Browser Control' tab and enable 'Chrome Automation'. Ensure you have the necessary Chrome drivers installed.").
2. Create a test script (e.g., login_test.roob):
// login_test.roob
openBrowser("https://example.com/login");
type("#username", "testuser");
type("#password", "testpassword");
click("#login-button");
assertTextContains(".welcome-message", "Welcome, testuser!");
closeBrowser();
3. Run & watch: (Provide instructions on how to execute the login_test.roob script from within Roo Code).
Roo Code automates browser testing, allowing you to quickly verify the functionality of your web applications without manual intervention.
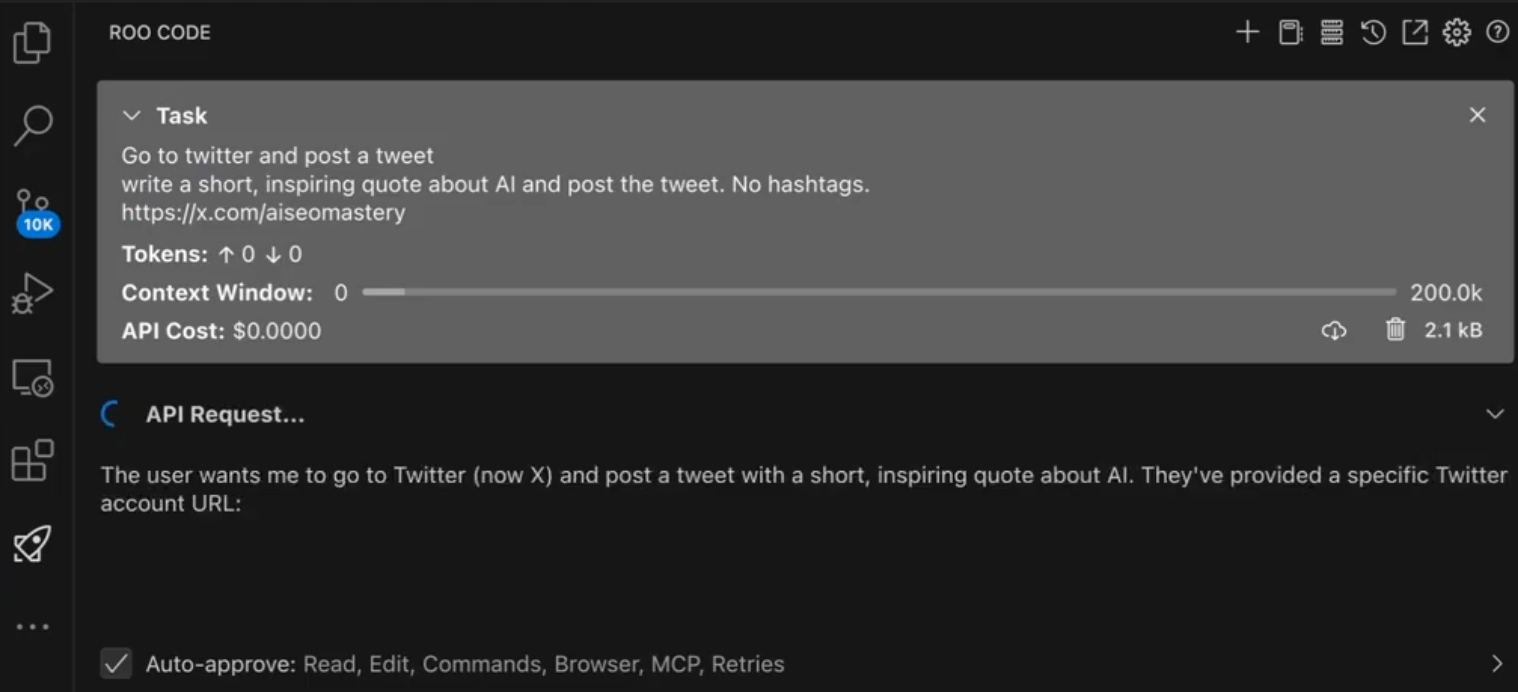
Safety First: Roo Code includes built-in safety mechanisms to prevent unintended actions on social media platforms or other sensitive websites.
6. Pro Tips: Maximizing Your Roo Code Experience
Here are some pro tips to help you get the most out of Roo Code.
Tip 1: Context-Aware Coding
Roo Code learns from your coding patterns and preferences, providing increasingly relevant suggestions over time. The more you use Roo Code, the smarter it becomes.
Tip 2: AI-Powered PR Reviews
Enable automated code analysis during pull request reviews to identify potential bugs, security vulnerabilities, and code style violations. (Explain how to integrate Roo Code with your code repository to automate PR reviews).
Tip 3: Build Custom MCP Tools
Create custom MCP tools to automate tasks specific to your development workflow.
Conclusion
Roo Code, powered by the Model Context Protocol, represents a significant leap forward in AI-assisted development. By seamlessly integrating into your Visual Studio environment, Roo Code empowers you to:
- Develop features faster with intelligent code suggestions and automation.
- Reduce errors through proactive bug detection and AI-powered debugging.
- Improve code quality with automated code reviews and documentation generation.
- Streamline your workflow by eliminating context switching and automating tedious tasks.
Roo Code is more than just an extension; it's an AI partner that works alongside you, anticipating your needs and helping you to write better code, faster.