
The LTX-2 API empowers developers to create compelling video content through artificial intelligence. This service, provided by Lightricks, enables users to transform text descriptions or static images into synchronized videos with audio. Engineers integrate it into applications for tasks ranging from content creation to prototyping visual effects. Furthermore, the API supports various models optimized for speed or quality, allowing customization based on project needs.
Therefore, consider downloading Apidog for free to enhance your interaction with the LTX-2 API and focus more on innovation rather than setup.
What Is the LTX-2 API?
Developers employ the LTX-2 API to generate videos programmatically. This RESTful service leverages advanced AI models to produce cinematic outputs from simple inputs. Specifically, it offers three core capabilities: text-to-video generation, image-to-video transformation, and retake functionality for editing video segments.

The API builds on the LTX-2 model, a diffusion transformer (DiT)-based foundation that creates synchronized audio and video in one pass. Users submit prompts, and the system renders videos up to 20 seconds long, depending on the selected model and configuration. Additionally, it supports high resolutions like 4K and frame rates up to 50 FPS, making it suitable for professional applications.
Lightricks hosts the API, ensuring scalability and reliability. Users access it via HTTPS endpoints, with responses delivering MP4 files directly. This synchronous approach simplifies workflows, as developers receive the generated video in the response body without polling for status. However, rate limits apply to prevent overload, so teams monitor usage carefully.
In comparison to open-source alternatives, the hosted LTX-2 API abstracts away hardware requirements. Developers avoid managing GPUs or installing frameworks like ComfyUI, focusing instead on integration. Nevertheless, for those preferring local execution, Lightricks provides the open-source LTX-2 model on GitHub, but this guide emphasizes the API for cloud-based efficiency.
Getting Started with the LTX-2 API
Users begin by obtaining credentials. First, sign in to the Developer Console . The platform guides you through account creation if needed. Once logged in, generate an API key directly from the dashboard.
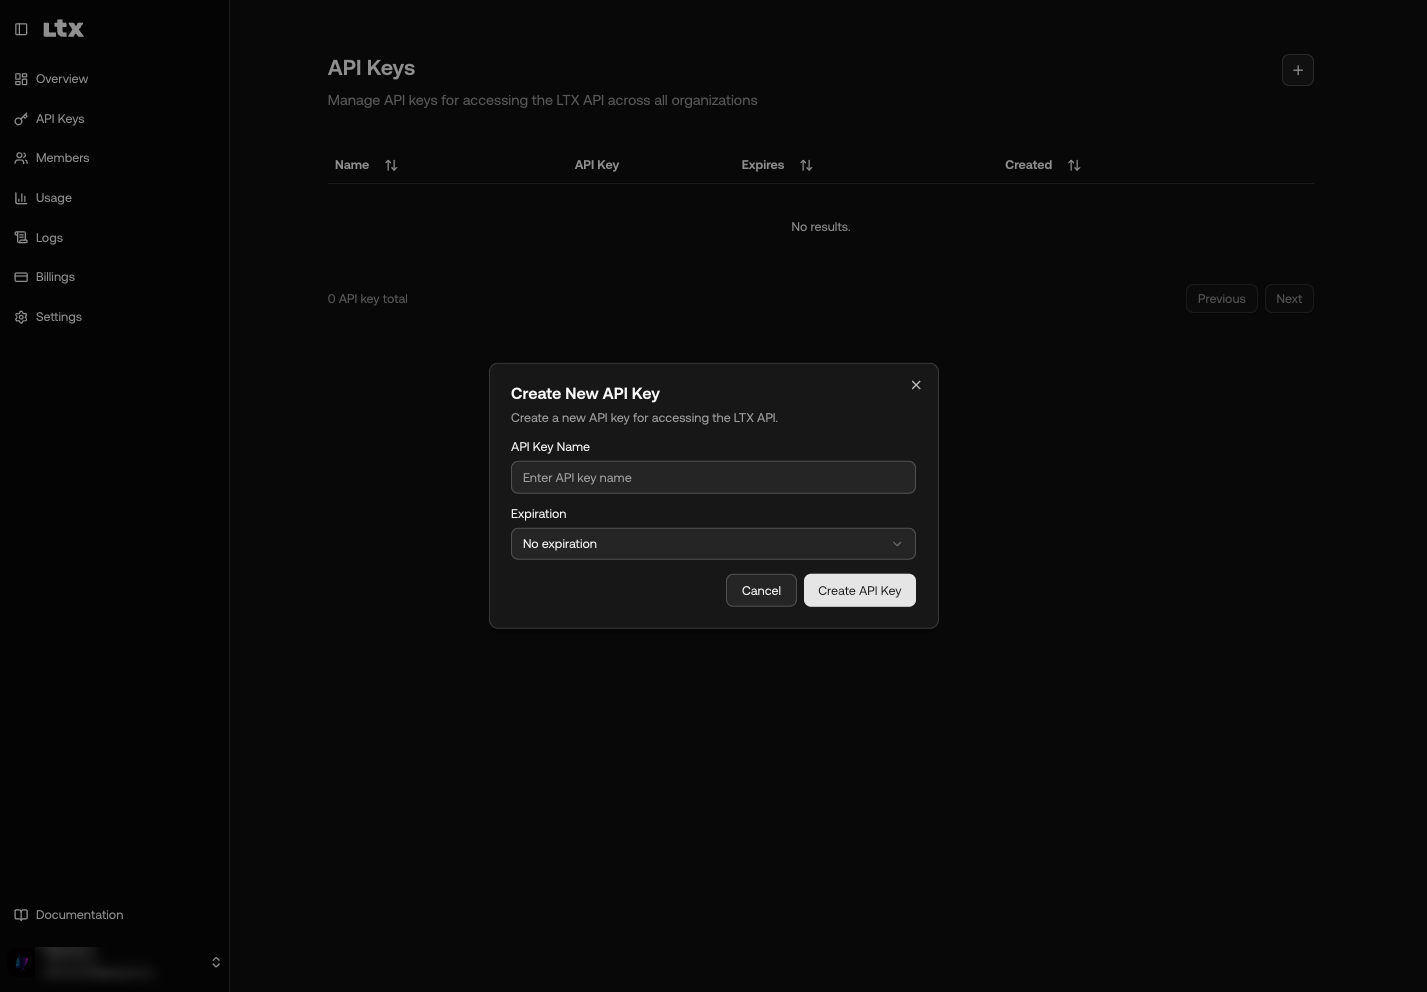
This key serves as your access token. Store it securely, as it authenticates all requests. For example, place it in environment variables to avoid hardcoding in scripts. In Bash, execute export LTXV_API_KEY="your_key_here". Python developers retrieve it with import os; api_key = os.environ.get("LTXV_API_KEY"). Node.js users access it via process.env.LTXV_API_KEY.
After securing the key, test connectivity with a simple request. Use tools like curl or Apidog to verify setup. This step confirms your account status and familiarizes you with the API's response format. If issues arise, check for common errors like invalid keys, which return a 401 status.
Moreover, review your plan details in the console. Different tiers offer varying credits and limits, influencing how frequently you generate videos. Teams upgrade plans as needed to support higher volumes.
How to Authenticate Requests in the LTX-2 API?
Authentication protects API access. Include the key in every request's Authorization header using Bearer format. Specifically, set Authorization: Bearer YOUR_API_KEY.
For instance, a curl command looks like this:
curl -X POST https://api.ltx.video/v1/text-to-video \
-H "Authorization: Bearer YOUR_API_KEY" \
-H "Content-Type: application/json" \
-d '{"prompt": "A serene mountain landscape at dawn", "model": "ltx-2-pro", "duration": 8, "resolution": "1920x1080"}'
Python implementations use the requests library:
import requests
import os

api_key = os.environ.get("LTXV_API_KEY")
headers = {
    "Authorization": f"Bearer {api_key}",
    "Content-Type": "application/json"
}
payload = {
    "prompt": "A serene mountain landscape at dawn",
    "model": "ltx-2-pro",
    "duration": 8,
    "resolution": "1920x1080"
}
response = requests.post("https://api.ltx.video/v1/text-to-video", headers=headers, json=payload)
if response.status_code == 200:
    with open("video.mp4", "wb") as f:
        f.write(response.content)
Follow security practices diligently. Never expose keys in client-side code or repositories. Rotate them periodically through the console. Additionally, use environment variables for storage to enhance portability.
If authentication fails, the API responds with 401 Unauthorized. The body includes details like "Invalid API key" or "Missing authorization header". Troubleshoot by verifying the key's format and expiration. Common fixes involve regenerating the key or correcting header syntax.
Understanding Supported Models in the LTX-2 API
The LTX-2 API provides two primary models: ltx-2-fast and ltx-2-pro. Each optimizes for different priorities.
The ltx-2-fast model prioritizes efficiency. It supports resolutions up to 3840x2160, FPS of 25 or 50, and durations from 6 to 20 seconds in certain configurations. For example, at 1920x1080 and 25 FPS, it handles up to 20 seconds. This model suits rapid prototyping where speed matters more than perfection.
Conversely, the ltx-2-pro model emphasizes quality. It limits durations to 6, 8, or 10 seconds but delivers superior detail and coherence. It also supports resolutions up to 3840x2160 and FPS of 25 or 50. Developers choose it for final outputs requiring polish.
Refer to this model support matrix for precise combinations:
| Model | Resolution | FPS | Duration (seconds) |
|---|---|---|---|
| ltx-2-fast | 1920x1080 | 25 | 6, 8, 10, 12, 14, 16, 18, 20 |
| 1920x1080 | 50 | 6, 8, 10 | |
| 2560x1440 | 25, 50 | 6, 8, 10 | |
| 3840x2160 | 25, 50 | 6, 8, 10 | |
| ltx-2-pro | 1920x1080 | 25, 50 | 6, 8, 10 |
| 2560x1440 | 25, 50 | 6, 8, 10 | |
| 3840x2160 | 25, 50 | 6, 8, 10 |
Select models based on requirements. For instance, use ltx-2-fast during development iterations, then switch to ltx-2-pro for production. Note that higher resolutions and durations consume more credits.
Mastering the Text-to-Video Endpoint in the LTX-2 API
Developers invoke the text-to-video endpoint to create videos from descriptions. The URL is https://api.ltx.video/v1/text-to-video, using POST method.
Required parameters include:
prompt: String, up to 5000 characters, describing the scene.model: Enum, either "ltx-2-fast" or "ltx-2-pro".duration: Integer, in seconds, per model constraints.resolution: String, like "1920x1080".
Optional parameters enhance control:
fps: Integer, defaults to 25.camera_motion: Enum for effects like pan or zoom (specific values not detailed here, refer to docs).generate_audio: Boolean, defaults to true for synced audio.
The request expects JSON content. Successful responses return an MP4 file in the body, with Content-Type: video/mp4.
For example, generate an 8-second video:
curl -X POST https://api.ltx.video/v1/text-to-video \
-H "Authorization: Bearer YOUR_API_KEY" \
-H "Content-Type: application/json" \
-d '{"prompt": "A majestic eagle soaring through clouds at sunset", "model": "ltx-2-pro", "duration": 8, "resolution": "1920x1080"}' \
-o video.mp4
Python equivalent saves the file directly. If errors occur, handle codes like 400 for invalid params or 429 for limits.
Experiment with prompts to refine outputs. Include details on action, characters, and audio for better results. This endpoint forms the foundation for text-based video creation.
Exploring the Image-to-Video Endpoint in the LTX-2 API
The image-to-video endpoint animates static images. It uses POST to https://api.ltx.video/v1/image-to-video.
Key parameters mirror text-to-video but add image_uri: String, a URL to the input image (HTTPS, up to 32MB, formats like JPG).
Example request:
curl -X POST https://api.ltx.video/v1/image-to-video \
-H "Authorization: Bearer YOUR_API_KEY" \
-H "Content-Type: application/json" \
-d '{"image_uri": "https://example.com/sunset.jpg", "prompt": "Clouds drifting across the sky as the sun sets slowly", "model": "ltx-2-pro", "duration": 8, "resolution": "1920x1080"}' \
-o video.mp4
Responses deliver the animated MP4. Use this for bringing photos to life, such as in marketing or education apps. Ensure images align with prompts for coherent motion.
Constraints match models: validate duration and resolution. If the image fetch fails, expect 400 errors.
Utilizing the Retake Feature in the LTX-2 API
The retake capability edits video sections without full regeneration. It targets specific moments, replacing audio, video, or both via AI.
Although detailed endpoint specs are evolving, it likely uses POST to a path like /v1/retake. Parameters include video_uri for the original, start_time and end_time in seconds, and prompt for changes.
For example, rewrite a dialogue segment. This saves resources compared to recreating entire videos. Developers apply it for iterative refinements in post-production workflows.
Monitor updates in docs for full params. Currently, it rewrites moments efficiently, maintaining sync.
Handling Errors in the LTX-2 API
The API standardizes error responses:
{
  "type": "error",
  "error": {
    "type": "error_type",
    "message": "Description"
  }
}
Common codes:
- 400: Invalid request, e.g., missing prompt.
- 401: Authentication issue.
- 402: Insufficient credits.
- 413: Payload too large.
- 422: Content filtered.
- 429: Rate or concurrency limit.
- 500: Server error.
- 503: Unavailable.
Handle gracefully: Retry on 429 with Retry-After header. Check balances for 402. Log messages for debugging.
Best practices: Validate inputs client-side, implement exponential backoff for retries.
Managing Rate Limits in the LTX-2 API
Rate limits prevent abuse. They include concurrency (simultaneous requests) and rate (requests per window), varying by plan.
Exceeding triggers 429 with Retry-After. Error types: rate_limit_error or concurrency_limit_error.
Monitor via headers. Optimize by batching where possible, using lower resolutions for tests, and upgrading plans.
Contact support for increases.
Best Practices for Integrating the LTX-2 API
Implement robust error handling and logging. Use asynchronous processing if scaling.
Secure keys with vaults. Test prompts extensively.
For production, calculate costs: longer videos use more credits.
Integrate with workflows: Generate thumbnails from images, then full videos.
Using Apidog with the LTX-2 API
Apidog streamlines testing. Import endpoints, set headers, and send requests visually.
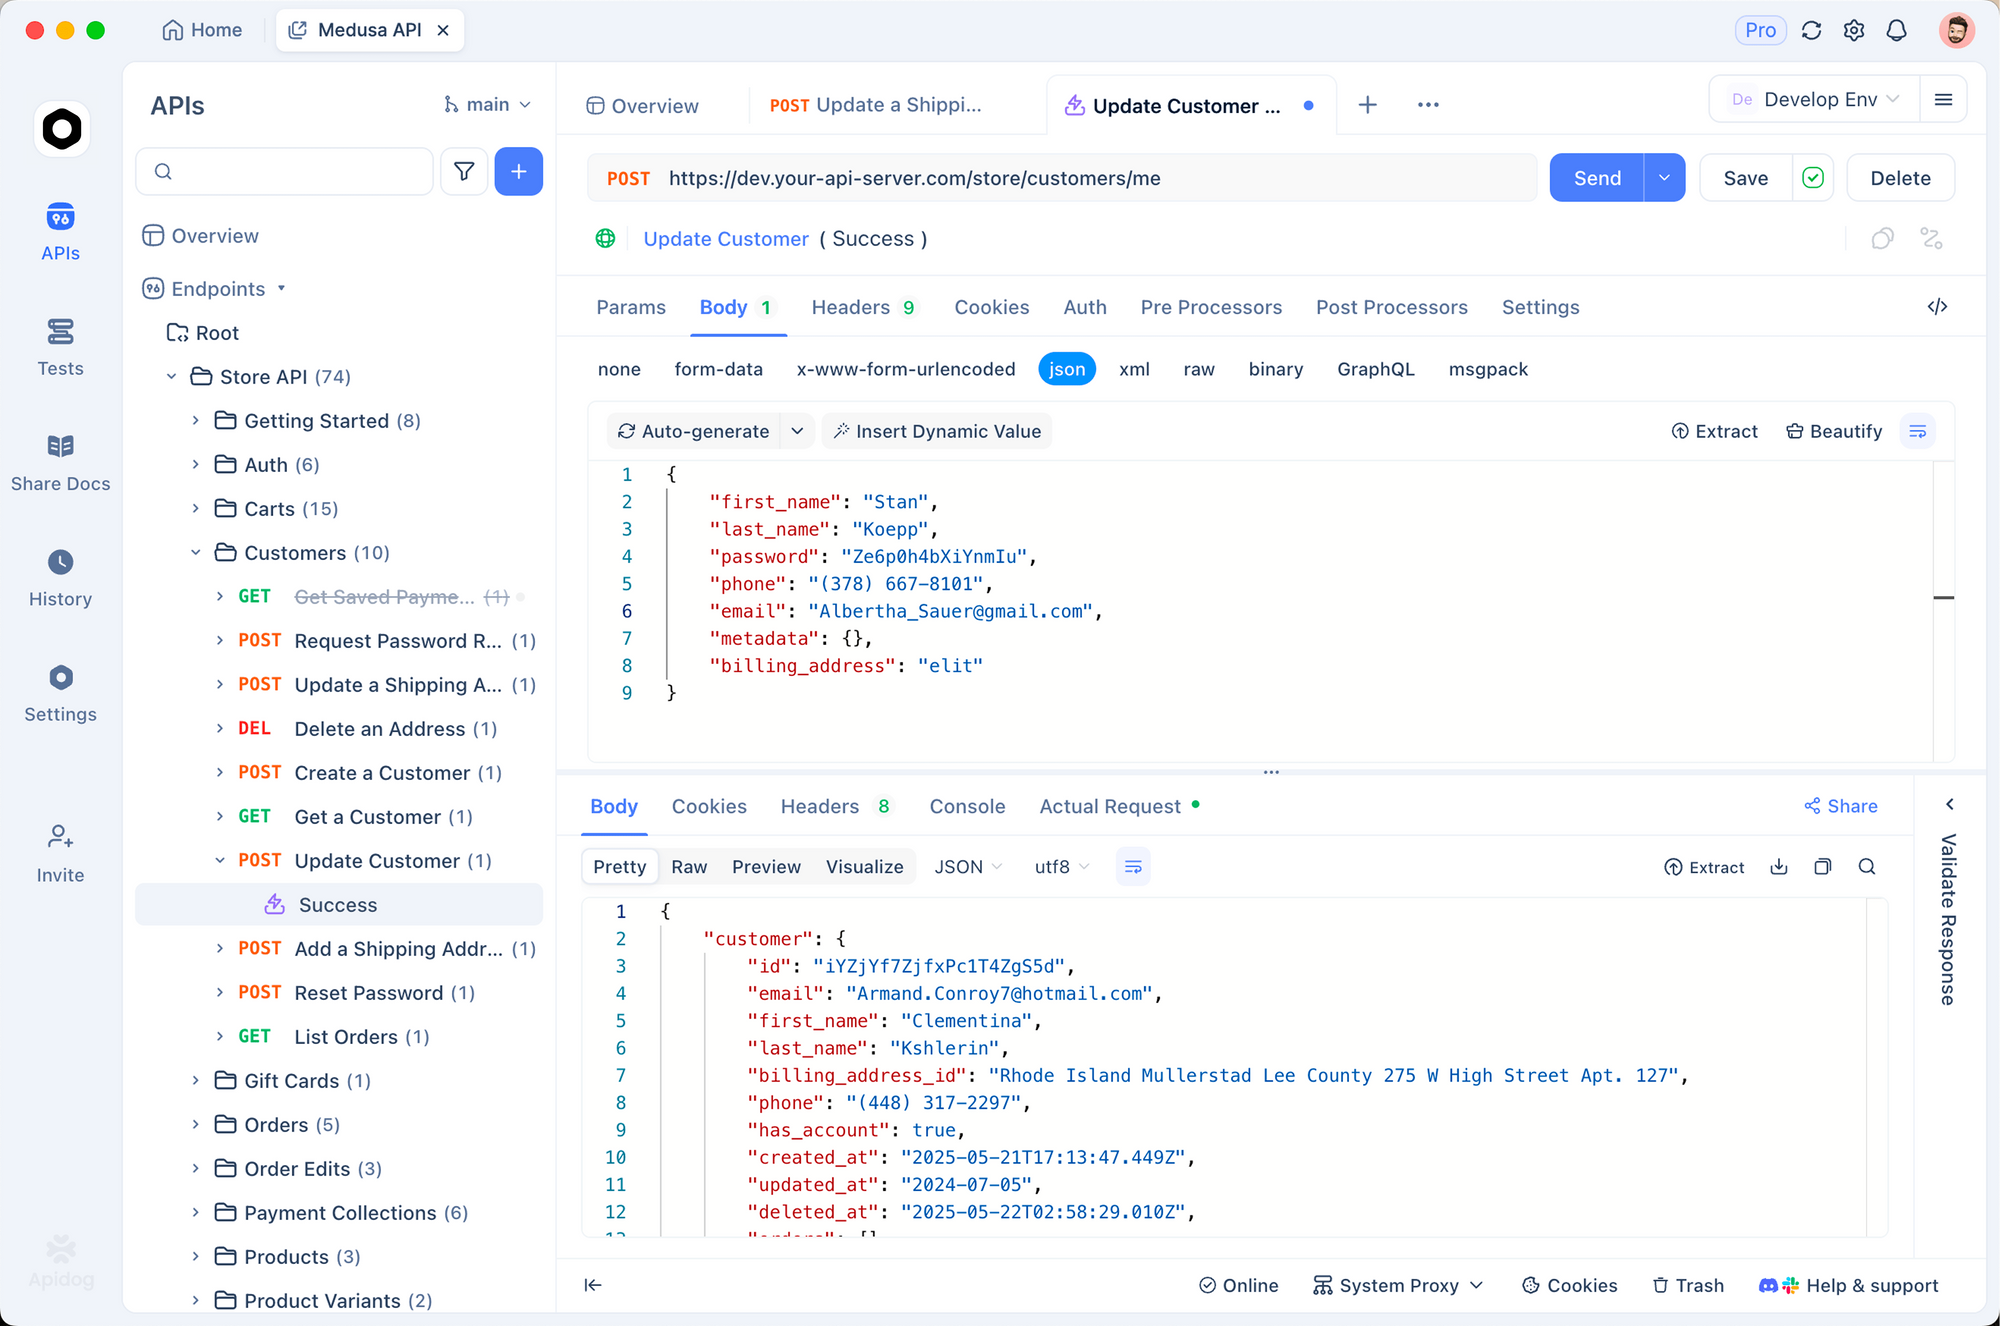
Create collections for LTX-2 API calls. Debug responses, including binary MP4s.
It supports environments for keys, making switches easy.
Download Apidog free to boost productivity.
Advanced Examples with the LTX-2 API
In Python, build a wrapper:
import requests
import os

class LTX2API:
    def __init__(self):
        self.api_key = os.environ.get("LTXV_API_KEY")
        self.base_url = "https://api.ltx.video/v1"

    def generate_text_to_video(self, prompt, model="ltx-2-pro", duration=8, resolution="1920x1080"):
        headers = {"Authorization": f"Bearer {self.api_key}", "Content-Type": "application/json"}
        payload = {"prompt": prompt, "model": model, "duration": duration, "resolution": resolution}
        response = requests.post(f"{self.base_url}/text-to-video", headers=headers, json=payload)
        if response.status_code == 200:
            return response.content
        else:
            raise Exception(response.json()["error"]["message"])

# Usage
api = LTX2API()
video_data = api.generate_text_to_video("A futuristic cityscape at night")
with open("output.mp4", "wb") as f:
    f.write(video_data)
Extend for image-to-video. Use in web apps via Flask or Django.
Conclusion
The LTX-2 API transforms video creation. By following this guide, developers harness its power effectively. Start with basics, refine prompts, and scale integrations. Tools like Apidog simplify the process, ensuring smooth development.


