
Unlock Local AI with LM Studio: The Practical Guide for Developers
Ready to run large language models on your own machine—no cloud, no subscriptions, no compromises? LM Studio offers a straightforward way for developers and technical teams to chat with cutting-edge LLMs like Llama, Phi, or Gemma, all locally and securely. This guide walks you through installing, configuring, and using LM Studio for local LLM development, with actionable steps and real-world context. Plus, see how tools like Apidog can streamline your workflow when you’re building API-driven projects that interact with LLMs.
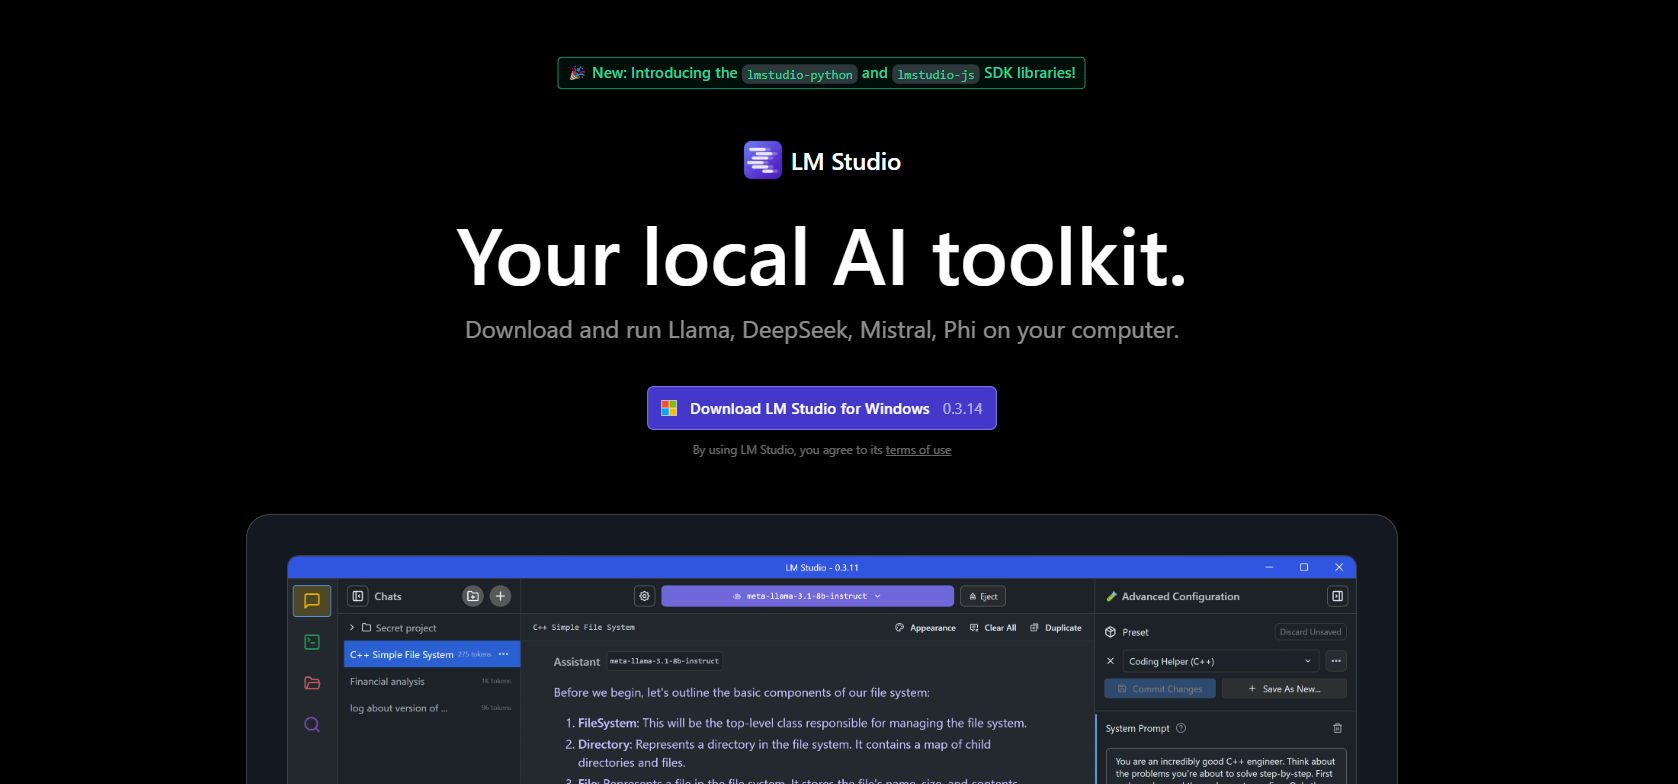
What Is LM Studio? Local LLM Playground for Developers
LM Studio is a cross-platform desktop app (Windows, macOS, Linux) that lets you run, explore, and interact with large language models directly on your own hardware. Unlike cloud-based solutions, LM Studio gives you complete control and privacy—your data never leaves your system.
- Browse and download open-source LLMs from Hugging Face (e.g., Llama 3.1, Mistral)
- Chat in a familiar interface that feels like ChatGPT, but local
- No internet required after initial model download
- No subscription fees—just your hardware and imagination
Developers and teams appreciate LM Studio’s simple setup, privacy-first design, and flexibility—making it ideal for rapid prototyping, writing assistants, or even integrating with your own applications.
Why Local?
- Data privacy: Code and queries aren’t sent to the cloud
- Full control: You choose and manage your models
- Cost savings: No monthly API fees
- Customization: Tweak prompts and behavior for your workflow
Quickstart: Installing LM Studio on Your Machine
LM Studio is designed for fast, frustration-free setup. Here’s how to get started:
1. Check Your Hardware (Minimal Requirements)
LM Studio runs on most modern systems, but for a smooth experience:
- RAM: 16GB (8GB works for small models)
- Storage: Each model is 2–20GB. Free up disk space accordingly.
- CPU: Any recent CPU; GPU (NVIDIA/AMD) accelerates performance, but isn’t mandatory
- Mac Users: Apple Silicon (M1/M2/M3/M4) runs efficiently, no dedicated GPU needed
- OS: Windows (x86/ARM), macOS, Linux (x86 with AVX2)
Tip: Even mid-range laptops like Ryzen 5 with 16GB RAM handle typical LLMs with ease.
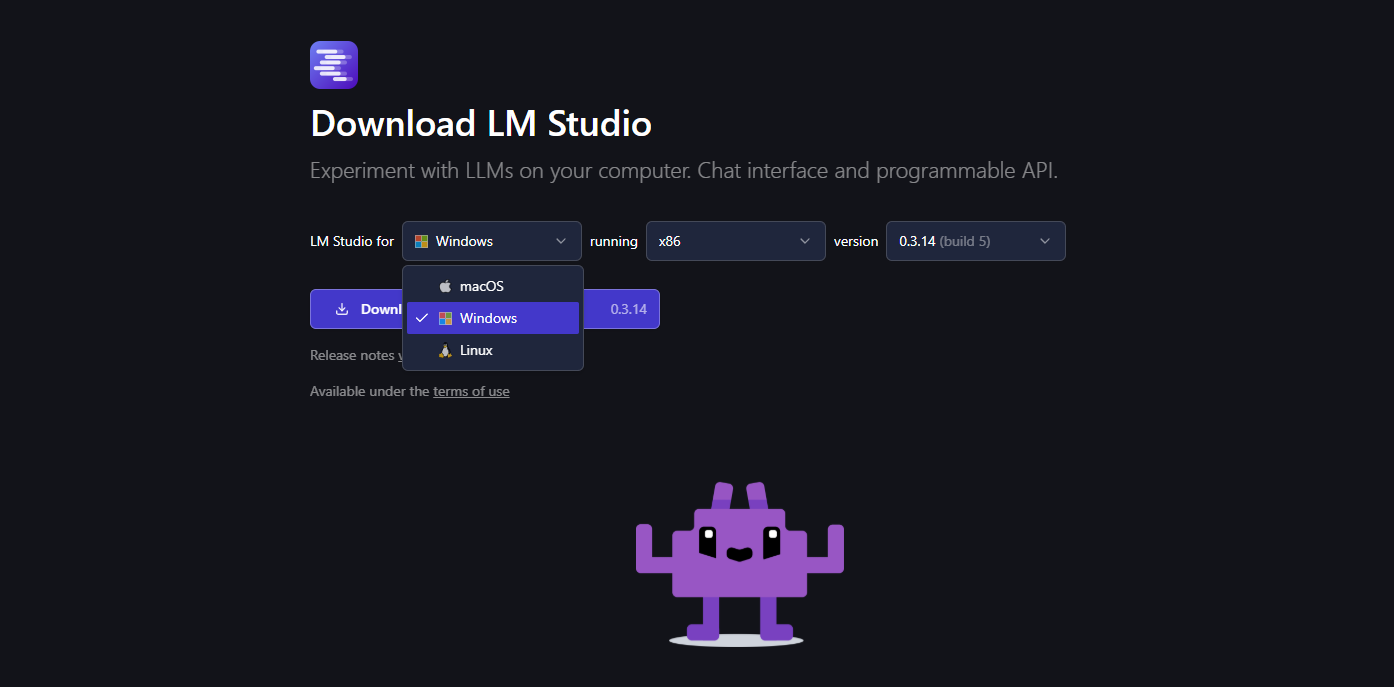
2. Download and Install LM Studio
- Visit lmstudio.ai and download the installer for your OS.
-
Run the installer (standard process: “next, next, finish”).
-
On macOS, drag LM Studio to Applications; on Windows, follow prompts for a desktop shortcut.
-
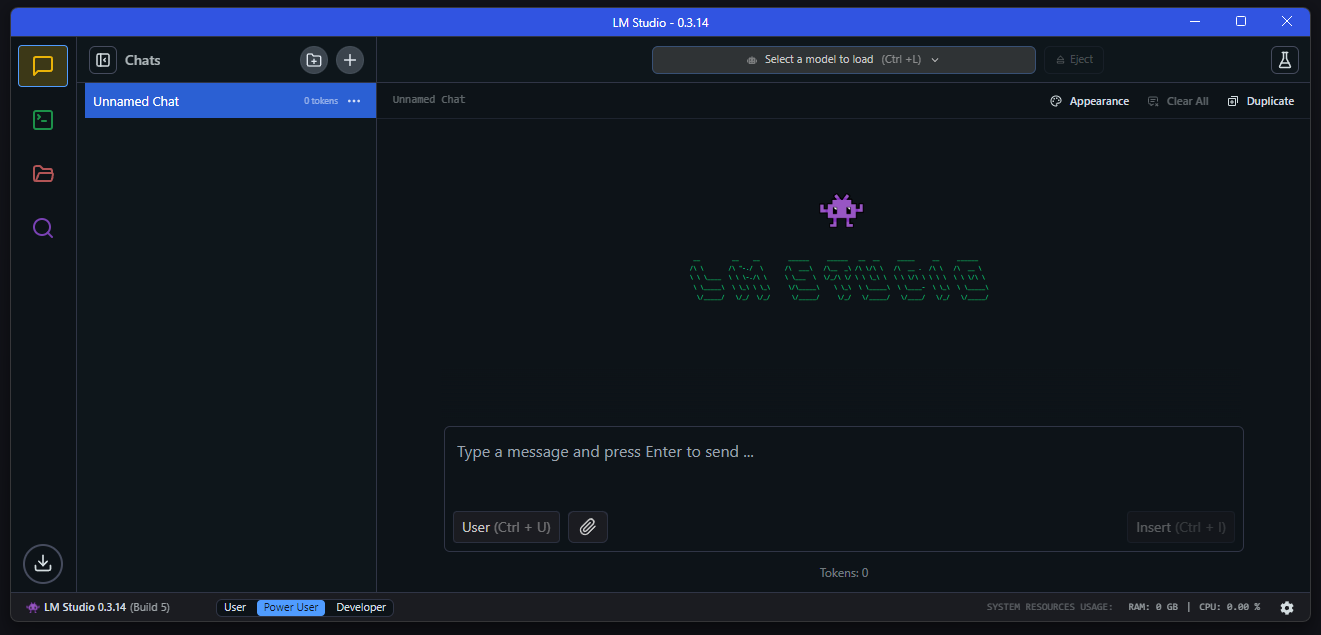
Launch LM Studio—you’ll see a model search bar and featured models. The interface is intuitive, even for first-timers.
3. Update (Recommended)
LM Studio checks for updates automatically. If prompted, click “Update” to access the latest features and improvements.
Downloading and Chatting with LLMs in LM Studio
Once installed, you’re just minutes away from running local AI models.
1. Find and Download an LLM
- Go to the Discover tab (magnifying glass icon).
- Browse or search for popular models (e.g., “Llama 3.1 8B”, “Mistral-7B-Instruct”).
- For most developers, start with a quantized 4–8GB model (e.g., Q4_K_M versions)—fast and resource-efficient.
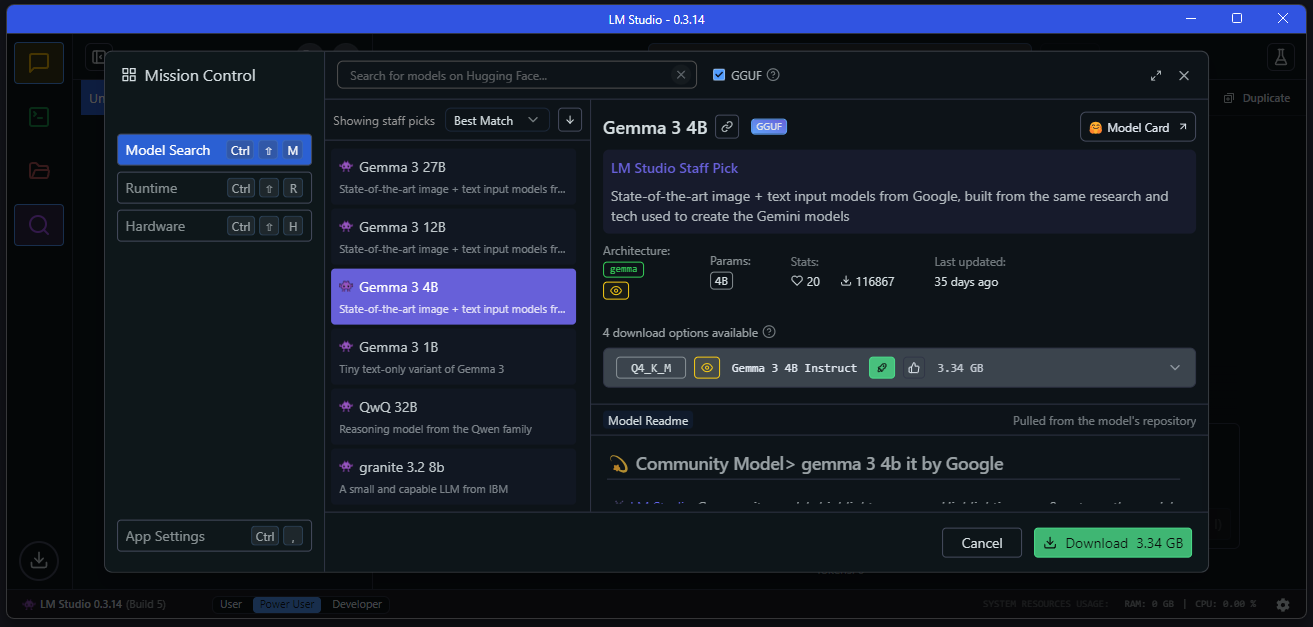
- Click “Download” beside your chosen model.
Download times depend on model size and connection speed (a 5GB model typically takes ~10 minutes on Wi-Fi). - Monitor progress in the Downloads tab.
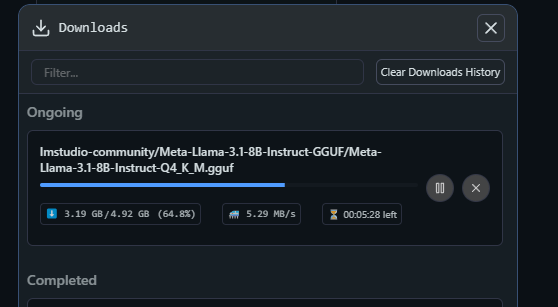
LM Studio recommends models compatible with your hardware, reducing guesswork for new users.
2. Load the Model and Start Chatting
- Switch to the My Models tab (folder icon).
- Select your downloaded model (e.g., lmstudio-community/Meta-Llama-3-8B-Instruct-GGUF) and click “Load.”

- Wait for the model to load into memory (seconds for small models, a minute for larger ones).
- Open the Chat tab (speech bubble), and choose your loaded model from the dropdown.
- Start a conversation:
For example, try:
What’s the difference between REST and GraphQL?

All conversations and data remain local—ideal for sensitive code, internal projects, or compliance needs.
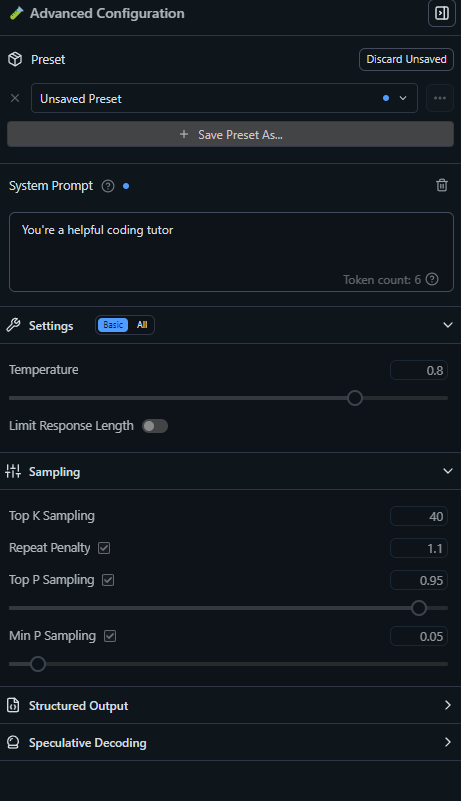
3. Customize Your Prompts and Responses
LM Studio’s Chat tab lets you fine-tune model behavior:
- System Prompt: Set the assistant’s tone or context (e.g., “You’re a senior backend engineer.”)
- Temperature: Controls randomness. 0.7 = balanced, 1.0 = creative, 0.0 = precise.
- Context Length: How much conversation history is remembered (4096 tokens is plenty for most use cases).
Experiment with prompts: Ask for code snippets, API design tips, or even regex explanations.
Integrating LM Studio with Your API Projects
LM Studio isn’t just a chat app—it can act as a local OpenAI API endpoint, perfect for backend automation, scripting, or internal tools.
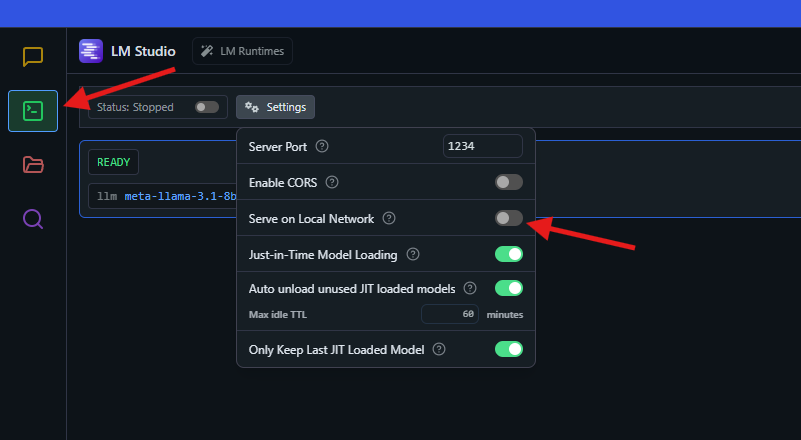
Running LM Studio as an API Server
- Open the Developer tab (gear icon) and click “Start Server.”
- By default, the server runs at
http://localhost:1234, mimicking the OpenAI API format. - Connect LM Studio to tools like LangChain or your own scripts for advanced workflows.
Example: Node.js Integration
const { LMStudioClient } = require("@lmstudio/sdk");
async function main() {
  const client = new LMStudioClient();
  const model = await client.llm.load("lmstudio-community/Meta-Llama-3-8B-Instruct-GGUF");
  const response = await model.respond([
    { role: "user", content: "What’s the capital of France?" }
  ]);
  for await (const text of response) {
    process.stdout.write(text);
  }
}
main();
- Install the SDK:
npm install @lmstudio/sdk - Run:
node test.js— Output: "Paris"
Not coding? You can stick with the GUI, but this API mode makes LM Studio a powerful local backend for any LLM-powered workflow.
0
Configuring LM Studio for Your Workflow
LM Studio is developer-friendly out of the box, but here’s how to tailor it:
- GPU Offload: If you have an NVIDIA GPU, use the “GPU Offload” slider in the Chat tab to allocate VRAM layers (e.g., 14 for RTX 3090). No GPU? Leave at 0 for CPU usage.
- Model Presets: Save prompt settings as custom presets (e.g., a “CodeReview” profile for consistent responses).
- Language Support: Switch interface language in settings (supports English, Spanish, Japanese, and more).
- .env File: For advanced users integrating with external services, store API keys and settings in a
.envfile (e.g.,LMS_SERVER_PORT=1234). Generally optional for basic use.
Explore the Developer tab for logs, custom endpoints, or advanced configurations.
Explore more API tools: HiMCP.ai - Discover 1682+ MCP Servers
Why Developers Choose LM Studio for Local LLMs
- No Coding Required: Intuitive GUI for non-developers, but robust enough for advanced users.
- Privacy: All interactions and data processed locally.
- Model Flexibility: Choose from lightweight to advanced LLMs, matching your hardware.
- Developer Community: Praised on X and Reddit as the “easiest way to run local LLMs”—ideal for both experimentation and production.
LM Studio gives API teams and backend engineers a reliable, private way to prototype, test, and integrate AI—without vendor lock-in.
Boosting Your API Workflows with Apidog
As you build and test API-rich projects alongside LM Studio, consider Apidog—the all-in-one platform for designing, testing, and documenting APIs. Its intuitive interface helps teams streamline API development and QA, ensuring your LLM-powered applications are robust and easy to maintain.
Apidog enables you to:
- Generate beautiful API documentation
- Collaborate seamlessly with your developer team for maximum productivity
- Replace Postman at a much more affordable price
Whether you’re integrating local AI endpoints or building new API services, Apidog is a trusted tool for developer-focused teams.


