
In the rapidly evolving world of AI-powered development, Cursor has become a favorite IDE for many engineers. But as the AI landscape shifts, so do developer expectations. The community is buzzing with requests for Kimi K2—Moonshot AI’s open agentic intelligence model—to be natively supported in Cursor. Why? Because Kimi K2 is a game-changer for coding, reasoning, and tool use, and its cost-effectiveness is hard to beat.
This article delves into why developers are demanding Kimi K2 in Cursor, how you can use it today (even without native support), and how Apidog MCP Server can take your workflow to the next level.
Pro Tip:
Want to connect your API specifications directly to Kimi K2 and other AI models in Cursor? Apidog MCP Server lets you use your API specs as a data source for AI-powered IDEs. Instantly generate, search, and update code based on your API specifications—no more manual syncing or context loss. Get started with Apidog MCP Server and experience seamless AI-API integration.
Kimi K2: Open Agentic Intelligence for Developers
Kimi K2 is not just another large language model. It’s designed for agentic tasks—meaning it doesn’t just answer questions, it acts. With 32 billion activated parameters (out of 1 trillion total), Kimi K2 achieves state-of-the-art performance in coding, math, and tool use.
Key Features:
- Agentic Coding: Automate complex workflows, from data analysis to code generation.
- Tool Use: Kimi K2 can understand and use tools, making it ideal for building agentic applications.
- Open Source: Both the base and instruct models are available for download and customization.
Use Cases:
- Salary data analysis with multi-step statistical workflows.
- Automated code refactoring and debugging.
- Building custom agents that interact with APIs, files, and external tools.
Benchmarks:
Kimi K2 matches or outperforms leading open-source and proprietary models across a range of tasks, including LiveCodeBench, SWE-bench, and more.
Why Developers Want Kimi K2 in Cursor
The demand for Kimi K2 in Cursor is loud and clear across the community:
- “The model Kimi K2 is a beast, and so cheap we need that in Cursor, will help get a lot done with the pro pricing plan.”
- “+1 on this, some open source models have really pushed the envelope, the team should be weaning themselves off anthropic gradually and look into working closer with open source models.”
- “Absolutely, that’s exactly what I came here to ask for.”
Why the excitement?
- Performance: Kimi K2 is a Mixture-of-Experts (MoE) model with 1 trillion parameters, optimized for agentic tasks, coding, and reasoning.
- Cost: At just 60 cents per million input tokens (cache miss) and $2.5 per million output tokens, it’s one of the most affordable high-performance models available.
- Open Source: Kimi K2 is truly open, with weights and APIs available for anyone to use, test, and integrate.
What’s missing?
Despite its power, Kimi K2 is not yet a built-in model in Cursor. But the community’s demand is pushing for change — and in the meantime, there are workarounds.
How to Use Kimi K2 in Cursor (Step-by-Step Guide)
While Cursor doesn’t natively support Kimi K2 yet, you can use it today via OpenRouter. Here’s how:
1. Create an OpenRouter Account
- Go to https://openrouter.ai/ and sign up.

2. Add Credits
- Visit https://openrouter.ai/settings/credits to add credits to your account.

3. Generate an API Key
- Go to https://openrouter.ai/settings/keys and create a new API key.

4. Configure Cursor
In Cursor, navigate to settings > Models.
Replace the model URL with https://openrouter.ai/api/v1 and paste your API key.

5. Add Kimi K2 as a Custom Model
Click on Add Custom Model and enter moonshotai/kimi-k2.

6. Start Using Kimi K2 in Cursor
You can now use Kimi K2 for coding, reasoning, and more—right inside Cursor.

Note:
Agent mode may not work as usual, as this is not a native Cursor integration. But for most tasks, Kimi K2 delivers outstanding results.
Supercharge Your Workflow: Connect Kimi K2 to Your API specifications with Apidog MCP Server
While using Kimi K2 in Cursor is powerful, you can unlock even more value by connecting your API specifications directly to your AI tools with Apidog MCP Server.
What is Apidog MCP Server?
Apidog MCP Server lets you use your API specification as a data source for AI-powered IDEs like Cursor. This means you can:
- Generate or modify code based on your API spec.
- Search and analyze your API documentation with AI.
- Automate code updates, DTO generation, and documentation tasks.
How to Set Up Apidog MCP Server with Cursor
Prerequisites:
Before you begin, ensure the following:
✅ Node.js is installed (version 18+; latest LTS recommended)
✅ You're using an IDE that supports MCP, such as: Cursor
Step 1: Prepare Your OpenAPI File
You'll need access to your API definition:
- A URL (e.g.,
https://petstore.swagger.io/v2/swagger.json) - Or a local file path (e.g.,
~/projects/api-docs/openapi.yaml) - Supported formats:
.jsonor.yaml(OpenAPI 3.x recommended)
Step 2: Add MCP Configuration to Cursor
You'll now add the configuration to Cursor's mcp.json file.
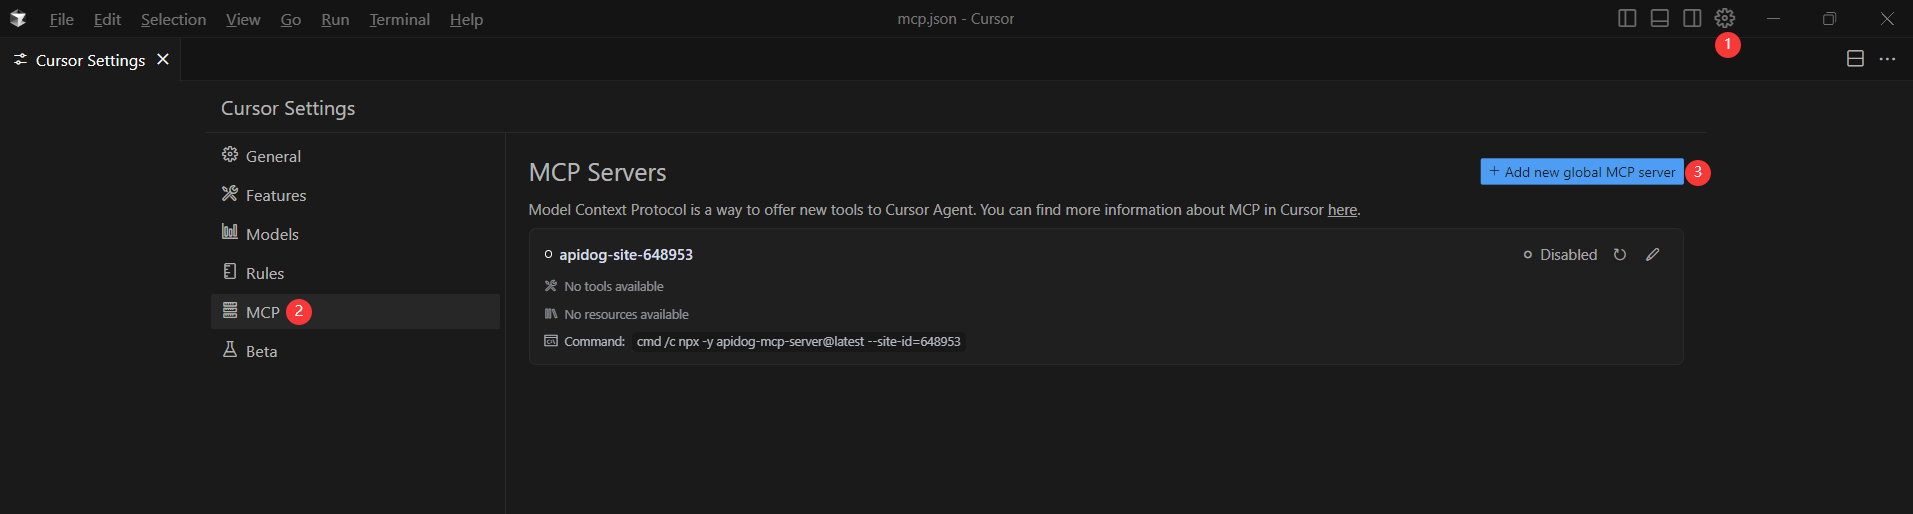
Remember to Replace <oas-url-or-path> with your actual OpenAPI URL or local path.
- For MacOS/Linux:
{
  "mcpServers": {
    "API specification": {
      "command": "npx",
      "args": [
        "-y",
        "apidog-mcp-server@latest",
        "--oas=https://petstore.swagger.io/v2/swagger.json"
      ]
    }
  }
}
For Windows:
{
  "mcpServers": {
    "API specification": {
      "command": "cmd",
      "args": [
        "/c",
        "npx",
        "-y",
        "apidog-mcp-server@latest",
        "--oas=https://petstore.swagger.io/v2/swagger.json"
      ]
    }
  }
}
Step 3: Verify the Connection
After saving the config, test it in the IDE by asking Kimi K2 (or any AI agent) to:
Please fetch API documentation via MCP and tell me how many endpoints exist in the project.If it works, you’ll see a structured response that lists endpoints and their details. If it doesn’t, double-check the path to your OpenAPI file and ensure Node.js is installed properly.
Example Use Cases:
- “Use MCP to fetch the API specification and generate Java records for the ‘Product’ schema.”
- “Based on the API specification, add new fields to the ‘User’ DTO.”
- “Add comments for each field in the ‘Order’ class based on the API documentation.”
Why Apidog MCP Server?
- Seamless integration between your API docs and AI tools.
- Automate repetitive coding and documentation tasks.
- Keep your API and codebase in sync—no more manual updates.
Conclusion: The Future of AI-Driven Development Is Open, Flexible, and Automated
The demand for Kimi K2 in Cursor is a clear signal: developers want more choice, more power, and more flexibility in their AI tools. While native support is still on the horizon, you can use Kimi K2 in Cursor today with OpenRouter—and take your workflow even further by connecting your API documentation with Apidog MCP Server.
Ready to experience the next level of intelligent, automated API development?
- Set up Kimi K2 in Cursor using the steps above.
- Connect your API docs to Cursor with Apidog MCP Server.
- Indulge in a seamless, agentic development workflow that saves time, reduces errors, and empowers your team.


