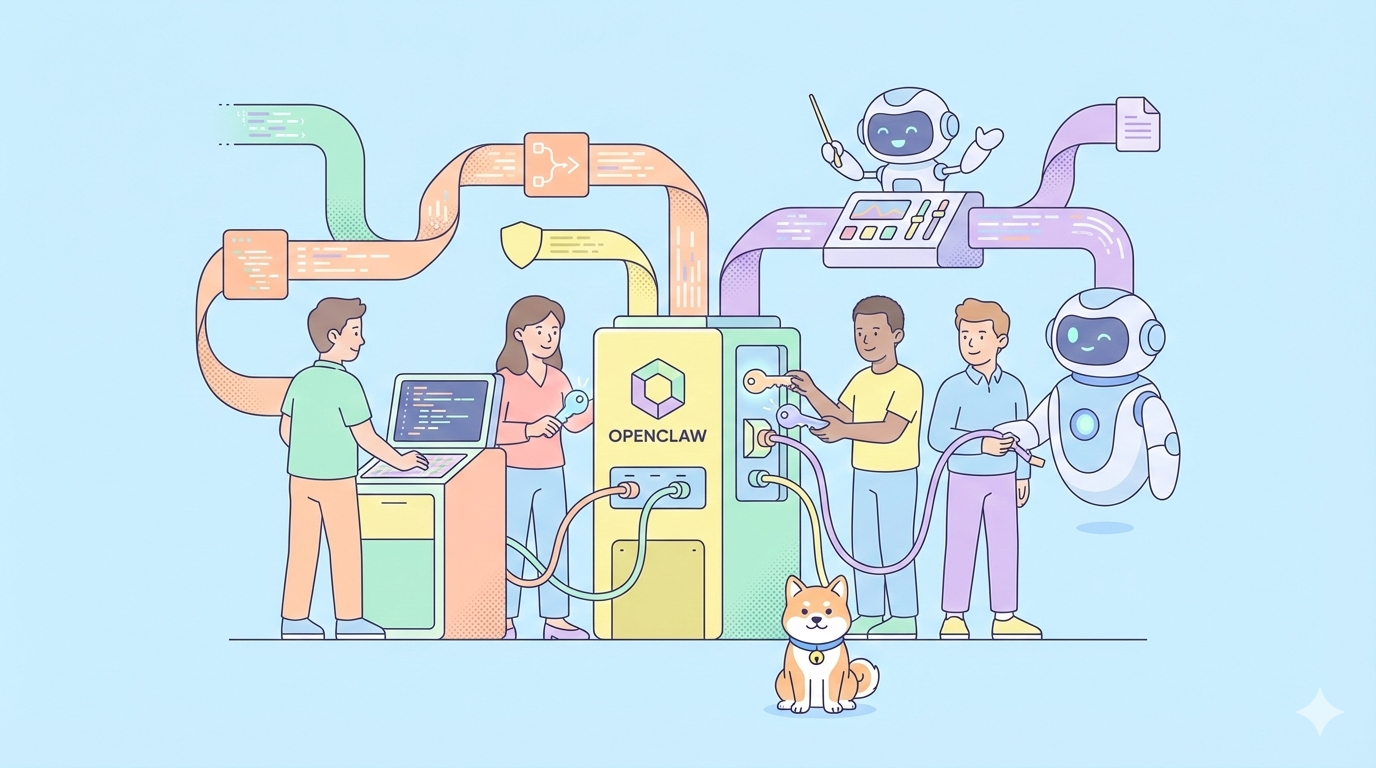
Ever wondered what it takes to combine a cutting-edge open-source model with a powerful autonomous agent? Integrating Kimi K2.5 with OpenClaw (formerly ClawdBot/MoltBot) lets you create a self-driven AI agent that can reason, code, and automate tasks based on natural language with minimal configuration. Support for Kimi K2.5 in OpenClaw means you can use a leading agent-friendly model in an open-source assistant platform without subscription lock-in.
AI assistants are ubiquitous, but most rely on proprietary APIs that cost money and restrict access. OpenClaw fills this gap by offering an open-source agent platform that runs locally or in the cloud. However, connecting a model like Kimi K2.5 (a powerful multimodal, agent-swarm capable model developed by Moonshot AI) requires detailed configuration. Getting this setup right means your agent can do complex tasks like coding, reasoning, and multi-step workflows all while staying free and open.
What Are OpenClaw and Kimi K2.5?
OpenClaw (ClawdBot / MoltBot)
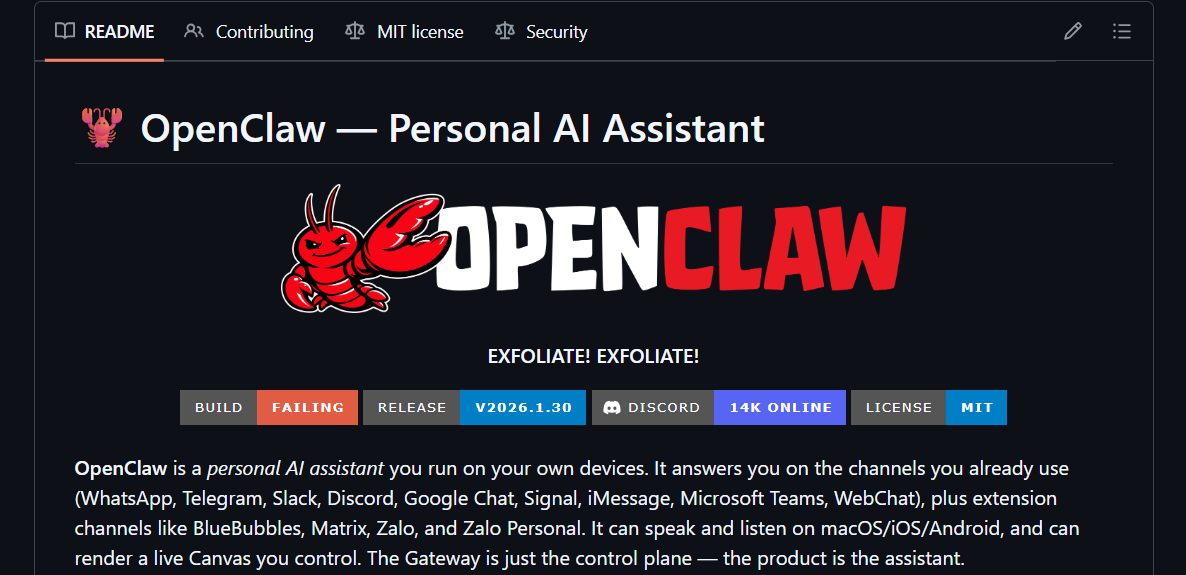
OpenClaw is an open-source autonomous AI assistant platform originally known as ClawdBot or MoltBot. It lets you run AI agents that can respond to commands, manage tasks, integrate with messaging platforms like Telegram, and handle tool calls on your machine. It is developed in TypeScript/Swift under an MIT license and supports local and cloud deployment.
Why this matters: OpenClaw provides the agent framework — the core runtime and tooling that lets AI models connect to real-world tasks instead of just reasoning in isolation.
The Kimi K2.5 Model
Kimi K2.5 is a state-of-the-art open-source multimodal model from Moonshot AI, trained on trillions of multimodal tokens with a massive context window (256K tokens) that supports coding, reasoning, and visual tasks. Its agent swarm architecture enables multiple parallel tool calls, making it suitable for workflows that involve long reasoning and complex tool execution.
Core features of Kimi K2.5 include:
- Massive context window for long workflows
- Multimodal reasoning (text and images)
- Designed for agent-centric use cases
- Open-weight model with multiple access methods (API/providers)
Want an integrated, All-in-One platform for your Developer Team to work together with maximum productivity?
Apidog delivers all your demands, and replaces Postman at a much more affordable price!
Installing OpenClaw
You’ll first need to clone and prepare OpenClaw.
Step 1: Clone OpenClaw
In your terminal, run:
git clone https://github.com/clawdbot/moltbot.git openclaw
cd openclaw
This fetches the OpenClaw repository to your local system. Keep this directory for configuration and future updates.
Step 2: Install Dependencies
Run:
npm install
# Or with pnpm
pnpm install
This installs all required dependencies (Node.js/Bun, CLI tools, configuration files) needed to run OpenClaw locally.
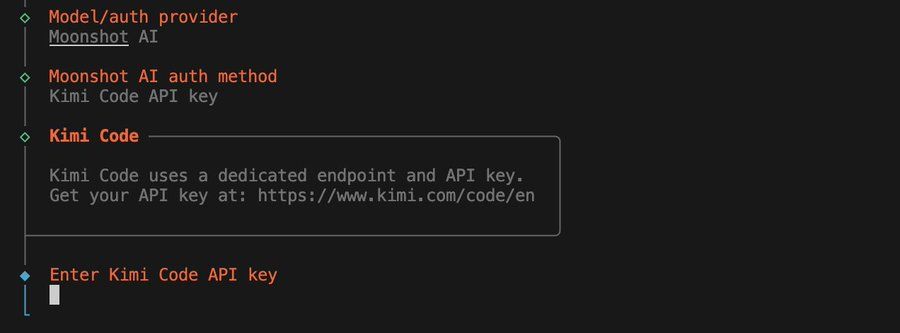
Step 3: Set Up Environment Variables
Create a .env file in the project root. Inside it, you’ll define your API keys for providers like Moonshot or Fireworks/OpenRouter:
cp .env.example .env
Edit .env to add your Kimi API key:
# .env
KIMI_API_KEY=sk-k2-5-your-api-key-here
KIMI_MODEL=kimi-k2.5-preview
KIMI_BASE_URL=https://api.kimi.ai/v1
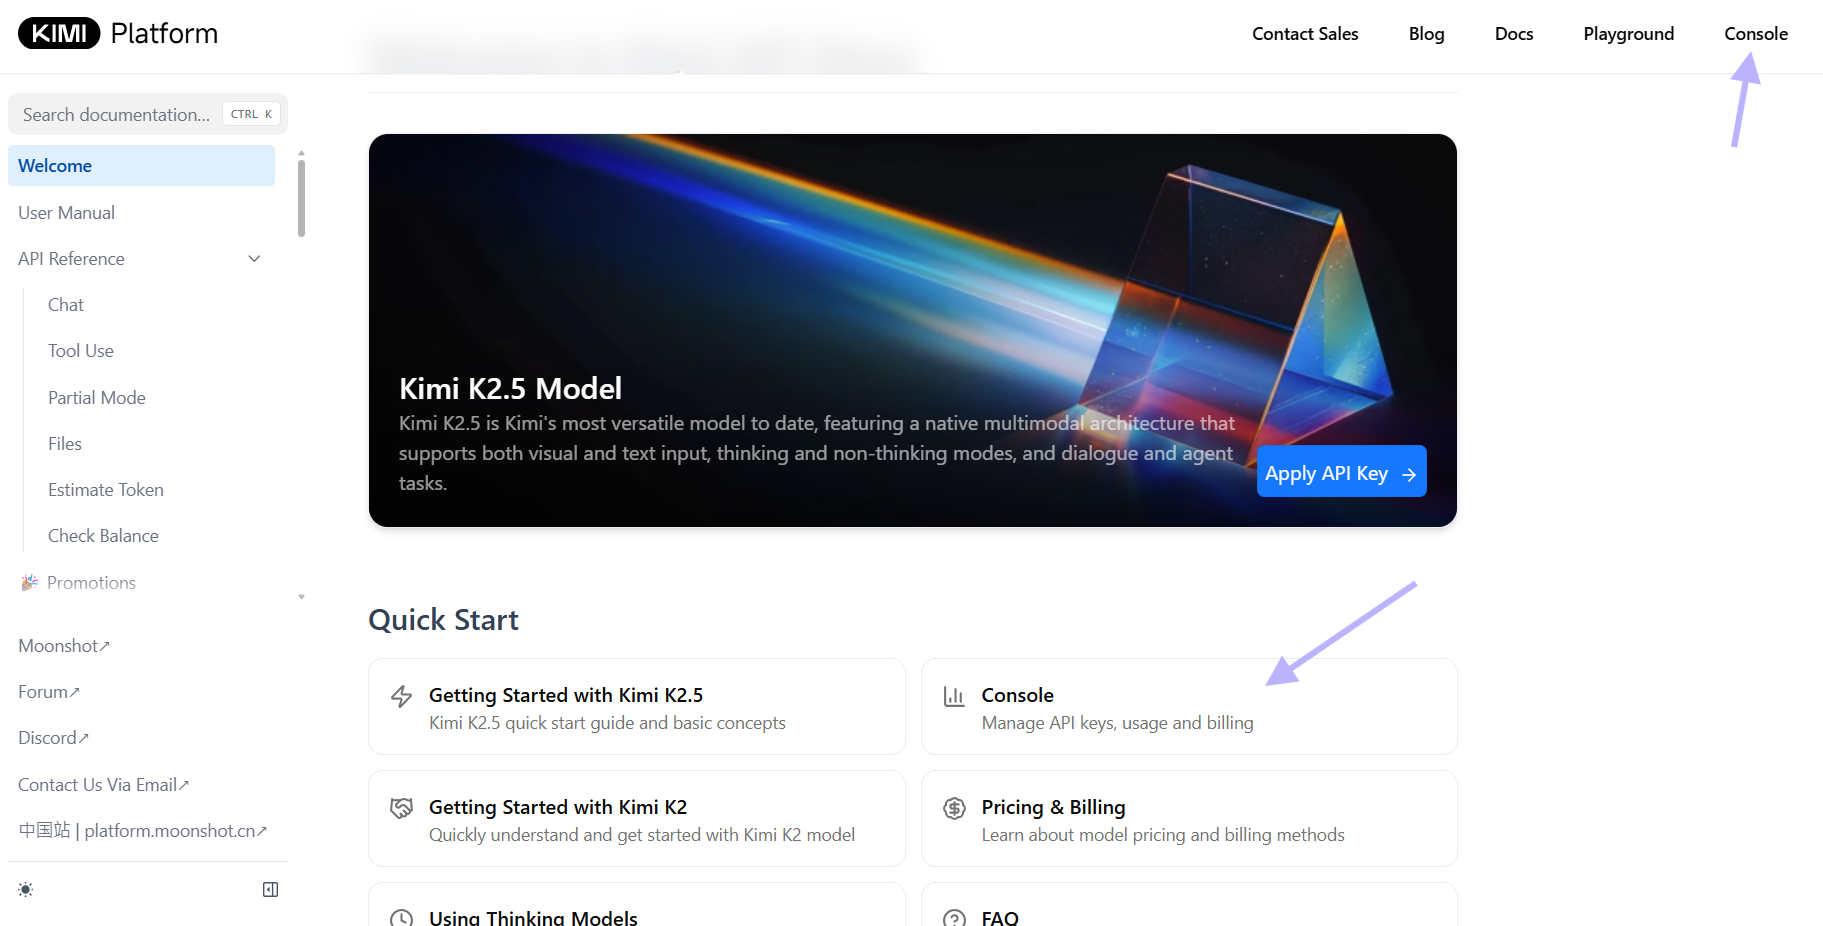
Create your kimi k2.5 api-key at Moonshot.ai:
You can also add keys for OpenRouter or other providers if you wish to use a different backend. Ensure that your key strings are not surrounded by quotes when used in real production.
{
  "model": {
    "primary": "openrouter/moonshotai/kimi-k2.5"
  },
  "models": {
    "openrouter/moonshotai/kimi-k2.5": {}
  },
  "api": {
    "openrouter": {
      "key": "your_openrouter_api_key_here"
    }
  }
}
Security tip: Never commit .env to version control. Add it to .gitignore immediately:
echo ".env" >> .gitignore
💡Pro Tip: Test your API key in Apidog before editing configuration files. This prevents downtime from authentication errors.
Configuring OpenClaw for Kimi K2.5
Now that OpenClaw is installed, you need to configure it to use Kimi K2.5 as the primary model.
Updating the OpenClaw Configuration
There are two common configuration file locations:
- Local project config:
openclaw.json - Global config:
~/.openclaw/openclaw.json
Open and modify one of those to include the following JSON snippet:
{
  "authProviders": {
    "moonshot": {
      "provider": "openrouter",
      "apiKey": "${env.KIMI_API_KEY}",
      "model": "moonshot/kimi-k2.5-preview"
    }
  },
  "chatEngines": {
    "default": {
      "provider": "moonshot",
      "maxTokens": 2048,
      "temperature": 0.7
    }
  }
}
Replace ${env.KIMI_API_KEY} with your actual API key if not using environment variable substitution. OpenClaw uses the openrouter/<provider>/<model> format to identify models.
Using Environment Variables for Configuration
You can also create a .env to store the moonshot.ai/kimi k2.5 configuration as follows:
# In .env
OPENCLAW_PROVIDER=moonshot
OPENCLAW_MODEL=moonshot/kimi-k2.5-preview
OPENCLAW_API_KEY=sk-k2-5-your-api-key-here
OpenClaw will read these at startup if no openclaw.json exists.
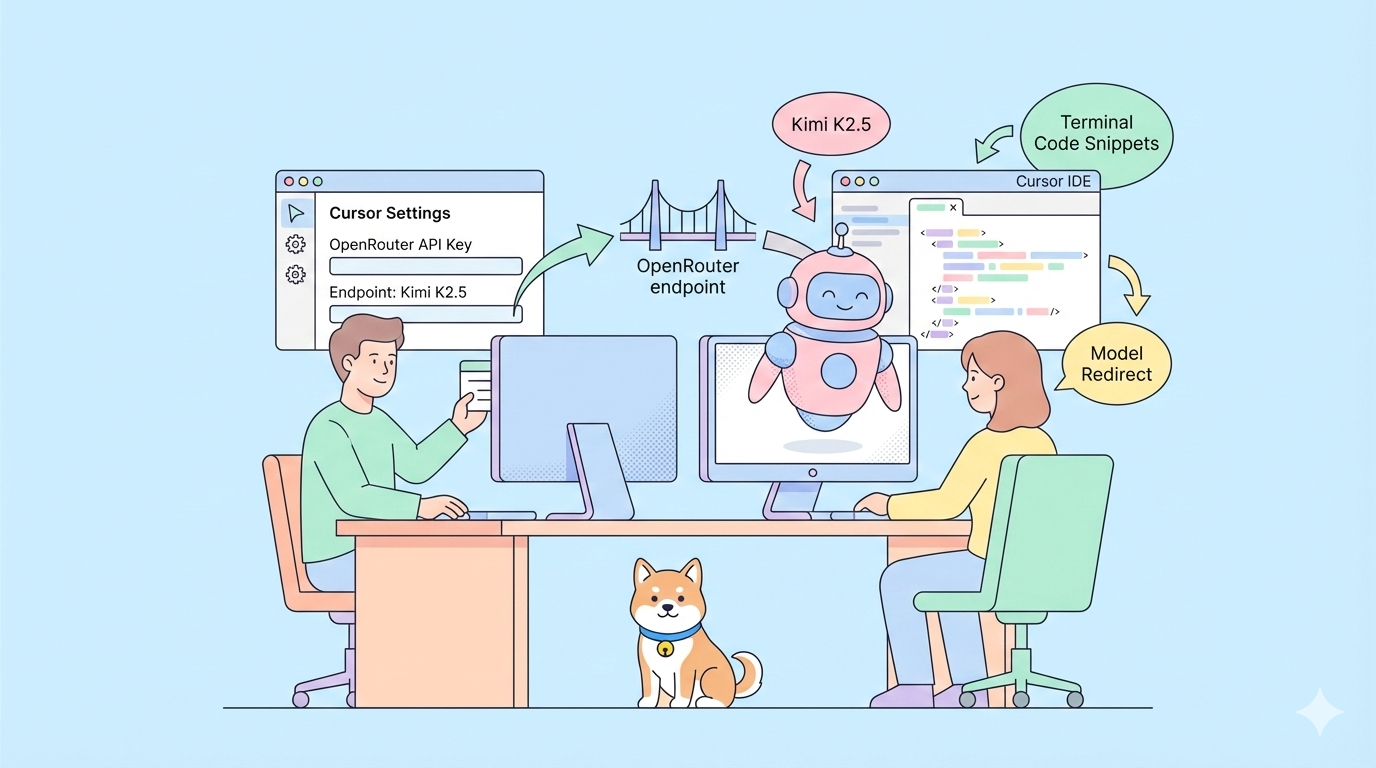
Alternative: Using Fireworks AI (Another Provider)
As another provider, you can use Fireworks.ai to configure the Kimi K2.5 backend:
# Set Fireworks API key
export FIREWORKS_API_KEY=your-fireworks-key-here

# Configure OpenClaw
echo '{
  "authProviders": {
    "fireworks": {
      "provider": "fireworks",
      "apiKey": "${env.FIREWORKS_API_KEY}",
      "model": "accounts/fireworks/models/kimi-k2.5-preview"
    }
  },
  "chatEngines": {
    "default": {
      "provider": "fireworks"
    }
  }
}' > openclaw.json
Replace YOUR_FIREWORKS_API_KEY with your Fireworks API key. This script configures your OpenClaw JSON to use Fireworks as a provider with Kimi K2.5.
Running OpenClaw
After configuration, you need to start OpenClaw’s gateway to make the AI agent accessible.
Run the Gateway
In your project directory:
npm run start:gateway
# Or if using the CLI
openclaw gateway start
This starts the OpenClaw server and listens for incoming agent events and commands. Use the CLI or integrate with messaging platforms (e.g., Telegram) for interactions. Ensure you updated to the latest version (like v2026.1.30) which explicitly added support for the Kimi K2.5 model and useful CLI features like shell completion.
Alternative: Run the Interactive Shell
For local testing:
npm run start:cli
# Or
openclaw shell
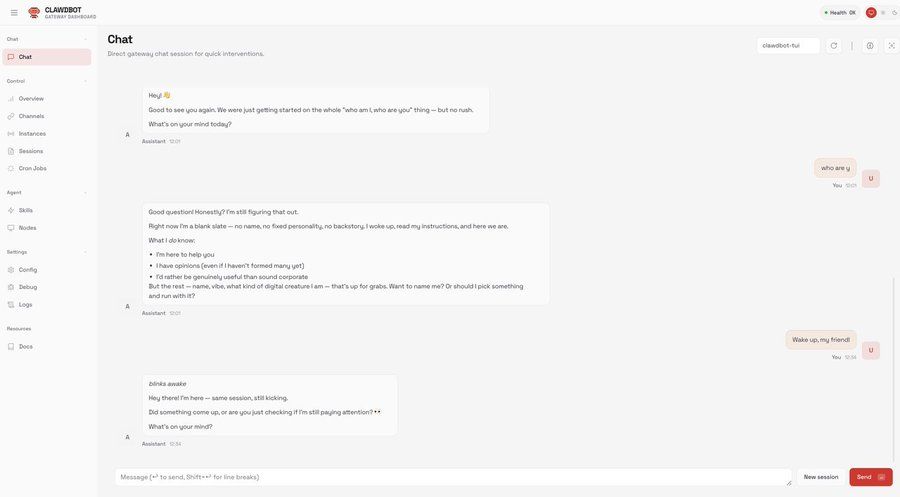
This drops you into an interactive prompt where you can chat with Kimi directly.
Validation
Once running, test connectivity by entering the OpenClaw shell. Enter simple commands like chat or agent prompts to confirm the model responds.
Example:
$ openclaw shell
> /chat "What is the weather in Tokyo?"
If Kimi K2.5 responds, your integration is working.
Test Model Configuration
Verify Kimi is the active provider:
openclaw config list
Should show:
Active Provider: moonshot
Model: moonshot/kimi-k2.5-preview
Base URL: https://api.kimi.ai/v1
Test API Connectivity
Run a direct test:
openclaw test-model kimi "Explain quantum computing in simple terms"
This bypasses the chat engine and tests the raw model connection.
Using Kimi K2.5 within OpenClaw
With everything running, you can now use Kimi K2.5 to power your AI agent’s reasoning and workflows:
Simple Tips
- Start interactive sessions through
openclaw chat - Run tasks over your messaging integrations after pairing with Telegram or others
- Keep your API keys secure in environment variables
- Monitor usage with
openclaw usage --provider moonshot
Integration with Telegram
Configure Telegram bot integration:
# Set Telegram bot token
export TELEGRAM_BOT_TOKEN=your-telegram-token-here

# Update openclaw.json
echo '{
  "integrations": {
    "telegram": {
      "enabled": true,
      "botToken": "${env.TELEGRAM_BOT_TOKEN}"
    }
  }
}' >> openclaw.json

# Restart gateway
npm run start:gateway
Now you can chat with Kimi K2.5 through Telegram.
Using Kimi for Code Generation
# In OpenClaw shell
> /agent "Create a Python script that fetches weather data and sends it to Slack"
Kimi will use its agent capabilities to write the code, suggest dependencies, and outline deployment steps.
Rate Limits and Cost Management
While OpenClaw now offers free access to models like Kimi K2.5 and Kimi Coding with a single login, pay attention to provider limits (free vs paid).
Monitor your usage:
openclaw usage --provider moonshot --daily
Set spending alerts:
export MOONSHOT_SPENDING_LIMIT=10 # $10 USD
Advanced Configuration
Custom System Prompts
Override Kimi's default behavior:
{
  "chatEngines": {
    "codeAssistant": {
      "provider": "moonshot",
      "systemPrompt": "You are an expert code reviewer focused on security vulnerabilities. Be direct and critical."
    }
  }
}
Use the custom engine:
openclaw chat --engine codeAssistant "Review this function for SQL injection risks"
Model Parameters
Fine-tune generation parameters:
{
  "chatEngines": {
    "creative": {
      "provider": "moonshot",
      "temperature": 0.9,
      "topP": 0.95,
      "maxTokens": 4096
    }
  }
}
Multiple Providers
Configure fallback providers:
{
  "chatEngines": {
    "primary": {
      "provider": "moonshot",
      "fallbackProviders": ["openai", "anthropic"]
    }
  }
}
If Kimi is unavailable, OpenClaw will automatically switch to the fallback provider.
Troubleshooting
"Provider not found" error
Cause: openclaw.json not loaded or syntax error
Fix: Validate JSON syntax:
node -e "console.log(JSON.parse(require('fs').readFileSync('openclaw.json', 'utf8')))"
"Authentication failed" error
Cause: Invalid API key or expired token
Fix: Verify key:
curl -H "Authorization: Bearer $KIMI_API_KEY" https://api.kimi.ai/v1/models
"Model not available" error
Cause: Wrong model identifier
Fix: List available models:
curl -H "Authorization: Bearer $KIMI_API_KEY" https://api.kimi.ai/v1/models | jq '.data[].id'
Connection timeout
Cause: Network issues or firewall blocking
Fix: Test connectivity:
telnet api.kimi.ai 443
Conclusion
Connecting Kimi K2.5 to OpenClaw (ClawdBot/MoltBot) transforms the agent platform into a powerful, open-source AI system capable of reasoning, coding, and multimodal tasks. By cloning the repo, configuring providers and API keys, and starting the gateway, you unlock a fully operational AI assistant that leverages a leading open-weight model without proprietary lock-in.
Whether you want to automate workflows, integrate with chat platforms, or build next-generation agents, this integration gives you the flexibility and capability you need.