
Kimi K2 stands out as a truly open, agentic intelligence model. Developed by Moonshot AI, Kimi K2 is a Mixture-of-Experts (MoE) model with 1 trillion parameters, optimized for advanced reasoning, coding, and tool use. Best of all, it’s accessible to everyone—no paywalls, no research forms, no waiting lists.
This guide delves into four practical, free methods to use Kimi K2, and shows you how to supercharge your workflow by connecting Kimi K2 to your API specifications with Apidog MCP Server.
Pro Tip: Want to unlock the full power of Kimi K2 in your development workflow? Apidog MCP Server lets you connect your API specs directly to AI-powered tools like Kimi K2. Instantly generate, search, and update code based on your API documentation—no more manual syncing or context loss.
Method 1: Use Kimi K2 for Free via the Official Web
Kimi K2’s official chat interface is the simplest way to try the model for free. Just head to kimi.com and log in (the UI is in Chinese, but Google Translate works well). Once inside, select the Kimi-K2 model from the dropdown.

Key Features:
- Unlimited usage—no token or time limits.
- Direct access to Kimi K2’s reasoning and search capabilities.
- No installation or hardware requirements.
How to Get Started:
- Visit kimi.com.
- Log in or create an account.
- Use Google Translate if needed.
- Select "Kimi-K2" from the model dropdown.
- Start chatting and exploring the model’s capabilities.
Limitations:
The web UI is more like an AI-powered search tool than a full chatbot, but it’s perfect for quick tests and unlimited free access.
Method 2: Try Kimi K2 for Free on Hugging Face Spaces
If you want to interact with Kimi K2 in a more flexible environment, Hugging Face Spaces offers a free demo.
- Visit the Kimi K2 Instruct Space.
- Sign in with your Hugging Face account.
- Enter your prompts and see how Kimi K2 responds.

Benefits:
- No installation required.
- Great for testing prompts and seeing how Kimi K2 handles various tasks.
- Community-driven—often updated with the latest model versions.
Note:
Performance may be slower than the official UI, as the model runs on shared backend resources.
Method 3: Run Kimi K2 Locally with Open-Source Weights
For developers and researchers who want full control, Kimi K2’s weights are open-sourced and available for download.
- Get the weights from Hugging Face.
- Deploy on your own hardware using inference engines like vLLM, SGLang, KTransformers, or TensorRT-LLM.
- Fine-tune or customize the model for your specific needs.
Advantages:
- Maximum flexibility and privacy.
- Ideal for custom solutions, research, and enterprise use.
- No usage limits—run as many inferences as your hardware allows.
Caveats:
- Requires significant computational resources (multiple GPUs or a strong cluster).
- Setup and maintenance are more complex than using a hosted service.
Method 4: Use Kimi K2 for Free via OpenRouter API
If you want to integrate Kimi K2 into your own applications or tools, OpenRouter provides a free API endpoint for Kimi K2.
- Visit OpenRouter’s Kimi K2 page.
- Sign up for an account and get your API key.
- Use the API in your code, chatbots, or automation workflows.
Sample Python Usage:
from openai import OpenAI

client = OpenAI(
  base_url="https://openrouter.ai/api/v1",
  api_key="<OPENROUTER_API_KEY>",
)

completion = client.chat.completions.create(
  extra_headers={
    "HTTP-Referer": "<YOUR_SITE_URL>", # Optional. Site URL for rankings on openrouter.ai.
    "X-Title": "<YOUR_SITE_NAME>", # Optional. Site title for rankings on openrouter.ai.
  },
  extra_body={},
  model="moonshotai/kimi-k2:free",
  messages=[
    {
      "role": "user",
      "content": "What is the meaning of life?"
    }
  ]
)
print(completion.choices[0].message.content)
Why Use the API?
- Integrate Kimi K2 into your IDE, chatbot, or automation pipeline.
- No cost for input/output tokens on the free tier.
- Supports a wide range of applications, from coding agents to data analysis.
Bonus: Connect Kimi K2 to Your API Specifications with Apidog MCP Server
While Kimi K2 is powerful on its own, you can unlock even more value by connecting it to your API specifications using Apidog MCP Server.
What is Apidog MCP Server?
Apidog MCP Server lets you use your API specification as a data source for AI-powered IDEs and tools. This means you can:
- Generate or modify code based on your API spec.
- Search and analyze your API documentation with AI.
- Automate code updates, DTO generation, and documentation tasks.
How to Set Up Apidog MCP Server with Kimi K2
Prerequisites:
Before you begin, ensure the following:
✅ Node.js is installed (version 18+; latest LTS recommended)
✅ You're using an IDE that supports MCP, such as: Cursor
Step 1: Prepare Your OpenAPI File
You'll need access to your API definition:
- A URL (e.g.,
https://petstore.swagger.io/v2/swagger.json) - Or a local file path (e.g.,
~/projects/api-docs/openapi.yaml) - Supported formats:
.jsonor.yaml(OpenAPI 3.x recommended)
Step 2: Add MCP Configuration to Cursor
You'll now add the configuration to Cursor's mcp.json file.
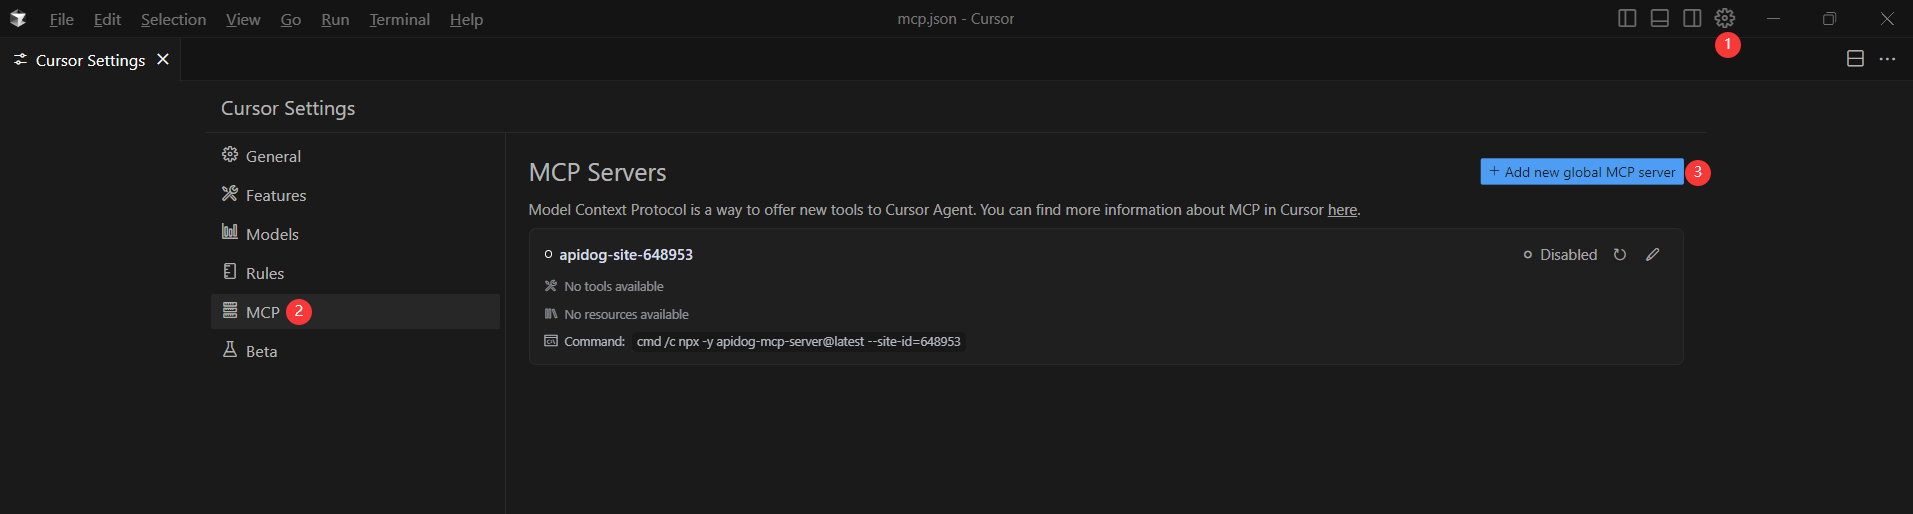
Remember to Replace <oas-url-or-path> with your actual OpenAPI URL or local path.
- For MacOS/Linux:
{
  "mcpServers": {
    "API specification": {
      "command": "npx",
      "args": [
        "-y",
        "apidog-mcp-server@latest",
        "--oas=https://petstore.swagger.io/v2/swagger.json"
      ]
    }
  }
}
For Windows:
{
  "mcpServers": {
    "API specification": {
      "command": "cmd",
      "args": [
        "/c",
        "npx",
        "-y",
        "apidog-mcp-server@latest",
        "--oas=https://petstore.swagger.io/v2/swagger.json"
      ]
    }
  }
}
Step 3: Verify the Connection
After saving the config, test it in the IDE by asking Kimi K2 (or any AI agent) to:
Please fetch API documentation via MCP and tell me how many endpoints exist in the project.If it works, you’ll see a structured response that lists endpoints and their details. If it doesn’t, double-check the path to your OpenAPI file and ensure Node.js is installed properly.
Example Use Cases:
- “Use MCP to fetch the API specification and generate Java records for the ‘Product’ schema.”
- “Based on the API specification, add new fields to the ‘User’ DTO.”
- “Add comments for each field in the ‘Order’ class based on the API documentation.”
Why Apidog MCP Server?
- Seamless integration between your API docs and AI tools.
- Automate repetitive coding and documentation tasks.
- Keep your API and codebase in sync—no more manual updates.
Conclusion: Unlock the Power of Free Kimi K2 and Apidog MCP Server
In the rapidly changing landscape of AI, Kimi K2 is a game-changer—open, powerful, and accessible to all. Whether you want to chat, test, run locally, or integrate via API, there’s a free method that fits your needs.
But don’t stop there. By connecting Kimi K2 to your API specifications with Apidog MCP Server, you can automate code generation, streamline documentation, and supercharge your development workflow. Apidog is the all-in-one API development platform that brings your AI and API worlds together.
Pro Tip: Want to unlock the full power of Kimi K2 in your development workflow? Apidog MCP Server lets you connect your API specs directly to AI-powered tools like Kimi K2. Instantly generate, search, and update code based on your API documentation—no more manual syncing or context loss.
Ready to get started?
- Try Kimi K2 for free using any of the methods above.
- Set up Apidog MCP Server and connect your API docs to your favorite AI tools.
- Experience the next level of intelligent, automated API development.


