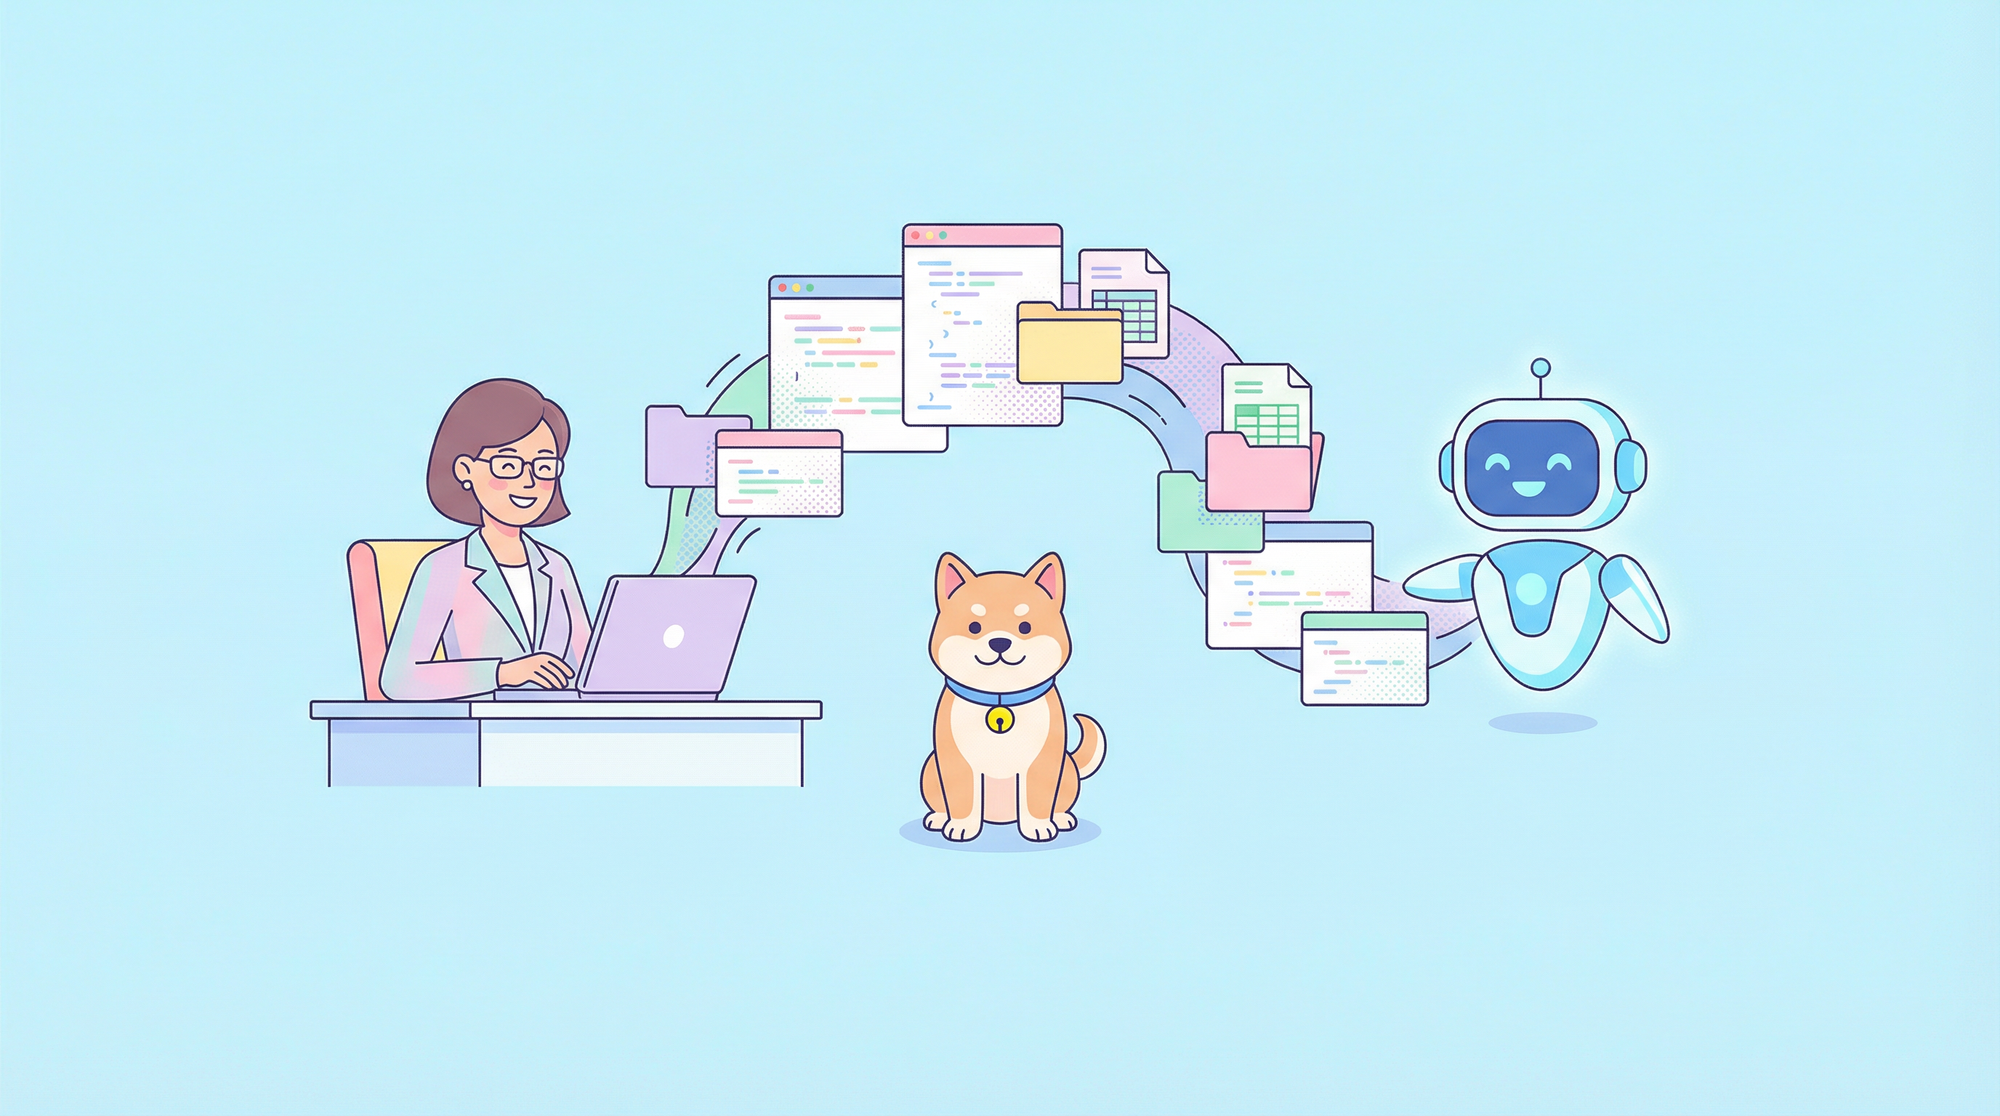
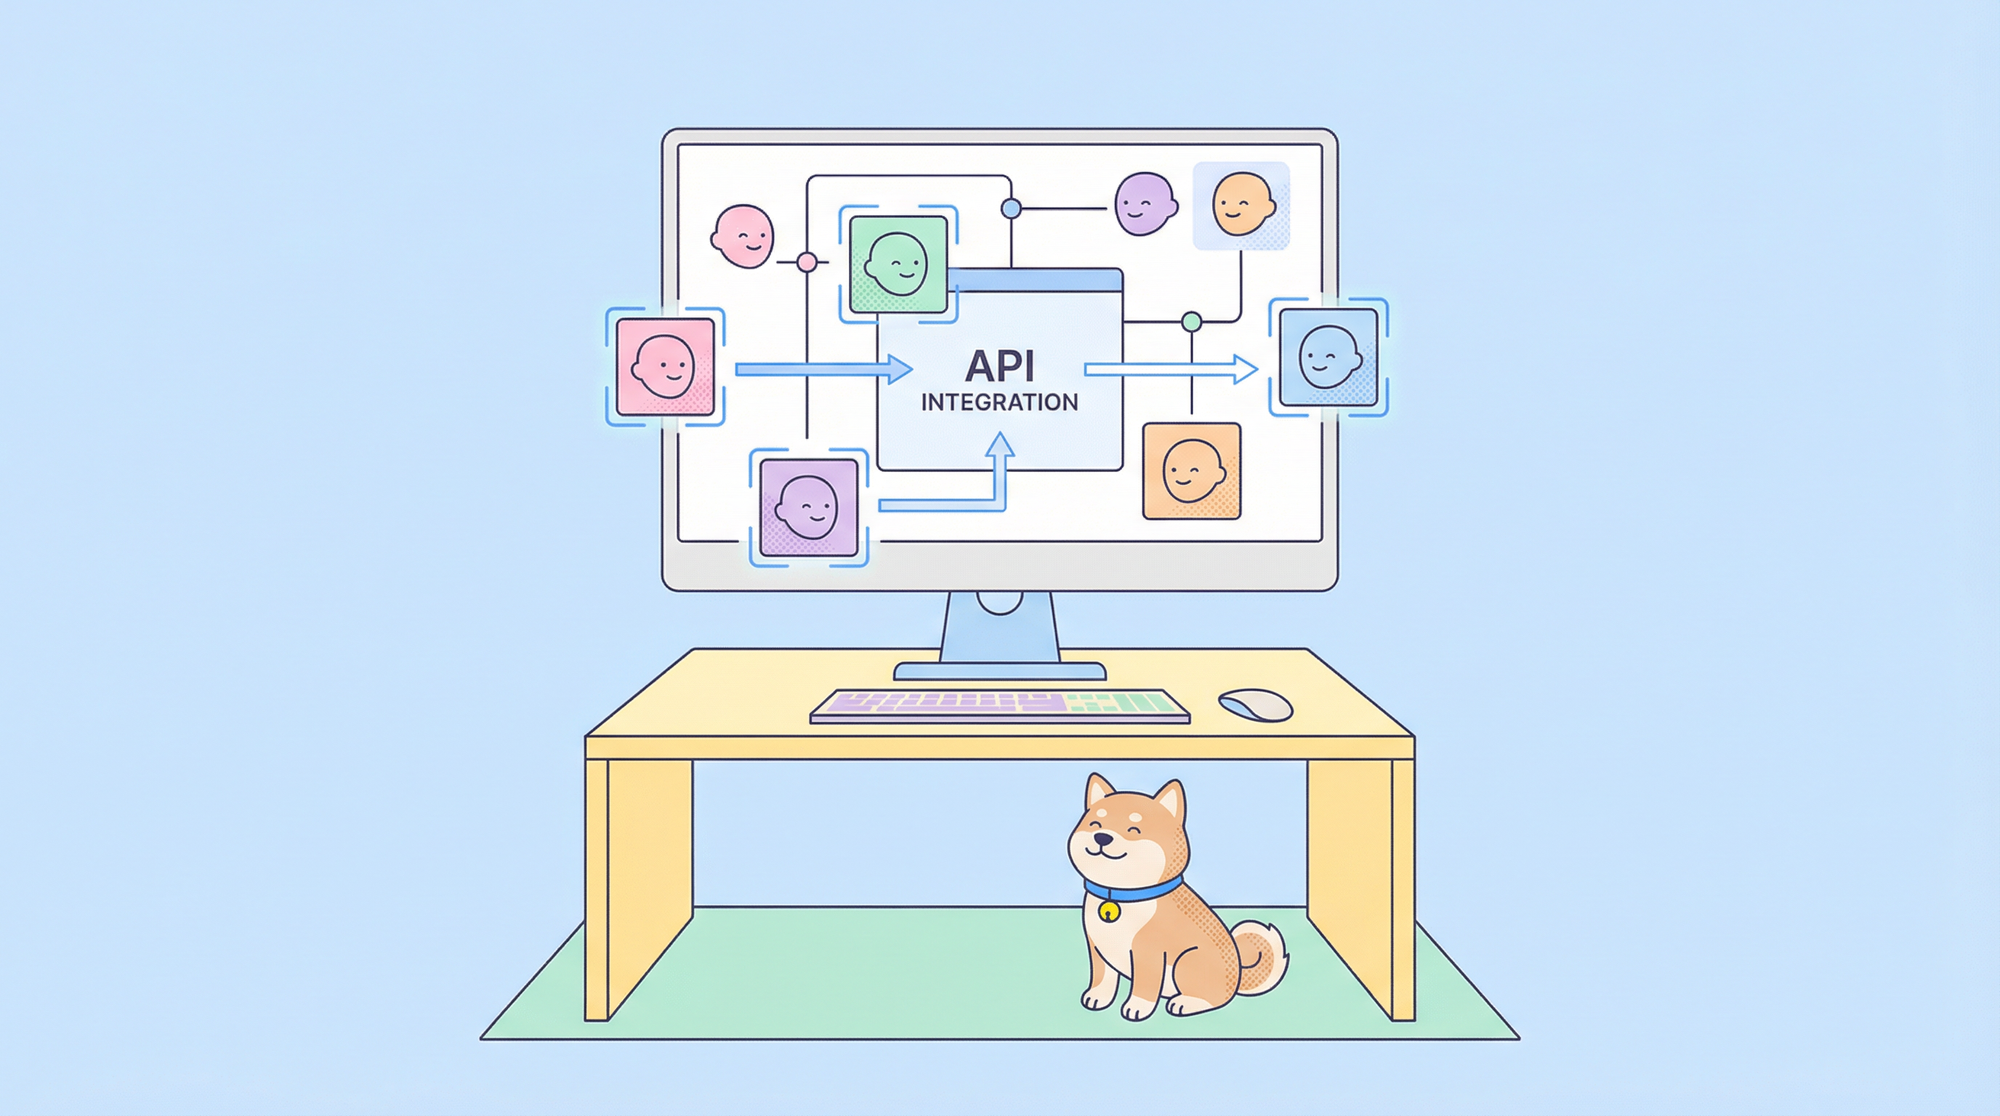
The AI landscape is rapidly evolving, and with it comes innovative ways to interact with our everyday productivity tools. Model Context Protocol (MCP), developed by Anthropic, stands at the forefront of this revolution. MCP creates a standardized bridge between AI models like Claude and external applications, allowing for seamless interaction and automation. One particularly powerful integration is with Atlassian's Jira, a tool used by countless teams worldwide for project and issue tracking.
In this comprehensive guide, we'll walk through how to set up your own Jira MCP server, enabling you to harness the power of AI to streamline your project management workflows. By the end of this article, you'll be able to use Claude or other compatible AI assistants to search for issues, create new tickets, update existing ones, and perform many other Jira operations—all through natural language commands.
While setting up your Jira MCP server, you might also want to consider upgrading your API development toolkit.

Apidog stands out as a powerful all-in-one alternative to Postman, offering a comprehensive suite of features that streamline the entire API lifecycle. With its intuitive interface, Apidog combines API design, documentation, debugging, automated testing, and mocking capabilities in a single collaborative platform.

Unlike traditional API tools that require multiple applications, Apidog's integrated environment enables seamless workflows from design to testing. This cohesive approach not only enhances productivity but also ensures consistency across your API ecosystem.

For developers building APIs that will interact with your Jira MCP server, Apidog's robust request building, environment variables, and team collaboration features make it an excellent companion tool that complements your MCP-powered workflow. By incorporating Apidog into your development stack, you can create, test, and document the APIs that will form the backbone of your Jira integrations.
What is Jira MCP Server?
Jira MCP Server is a server implementation that follows the Model Context Protocol, enabling AI models to directly interact with your Jira instance. This integration allows LLMs (Large Language Models) like Claude to understand and manipulate Jira data structures such as projects, issues, sprints, and workflows.

While traditional API integrations require custom code for each specific interaction pattern, MCP provides a standardized framework that lets AI systems understand the context of your Jira environment and operate within it just as a human would, using natural language processing to interpret commands and execute appropriate actions.
How Does Jira MCP Work?
The Jira MCP server functions as a middleware layer that translates between the AI models and Jira's API. Here's how it works:
- Connection Establishment: The MCP server connects to your Jira instance using authentication credentials you provide.
- Command Interpretation: When you send a natural language query to an AI model like Claude, it interprets your request and determines which Jira operations are needed.
- API Translation: The MCP server converts these interpreted commands into appropriate Jira API calls.
- Response Processing: Data returned from Jira is processed by the MCP server and formatted in a way the AI can understand and present to you.
This bi-directional communication allows for complex workflows to be automated through simple conversational exchanges with the AI.
Setting Up Your Jira MCP Server
Let's dive into the step-by-step process of setting up your Jira MCP server:
Step 1: Prerequisites
Before you begin, make sure you have the following:
- Python installed on your system (Python 3.9 or higher recommended)
- A Jira account with appropriate permissions (admin access is ideal but not required for basic functionality)
- Basic familiarity with command-line operations
- [Optional] A package manager like uv (recommended) or pip
- An AI tool that supports MCP, such as Claude Desktop or Cursor IDE
Step 2: Authentication Setup
The first crucial step is setting up authentication for your Jira instance. The method varies slightly depending on whether you're using Jira Cloud or Jira Server/Data Center:
For Jira Cloud:
- Go to https://id.atlassian.com/manage-profile/security/api-tokens
- Click "Create API token"
- Give your token a descriptive name (e.g., "Jira MCP Integration")
- Copy the token immediately—it will only be shown once
For Jira Server/Data Center:
- Navigate to your profile by clicking your avatar
- Go to "Profile" → "Personal Access Tokens"
- Click "Create token"
- Name the token appropriately and set an expiry date if desired
- Copy the token immediately after creation
Store this token securely, as it provides access to your Jira account and will be needed for MCP server configuration.
Step 3: Installation Options
There are several ways to install the Jira MCP server. Choose the option that best fits your environment:
Option 1: Using uv (Recommended)
The uv package manager offers the most streamlined installation:
brew install uv
uvx mcp-atlassian
Option 2: Using pip
If you prefer pip, run:
pip install mcp-atlassian
Option 3: From Source
For those who want the latest features or need to customize the installation:
git clone <https://github.com/sooperset/mcp-atlassian.git>
cd mcp-atlassian
Option 4: Using Docker
For containerized deployments:
docker build -t mcp/atlassian .
Step 4: Configuration and Basic Usage
Once installed, you need to configure the MCP server with your Jira credentials. The configuration method varies based on your installation choice and Jira deployment type.
For Jira Cloud:
uvx mcp-atlassian \\\\
  --jira-url <https://your-company.atlassian.net> \\\\
  --jira-username your.email@company.com \\\\
  --jira-token your_api_token
For Jira Server/Data Center:
uvx mcp-atlassian \\\\
  --jira-url <https://jira.your-company.com> \\\\
  --jira-personal-token your_token
Optional Arguments
The MCP server supports several optional arguments to customize its behavior:
-transport: Choose between stdio (default) or sse for server transport-port: Set a custom port number for SSE transport (default: 8000)-[no-]jira-ssl-verify: Toggle SSL verification for Jira Server/Data Center-jira-projects-filter: Filter Jira search results to specific project keys (e.g., "PROJ,DEV,SUPPORT")-read-only: Run in read-only mode to disable all write operations-verboseorv: Increase logging verbosity (can be used multiple times)
Step 5: Integrating with AI Tools
Now that your Jira MCP server is configured, you need to connect it to an AI tool that supports MCP. Let's look at how to integrate with two popular options:
Claude Desktop Integration
Edit the Claude Desktop configuration file:
- On macOS:
~/Library/ApplicationSupport/Claude/claude_desktop_config.json - On Windows:
%APPDATA%\\\\Claude\\\\claude_desktop_config.json
Add the following configuration (adjust based on your installation method):
{
  "mcpServers": {
    "mcp-atlassian": {
      "command": "uvx",
      "args": [
        "mcp-atlassian",
        "--jira-url=https://your-company.atlassian.net",
        "--jira-username=your.email@company.com",
        "--jira-token=your_api_token"
      ]
    }
  }
}
Cursor IDE Integration
- Open Cursor Settings
- Navigate to Features > MCP Servers
- Click "+ Add new global MCP server"
- Add the following configuration:
{
  "mcpServers": {
    "mcp-atlassian": {
      "command": "uvx",
      "args": [
        "mcp-atlassian",
        "--jira-url=https://your-company.atlassian.net",
        "--jira-username=your.email@company.com",
        "--jira-token=your_api_token"
      ]
    }
  }
}
Step 6: Testing Your Setup
After configuring your MCP server and integrating it with your AI tool:
- Restart Claude Desktop or Cursor IDE
- Look for a green indicator next to the server name in the tool's interface, showing a successful connection
- Try a simple command to verify the setup. For example, ask Claude: "Show me open bugs in the PROJECT-123 project in Jira"
If everything is working correctly, Claude should use the MCP server to query Jira and return the requested information.
Advanced Configuration Options
As you become more comfortable with your Jira MCP setup, consider these advanced configuration options:
Using Environment Variables
Instead of passing credentials directly in command-line arguments, you can use environment variables:
- Create a
.envfile in your working directory - Add your Jira credentials:
JIRA_URL=https://your-company.atlassian.net
JIRA_USERNAME=your.email@company.com
JIRA_API_TOKEN=your_api_token
- Run the MCP server:
uvx mcp-atlassian
Docker Configuration with Environment File
If you're using Docker, you can pass environment variables:
{
  "mcpServers": {
    "mcp-atlassian": {
      "command": "docker",
      "args": [
        "run",
        "--rm",
        "-i",
        "--env-file",
        "/path/to/your/.env",
        "mcp/atlassian"
      ]
    }
  }
}
SSE Transport Configuration
For applications that support SSE (Server-Sent Events):
- Start the MCP server in SSE mode:
uvx mcp-atlassian --transport sse --port 9000
- Configure in your AI tool:
{
  "mcpServers": {
    "mcp-atlassian-sse": {
      "url": "<http://localhost:9000/sse>",
      "env": {
        "JIRA_URL": "<https://your-company.atlassian.net>",
        "JIRA_USERNAME": "your.email@company.com",
        "JIRA_API_TOKEN": "your_api_token"
      }
    }
  }
}
Practical Use Cases
With your Jira MCP server properly configured, you can leverage AI to perform various tasks:
Issue Management
- Creating Issues: "Create a bug ticket for the authentication service with high priority"
- Updating Issues: "Change the status of PROJ-123 to 'In Progress' and assign it to John"
- Searching Issues: "Find all critical bugs assigned to me that are still open"
Project Insights
- Sprint Status: "Give me a summary of the current sprint's progress"
- Project Metrics: "Show me the burndown chart for the current sprint"
- Workload Analysis: "Who has the most open tickets in the development team?"
Workflow Automation
- Issue Transitions: "Move all completed tickets to the 'Done' status"
- Bulk Updates: "Add the 'frontend' label to all issues related to UI components"
- Worklog Management: "Log 2 hours of work on ticket PROJ-456 for yesterday"
Troubleshooting Common Issues
If you encounter problems with your Jira MCP setup:
Connection Issues
- Verify your Jira URL is correct and accessible from your machine
- Ensure your API token or personal token is valid and has not expired
- Check for any network restrictions that might block connections to Jira
Authentication Problems
- Confirm you're using the correct username/email format for your Jira instance
- Regenerate your API token if you suspect it's been compromised
- For Server/Data Center installations, verify your personal token has the necessary permissions
Integration Errors
Restart your AI tool after making configuration changes
Check the logs for detailed error messages:
tail -f /Library/Logs/Claude/mcp.log
Use the MCP Inspector to debug tool calls:
npx @modelcontextprotocol/inspector
Security Considerations
When setting up your Jira MCP server, keep these security best practices in mind:
- Never share API tokens or include them in public code repositories
- Use the
-read-onlyflag if you only need read access to Jira - Consider creating a dedicated Jira user with appropriate permissions for MCP integration
- Regularly rotate your API tokens according to your organization's security policies
- Use environment variables or secure credential management systems to store tokens
Conclusion
Setting up a Jira MCP server bridges the gap between AI and your project management workflow, enabling powerful automation and natural language interactions with your Jira instance. The initial configuration may require some technical setup, but the resulting productivity gains make it well worth the effort.
As you explore this integration, you'll discover countless ways to streamline your project management processes, from automating repetitive tasks to gaining deeper insights into your projects and teams. The combination of Jira's robust project management capabilities with the intelligence of modern AI models creates a powerful synergy that can transform how you plan, track, and complete work.
Whether you're a project manager looking to reduce administrative overhead, a developer wanting faster access to issue details, or a team lead seeking better project visibility, the Jira MCP integration offers valuable tools to enhance your workflow and boost productivity.
By following this guide, you've taken an important step toward a more efficient, AI-enhanced project management experience. As MCP technology continues to evolve, we can expect even deeper integrations and more sophisticated capabilities in the future, further transforming how we interact with our essential productivity tools.


