Building robust offline-ready web applications is a growing priority for API developers and product teams. IndexedDB, a client-side NoSQL database, empowers you to store and manage large datasets directly in the browser—enabling seamless offline workflows and real-time sync capabilities.
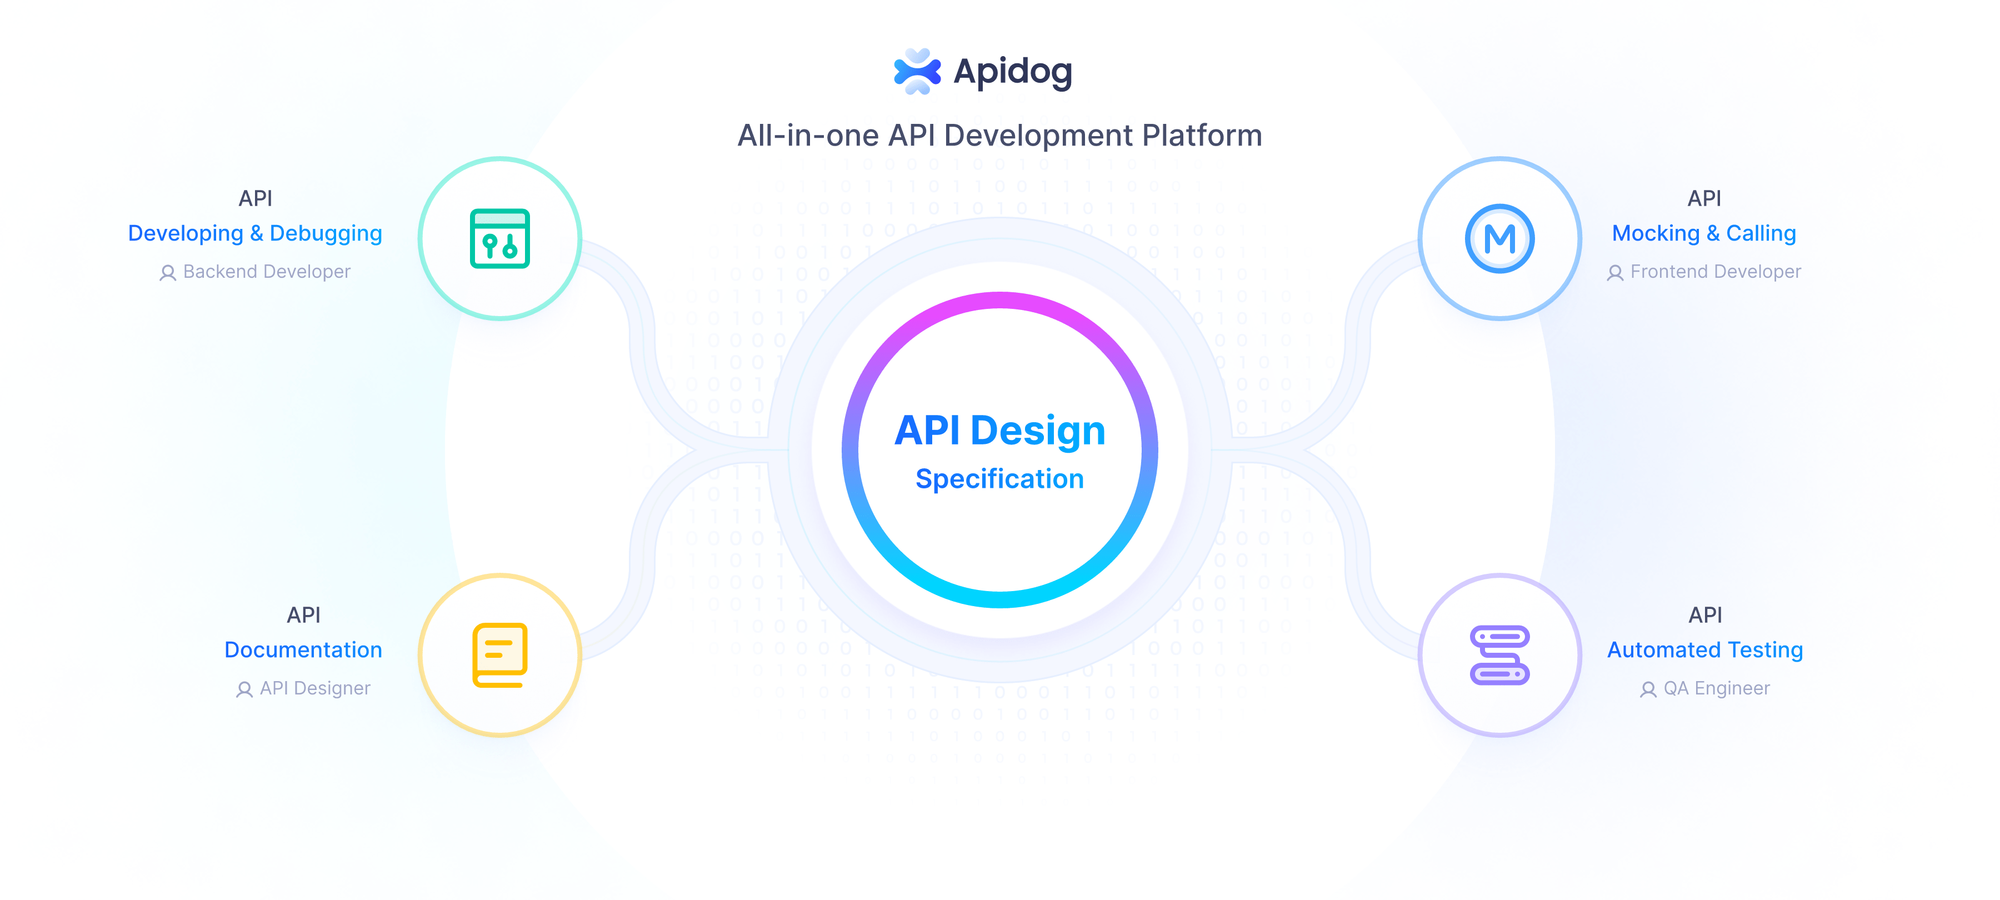
In this guide, you'll learn how IndexedDB works, discover practical implementation patterns, and see how to streamline API integration and data sync with Apidog, an all-in-one platform for API design, testing, and documentation.
What is IndexedDB? Key Features for Modern Web Apps
IndexedDB is a low-level, asynchronous NoSQL database built into major browsers like Chrome, Firefox, Edge, and Safari. It gives web applications the ability to:
- Store structured, queryable data locally (even offline)
- Handle large volumes of records efficiently
- Use indexes for fast lookups and filtering
- Support atomic transactions for reliable updates
- Traverse and manipulate data using cursors
These features make IndexedDB the go-to solution for web apps requiring complex offline storage—such as task managers, note apps, and progressive web apps (PWAs).
💡 When your application also communicates with APIs, consider using Apidog to unify API design, testing, and documentation. Apidog helps manage the sync between client-side IndexedDB and your backend, all in one collaborative workspace.
Getting Started with IndexedDB: A Practical Guide
1. Creating and Opening a Database
To open or create a new IndexedDB database:
const request = indexedDB.open("MyDatabase", 1);
request.onupgradeneeded = (event) => {
  const db = event.target.result;
  // Define object stores and indexes here
};
"MyDatabase"is the database name.1is the version number. Increment this when changing the schema.
2. Managing Database Versions
Every schema change (such as adding new stores or indexes) should trigger a version bump. The onupgradeneeded event is where you manage migrations:
request.onupgradeneeded = (event) => {
  const db = event.target.result;
  // e.g., db.createObjectStore("customers", { keyPath: "id" });
};
3. Defining Object Stores and Indexes
Object stores are like tables, and indexes accelerate lookups:
const objectStore = db.createObjectStore("customers", { keyPath: "id" });
objectStore.createIndex("name", "name", { unique: false });
Transactions: Ensuring Data Consistency
IndexedDB uses transactions to bundle multiple operations, guaranteeing atomicity.
const transaction = db.transaction(["customers"], "readwrite");
const objectStore = transaction.objectStore("customers");
transaction.oncomplete = () => { /* Success */ };
transaction.onerror = () => { /* Handle errors */ };
- Use
transaction.abort()to manually roll back changes if needed.
Core Data Operations in IndexedDB
Adding Records
objectStore.add({ id: "00001", name: "John Doe", email: "john@example.com" });
Retrieving Data
objectStore.get("00001").onsuccess = (event) => {
  console.log("Customer data:", event.target.result);
};
Querying with Indexes
const index = objectStore.index("name");
index.get("John Doe").onsuccess = (event) => {
  console.log("Found by name:", event.target.result);
};
Range Queries and Cursors
For advanced filtering:
const range = IDBKeyRange.bound("A", "F");
index.openCursor(range).onsuccess = (event) => {
  // Iterate through matching records
};
Updating and Deleting
objectStore.put({ id: "00001", name: "John Smith", email: "john@example.com" });
objectStore.delete("00001").onsuccess = () => { /* Record deleted */ };
Cursors: Efficiently Traversing Large Datasets
Cursors let you iterate over object stores or indexes:
objectStore.openCursor().onsuccess = (event) => {
  const cursor = event.target.result;
  if (cursor) {
    // cursor.key, cursor.value
    cursor.continue();
  }
};
You can also update or delete records in-place using the cursor.
Schema Evolution and Upgrades
When your data model changes, upgrade your schema within onupgradeneeded:
const request = indexedDB.open("MyDatabase", 2);
request.onupgradeneeded = (event) => {
  const db = event.target.result;
  if (!db.objectStoreNames.contains("newStore")) {
    db.createObjectStore("newStore", { keyPath: "id" });
  }
};
For major changes, migrate data between stores using cursors during the upgrade.
IndexedDB Performance Tips for API-Driven Apps
- Bulk Operations: Batch add/update records in a single transaction for speed.
- Indexes: Index frequently queried fields (like
emailorlastLogin). - Connection Management: Open connections only as needed and close them when done.
Example:
let db;
function openDB() {
  const request = indexedDB.open("MyDatabase", 1);
  request.onsuccess = (event) => { db = event.target.result; };
  return request;
}
function closeDB() {
  if (db) { db.close(); db = null; }
}
Real-World Example: Offline Task Manager
Database Schema
const request = indexedDB.open("TaskManagerDB", 1);
request.onupgradeneeded = (event) => {
  const db = event.target.result;
  const taskStore = db.createObjectStore("tasks", { keyPath: "id", autoIncrement: true });
  taskStore.createIndex("status", "status", { unique: false });
  taskStore.createIndex("dueDate", "dueDate", { unique: false });
};
Adding and Managing Tasks
function addTask(taskData) {
  const transaction = db.transaction(["tasks"], "readwrite");
  const taskStore = transaction.objectStore("tasks");
  return new Promise((resolve, reject) => {
    const request = taskStore.add({
      title: taskData.title,
      description: taskData.description,
      status: "pending",
      dueDate: taskData.dueDate,
      createdAt: new Date()
    });
    request.onsuccess = () => resolve(request.result);
    request.onerror = () => reject(request.error);
  });
}
Syncing Tasks with Server APIs
function syncWithServer() {
  if (!navigator.onLine) {
    return Promise.reject(new Error("No internet connection"));
  }
  return getAllTasks()
    .then(tasks => {
      const unsynced = tasks.filter(task => !task.synced);
      return fetch('https://api.example.com/tasks/sync', {
        method: 'POST',
        headers: { 'Content-Type': 'application/json' },
        body: JSON.stringify(unsynced)
      });
    })
    .then(response => response.json())
    .then(result => {
      const transaction = db.transaction(["tasks"], "readwrite");
      const taskStore = transaction.objectStore("tasks");
      result.syncedIds.forEach(id => {
        const request = taskStore.get(id);
        request.onsuccess = () => {
          const task = request.result;
          task.synced = true;
          taskStore.put(task);
        };
      });
      return result;
    });
}
window.addEventListener('online', syncWithServer);
Integrating Apidog: Simplify API & Sync Management
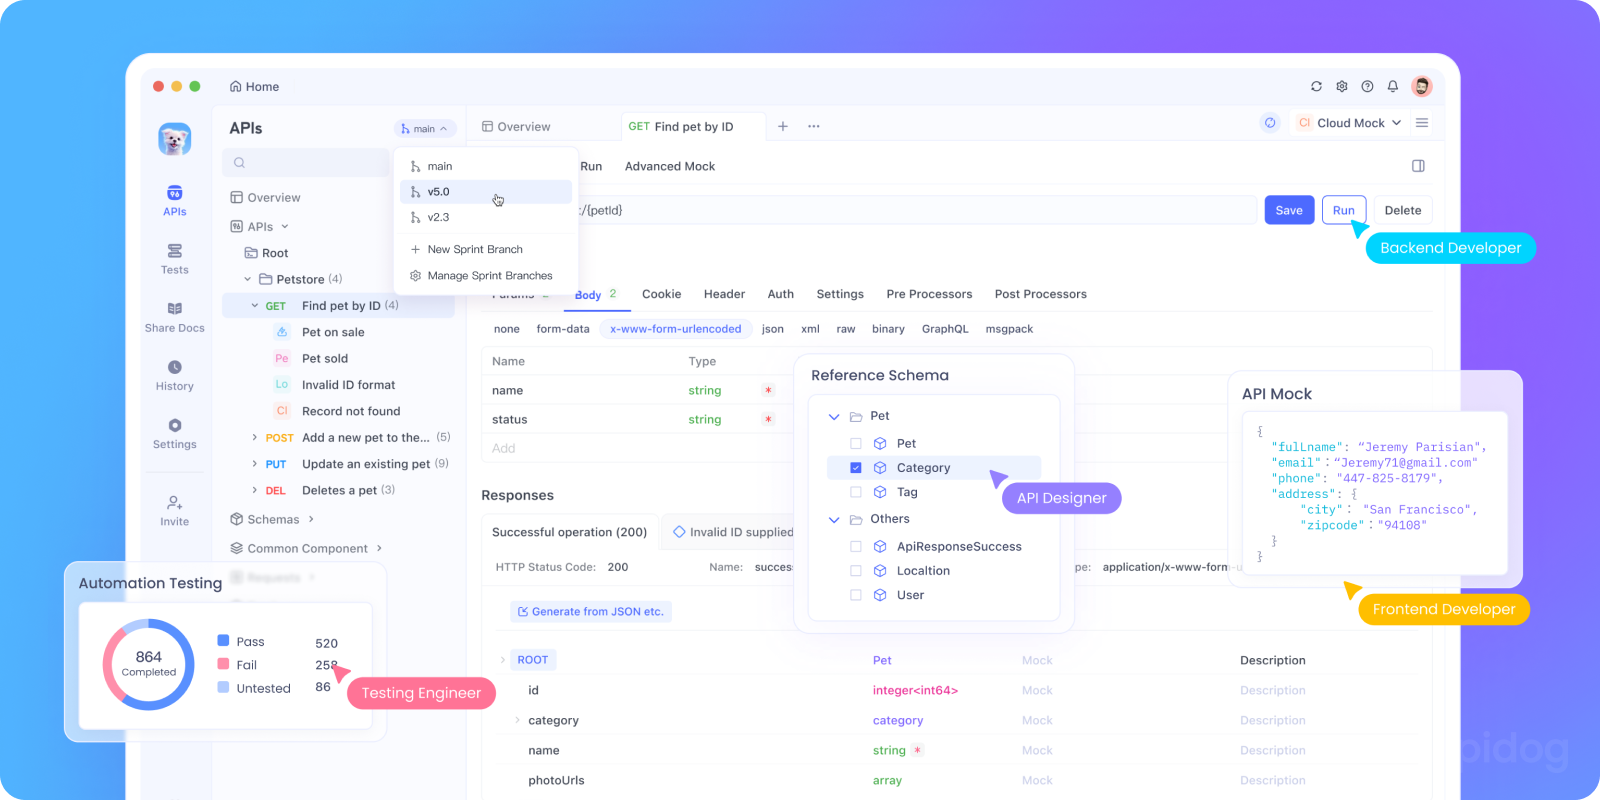
When your web app needs to sync IndexedDB data with backend APIs, managing endpoints, payloads, and test scenarios can become complex. Apidog helps unify these efforts by letting teams:
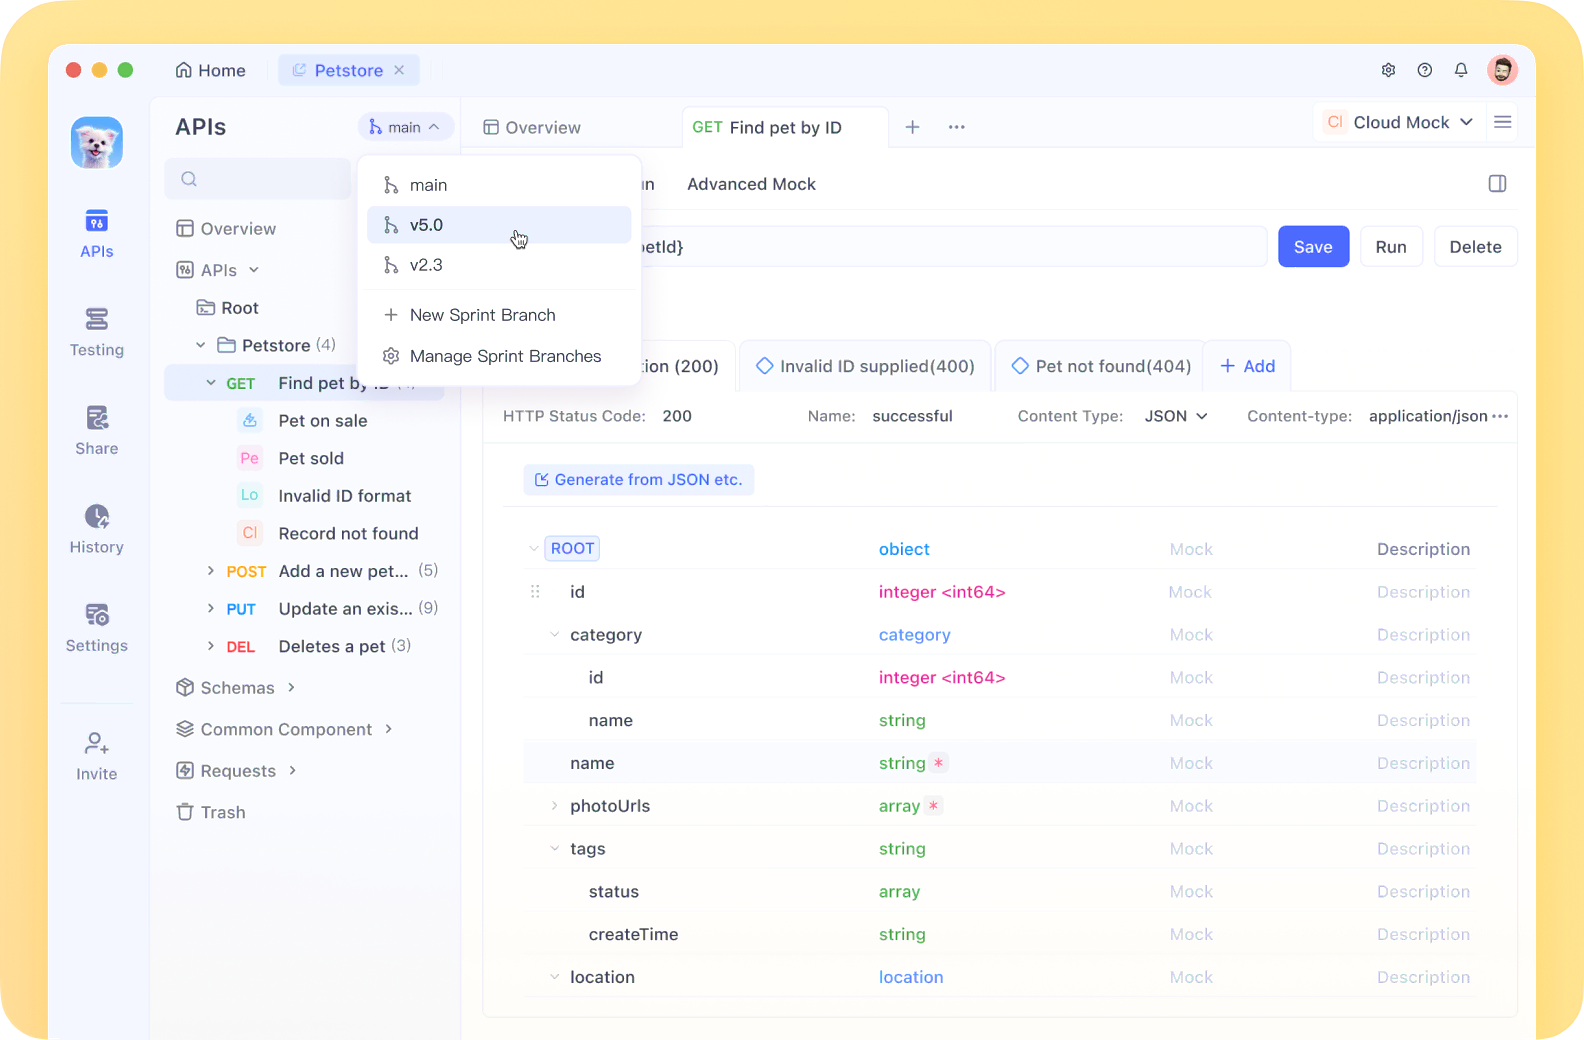
- Design and test all API endpoints used for data sync in a single, real-time collaborative workspace.
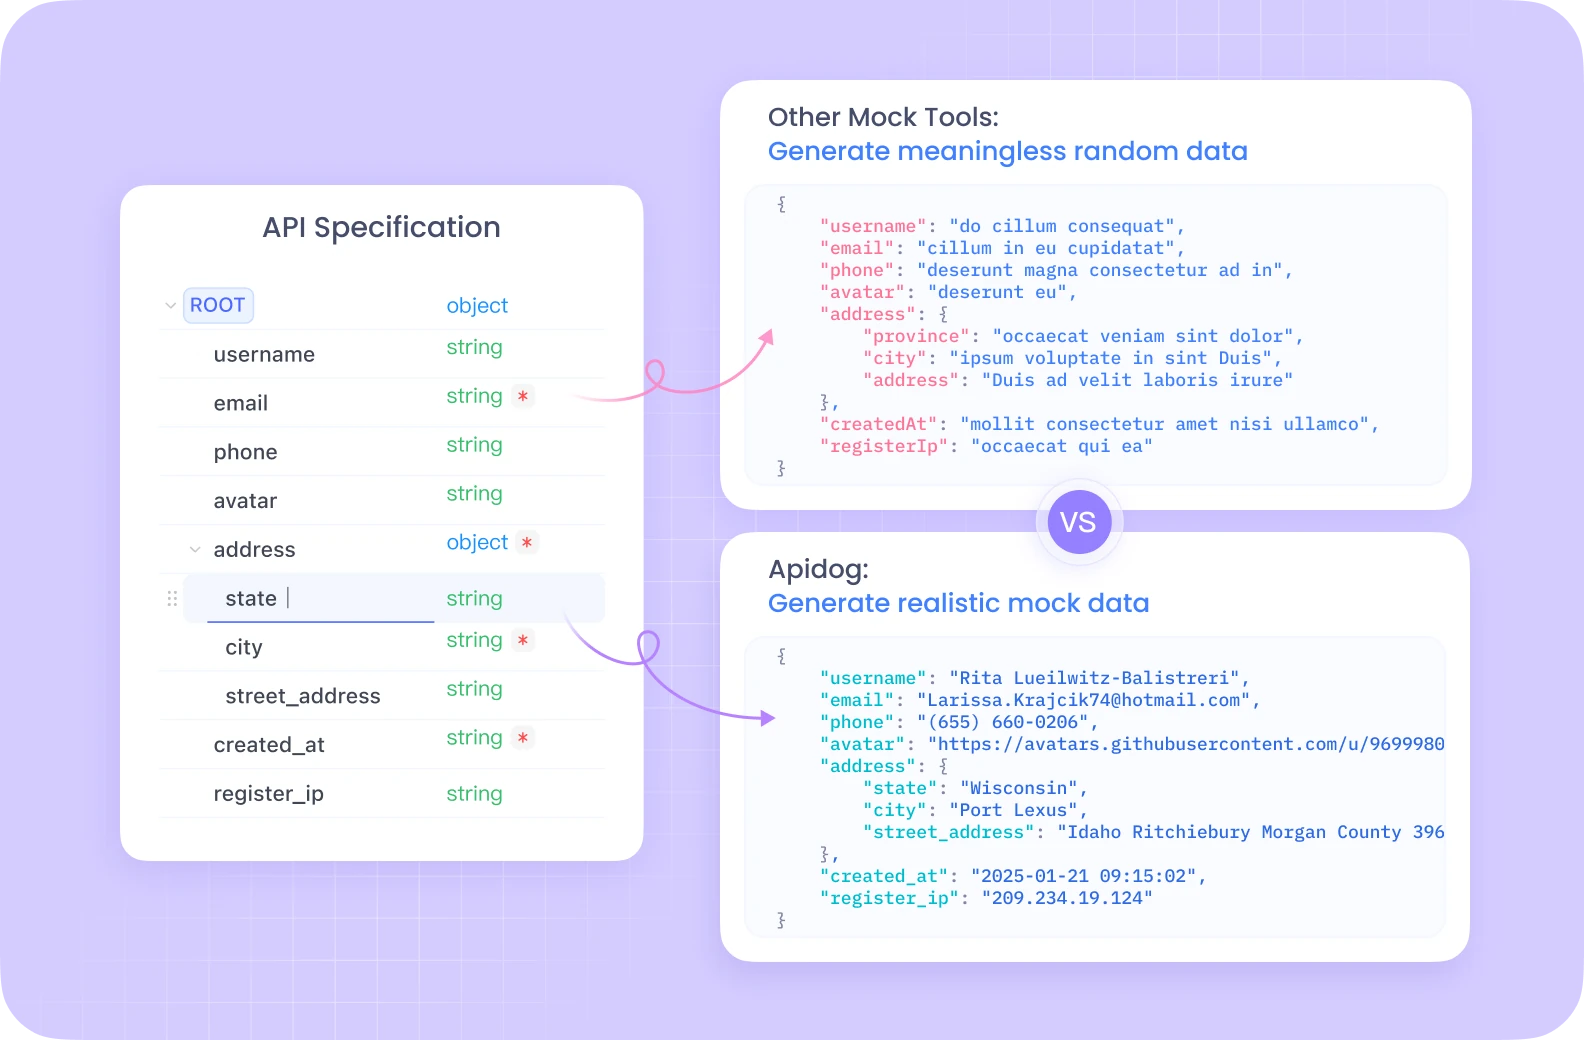
- Mock API responses to simulate server sync while developing offline logic, thanks to Apidog's robust mock engine.
- Document and share API contracts seamlessly between front-end and back-end teams for faster iteration.
By integrating Apidog into your workflow, you streamline the bridge between client-side IndexedDB storage and server-side APIs—minimizing sync bugs and improving development efficiency.