
The Hyperliquid platform stands out as a high-performance decentralized exchange for perpetual futures, offering low-latency trading and advanced features for developers. Developers frequently turn to the hyperliquid api to automate trades, monitor markets, and build custom applications.
You start by understanding the core components of the hyperliquid api. The API divides into key categories: the Info API for querying market data, the Exchange API for trading actions, and WebSocket for real-time updates. Furthermore, SDKs in languages like Python and Node.js simplify interactions. As you proceed, you will see how small adjustments in request parameters lead to significant improvements in execution efficiency.
What Is the Hyperliquid API?
The hyperliquid api enables programmatic access to Hyperliquid's decentralized perpetuals exchange. It supports operations on both mainnet and testnet environments. You connect to mainnet and testnet z. The API uses JSON for requests and responses, relying on HTTP POST for most actions and WebSocket for subscriptions.
You authenticate using private keys rather than traditional API keys in some cases, but Hyperliquid also offers API wallets for secure delegation. These wallets act on behalf of your main account without withdrawal permissions, enhancing security for automated trading. For instance, you generate an API wallet through the Hyperliquid app, authorize it, and use its private key in your scripts.
Next, consider the data types. The API employs specific structs and enums. Assets are identified by indices from the universe list, order sides use booleans (true for buy, false for sell), and time-in-force options include 'Gtc' for good 'til canceled. You retrieve these details from metadata endpoints to ensure accuracy in your requests.
With this foundation, you move to setting up your development environment. Proper configuration prevents common errors and speeds up iteration.
Setting Up Your Environment for Hyperliquid API
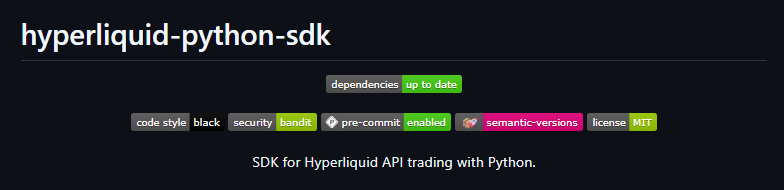
You begin setup by choosing your programming language and installing the relevant SDK. For Python users, the hyperliquid-python-sdk provides a robust starting point. Install it via pip with the command pip install hyperliquid-python-sdk. This SDK handles connections, authentication, and common operations.
You then configure your credentials. Create a config.json file with your account address (public key) and secret key (private key). For security, you generate a dedicated API wallet. Navigate to the Hyperliquid app, select "More > API," enter a name for the key, paste your wallet address, and click "Generate." Authorize the API wallet, and copy its private key into your config.
The SDK imports constants for URLs, such as constants.TESTNET_API_URL for testing. You initialize clients like this:
from hyperliquid.info import Info
from hyperliquid.utils import constants

info = Info(constants.TESTNET_API_URL, skip_ws=True)
This setup skips WebSocket initially, focusing on HTTP. You test the connection by querying user state:
user_state = info.user_state("your_account_address")
print(user_state)
If the response shows your account details, your environment works correctly. However, if you encounter errors, check your private key and network selection.
For Node.js, you use the @nktkas/hyperliquid package. Install it with npm, then set up transports and clients using ethers for wallet management. You specify isTestnet: true to avoid real funds during development.
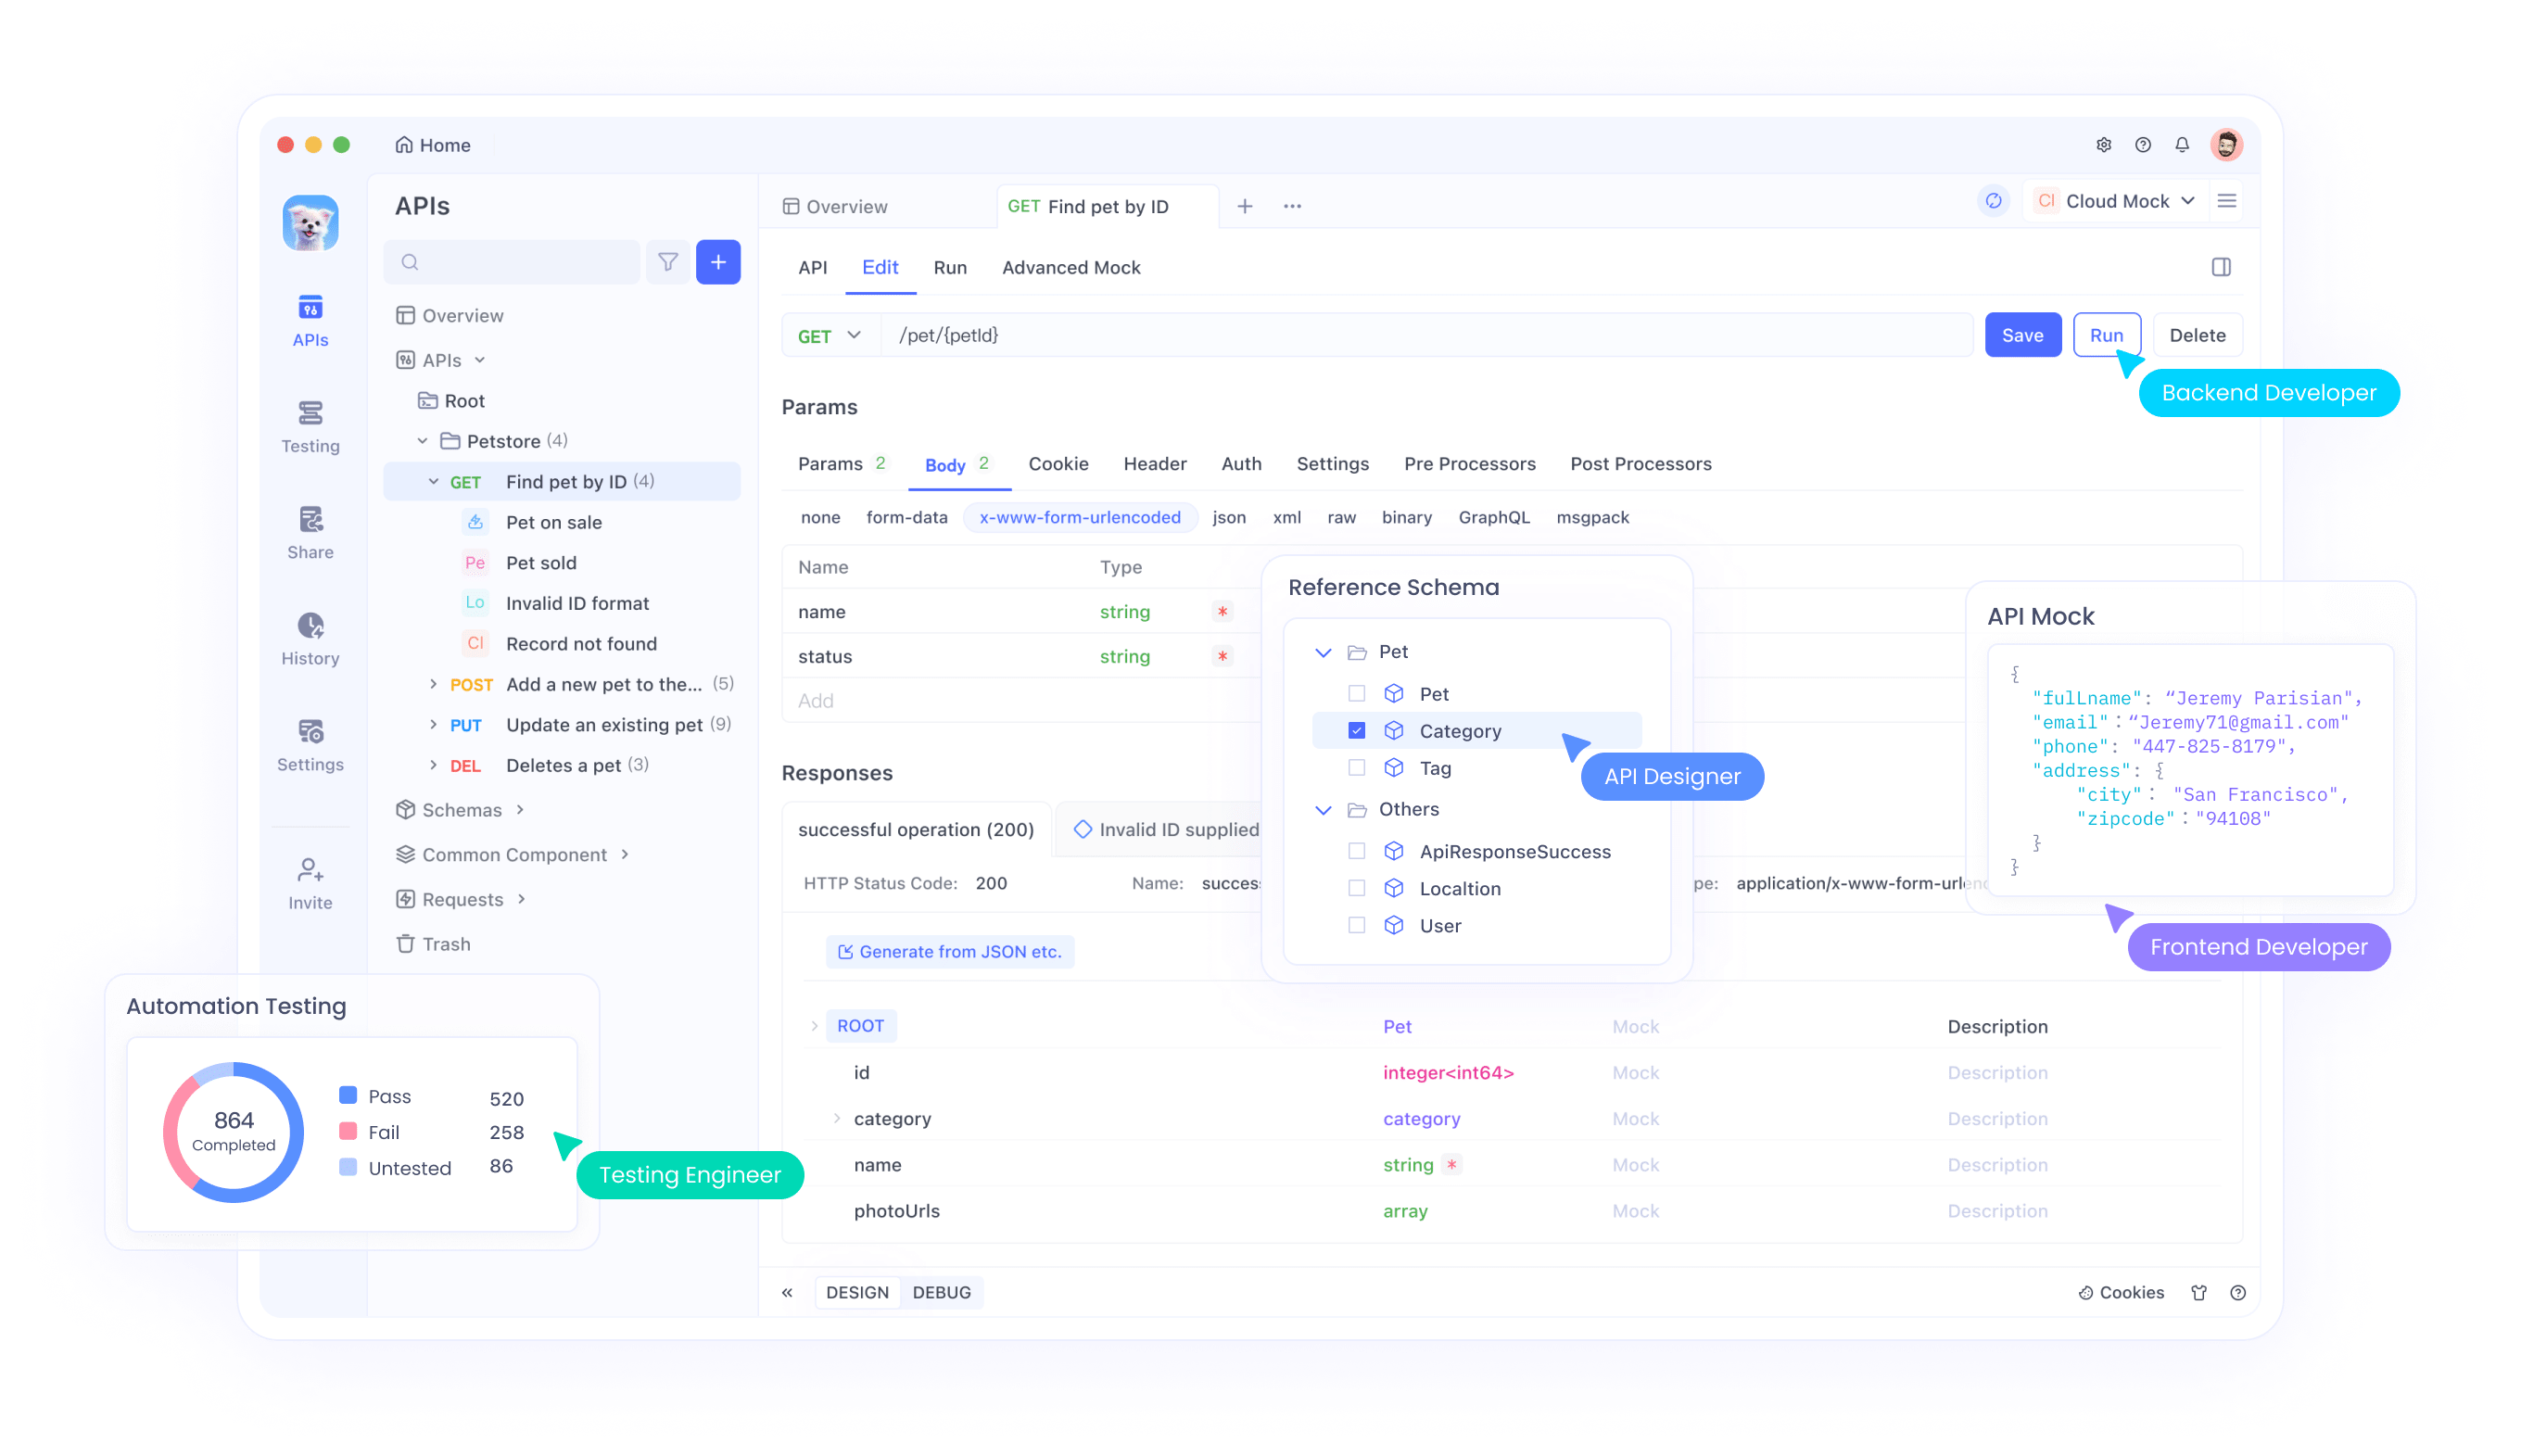
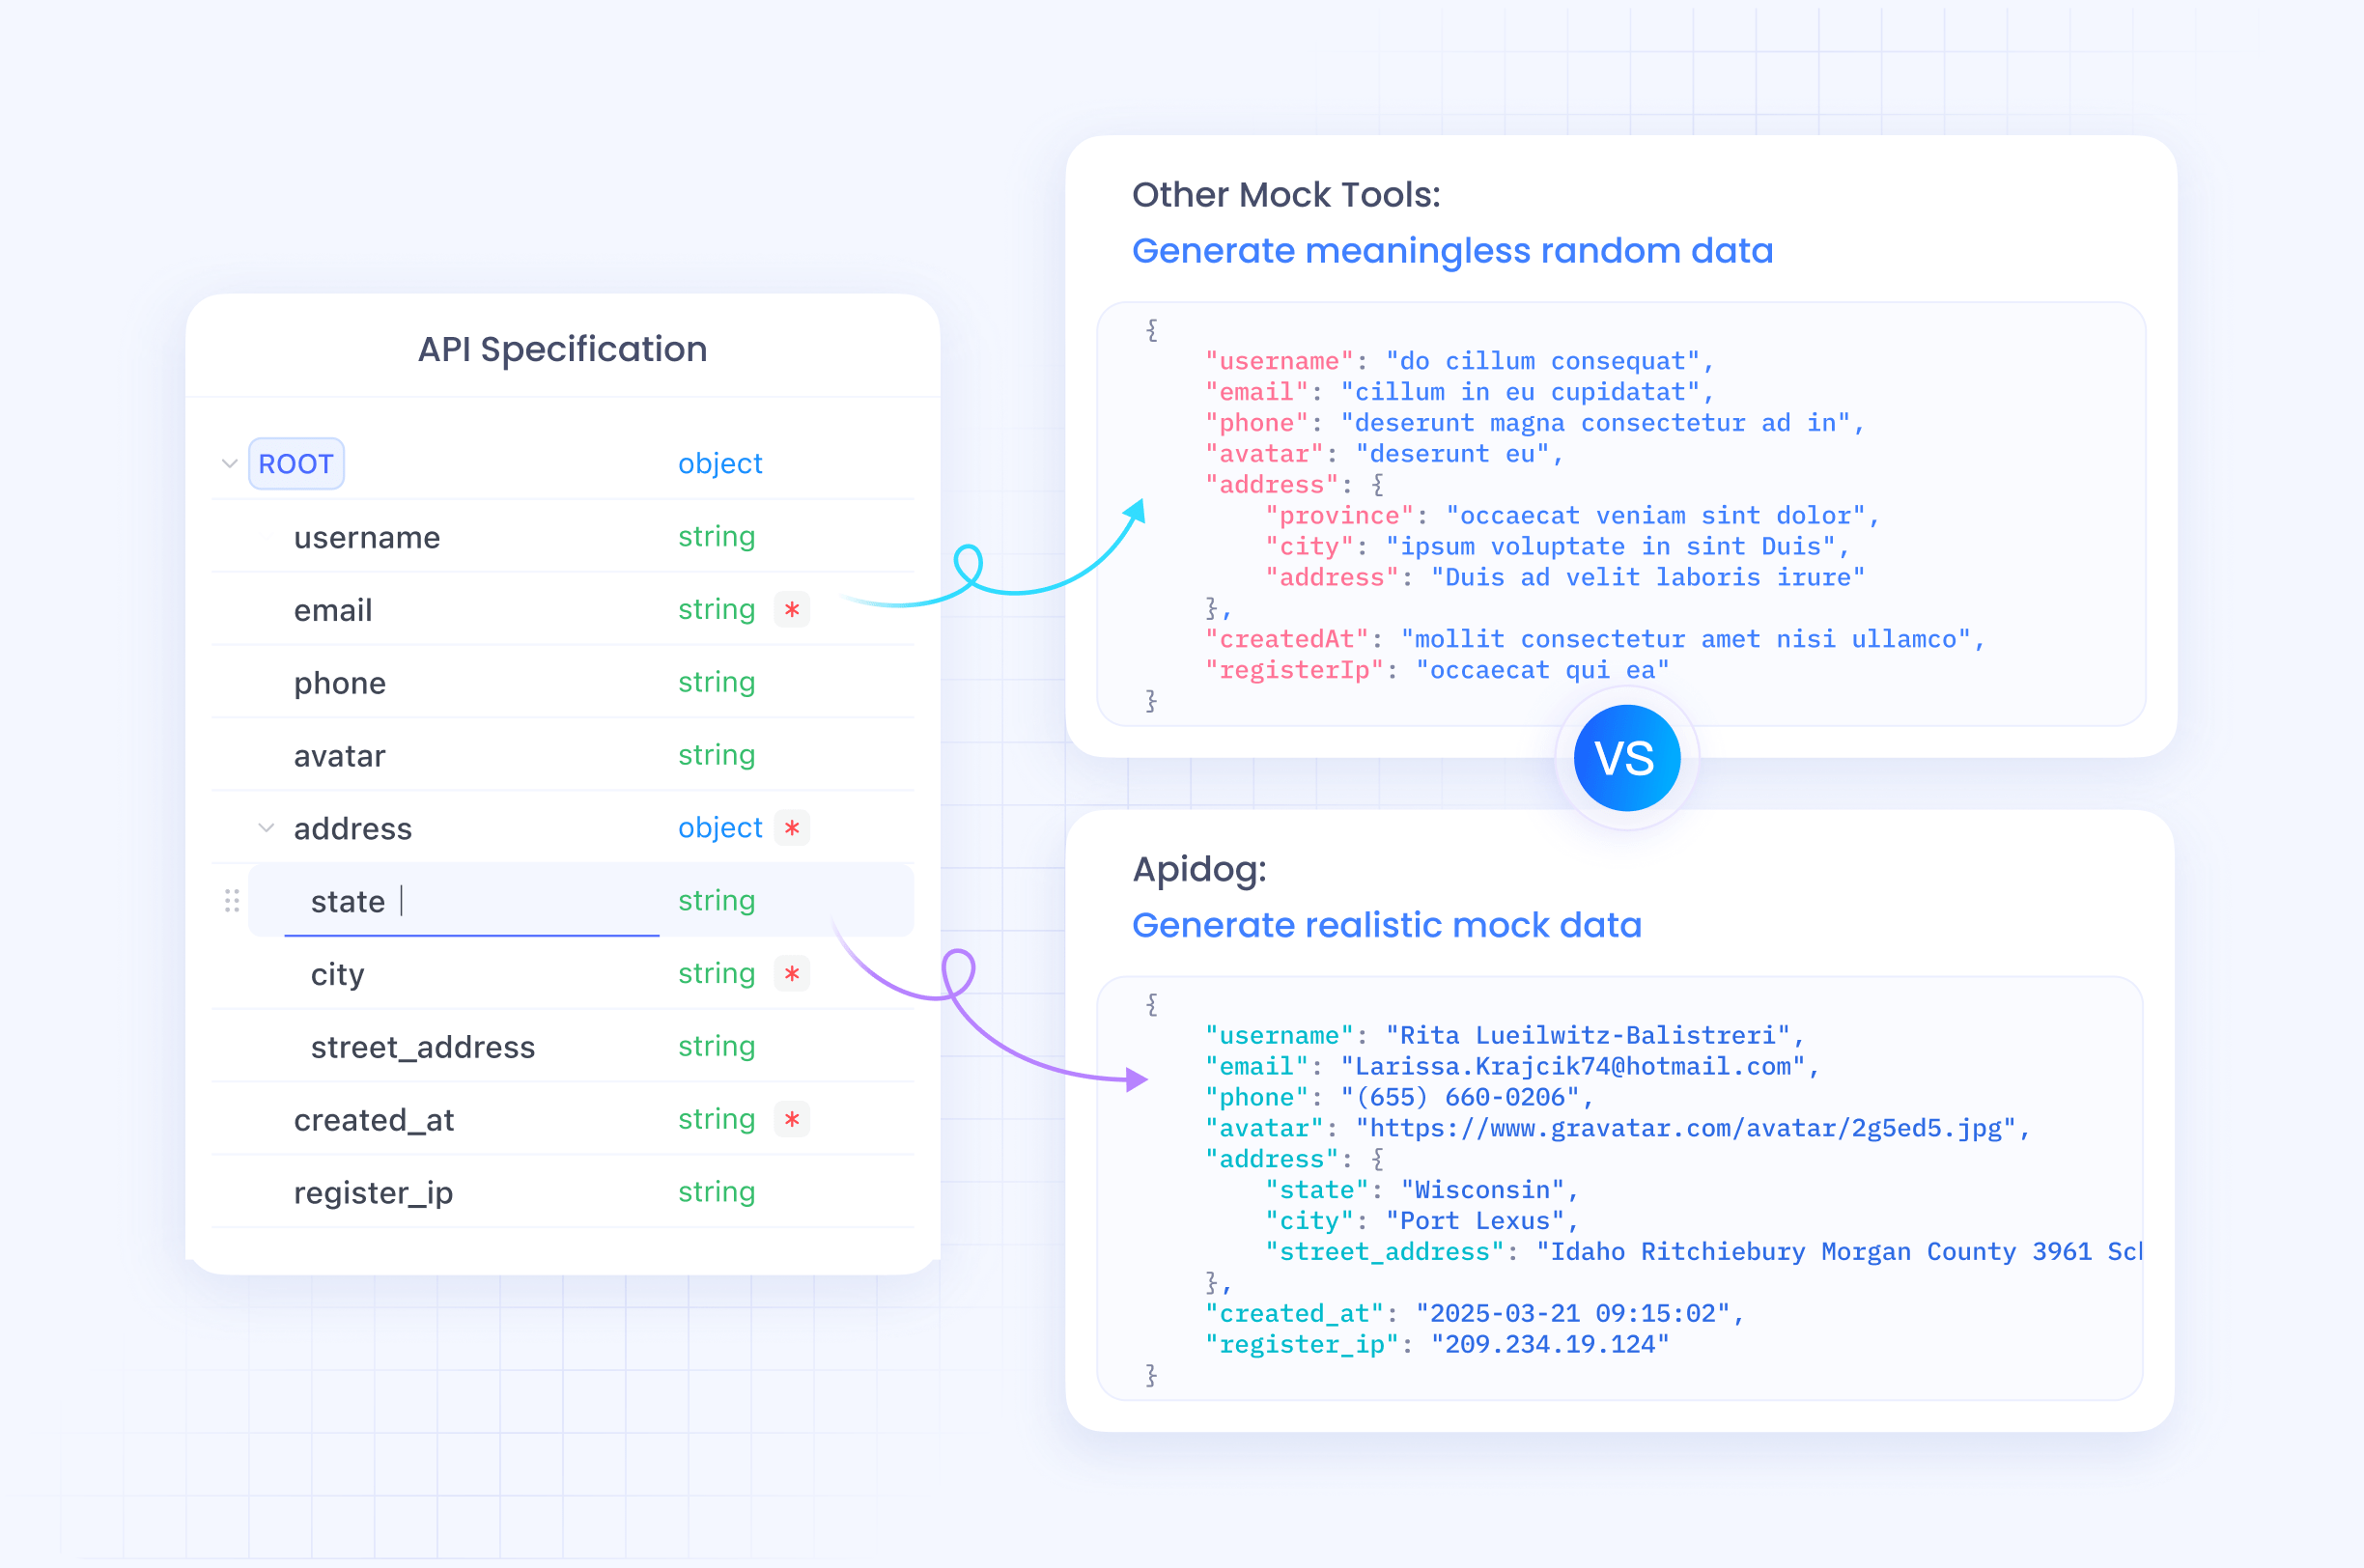
Tools like Apidog complement this setup. You import the hyperliquid api specs into Apidog, authenticate with your keys, and simulate requests. This approach reveals response structures quickly, saving time on manual coding.
Once configured, you advance to authentication methods. Proper authentication ensures your actions execute securely.
Authenticating with Hyperliquid API
You authenticate primarily through private key signing, as Hyperliquid operates on a blockchain-based system. The SDKs handle signing automatically when you provide a wallet instance.
For direct API calls without SDKs, you sign payloads using your private key. The request body includes a nonce for replay protection, and you post to /exchange or /info endpoints.
API wallets add flexibility. You create one by naming it, linking it to your main wallet address, generating the key, and authorizing it. This wallet performs trades but cannot withdraw funds, reducing risk for bots. In code, you use the API wallet's private key while specifying the main account address.
You test authentication by sending a simple info request. If unauthorized, the API returns an error like "User or API Wallet does not exist." To fix this, ensure your wallet holds minimum collateral, such as USDC for perpetuals.
Security remains paramount. You store keys in environment variables or secure vaults, rotate them periodically, and monitor for unusual activity. With authentication in place, you explore the Info API endpoints.
Exploring Info API Endpoints
The Info API provides read-only access to market and account data. You use it to fetch metadata, prices, orders, and more, without authentication for public data.
You start with the meta endpoint, which returns asset universe and contexts. In Node.js:
const [meta] = await infoClient.metaAndAssetCtxs();
This yields an array of assets with names, indices, and specs like max leverage. You use the asset index in trading requests.
Next, you query mid prices with allMids, which returns current midpoints for all pairs. Open orders come from openOrders, requiring your address.
Other endpoints include:
- userState: Retrieves positions, margins, and balances.
- fundingHistory: Shows funding rates over time.
- l2Book: Provides level 2 order book for a coin.
You send POST requests with JSON bodies like {"type": "meta"} to /info. Responses use consistent structures, with "data" containing the results.
Apidog helps here—you set up a collection for Info API, add requests for each type, and parameterize coins or addresses. This visualization aids in understanding data flow.
As you gather data, you transition to the Exchange API for executing trades.
Using Exchange API Endpoints for Trading
The Exchange API handles actions like ordering, canceling, and modifying. You authenticate all requests with signed payloads.
You place orders by defining parameters: asset index, side, price, size, reduce-only flag, and type (limit or market). For a limit sell:
In Elixir (from SDK docs):
Hyperliquid.Api.Exchange.place_order(order)
Where order is a map with a: asset, b: false (sell), p: "100", s: "0.1", r: false, t: {limit: {tif: "Gtc"}}.
The response includes status and order ID if successful.
You cancel orders using asset and oid (order ID):
Hyperliquid.Api.Exchange.cancel_order(asset, oid)
For batches, you use cancel_orders with a list.
Modifications follow similarly: specify oid and new params.
Other actions include updating leverage:
Hyperliquid.Api.Exchange.update_leverage(asset, is_cross, leverage)
And transfers, like spot_perp_transfer for moving funds between accounts.
You handle errors by checking response status— "ok" for success, else details like insufficient margin.
Examples demonstrate practical use. For instance, you build a bot that places a buy order when price drops below a threshold, using info for price checks and exchange for placement.
Furthermore, you integrate WebSocket for real-time updates to enhance responsiveness.
Integrating WebSocket for Real-Time Data
You connect to WebSocket for live streams. Use wss://api.hyperliquid.xyz/ws for mainnet or testnet equivalent.
You subscribe by sending JSON: {"method": "subscribe", "subscription": {"type": "trades", "coin": "SOL"}}.
The server responds with confirmation, then pushes updates like new trades.
You handle topics such as orderbook, user events, and notifications. In Python SDK, set skip_ws=False to enable.
This real-time capability allows you to react instantly to market changes, such as adjusting orders on fills.
With endpoints covered, you examine the Python SDK in depth.
Leveraging the Hyperliquid Python SDK
The Python SDK abstracts API calls into classes. You import Info for queries and Exchange for actions.
You place a basic order like this (from examples):
First, load config:
import json

def address_and_private_key():
    with open("examples/config.json") as f:
        config = json.load(f)
    return config["account_address"], config["secret_key"]
Then, initialize Exchange:
from hyperliquid.exchange import Exchange
from hyperliquid.utils import constants

address, private = address_and_private_key()
exchange = Exchange(address, private, base_url=constants.TESTNET_API_URL)
Place order:
order_result = exchange.order("BTC", True, 0.02, 30000, {"limit": {"tif": "Gtc"}})
print(order_result)
This buys 0.02 BTC at $30,000 limit.
You extend this for advanced features, like batch orders or cancellations.
The SDK also supports vault addresses for managed accounts.
Examples in the repo cover basic_order, user_state, and more, demonstrating full workflows.
As you build, you incorporate best practices to optimize performance.
Best Practices for Hyperliquid API Usage
You monitor rate limits to avoid throttling—Hyperliquid enforces per-IP and per-account limits.
You use testnet for all development to prevent financial loss.
Error handling involves logging details and retrying transient failures with backoff.
For scalability, you batch requests where possible, like multiple cancels.
Security extends to using API wallets and least-privilege principles.
You also version your code with SDK updates, as Hyperliquid follows semantic versioning.
Tools like Apidog assist in mocking responses for unit tests.
Troubleshooting comes next when issues arise.
Troubleshooting Common Hyperliquid API Issues
You encounter "Insufficient margin" when collateral is low—deposit USDC to resolve.
If "Asset not found," verify indices from meta.
Authentication errors stem from invalid keys—regenerate and authorize API wallets.
Network issues require checking URLs and using proxies if needed.
You debug with Apidog by replaying failed requests.
Logs from SDKs provide timestamps and payloads for analysis.
With these tips, you maintain reliable integrations.
Advanced Use Cases with Hyperliquid API
You build trading bots that monitor l2Book and place orders on imbalances.
Strategies involve funding rates from history to arb opportunities.
Sub-accounts enable segregated trading: create with name, transfer funds, and trade separately.
Vault transfers support shared liquidity pools.
You simulate with historical data from API to backtest.
Integration with Apidog allows collaborative debugging in teams.
Finally, you wrap up by considering future enhancements.
Conclusion: Mastering Hyperliquid API for Decentralized Trading
You now possess the knowledge to effectively use the hyperliquid api. From setup and authentication to endpoints and SDKs, this guide equips you for building sophisticated applications. Remember, incremental refinements in your code yield substantial performance gains. Experiment on testnet, leverage tools like Apidog, and stay updated with Hyperliquid's docs. As the platform evolves, your skills position you to capitalize on new features.


